Do you want to know how to complete the Remnant 2 The Lament puzzles in the dungeon and figure out what to do with the Remnant 2 Kolket’s Razor? This guide discusses this particular dungeon in Yaesha, including the challenges that await, the cryptic clues, the dial with symbols, and that door that you probably can’t open if you have stumbled across it (after all we couldn’t initially).
Whether you are on PS5, Xbox Series X|S, or PC, this dungeon is one of the biggest challenges in the game. With several zones and dungeons to explore, you’ll come across some peculiar points of interest, such as The Lament whether you are playing Remnant 2 multiplayer or solo. This solution was obtained during our Remnant 2 review playthrough.
Remnant 2 The Lament guide
To complete The Lament dungeon you will need to align the correct symbols based on the sigil clues. The steps you will need to complete are:
- Pass through the booby traps
- Find the diagram
- Match the layers to the symbols
- Defeat Wither
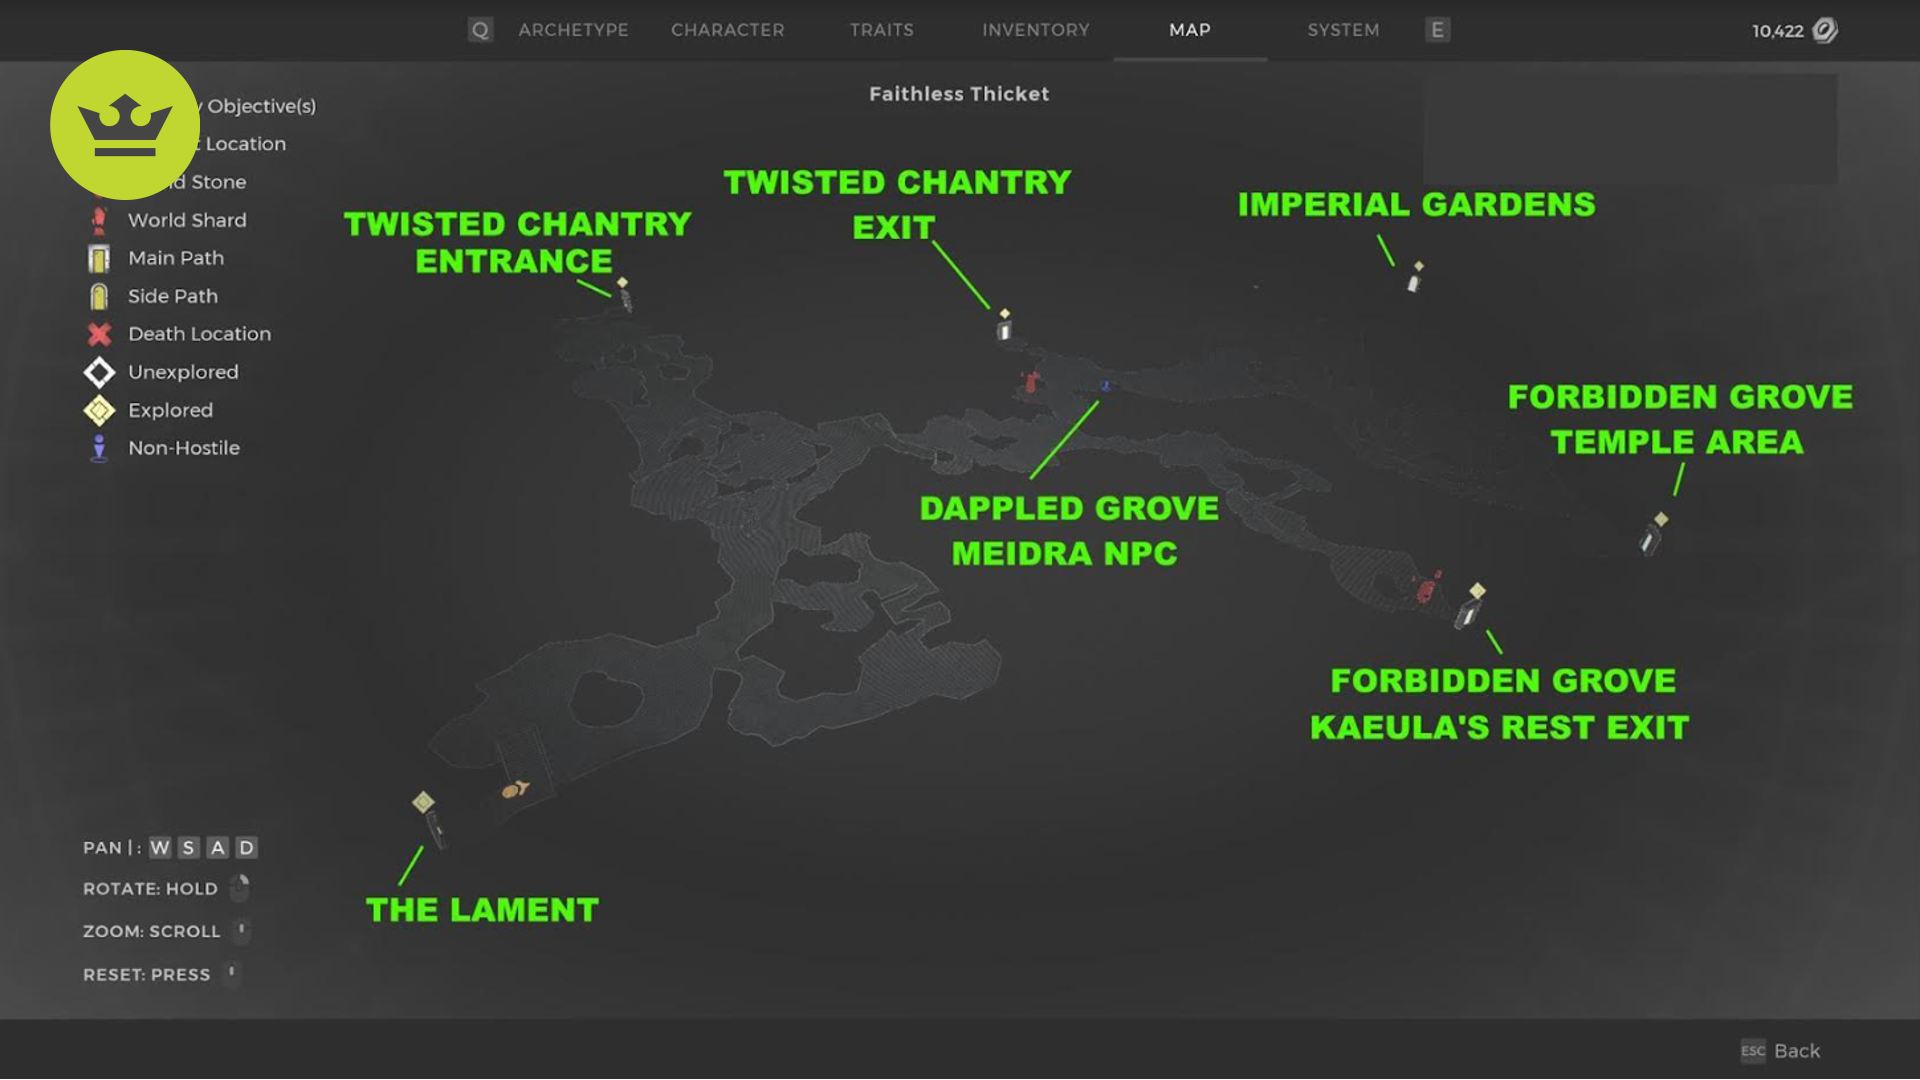
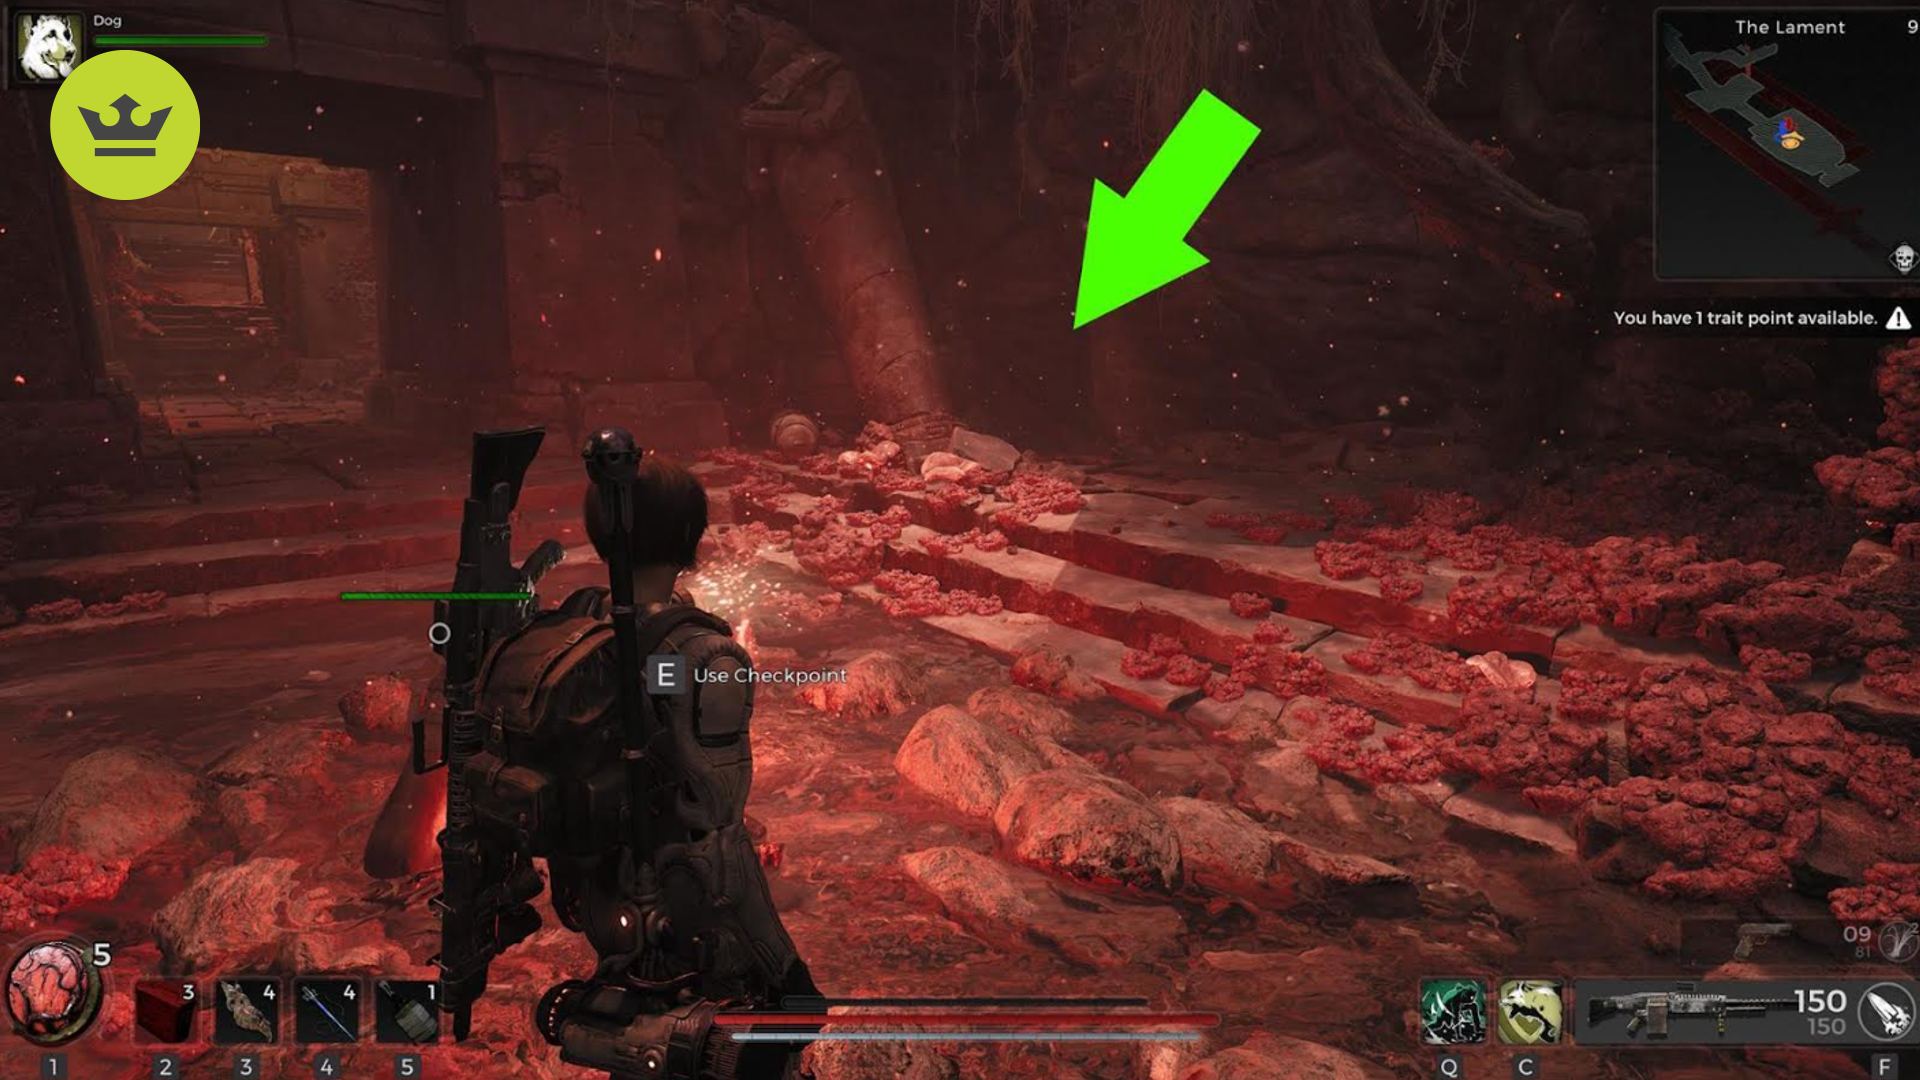
The dungeon itself is found in Yaesha – Faithless Thicket. If it’s your first time in this zone, you’ll want to cut across the Forbidden Grove to Kaeula’s Rest, which would lead you to the Faithless Thicket. From there, follow the wooded path to reach the entrance to The Lament.
Pass through the booby traps
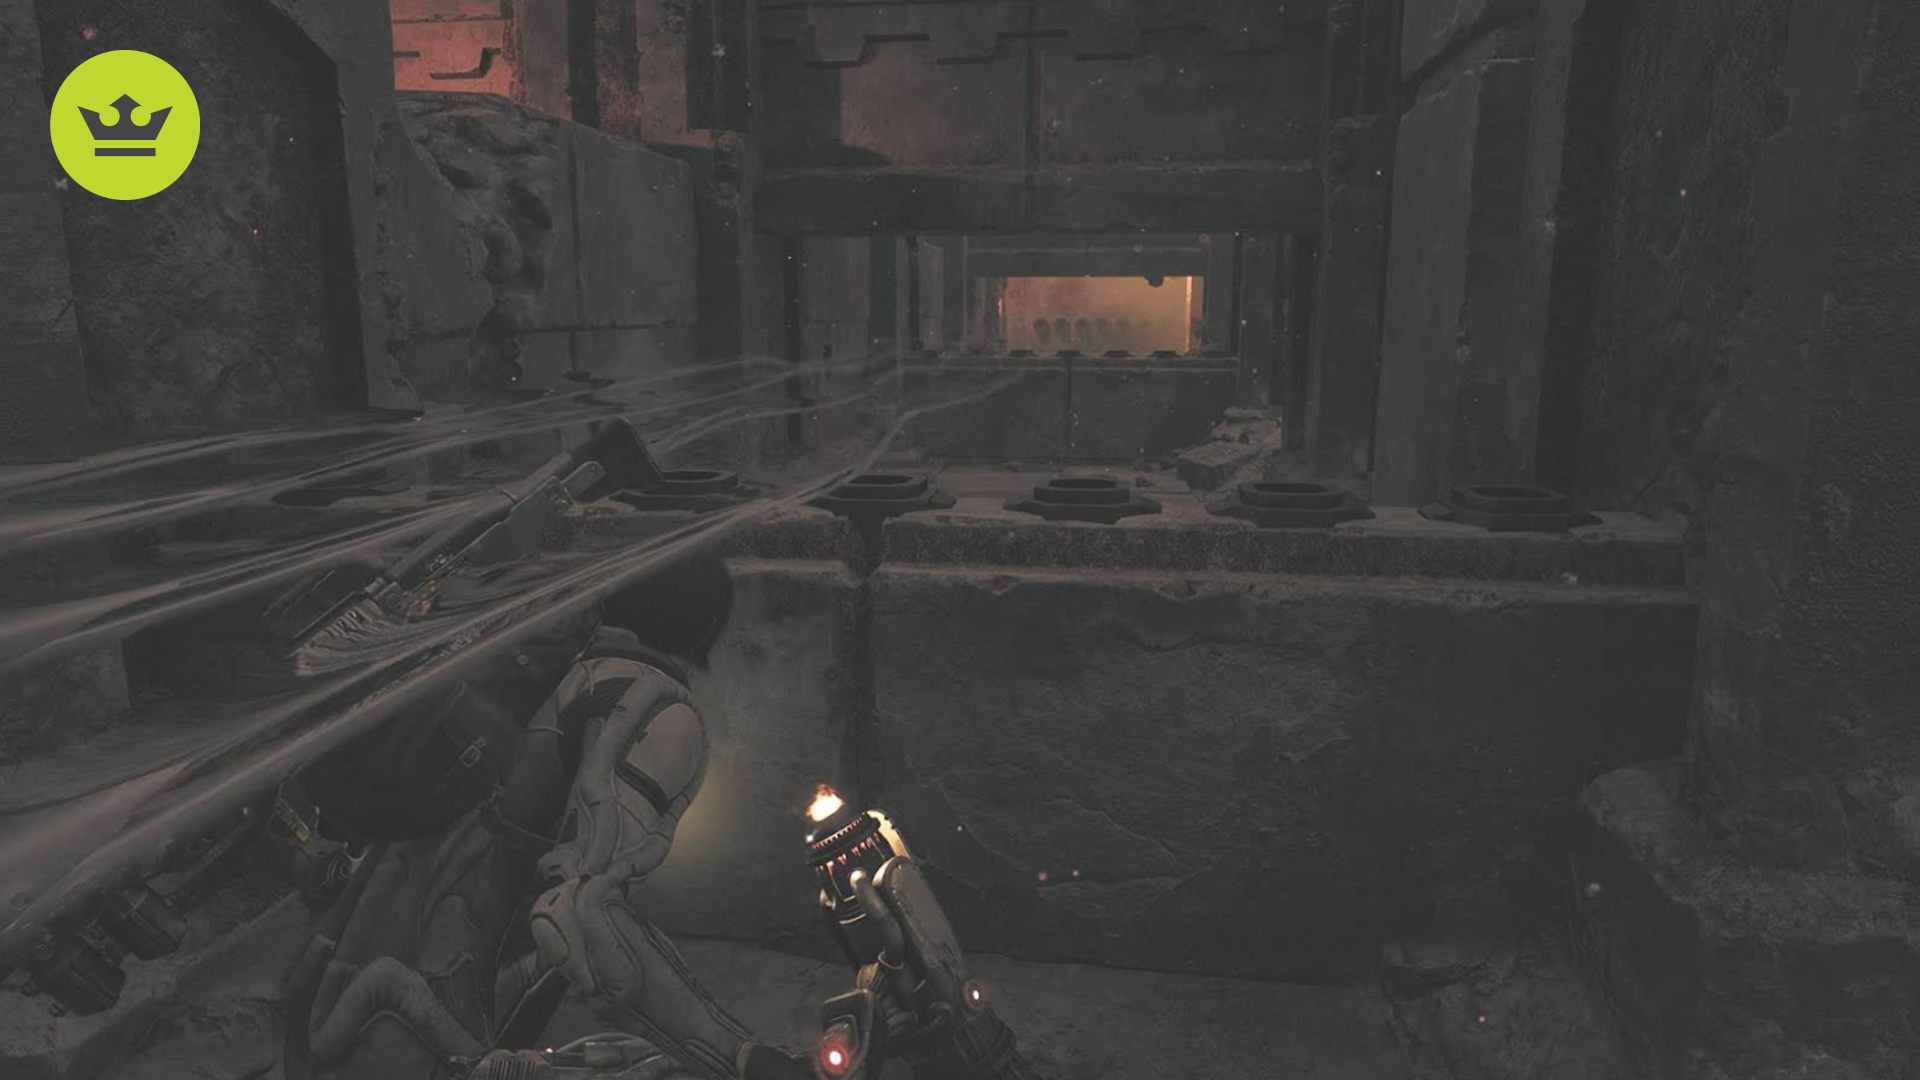
Upon entering, you’ll see narrow corridors lined with blow dart booby traps. While most fire horizontally, others will also shoot projectiles vertically. Getting hit also means instant death. As such, you’ll want to crouch behind obstacles and time your mantling over them properly. At the end of this booby-trap-filled section, you can pull a lever that disables everything.
Find the diagram
Next, enter the dungeon proper to look for clues and you’ll see a book near a skeleton. It tells of Queen Tethys and four persons with sigils that represented their houses.
The book also happens to have a large diagram on its first page, which is your first major clue. In our case, we had a red symbol that showed a diamond in the center, and jagged lines at the top and bottom. This might be different in your campaign.
In any case, proceed through the dungeon by eliminating enemies. Along the way, you should find the Sagestone, a ring that grants +10% XP gains. It’s great for leveling up, which is why we feel that it’s one of the best Remnant 2 rings to equip in the game.
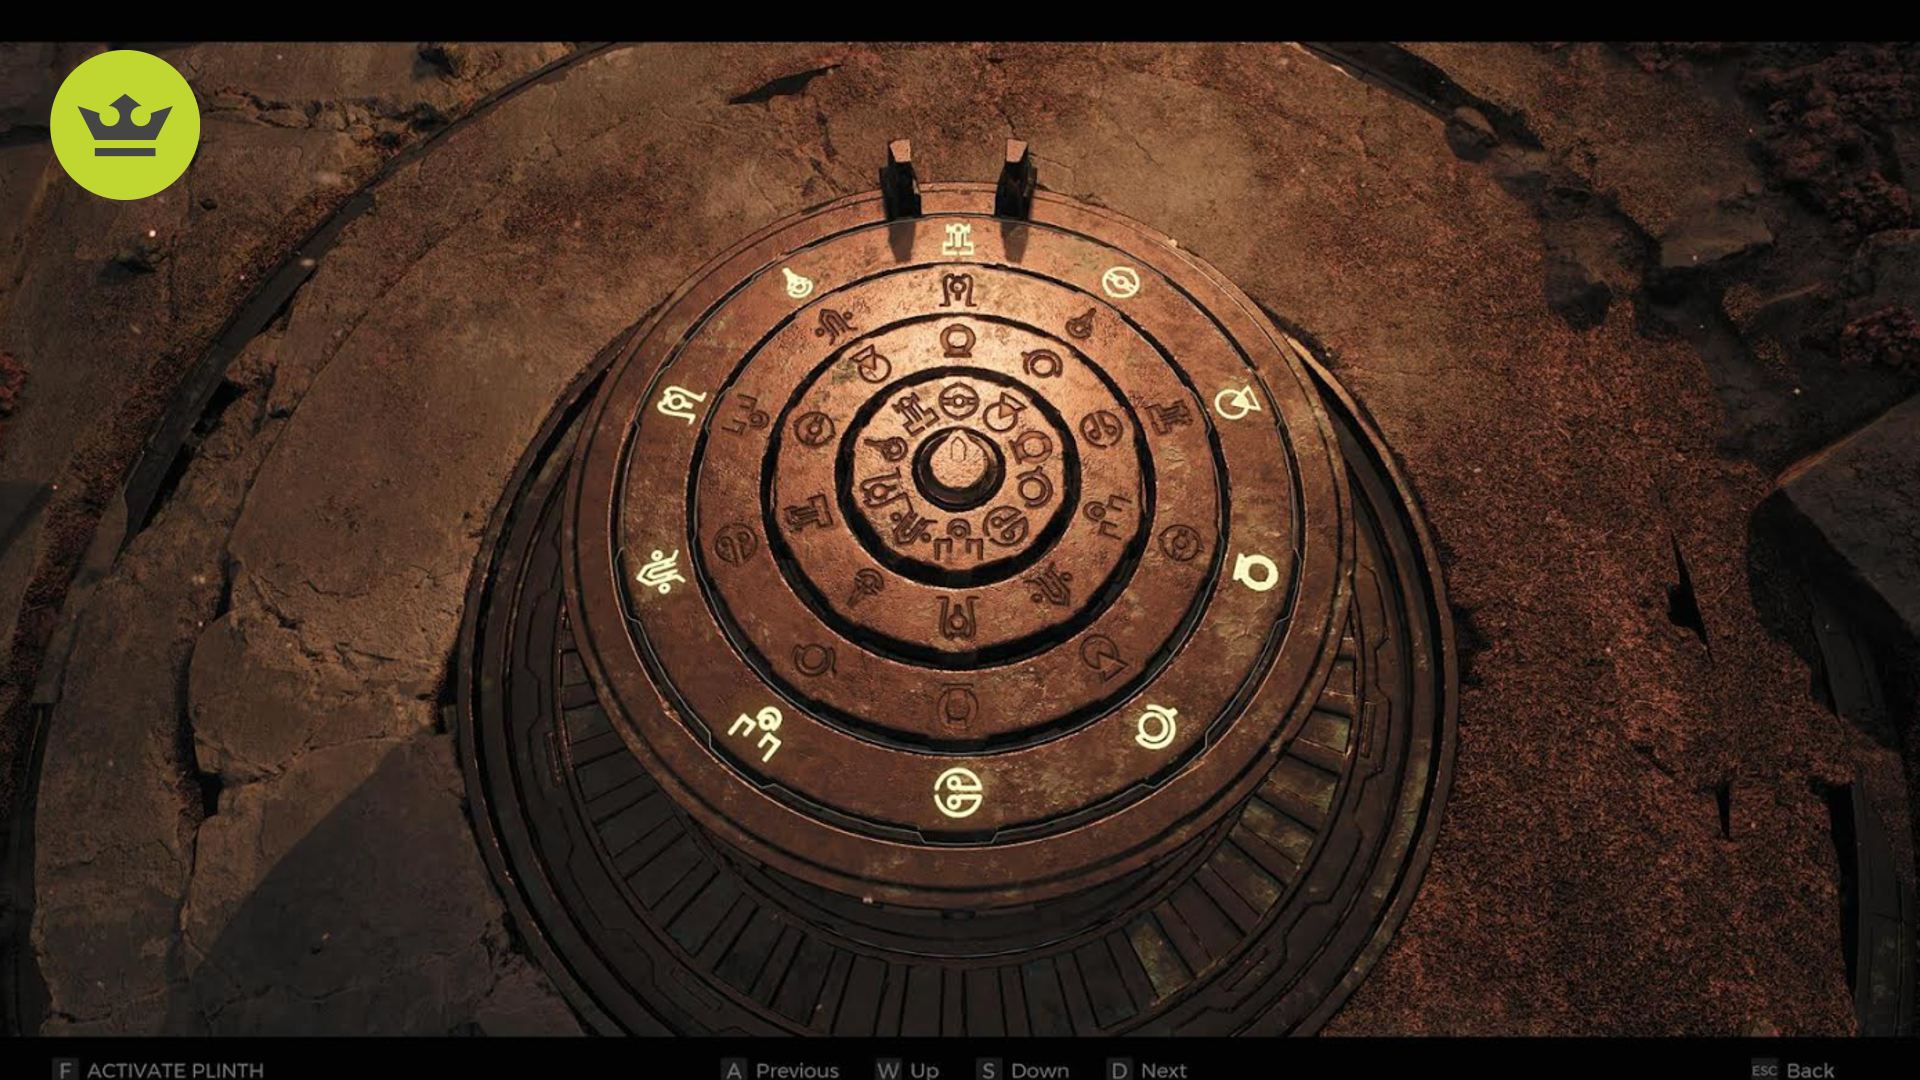
Once you reach the top floor, you’ll see more mummies, as well as The Lament puzzle, a dial with multiple symbols. There’s also a path that leads to a large chamber with a chasm. You can’t open the door yet, but you can pick up a Tome of Knowledge.
Match the layers to the symbols
The solution to the Remnant 2 Lament puzzle will be different in your run, as they are randomized, but the clues that help you complete it are interpreted in the same manner.
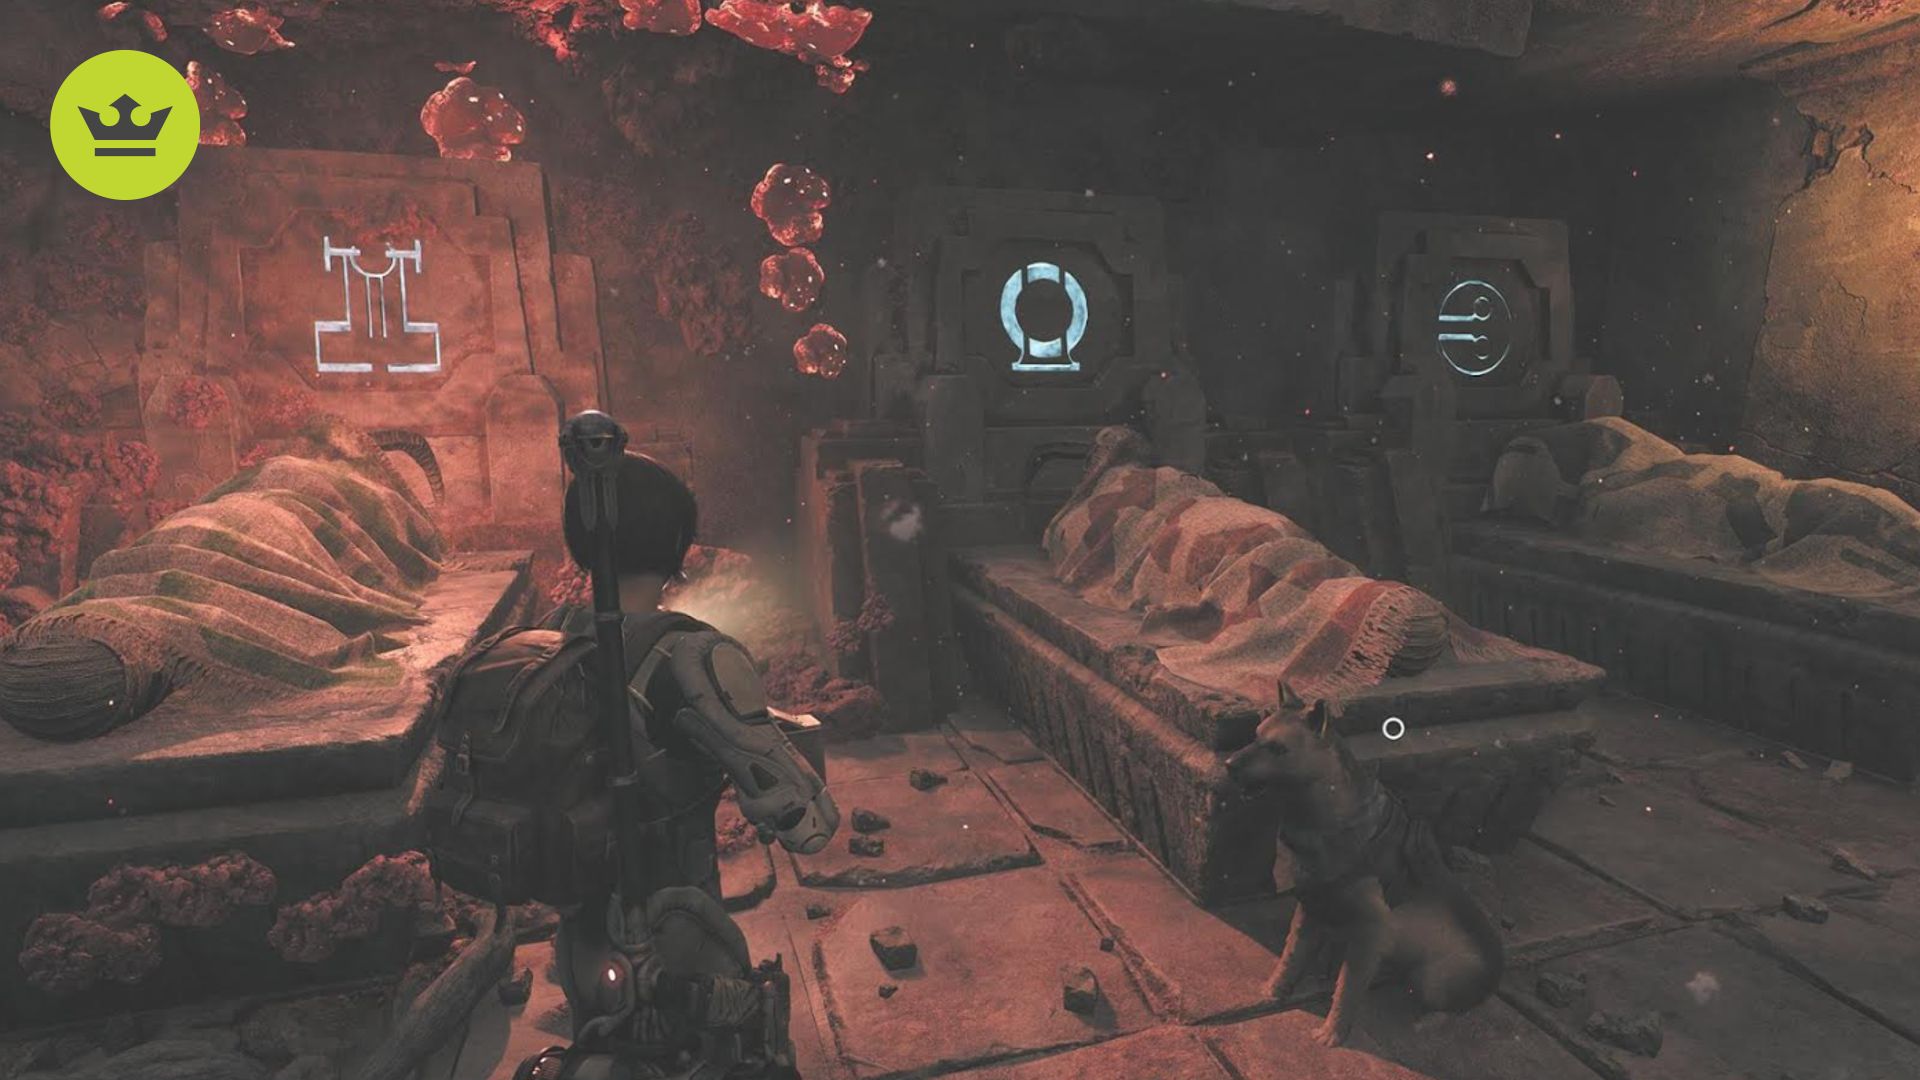
The diagram on the book appears on the blankets covering the mummies. Ours was a red diamond with jagged lines, but yours might be different. Take note of the wall symbols next to the mummies that have matching diagrams on their blankets. These are the correct symbols that you should select when interacting with the dial puzzle.
Align the rings according to the symbols to open the door. For example, ours was:
- First/outermost layer: Sigil of Fatebound Hands – An upside-down T shape.
- Second layer: Sigil of the Bowsplit Wave – A curved symbol that looks like the letter M.
- Third layer: Sigil of the Fireforged Snowflake – A circle on a dais; looks like a portal.
- Fourth/innermost layer: Sigil of the Fractured Looking Glass – A circle with two bars and a smaller circle in the middle; looks like an eye.
Make sure the aforementioned symbols are at the topmost section of the dial, then activate the plinth. If you did it right, the stone doorway will open. In the small room ahead, you can pick up the Blood-Tinged Ring, which grants +2 HP regeneration if you’re close to any bleeding enemy.
Defeat Wither
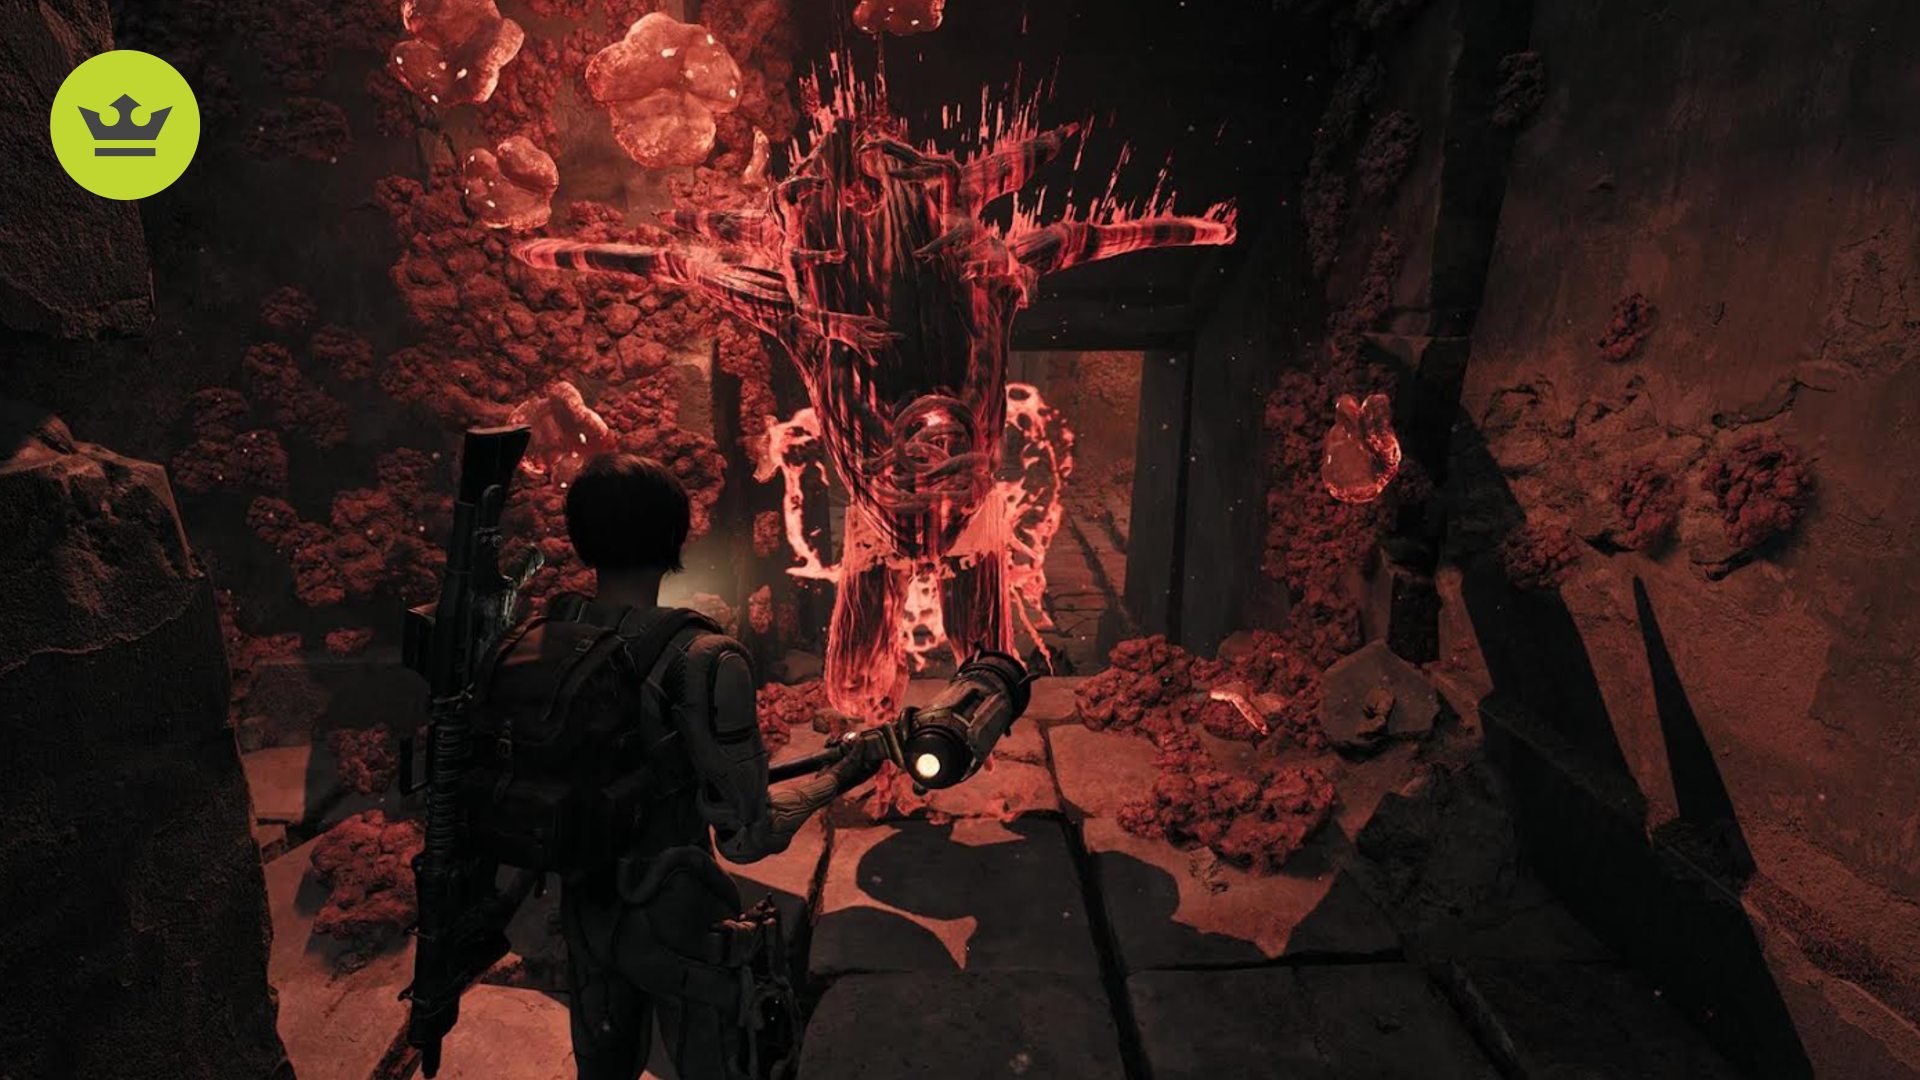
Now, if you open one of the caskets in this room, a miniboss known as Wither will spawn. It has the Hearty and Empowered traits, but it’s not different from the regular enemy mob variant. Once its health is low enough, it’ll turn into a flying spirit, which you need to kill immediately. Otherwise, it will respawn with its HP partially restored.
Taking out Wither nets you the Overdrive Mutator, one of the best Remnant 2 Mutators in the game. Your melee critical hits will also increase crit chance and crit damage by 5% for 7.5 seconds, and this stacks up to five times, too.
Additionally, Wither drops the Remnant 2 Kolket’s Razor quest item. You can find a full rundown of the Kolket’s Razor and what to do with it below.
Remnant 2 Kolket’s Razor
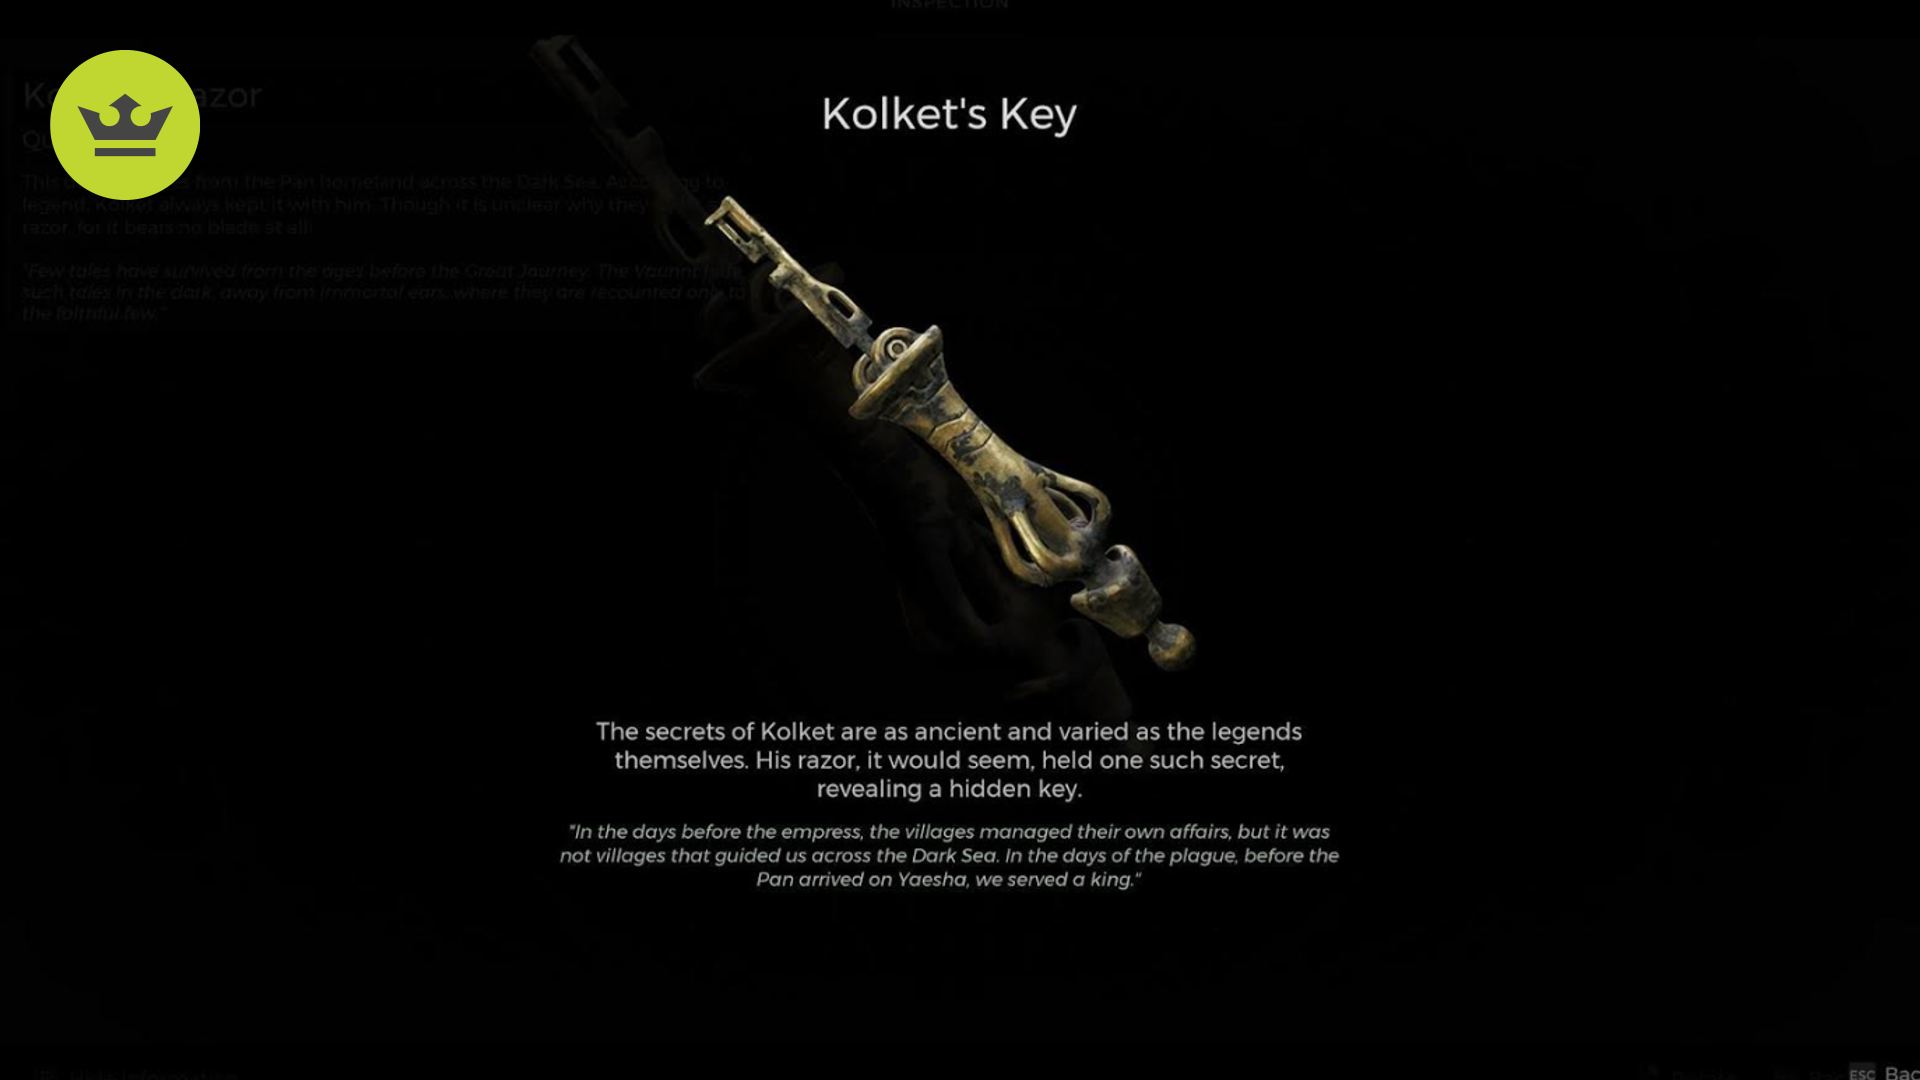
With the Kolket’s Razor in Remnant 2, you can then proceed through the rest of the dungeon and inspect the razor in your inventory. Rotate it until you see an interact option and it will turn into Kolket’s Key, which you can use on the locked door on the other side of the chasm.
Reach the subterranean area
Now you have the Kolket’s Razor, look at the side of the room, and you’ll see a well-hidden crawlspace behind some vases. Break the objects and crouch-walk through the opening. There’s a door here that you can’t open yet, but the second door, above a ladder, leads back to the room with the coffins.
Continue further down below to pick up the Supply Room Key next to a sewer grate. Use it to open the locked door, which has a chest. There are also some ruined pillars that are slanted, allowing you to go through a small opening.
Get the Red Widow armor set
The next area has moving saw traps. Just run like hell along the middle, while avoiding a Rickon Stark moment (since you have to zigzag a few times). That’s the best way to get past it.
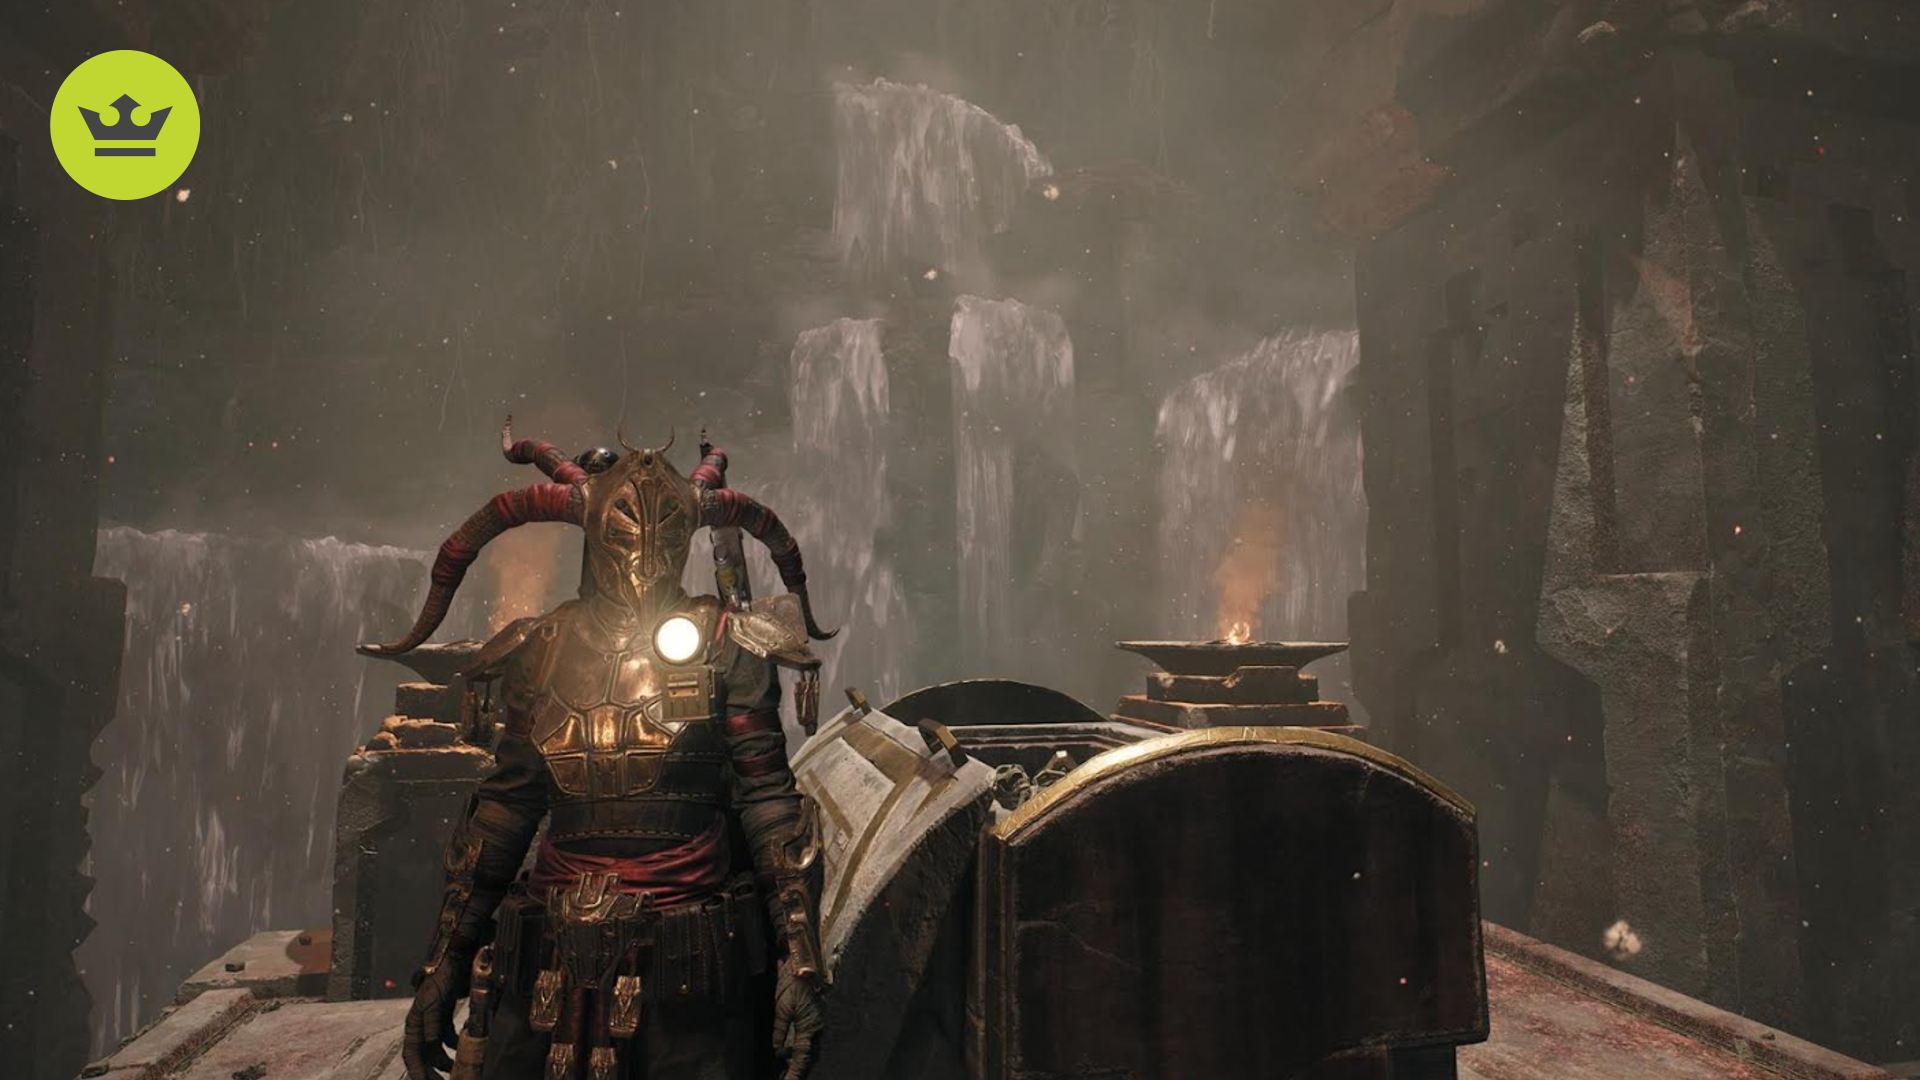
At the end of the corridor, you’ll find a large sarcophagus that has the Red Widow armor set. When fully worn, you’ll gain the following:
- Armor: 89
- Weight: 48 (Medium) – Normal dodge speed and 25% stamina cost penalty.
- Resistances: 12 Bleed, 11 Blight, and 2 Corrosion.
Cross the chasm
Once you have the Red Widow armor set, make your way back to the cavern with the Tome of Knowledge. Take out the enemies, then prepare to cross the chasm.
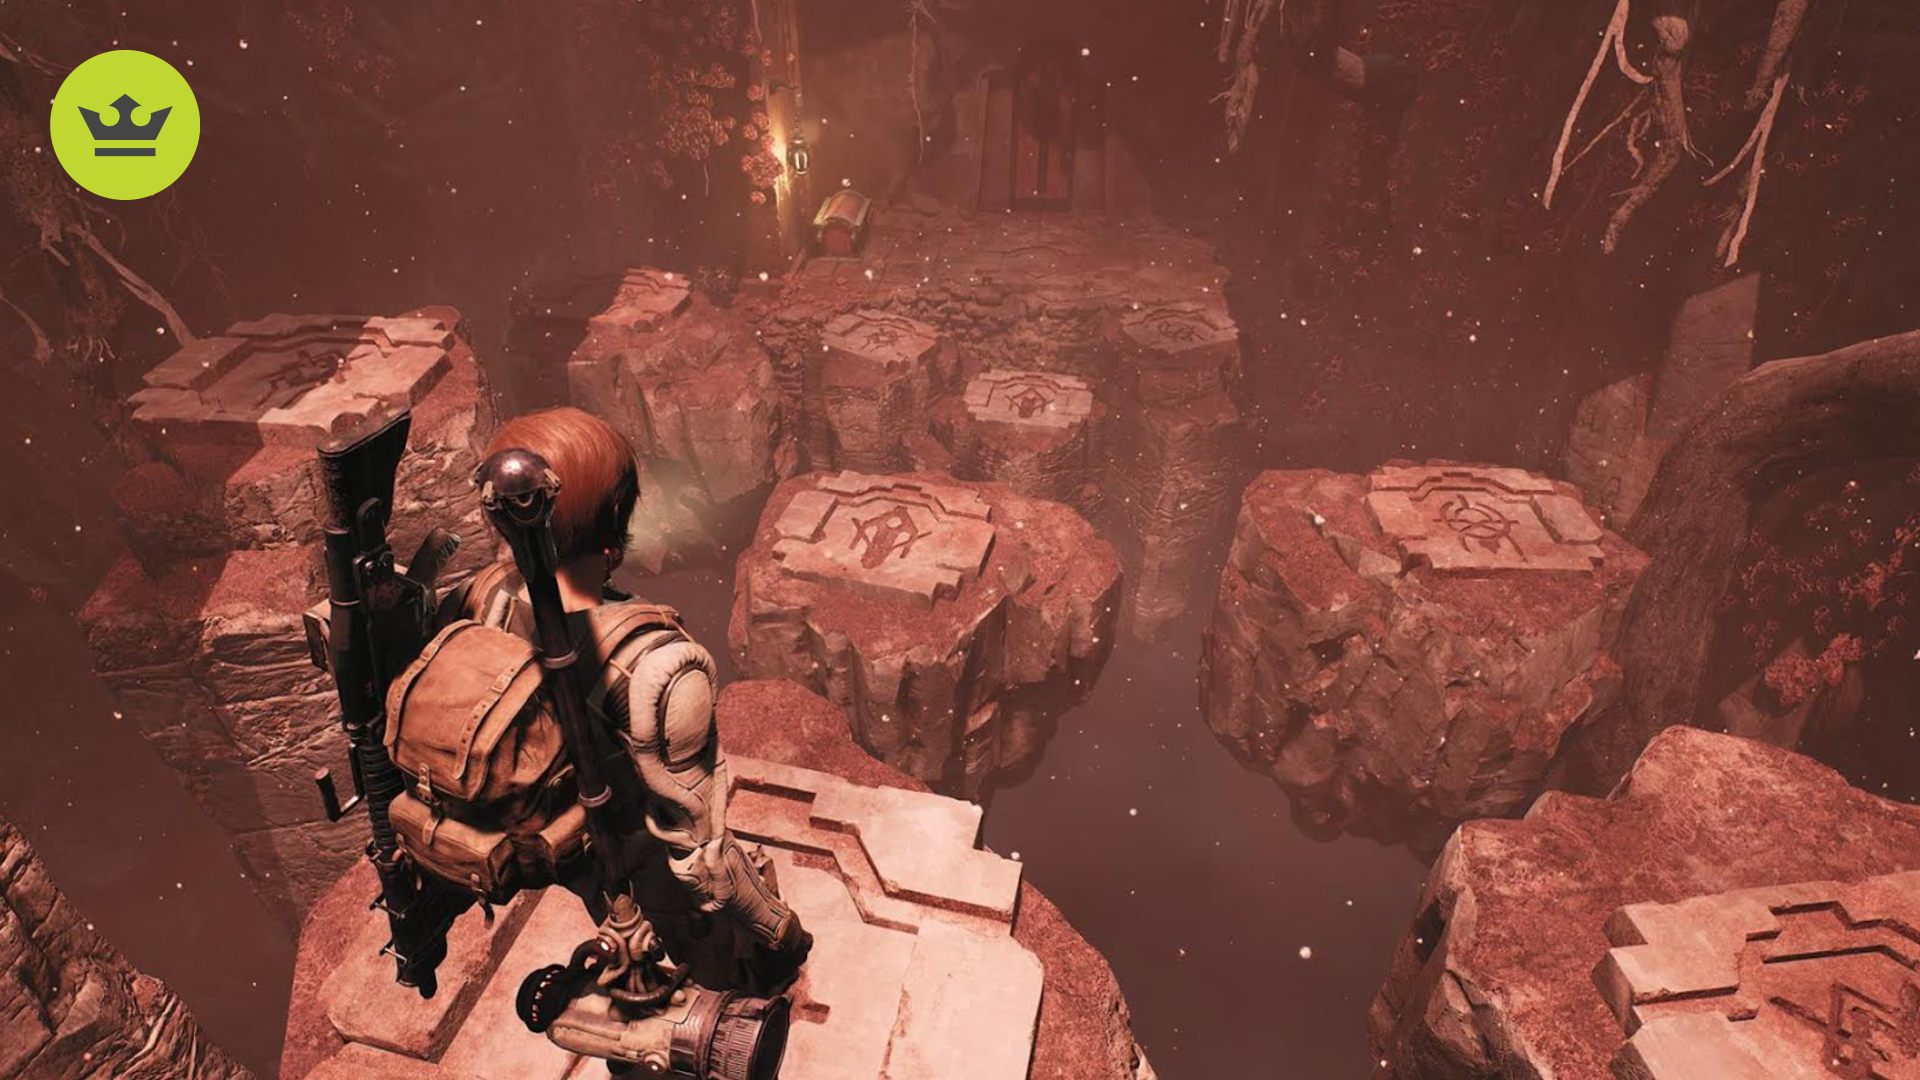
There are several pillars here that you can use as platforms. However, be forewarned that your character will often roll, and you could end up falling to your doom. Ideally, you’ll want to jump to the pillar in the middle first, before using those along the left-hand side. Even if you roll, there’s a helpful glitch that occurs, preventing your character from falling.
Turn Kolket’s Razor into Kolket’s key
The locked door here has a symbol that looks like the Remnant 2 Kolket’s Razor quest item. However, using it doesn’t do anything. That’s because you have to turn it into Kolket’s Key. To do this, inspect Kolket’s Razor in your inventory, then rotate it until you see an interaction prompt along its handle. Press the corresponding button and it’ll become a key.
Inside this is another room that has several sarcophagi, some of which have materials. The main reward, though, is the Ring of Diversion. When equipped, it increases the invulnerability window when dodging or sliding.
That’s everything you need to know about the Remnant 2 The Lament puzzle and Remnant 2 Kolket’s Razor item. Don’t forget that the Yaesha region holds many secrets, including the Remnant 2 Water Harp puzzle and Remnant 2 Cathedral of Omens puzzle. For other tips, you can visit our Remnant 2 walkthrough article.

