How does Armored Core 6 Assembly work? Completing missions in Armored Core 6 demands way more than pure skill, requiring an understanding of how and when they need to upgrade or modify their mechs. Considering the number of weapons and pieces available in the game on PS5, PS4, Xbox, and PC in order to succeed in your missions utilizing the Armored Core 6 Assembly system is key to finding the best tools for each situation.
In case you are not familiar with the Armored Core series, you should know it turns piloting mechs into a serious business, especially when it comes to equipping your machine with new parts. If you want to get up to snuff, then our rundown of every Armored Core game you should play before Armored Core 6 is a must-read. Even when playing Armored Core 6 multiplayer, having the right loadout with the best parts for your build is the secret to prevailing in battle as you progress through Armored Core 6.
Armored Core 6 Assembly and loadouts explained
Part of the traditional experience of an Armored Core game is the process of earning money to buy new parts for the mech. Armored Cores are extremely customizable, allowing players to change specific parts of the mech to create a singular and special loadout using the Assembly system. This can be focused more on damage, speed, defense, and so on.
The Garage, as it was known by long-time fans of the series, appears in Armored Core 6 as the Assembly menu. To indicate how fundamental the capacity of adapting the mech’s loadout is to face different challenges, the game allows players to access the Assembly menu and change parts during missions.
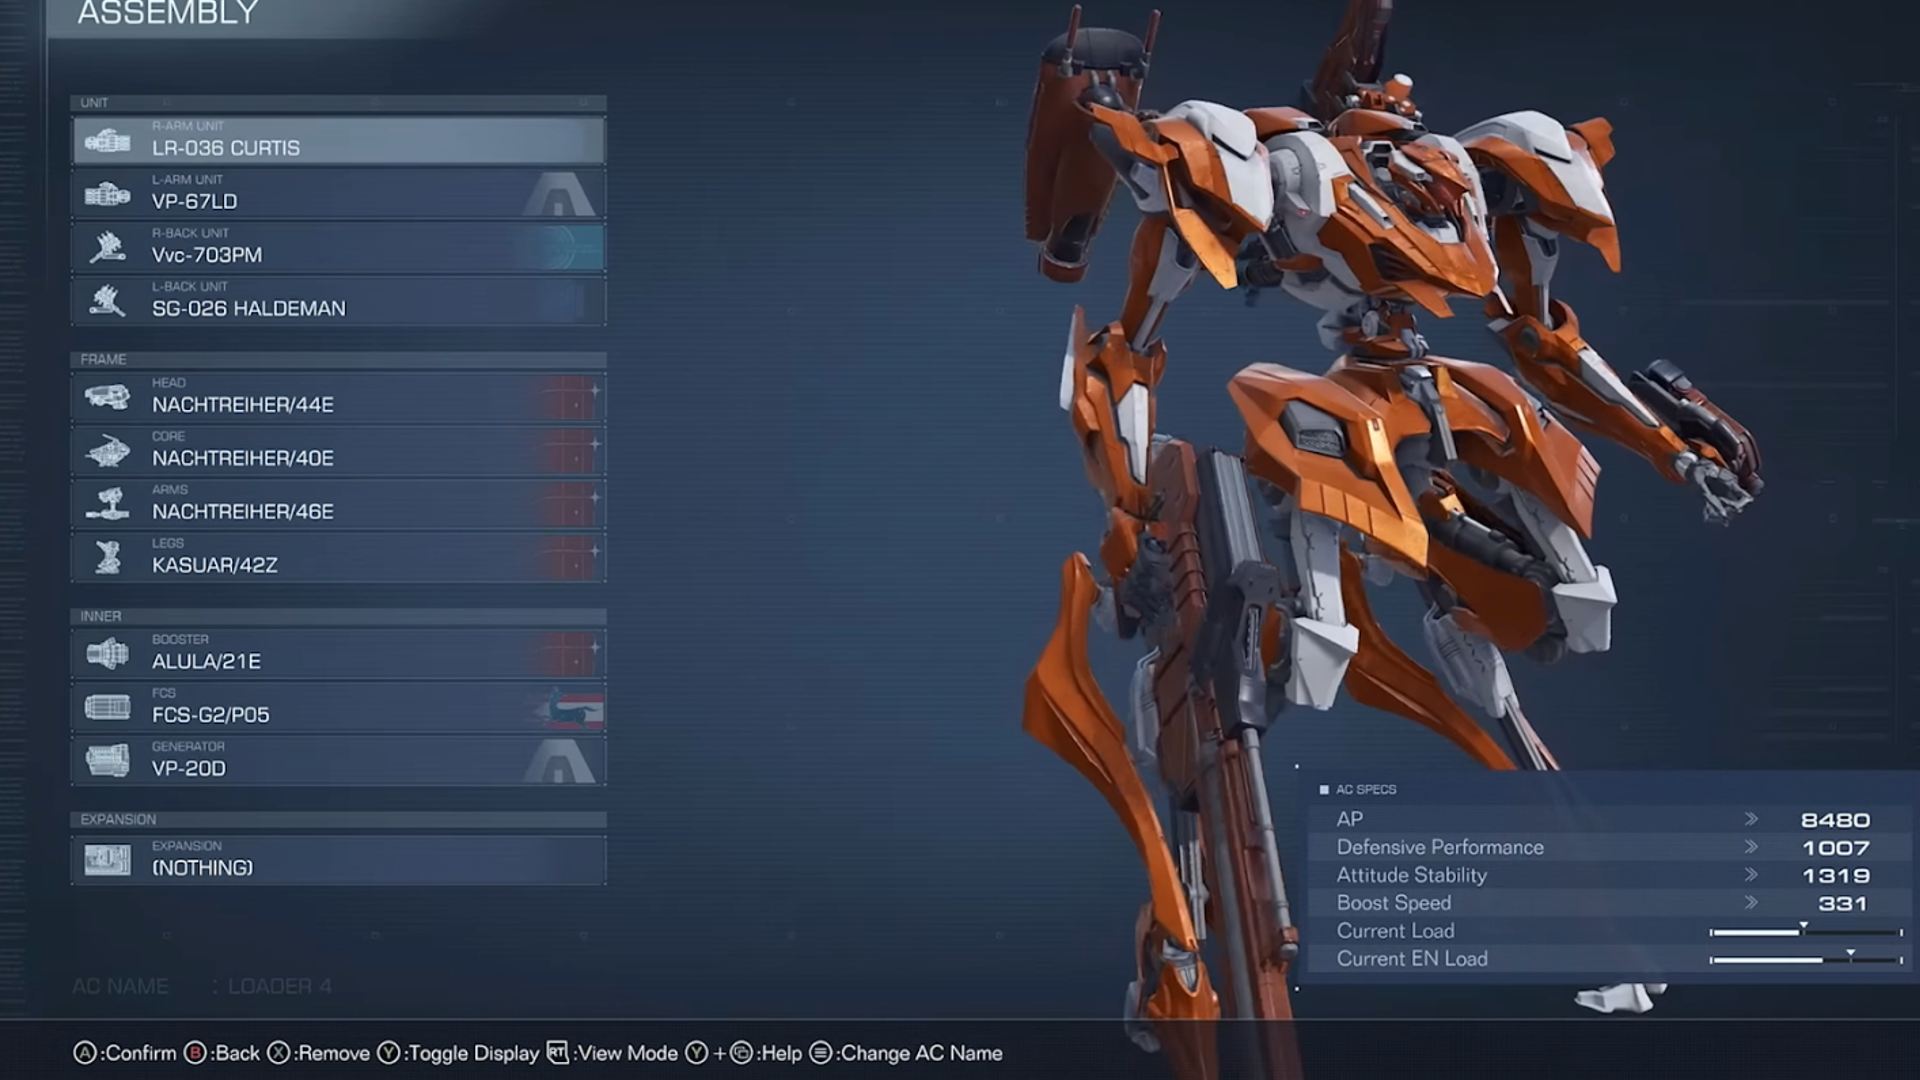
Based on the recent gameplay shared by FromSoftware, it’s possible to identify that the Armored Core is split into four segments: Units, Frame, Inner, and Expansion. You can see this for yourself from the five minute mark below.

There is a long list of items with different properties and attributes for each of these categories. The Assembly menu offers the possibility to not only expand an item’s attributes description, allowing a more in-depth look at each component, but to watch a demo of the item. This last feature makes players’ life easier when it comes to learning what a weapon does, for example, before entering a mission.
Units
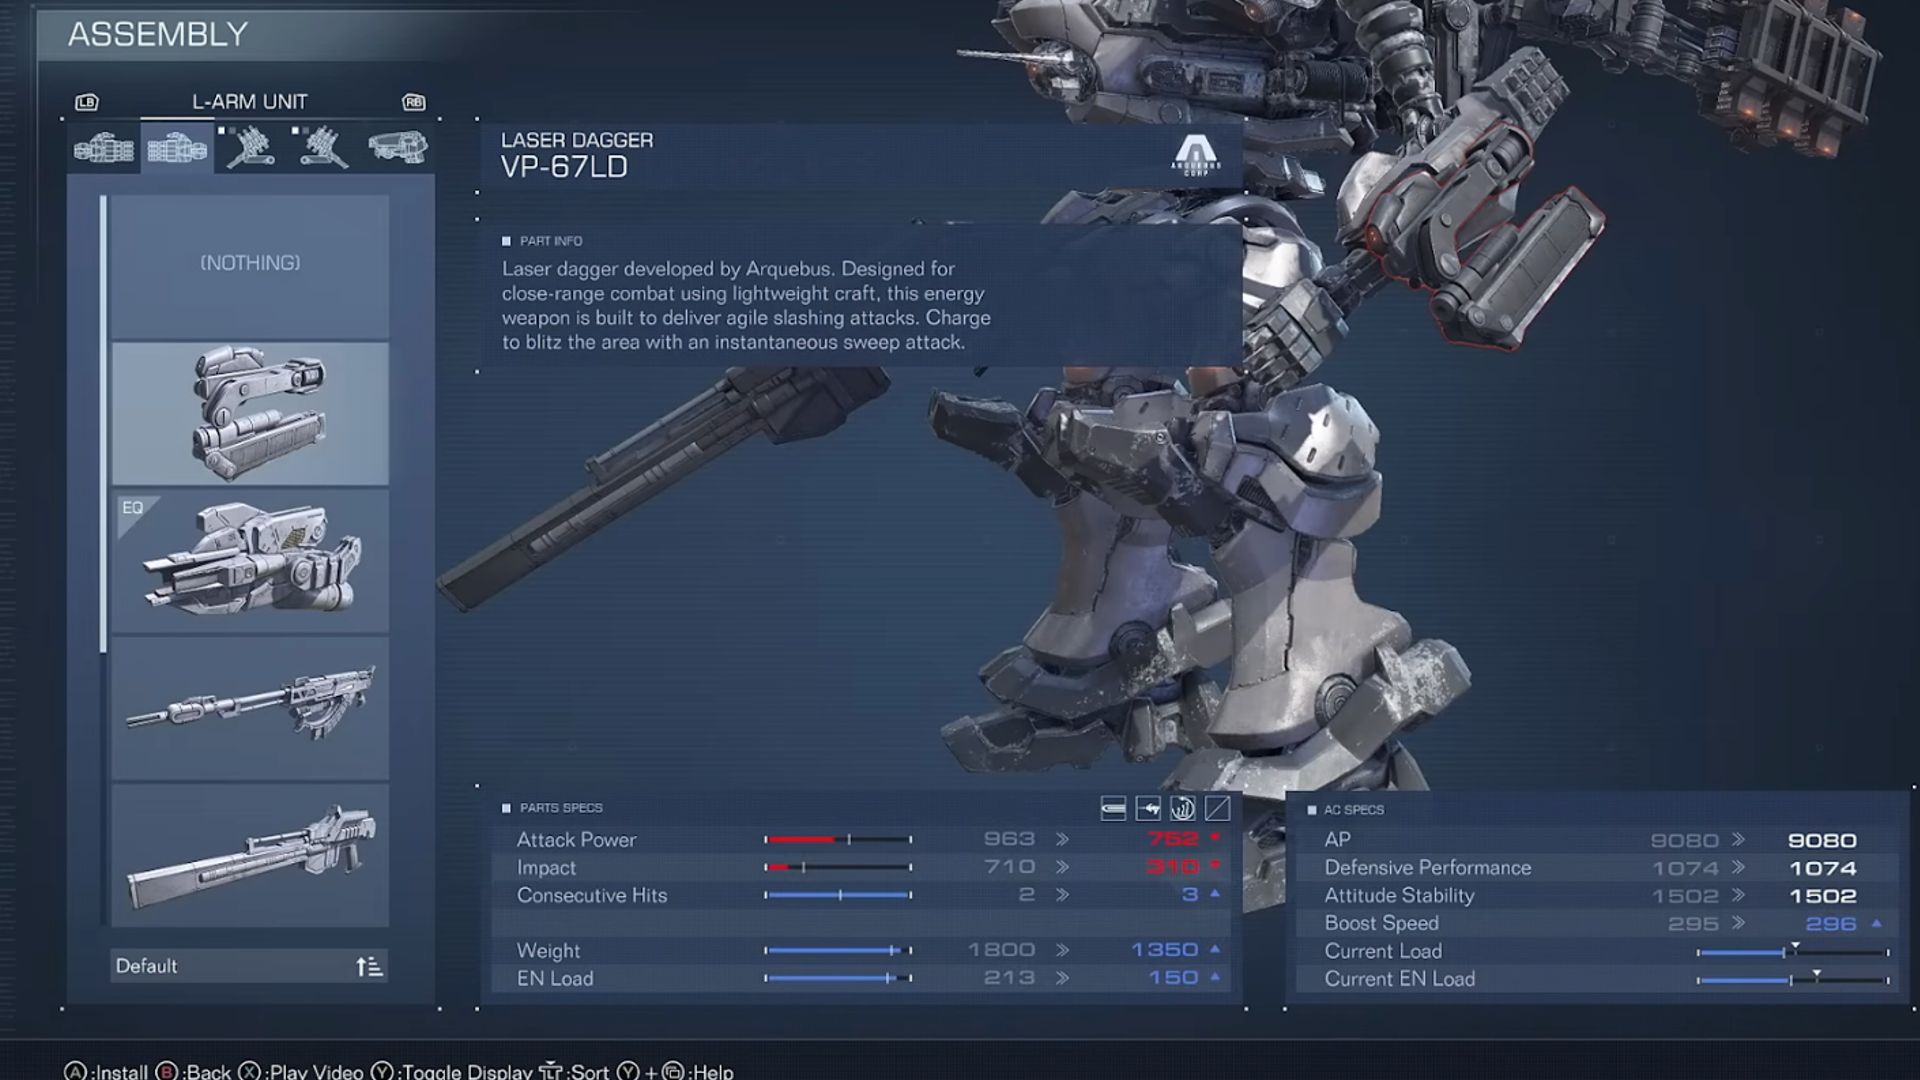
Units is the segment responsible for the player’s mech. There are four slots – R-Arm Unit, L-Arm Unit, R-Back Unit, and L-Back Unit – where players can equip different types of weapons, from energy weapons to cannons. Weapons in general have basic attributes such as attack power, weight, and EN load, for example.
At the same time, specific types have distinct attributes, such as “Consecutive Hits” for daggers and “Total Rounds” for missile launchers. One of the weapons showcased is the BML-G1/P20MLT-0 missile launcher. This is a good pick for a build focused on speed, while it also hits hard the enemy’s staggering bar.
Frame
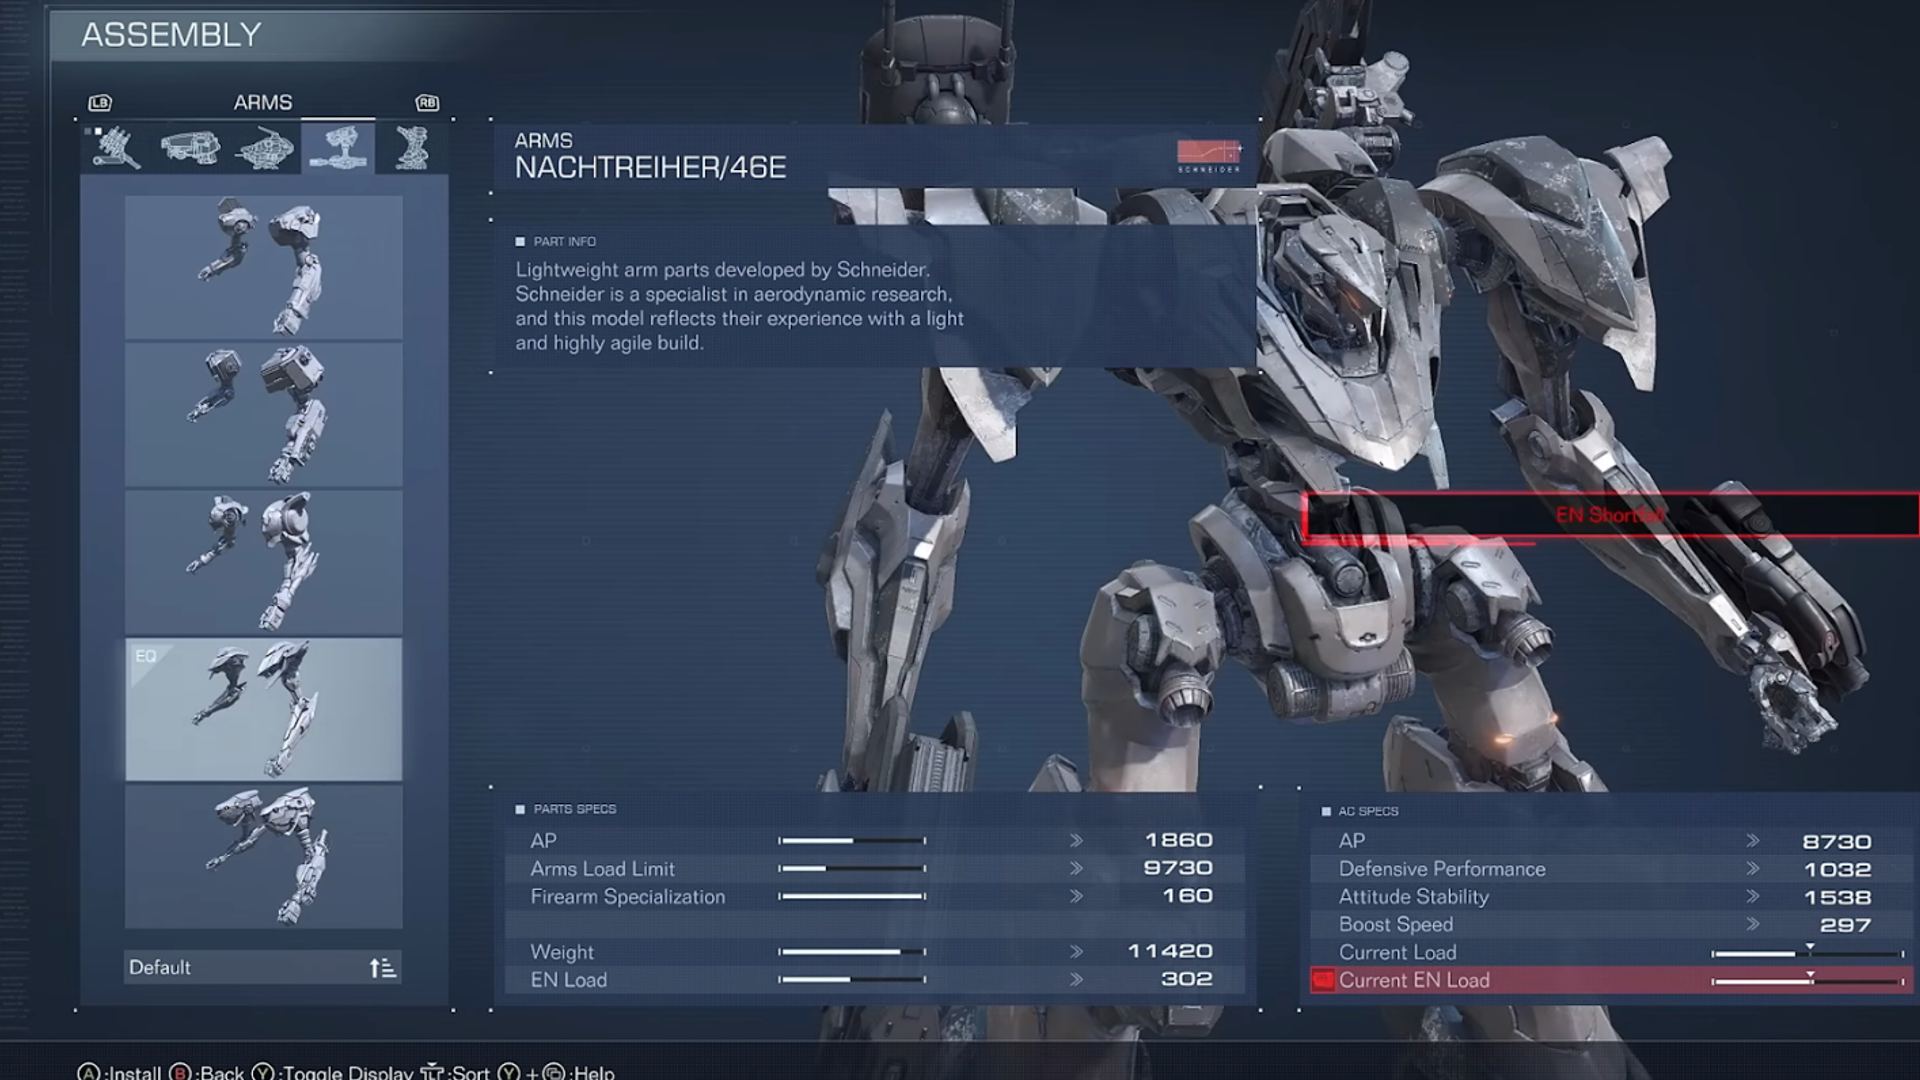
It’s in the Frame segment where we can change one of the four main parts of the mech’s body: head, core, arms, and legs. While these parts aren’t as flashy as the weapons in the Unit segment, they are the structure that makes builds possible due to some key attributes.
For example, arms have the “Arms Load Limit” attribute, which indicates how much weight they can carry, determining the weapons you can use. Legs have the “Attitude Stability” which probably affects the mech’s staggering bar. Frame parts are critical to making a building work, like using the Reverse Joint – KASUAR/42Z legs to have more mobility by costing you stability and defense.
Inner
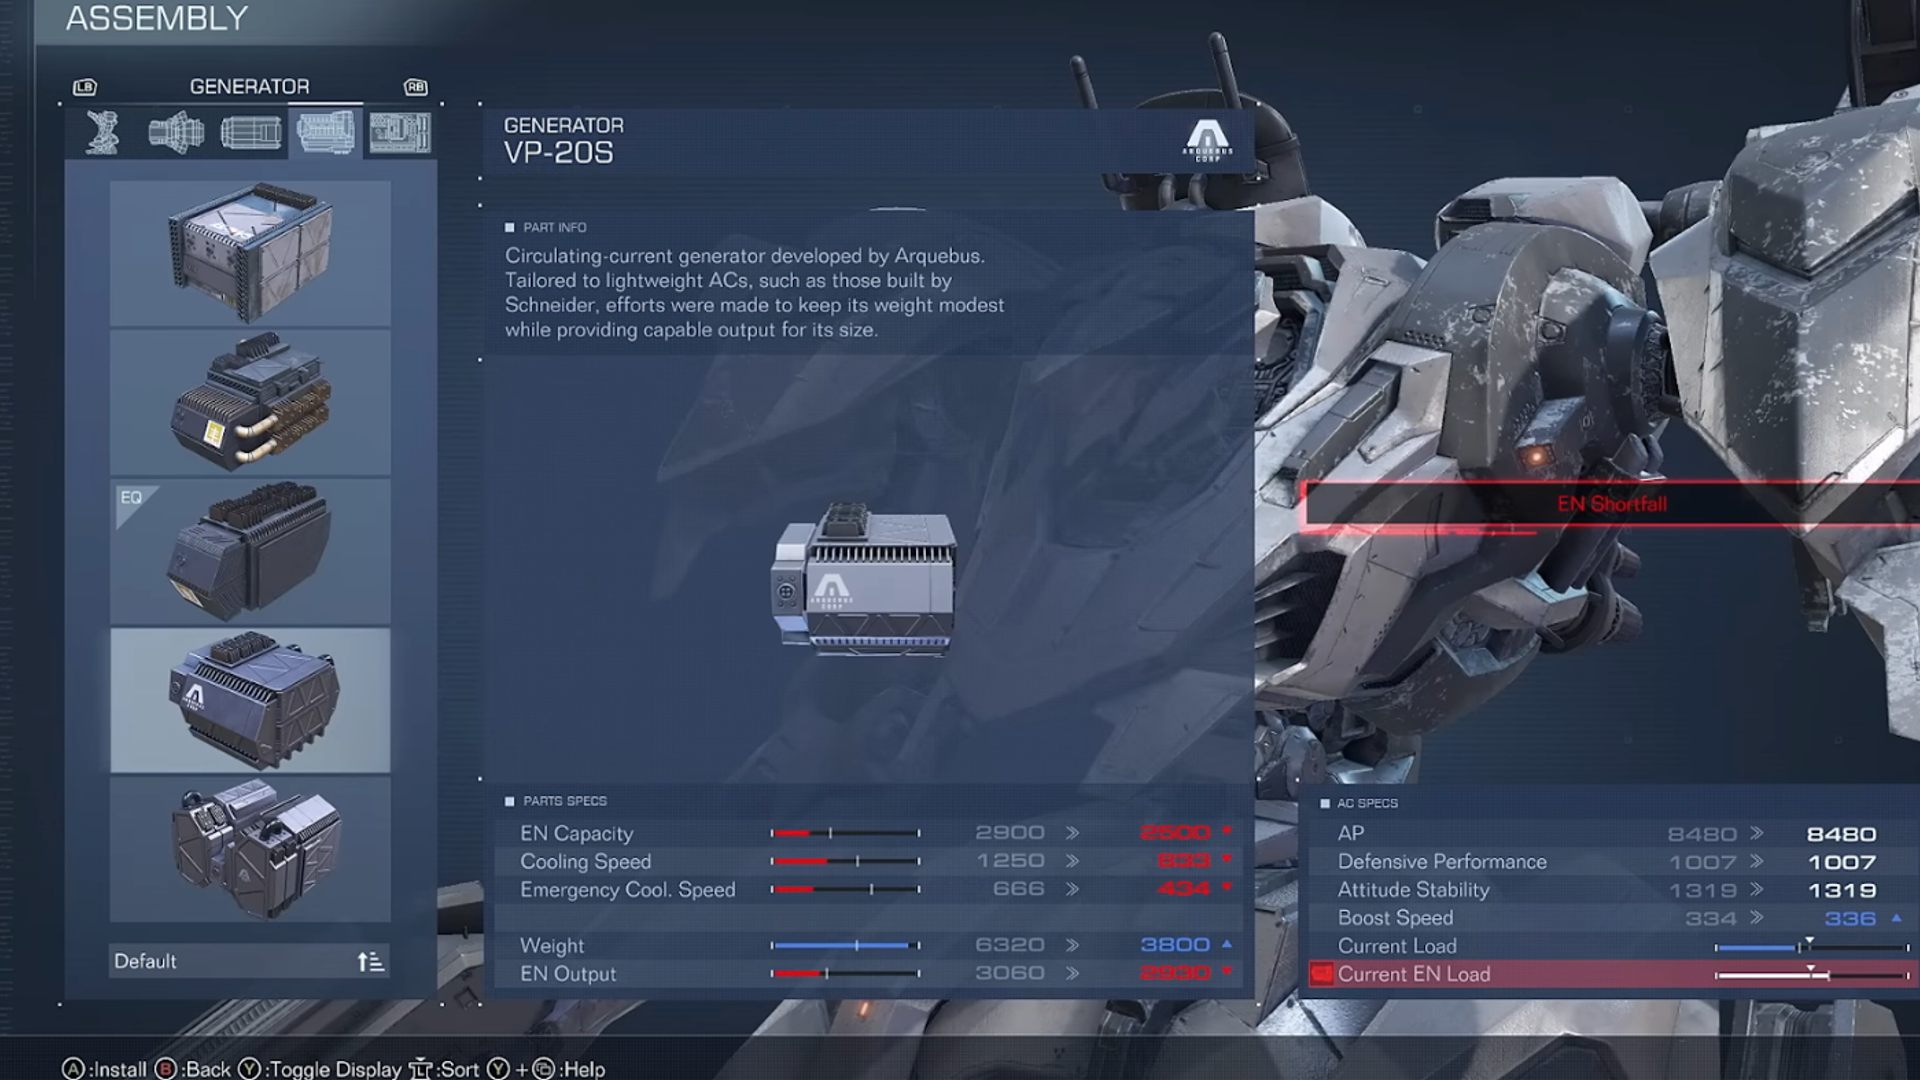
If we want our Armored Core to function properly, it needs more than just weapons and body parts. It needs the Inner parts, responsible for making the mech move as well as holding it together by producing enough energy required by each component.
In the Inner segment, players can change the Booster, the FCS – Fire Control System –, and the Generator. Different from other Armored Core titles, in Armored Core 6, you can equip only one kit of boosters, instead of having the possibility of choosing what type of booster they want in specific parts of the mech. On the other hand, the right generator is key to making a build work, since each generator has different values of EN Capacity – which indicates how much energy the mech has to use – and EN Output – which indicates if the generator produces enough energy for the parts the mech has equipped.
Expansion
While this segment is confirmed to be part of the mech’s structure, we haven’t seen any examples of what can be equipped as an Expansion part. There is some speculation, however, that, in this segment, players can equip items that add effects to other equipped parts. Even so, there is no confirmation regarding what the Expansion parts are yet until the Armored Core 6 release date in August.
Now that you have gone through the Armored Core 6 Assembly guide and learned more about each of the segments in a mech, you’re ready to think about possible builds you want to play in the game. But since the game is not out yet, you can check our list of the best games like Armored Core, to scratch the itch of piloting mechs. It’s not long now until launch day, pilot.
