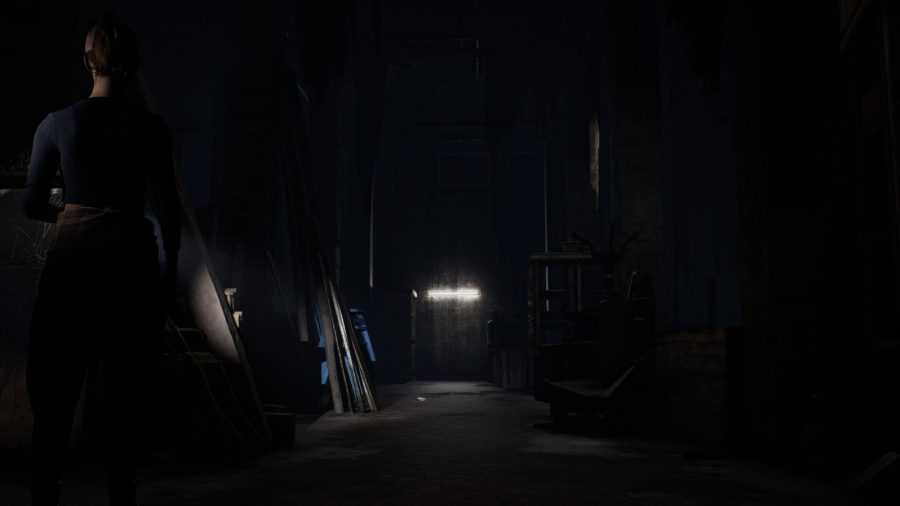
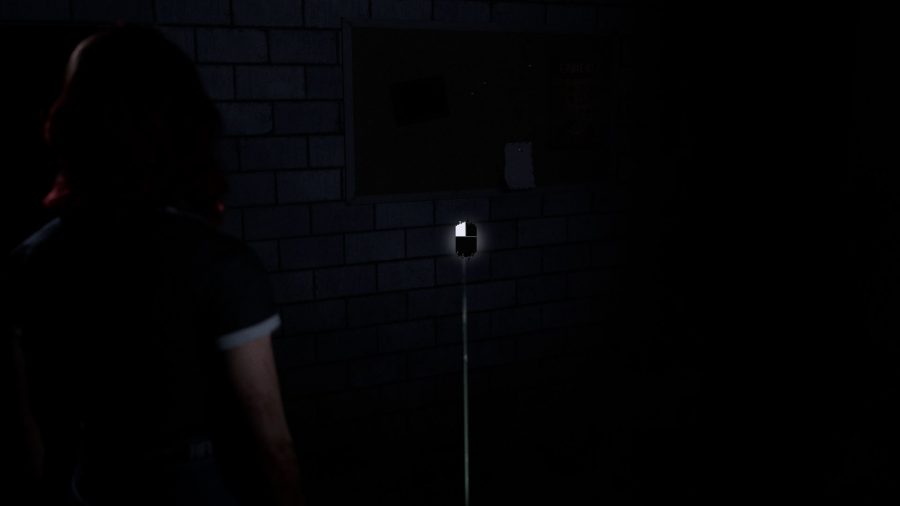
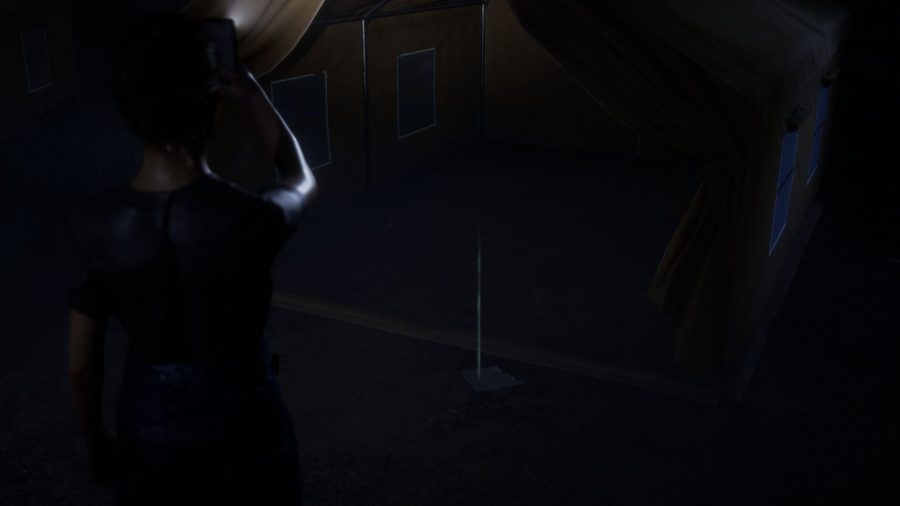
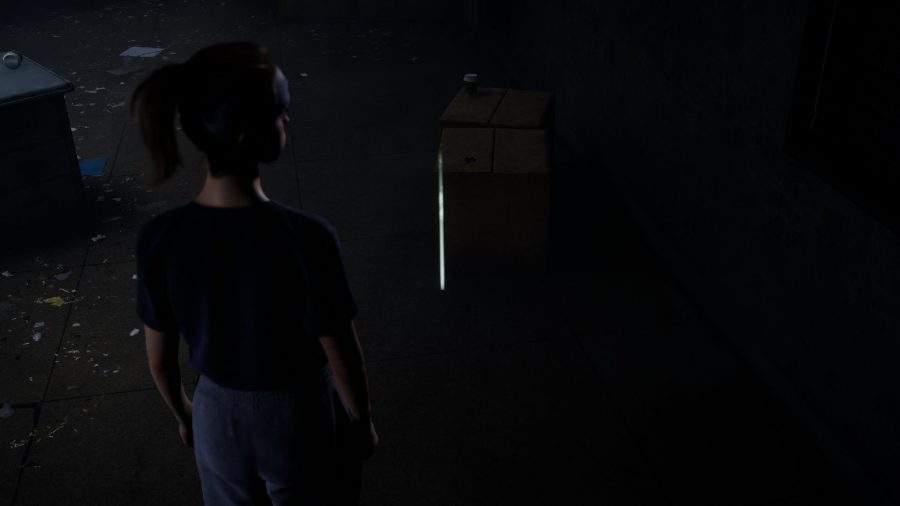
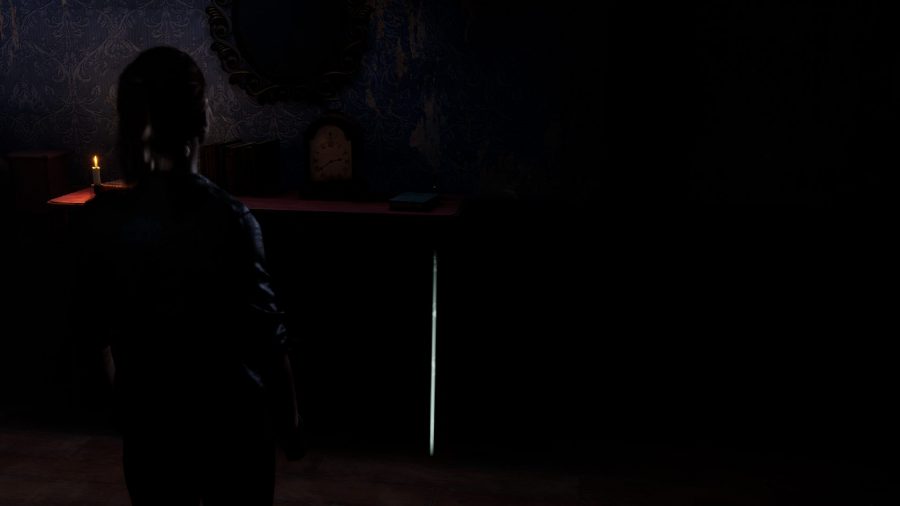
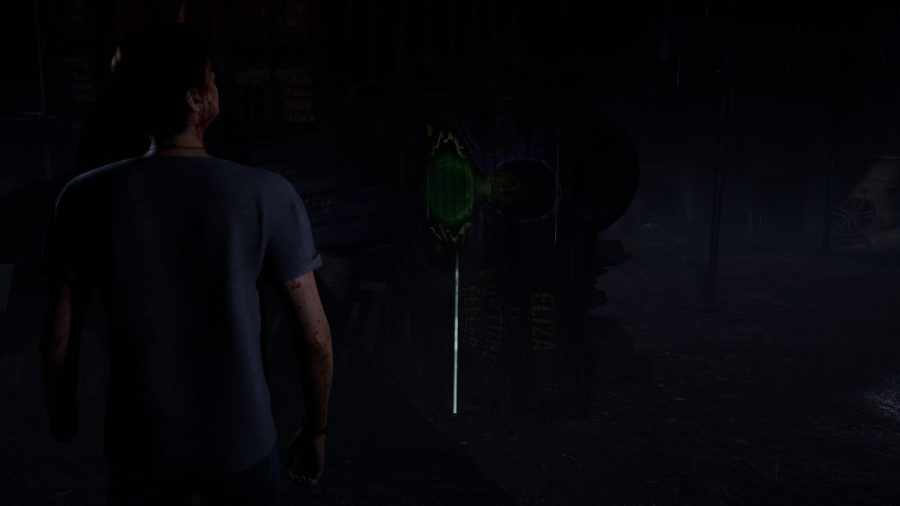
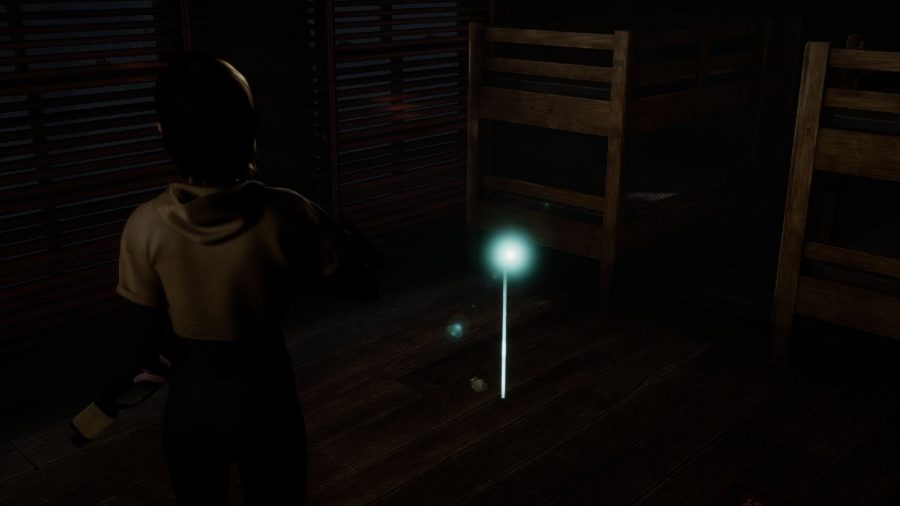
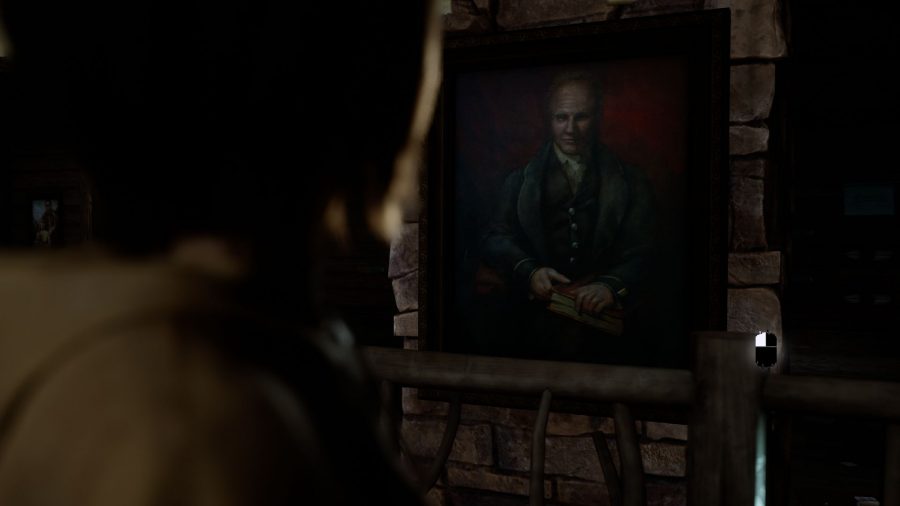
Clues are one of the main collectibles in The Quarry. With more than three dozen of them for you to find across the game’s chapter list, there are plenty of The Quarry clue locations for you to find while you are exploring the game’s locations around the camp.
Alongside each of the main clues, additional information for some of them can be found. This extra information is found when finding clues that are similar or reveal new information about one another. You can also naturally get some extra information by discovering more about the truth behind Hackett’s Quarry. This truth and additional information are all catalogued in the 15 paths that the game shows in the menu.
Below, you can find all those main clue locations in The Quarry, as well as where you can get the extra information for each one.
The Quarry Clue Locations
In The Quarry there are 40 clue locations scattered around Hackett’s Quarry for you to find. Some of these are easy to spot, however, a few of them are tucked away rather well.
- Prologue clue locations
- Chapter 1 clue locations
- Chapter 2 clue locations
- Chapter 3 clue locations
- Chapter 4 clue locations
- Chapter 5 clue locations
- Chapter 6 clue locations
- Chapter 7 clue locations
- Chapter 8 clue locations
- Chapter 9 clue locations
- Chapter 10 clue locations
Prologue Clue Locations
In the Prologue, there are just four clues to find.
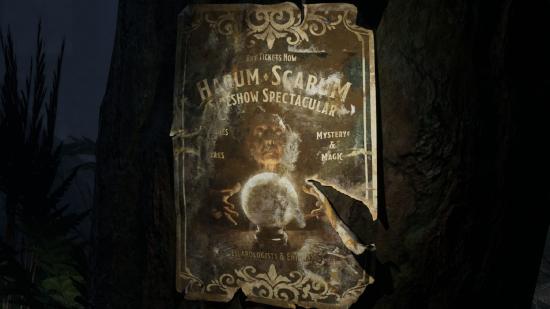
Harum Scarum Poster clue location
The first clue can be found after Laura jumps down to the lower path from where Max was fixing his car.
As you walk up the path, you will see a poster on a tree. Interact with it to pick it up. It is a part of the Freakshow Fire collection of clues.
Escapology Trunk clue location
Almost directly after the last clue, you will reach a small fork in the path. One goes up to a small dead-end, while another leads onwards.
Take the path up and open up the trunk to find the second Freakshow Fire clue.
Broken Cage clue location
Again, shortly after the last clue, you will reach another fork in the path ahead. Onwards, and then a short alcove within the trees to the right of where you walk into the area.
Take this path to the right to find a broken cage and the third of the Freakshow Fire clue collection.
Bloodied Collar clue location
When Max and Laura end up heading to Hackett’s Quarry in the prologue, you can head underneath the main lodge into a storm shelter.
Open the two doors to go inside and walk directly forward to find the Bloodied Collar in the centre of the room which is a part of the Camp History collection.
Chapter 1 clue locations
There are five clue locations in The Quarry chapter 1 to find.
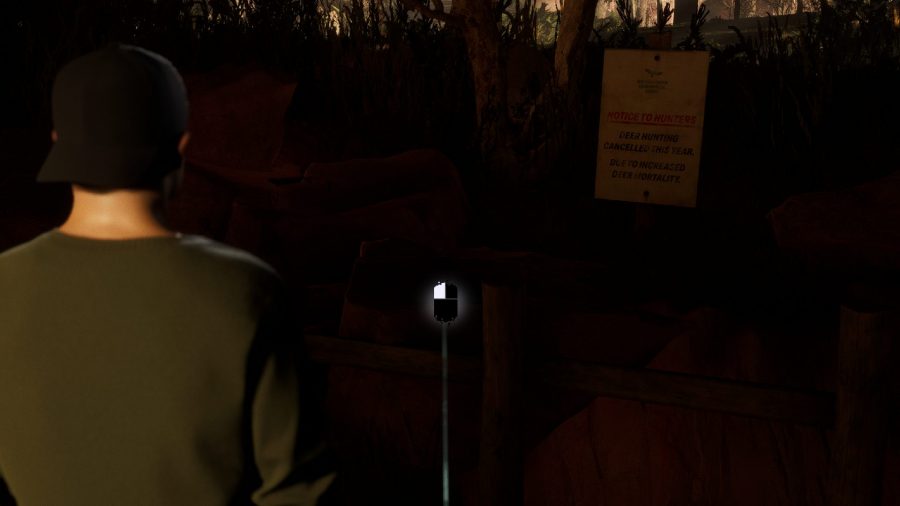
Hunting Notice clue location
The first clue can be found at the start of Chapter 1 when outside the lodge after talking with Kaitlyn.
Walk to the front of the cars to the side to find a sign for hunting just outside of the fence. It is the second of the Camp History clues.
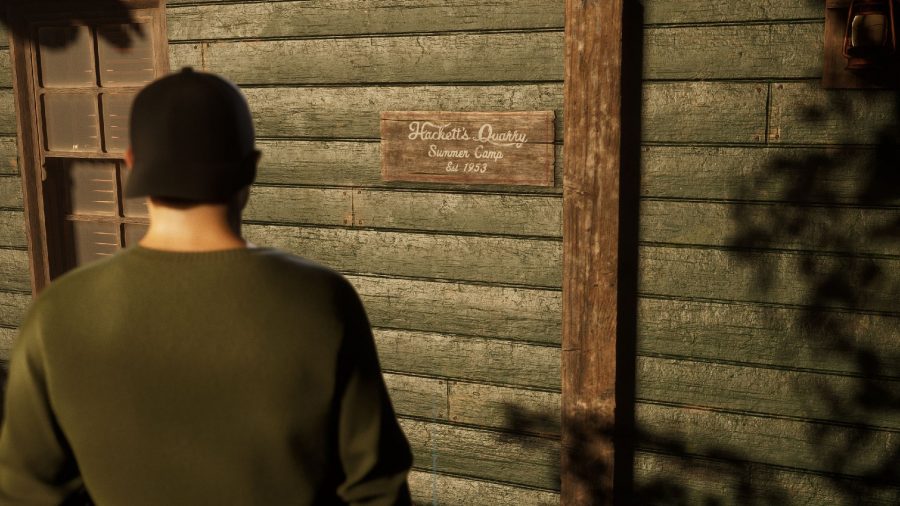
Camp Plaque clue location
The next clue location can be found just to the left of the door to the main lodge.
Interact with the plaque on the wall to get the clue, which is the third Camp History one.
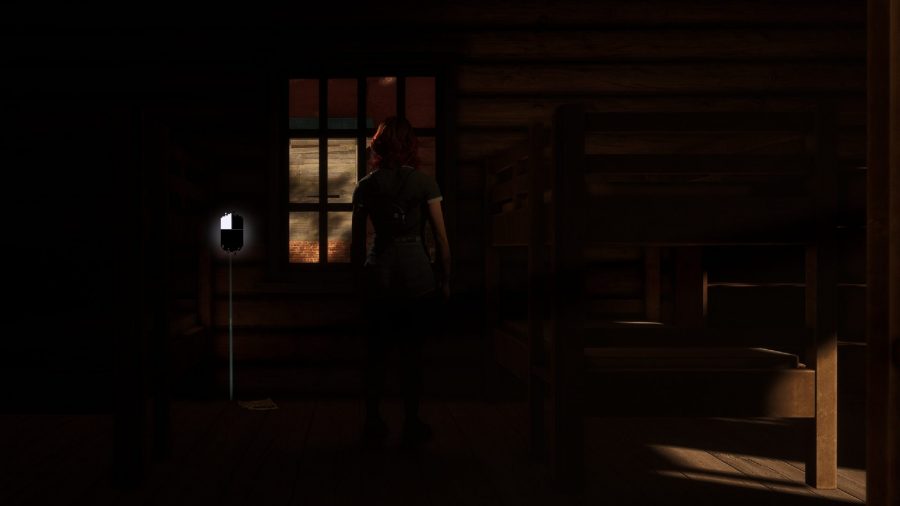
Newspaper Headline Scrap clue location
The following clue can be found when you gain control of Abigail and choose to go inside the cabin to find your bags with Emma.
If you do go inside, look in between the two bunks on the left to find the scrap on the floor, which is a part of the Freakshow Fire collection.
Camp Song Recording clue location
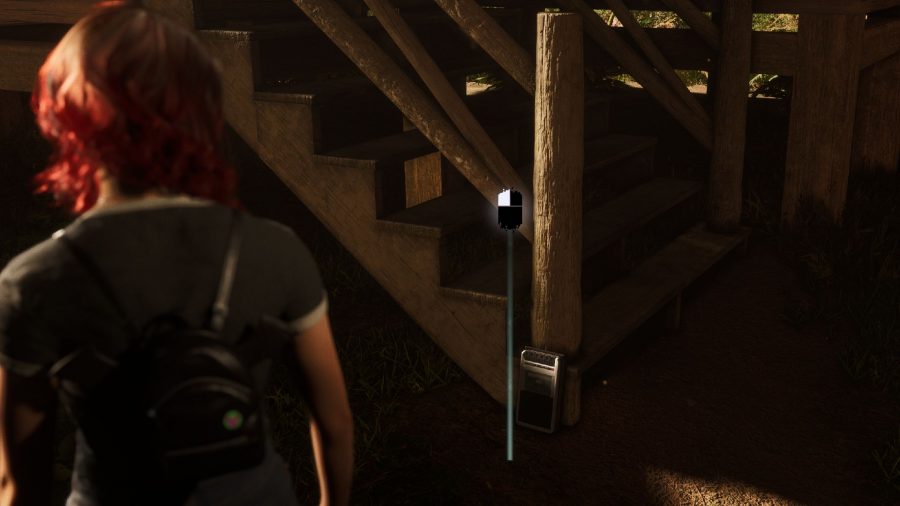
The next clue is found outside of the cabin. While still in the area, head to cabin room 08.
Look by the stairs leading up to the door to find a tape player, which is the fourth Camp History clue.
Information Signpost clue location
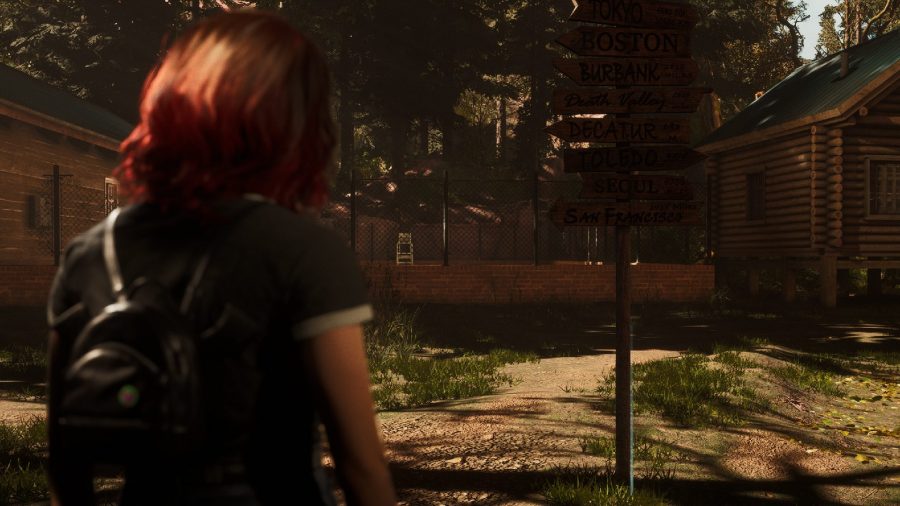
The next clue location can be found on the far side of the tree in the centre of the cabins.
Look for the information signpost pointing out how far a number of cities are and interact with it to get the fifth Camp History clue.
Chapter 2 Clue locations
There are six clue locations in chapter 2 of The Quarry.
Damaged Memorabilia clue location
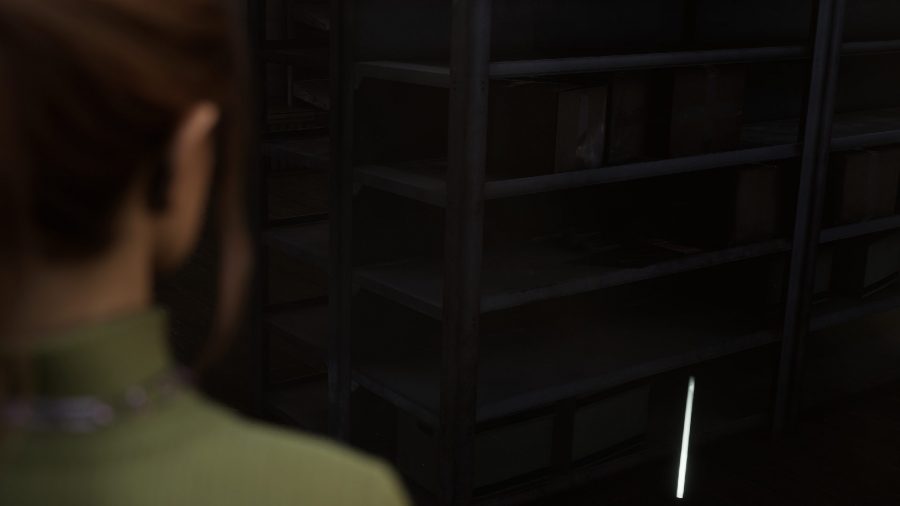
After Emma and Jacob head into the camp store, look on the set of shelves in the room and head to the back side of them.
The memorabilia for the Freakshow Fire collection can be found there.
Lodge Renovation Plans clue location
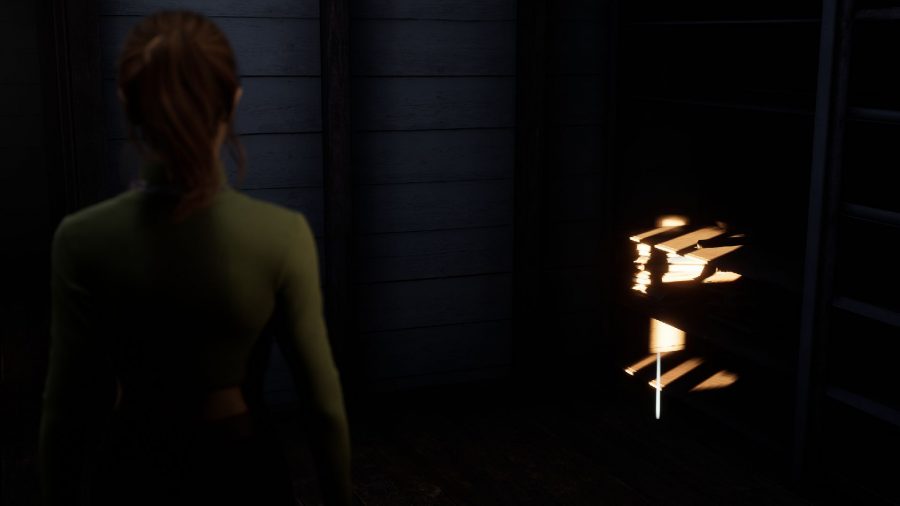
The next clue location can be found at the back of the camp storage room, on a shelf against the wall on the right.
Walk over to it and interact with the plans on the shelf to get another camp history clue, which is the sixth in the Camp History collection.
Family Photo clue location
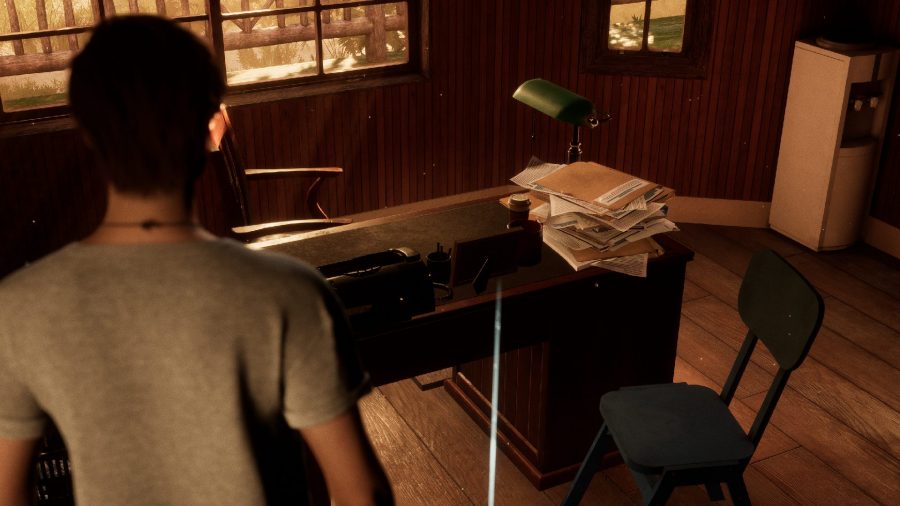
The following clue can be found when you take control of Dylan in Chris’ office.
Interact with the front of his desk to get the first Hackett History clue.
Counsellor’s Ledger clue location
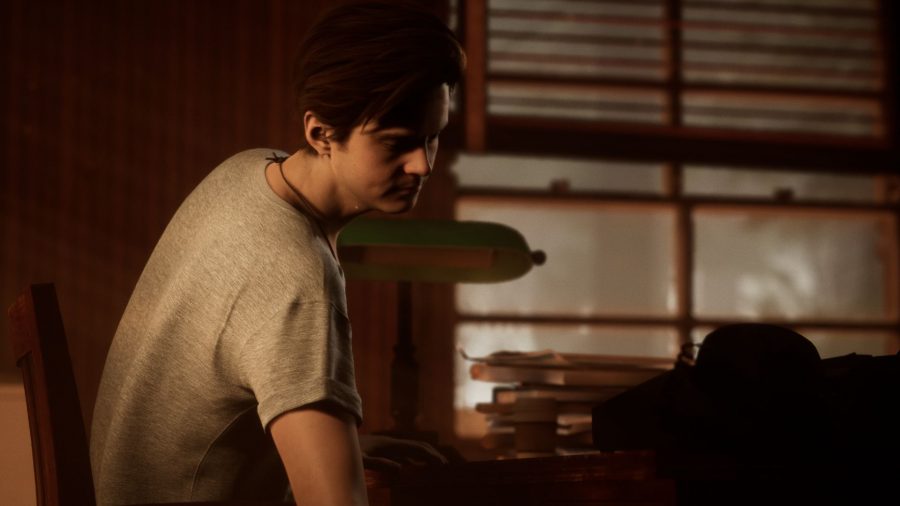
After heading down through the trapdoor and then climbing back up, Dylan will look through Chris’ drawers and find the ledger.
Inside this ledger, which is the seventh Camp History clue, it mentions Max and Laura who never showed up.
Trail Camera clue location
The next clue can be found if you choose to take the Shady Glade path with Abigail as Nick.
From where you start after choosing this path, head to the right edge of the woods, denoted by the path in the grass. There you can find a camera in a tree standing on its own at the very right edge.
Ranger Box clue location
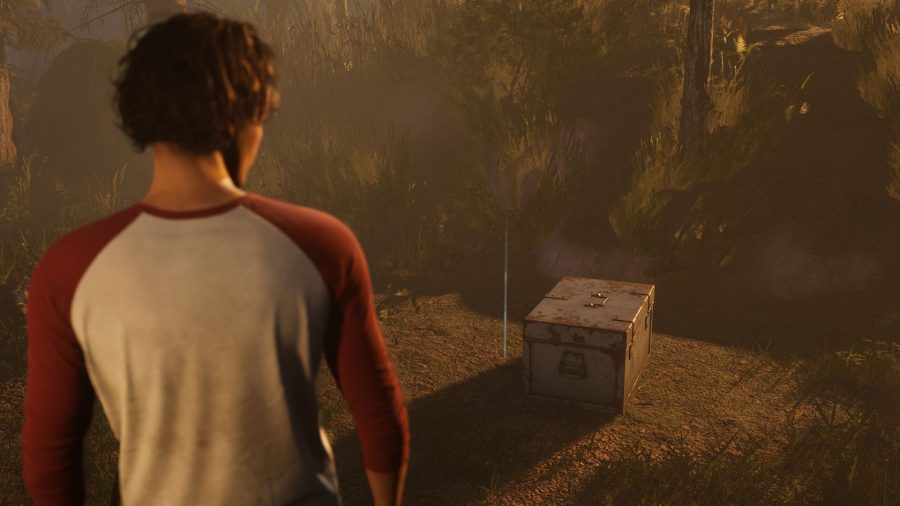
From that last clue, head to the back of the initial area you can explore.
Here there is a box, which is the second Hackett History clue.
Chapter 3 clue locations
There are three clue locations in The Quarry chapter 3.
North Kill Gazette clue location
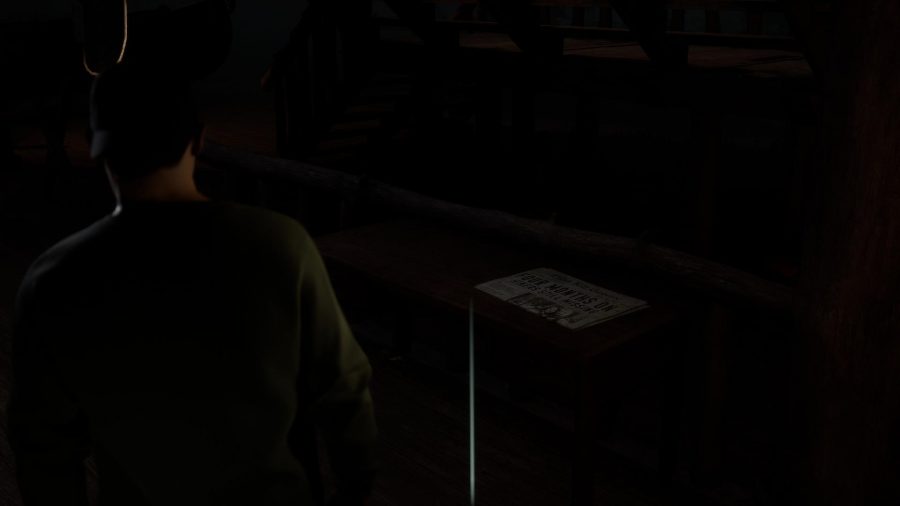
When at the boathouse as Jacob, you can find the newspaper on a wooden table on the lower floor.
It is in the centre of the building and the clue is the sixth Freakshow Fire clue.
No Swimming Sign clue location
The No Swimming Sign can be found on the lower floor as well opposite the above collectible.
You need to look out from the railing to face the lake and see the sign in the distance.
Old Camp Photo clue location
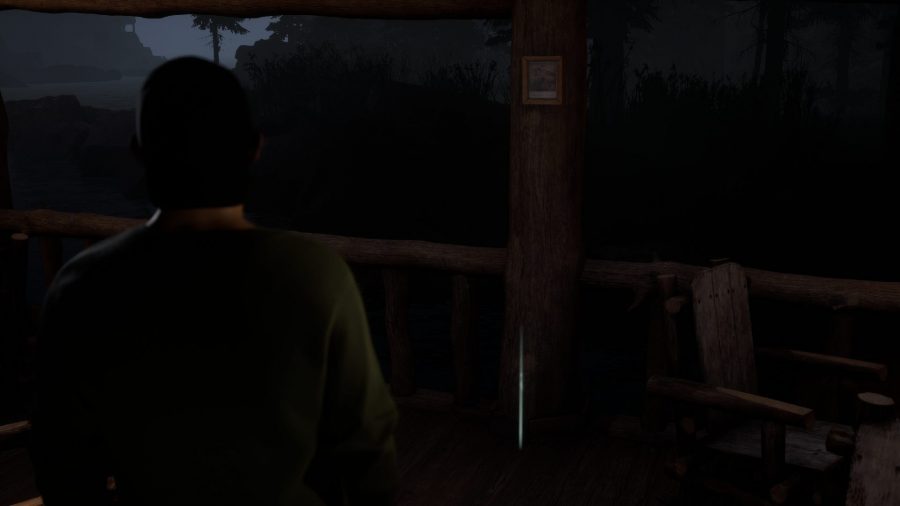
The Old Camp Photo can be found in the boathouse as well. It is on the lower level, on a pole at the far side of the boathouse.
Once you pick it up, you will get the fifth of the Hackett History clue collection. It also unlocks another bit of information for the third Hackett History clue.
Chapter 4 Clue Locations
There are two clue locations in The Quarry chapter 4.
Box of Matches clue location
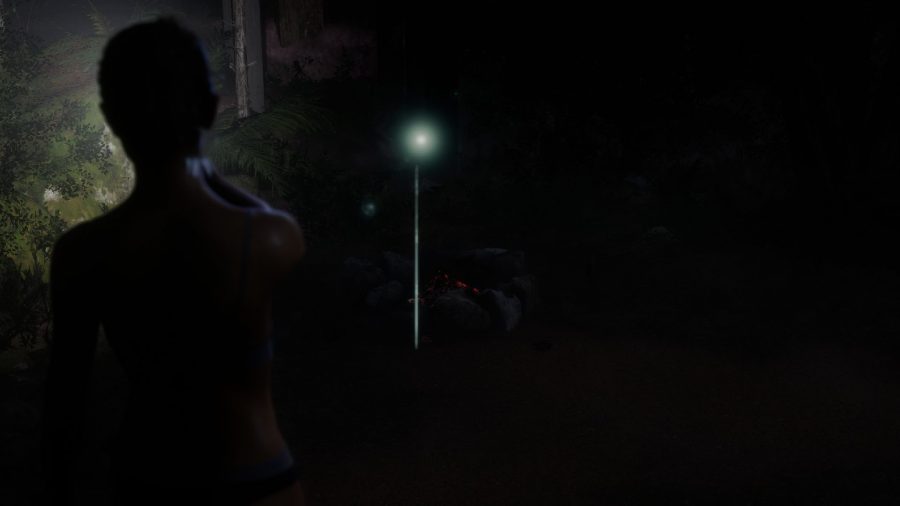
This clue can be found when you are controlling Emma on the island. If you choose to take the lower path, you will eventually come across a ladder leading upwards.
To the left, there is a fire, with the matches sitting by it. This is the seventh Hackett History clue. But, wait, do not go up the ladder ahead yet or you will miss the collectible below.
Police Car Keys clue location
From the above collectible, head back to the staircase and go up it.
At the top, you can find the hut. Before you go in, look against the window to the left and interact with it to get the sixth Hackett History clue.
CHAPTER 5 CLUE LOCATIONS
Preparation for Hackett History Clue #9
At the start of chapter 5 you will need to do a specific set of actions as Kaitlyn in order to get a later clue. Succeed with the first quicktime event moving the stick to the right. Fail the next one, not moving the stick to the left. The hunter will find Caitlyn on a staircase and throw a bottle. Fail the next one by not moving the stick to the left. Then the hunter will pick up a table. Shoot him as he is holding the table, spawning the clue.
There are two clue locations in The Quarry chapter 5.
Triggered Bear Trap clue location
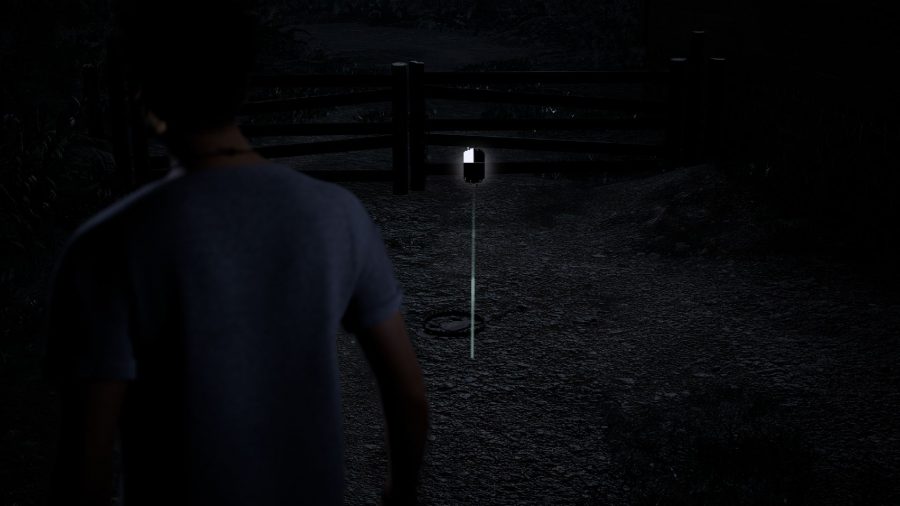
The first clue in chapter 5 can be found when Ryan and Dylan are walking to the radio tower. This is at the camp cabins, which is where you were much earlier in the game.
From where you enter the cabin section of the area, walk to the left of the large building with the pool. Here you can find a gate. Next to it is the clue which is a bear trap you can interact with. Doing so will get you the eighth Hackett History clue.
Letter To Camp Nurse clue location
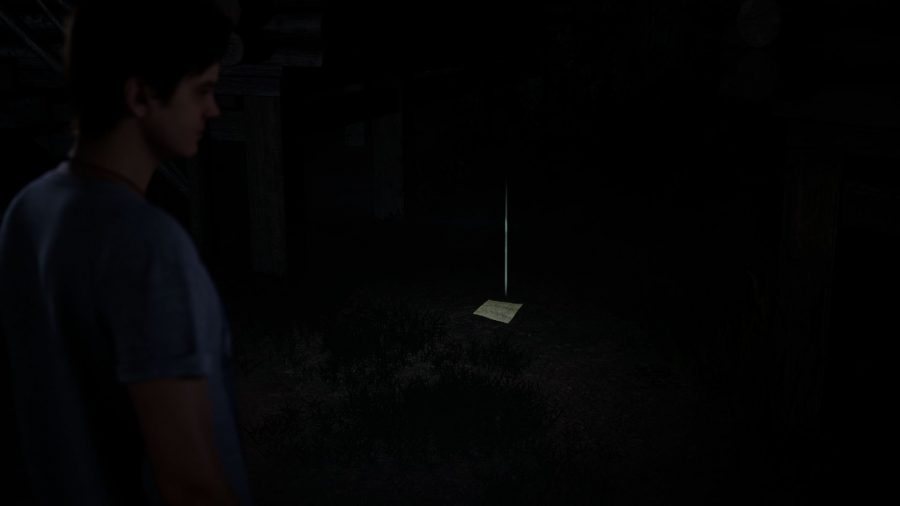
When at the cabins, look in between rooms 3 and 4 to find a note on the ground.
Pick up this note and read it to get the eighth Camp History clue.
Chapter 6 clue locations
There are three clue locations in The Quarry chapter 6.
Campers Photo clue location
When you are inside the pool house as Abigail, head over to the lockers at the back of the room. Next to them is a pinboard.
Interact with it to get the clue and the eleventh Camp History clue.
Spooky Drawing clue location
At the end of the pool house, you can find a locker. Interact with it to find a drawing inside.
Once you look at the drawing you will get the tenth Camp History collection clue. This one is missable as there is a hidden timer so be sure to grab it.
Kid’s Letter Home clue location
When controlling Emma, you will be back at the Firepit. Look by one of the yellow tents to find a note from a child.
Pick it up and read it to find the ninth clue in the Camp History collection.
Chapter 7 clue locations
There are three clues to be found in The Quarry chapter 7.
Scrawled Limerick clue location
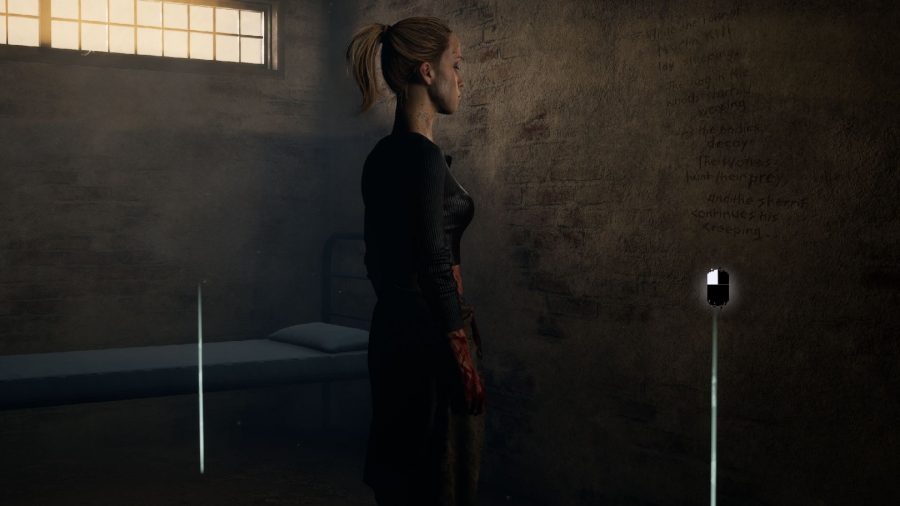
The Scrawled Limerick can be found when you are controlling Emma in the cell after Travis has taken Max to be interrogated.
It is on the wall of her cell. Once you have read it you will get the ninth Hackett History collection clue.
Charred Sheriff’s Badge clue location
Later on in the chapter, you will be able to freely walk around the police station. Head upstairs to an office, which is accessible through the second set of doors.
Here, on a box against the wall on the right, you can find the clue, which is the seventh in the Freakshow Fire collection.
Bizzare Yet Bonafide Podcast clue location
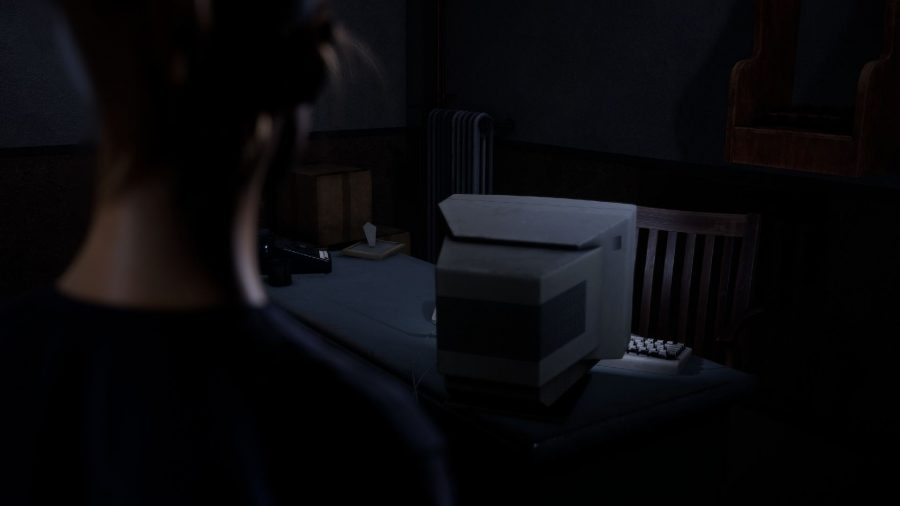
From there head downstairs and interact with the computer in the office in the far corner of the station. Lacking Travis’ password, head into the third room on the top floor. As you enter look behind you and at the calendar to see Travis’ birthday.
Then, on your way back, head into the room right next to the top of the stairs and interact with the birthday card to see Travis’ age. This allows you to get the password for the computer and listen to the podcast, which is the tenth Hackett History clue.
Chapter 8 clue locations
There are three clues to be found in chapter 8 of The Quarry.
Miner’s Lunchbox clue location
After Ryan and Laura drop down into the old tunnels, you will be able to walk around the rock, instead of going up the stairs.
Behind a rock, you can find the Miner’s Lunchbox clue. This is the twelfth Hackett History collection clue.
Old Quarry Tools clue location
Back at the staircase leading upwards, you can find a set of tools to the left of them.
Interact with them to get the eleventh clue in the Hackett History collection.
Rum Still clue location
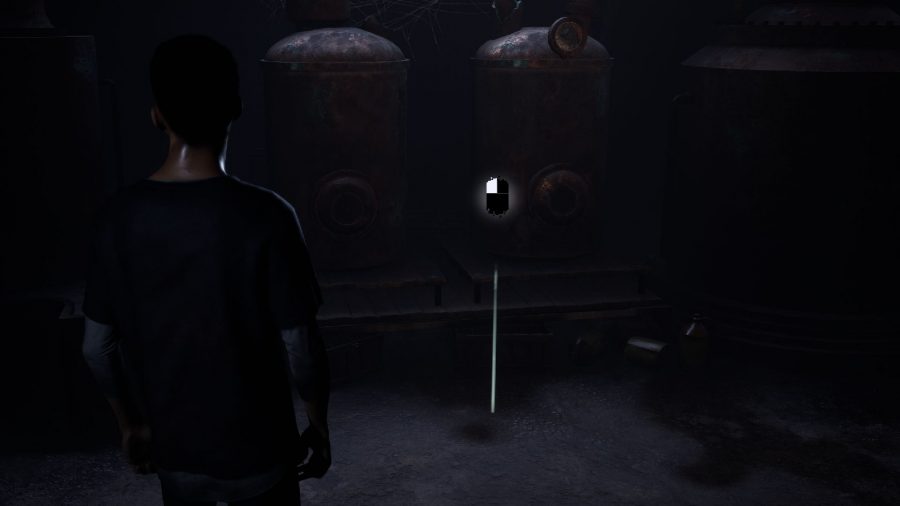
The Rum Still clue location can be found when you are in the Hackett House and are controlling Ryan. From where you first gain control of him, turn to your left and head through the door. In here, look against the left wall to see the stills.
Interact with them to get the thirteenth Hackett History clue.
Chapter 9 Clue Locations
There are four clues in chapter 9 of The Quarry.
Hunting Trophy Wall clue location
The first clue can be found when you play as Laura and if you decide to run instead of hiding. Once you reach the room with the staircase, you can find a trophy on the wall.
Interact the trophy on the wall to get the fifteenth Hackett History clue.
Hackett Family Tree clue location
In the same section with Laura head upstairs and go straight on to enter an office.
Check the left corner to find the family tree by a small chair to get the sixteenth Hackett History clue.
Scrapyard Note clue location
When at the scrapyard with Dylan, enter the garage and head upstairs to find a note.
The note is on the desk up here and is the fourteenth Hackett History clue.
Discarded Signage clue location
The Discarded Signage clue location can be found later on when you control Dylan in the scrapyard. After you climb up some stairs and walk along some shipping containers you will climb down one of two sets of stairs. Turn to your right if you went down the stairs to the left or to your left if you went down the stairs ahead of you.
Here you can find a sign discarded and resting against the containers and tyres. This is the eighth Freakshow Fire clue.
Chapter 10 Clue Locations
There are five clue locations in Chapter 10 of The Quarry.
Camp Letter clue location
The Camp Letter clue location can be found once you Kaitlyn or Dylan is exploring the lodge. Head up the first set of stairs and take a left.
Enter the room next to the small staircase in the open space on the upper floor to find the letter in the middle of the ground surrounded by beds. It is the twelfth and final Camp History clue.
Ancestral Portrait clue location
On the first floor of the lodge, head across the balcony to find a portrait you can interact with in the middle above the fireplace.
This is the nineteenth clue in the Hacket History collection. Don’t prepare for an attack yet, we still have some exploring to do.
Ticket Stub clue location
If you completed the correct quicktime events in chapter 5, as detailed here. The collectible is right by the ancestral portrait.
Look on the ground at the railing corner to see it and pick up the ninth Freakshow Fire clue.
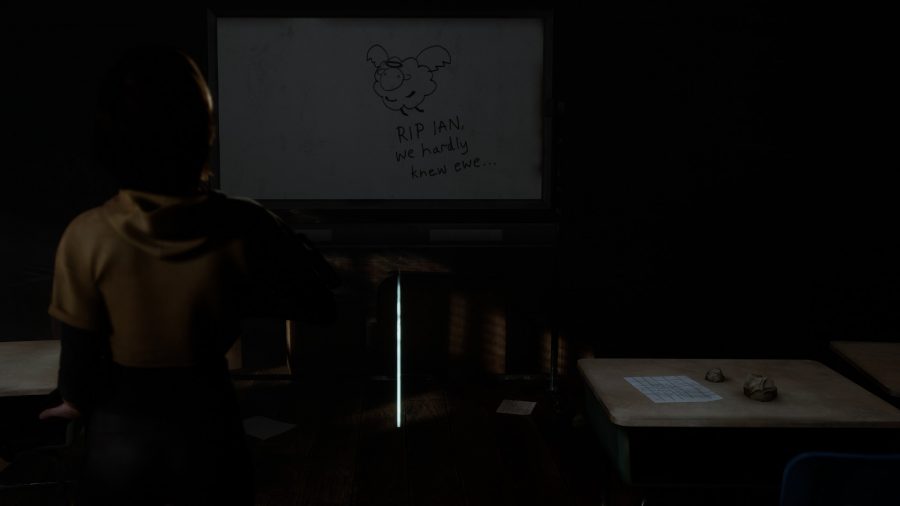
Chalkboard Doodle clue location
Continue past the portrait and enter the first classroom on the other side of the floor. From there, continue into the second classroom.
Interact with the chalkboard to find the seventeenth Hackett History clue.
The second part of this clue will then be unlocked if you have also found the Bloodied Collar and completed chapter nine past where Chris attacks you.
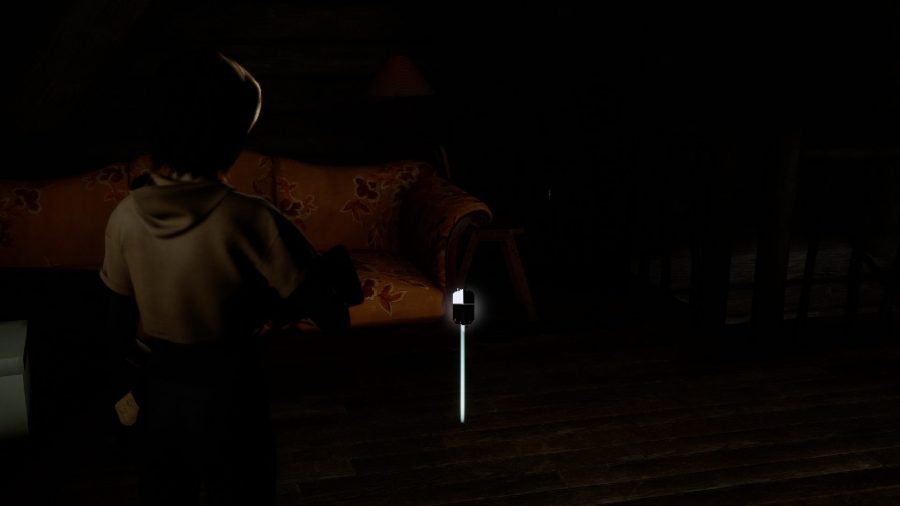
Inscribed Jewelry clue location
From there, head up the staircase just outside the classroom mentioned in the last clue. Look against the sofa to find the ring on the ground.
Pick the ring up to get the eighteenth Hackett History clue in the collection.
That covers the main clue locations in The Quarry. For more on the game, be sure to check out our other guides, including the Tarot locations and evidence locations in the game.
