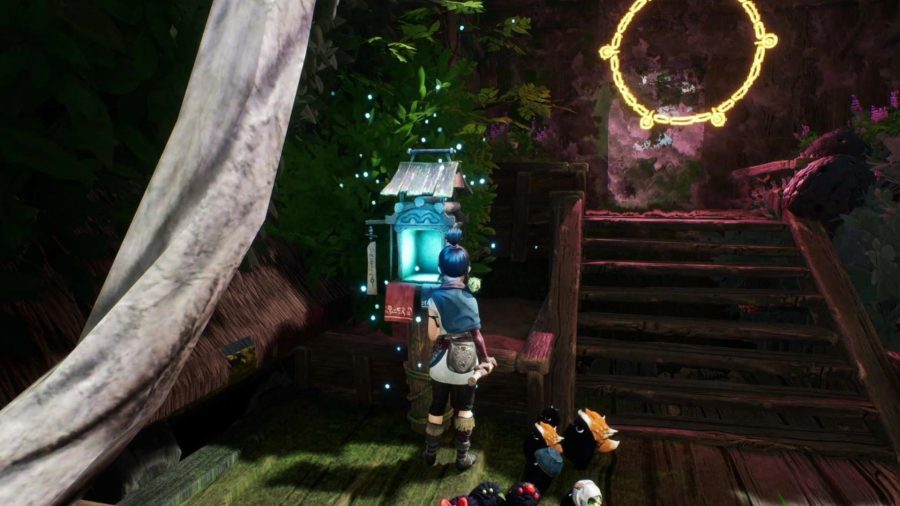
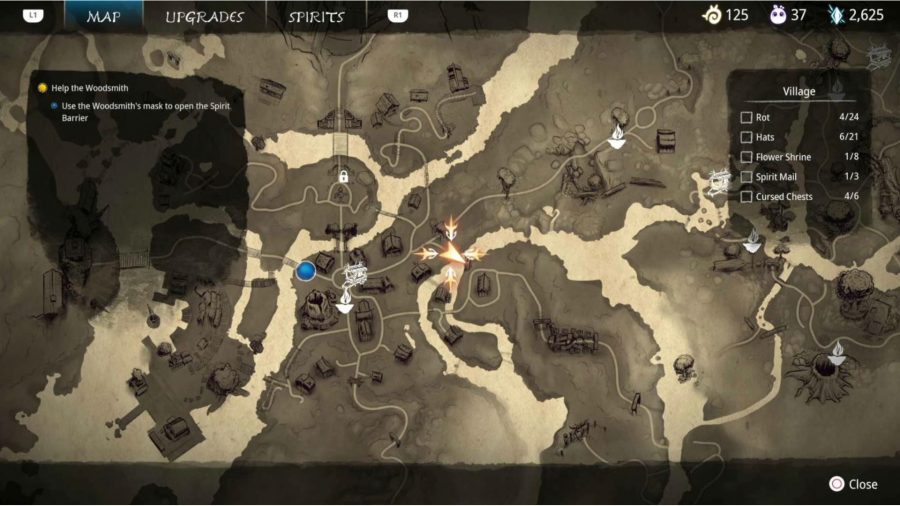
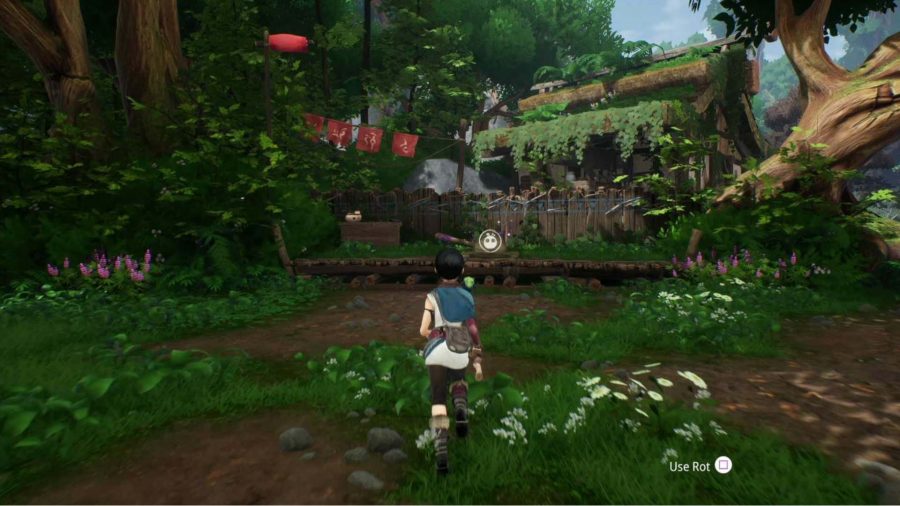
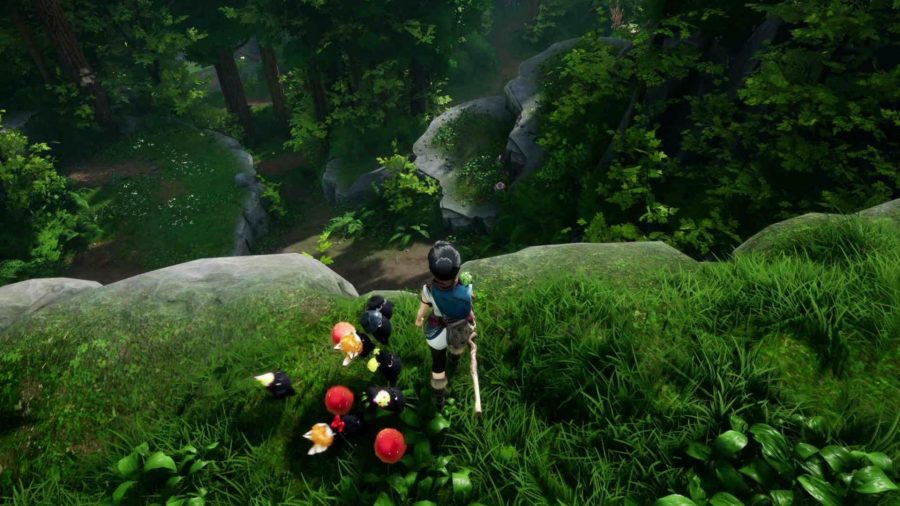
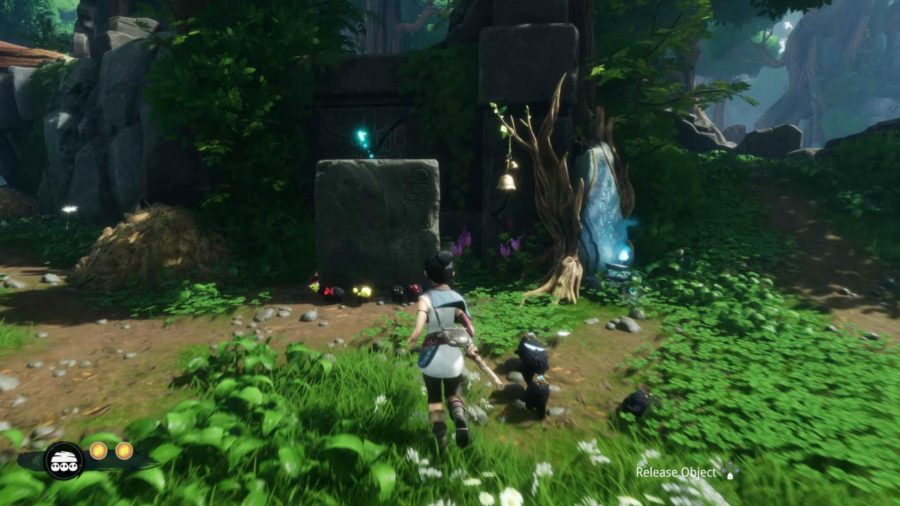
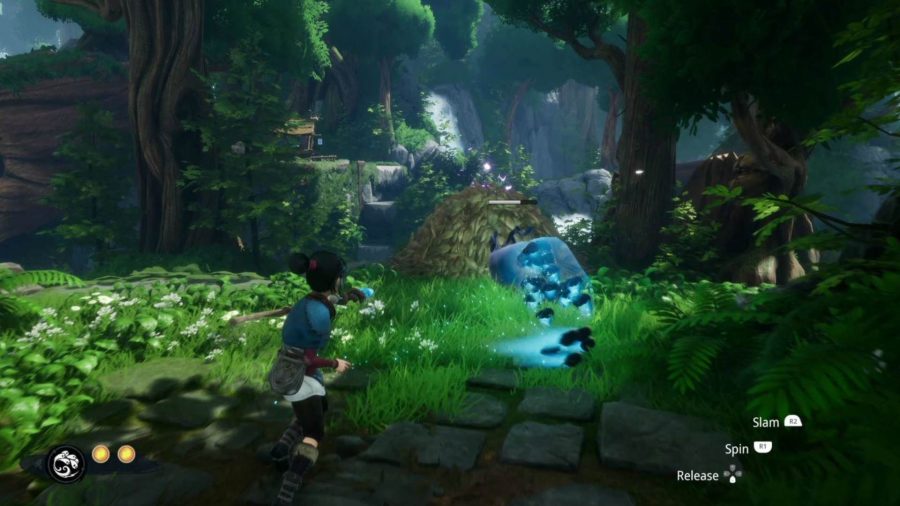
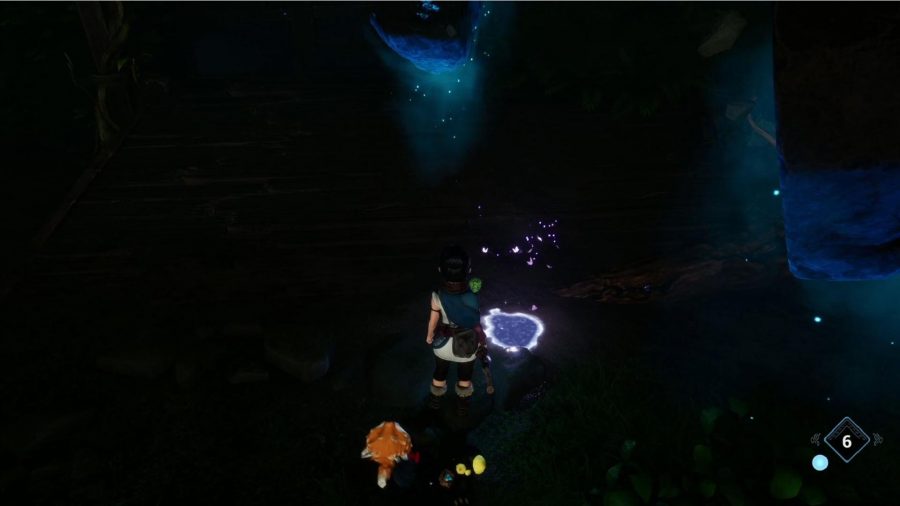
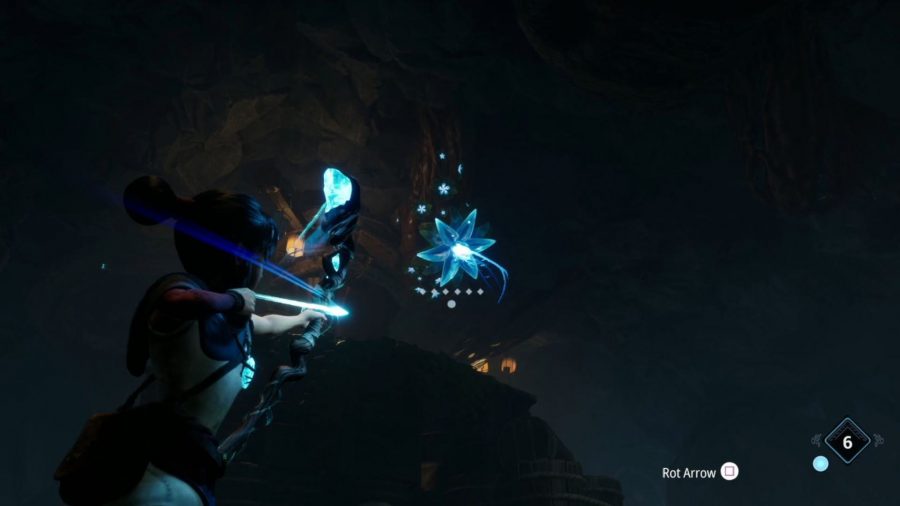
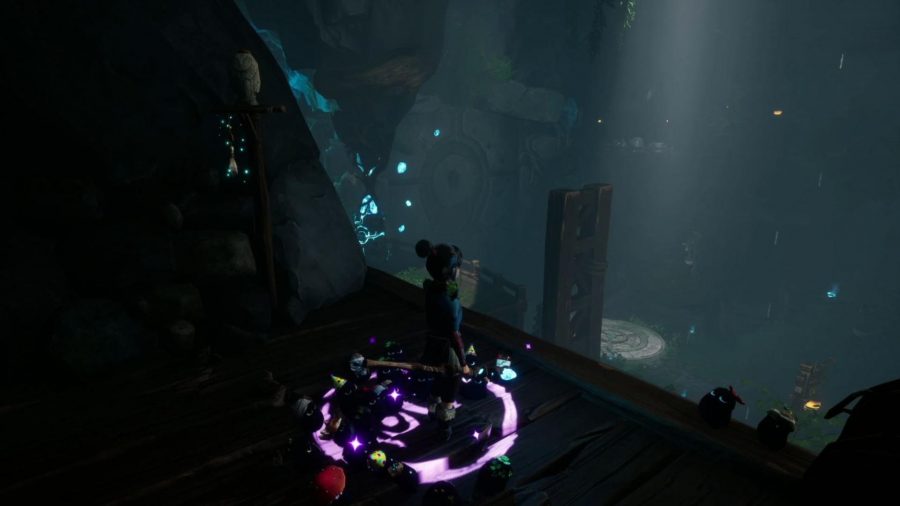
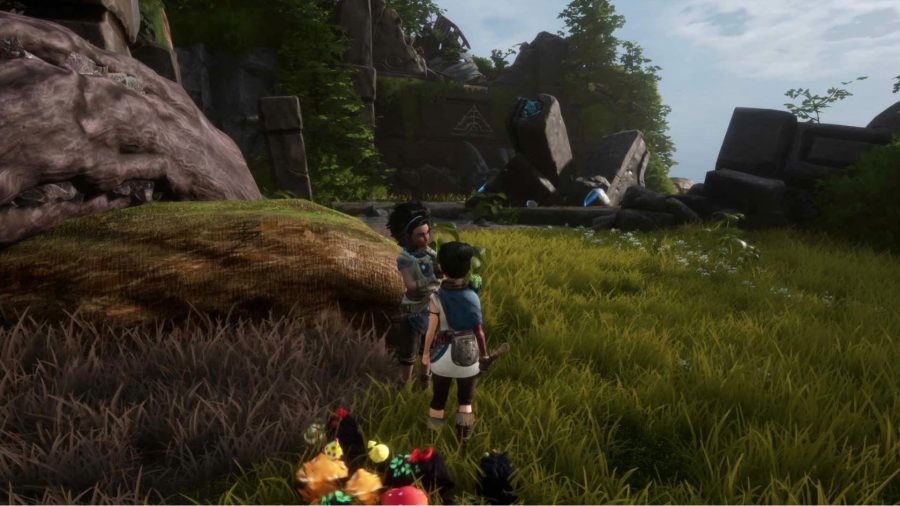
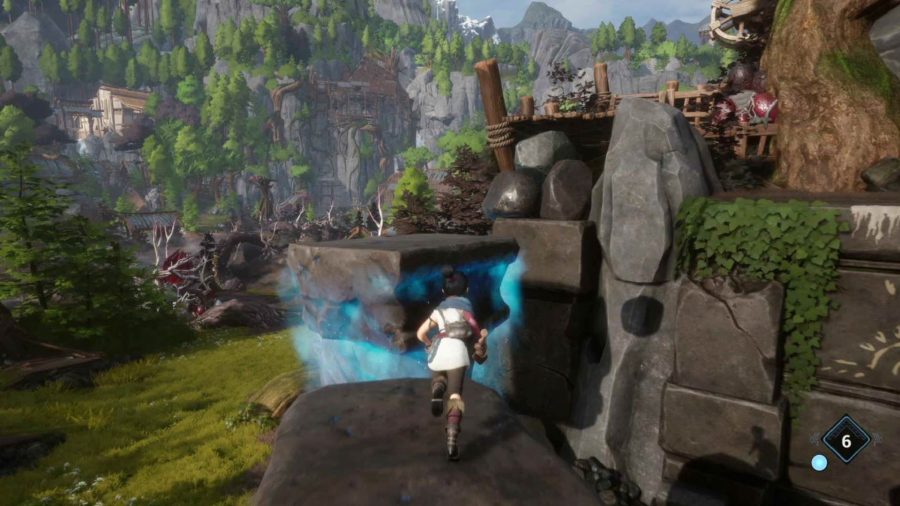
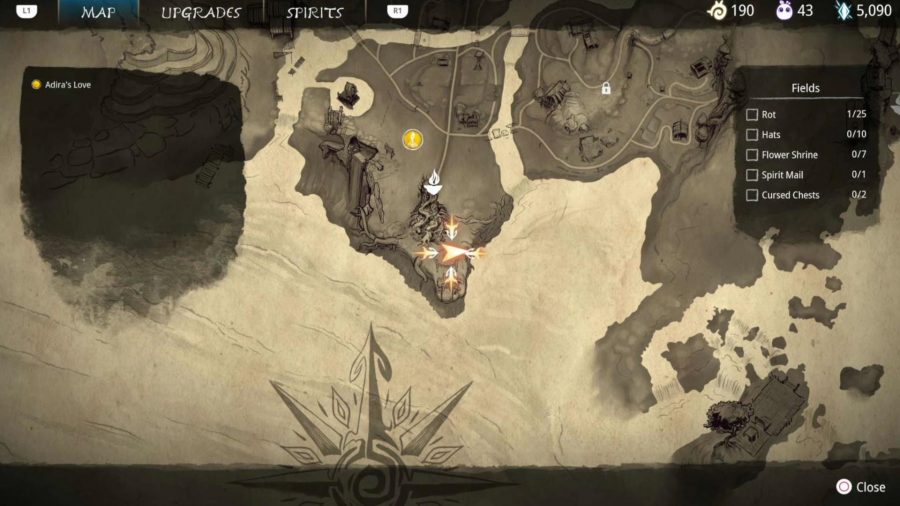
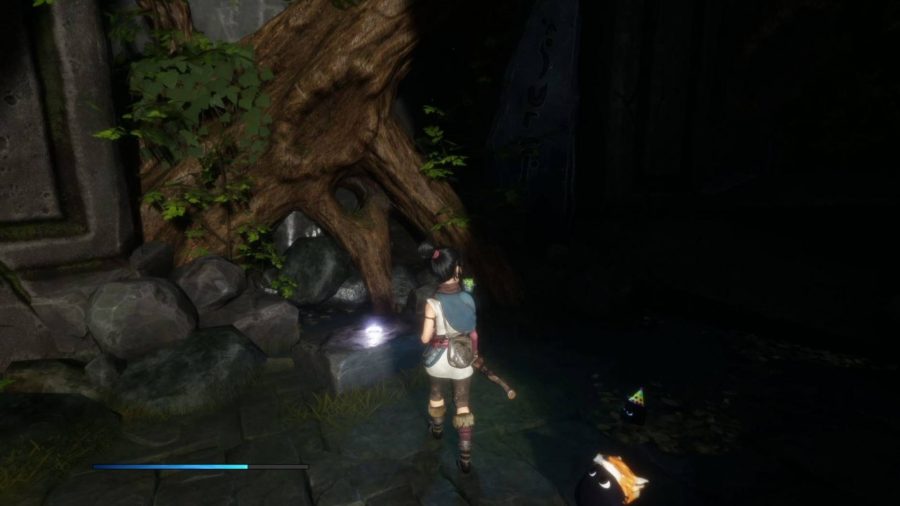
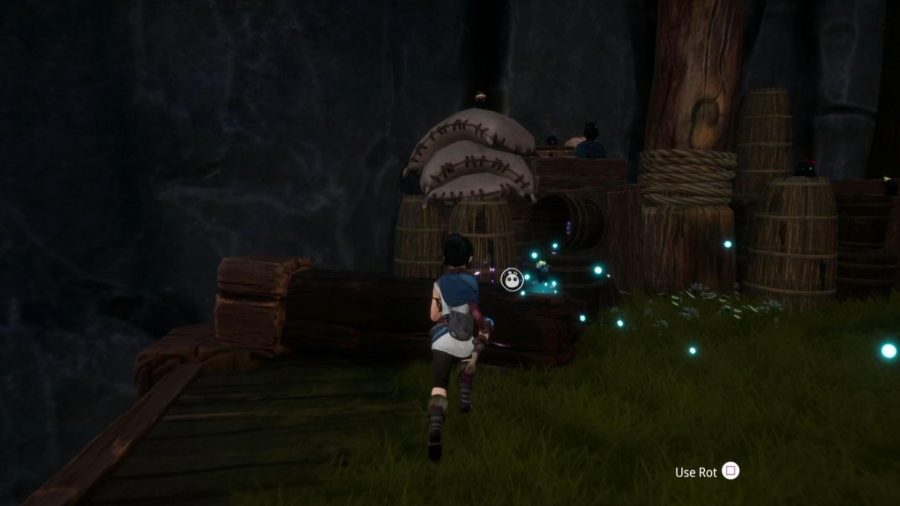
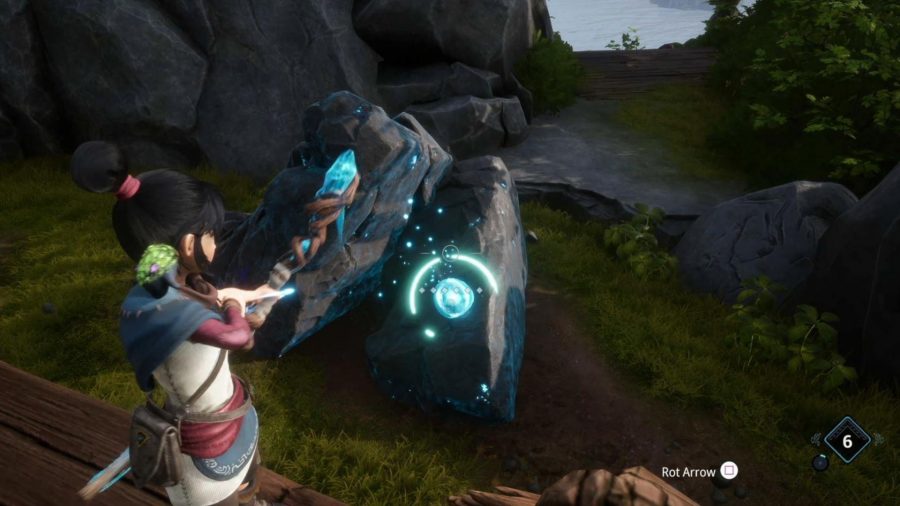
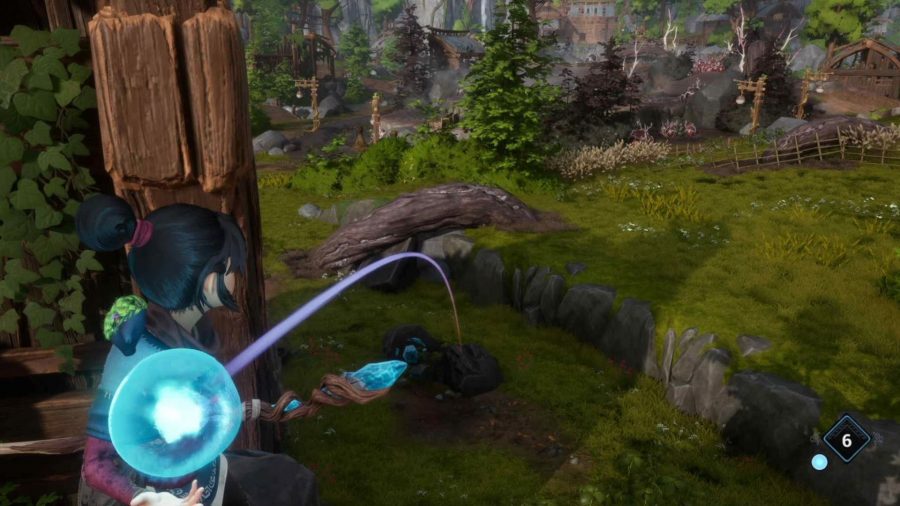
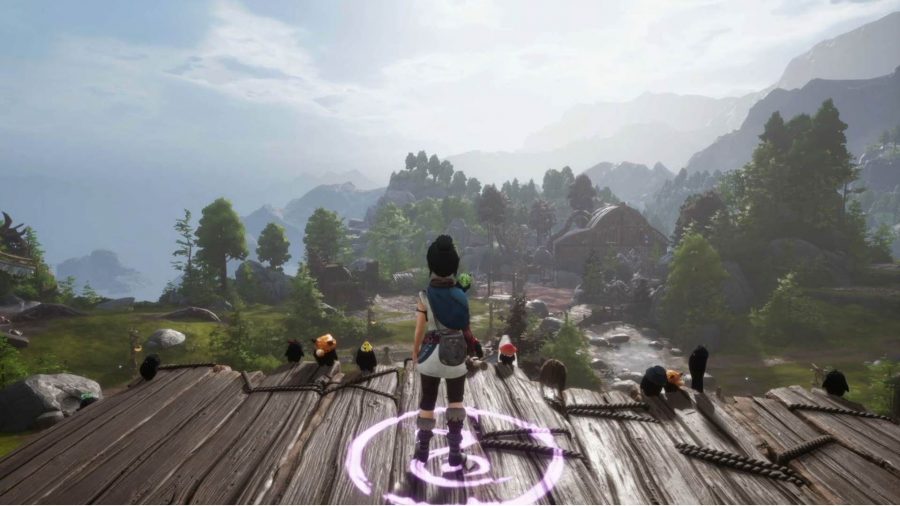
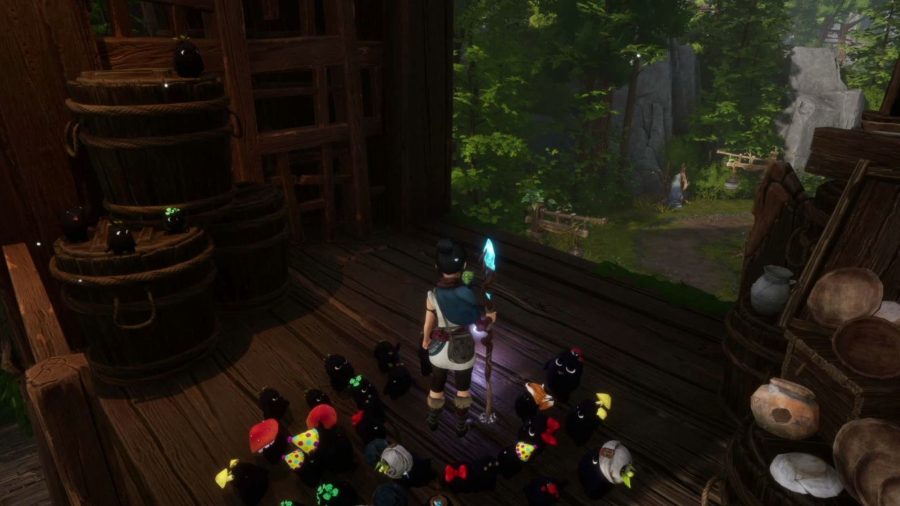
One of the most useful collectible items in Kena: Bridge of Spirits are your little buddies known as The Rot. These fuzzy creatures not only look cute but can help Kena out in combat, blinding enemies and spawning healing flowers for her.
Outside of combat, you can slowly grow your army of The Rot by finding them throughout the world and adding them to your ranks. This will subsequently boost their power in combat, which is important to ensure you are able to beat some of the tougher enemies in the game. Increasing the number of your Rot pals will also help improve some of the best upgrades in the game, making you even stronger in combat. Finding all of them will also get you the No Stone Unturned which we detail in our Kena: Bridge of Spirits trophy guide.
Read on to find our full guide on the Kena: Bridge of Spirits Rot locations throughout the game’s early areas.
Kena: Bridge of Spirits Rot Locations
Kena: Bridge of Spirits has a number of locations where Rot can be found. Here are all of them, broken down into each area early in the game:
Ruins
The Ruins contain eight Rot.
Rot #1
The first Rot is the Hero Rot, which is a part of the story. It is automatically obtained in the intro of the game and cannot be missed.
Rot #2
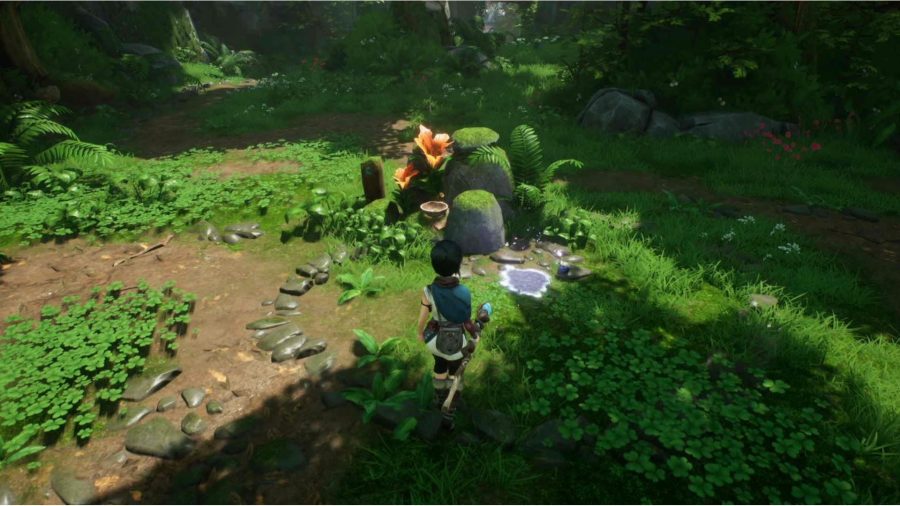
The second Rot can be found straight ahead after activating the first pressure plate. Use your shield ability to summon it from the ground in the centre of the area.
Rot #3
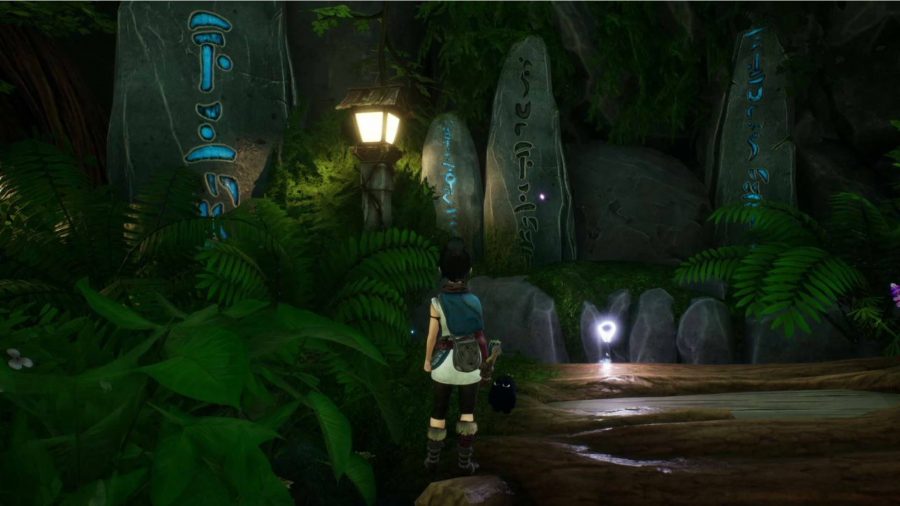
To find Rot #3 in the area, head up the steps to the right of where you picked up the last Rot and you can find it next to the log placed against the stones against the cliff.
Rot #4
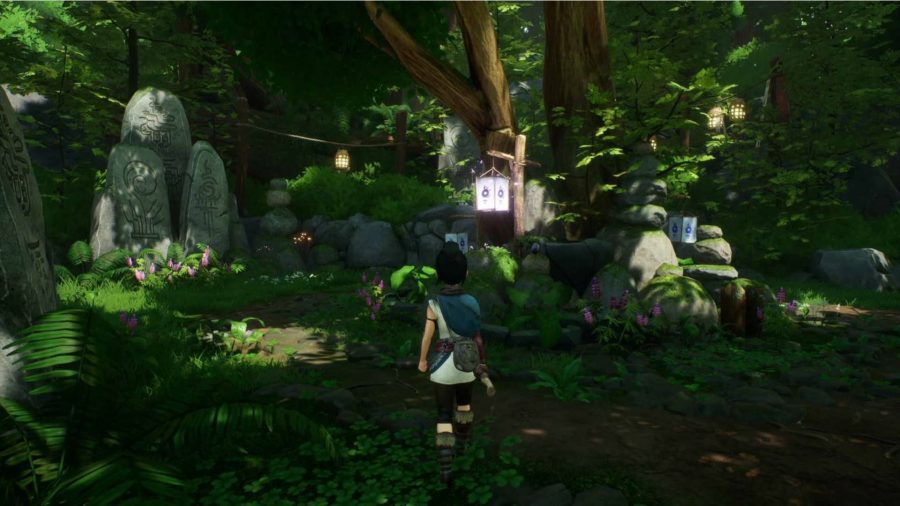
From the last location, turn around and jump to the platform ahead. Head across the log to find the Rot in a lampshade by the tree.
Rot #5
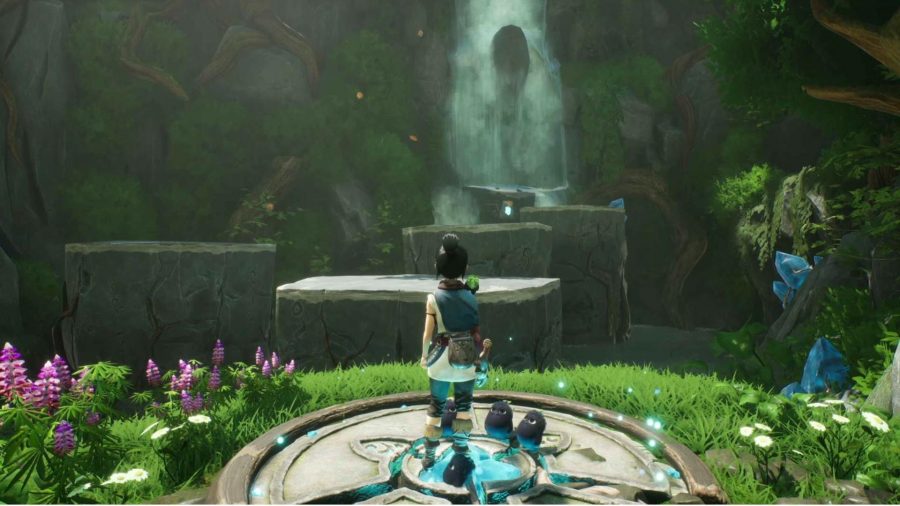
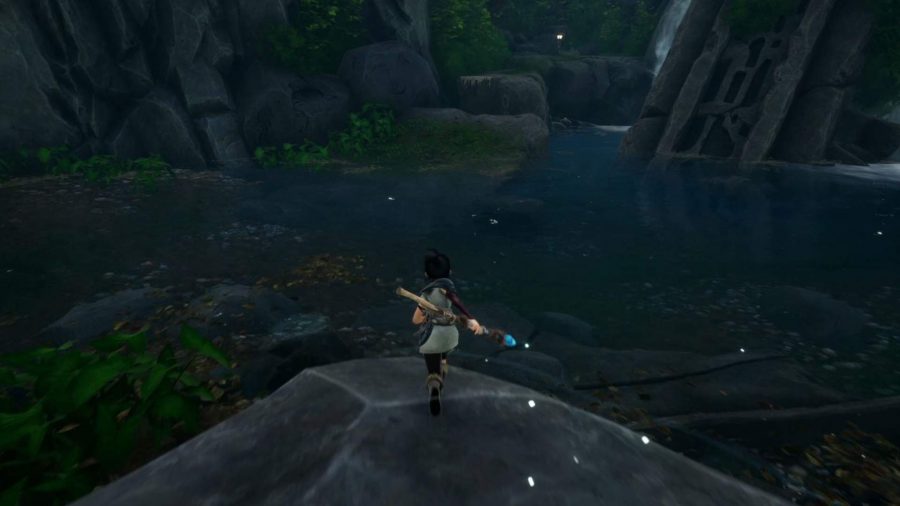
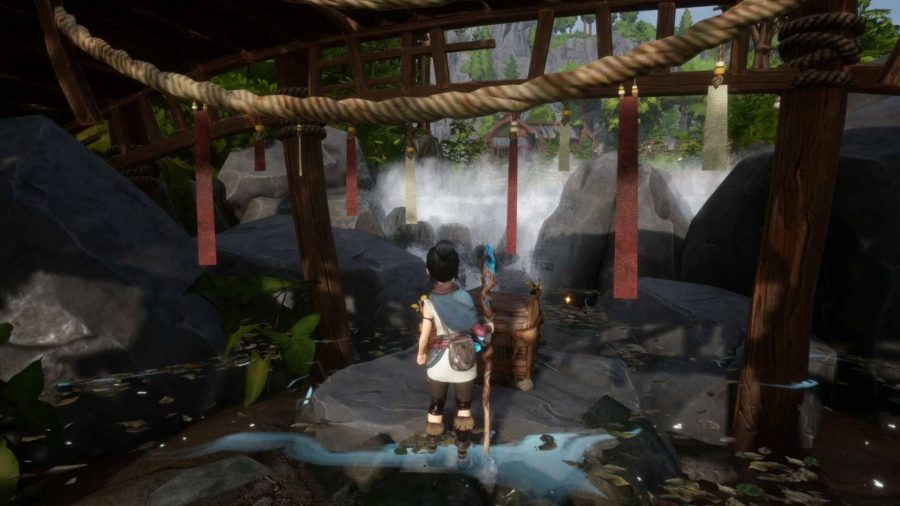
Next, head to the waterfall in the area and use your shield ability while on the pressure plate to raise the platforms in the river. Jump across them to find the Rot hidden behind the waterfall in a cave.
Rot #6, #7, #8
Three more Rot will be given to Kena after you defeat the Sprout boss, which is a part of the main story.
Village
The Village has 24 Rot for you to collect:
Rot #1
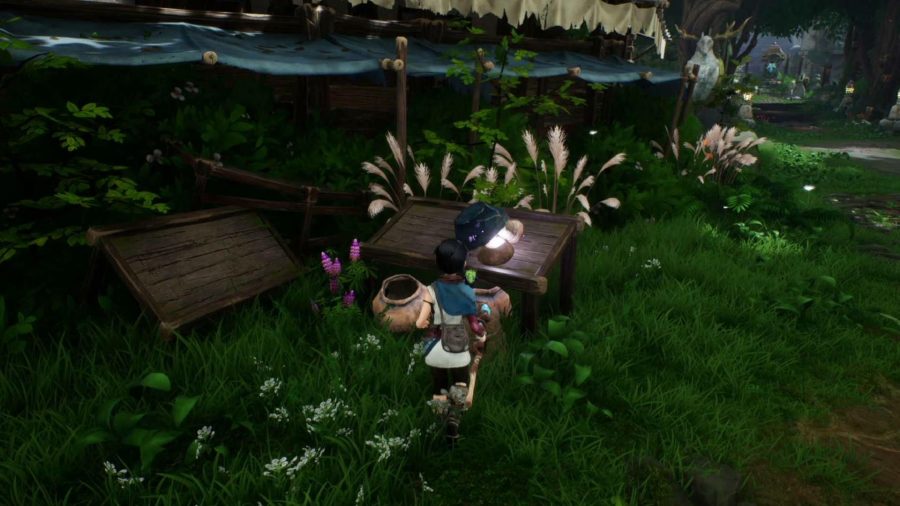
Opposite the Hat Cart, you can find the Rot on a small stand.
Rot #2
Once you have obtained Taro’s mask from the Mask Shrine, head down the path to the right of where the man is sitting. Don’t go up the stairs, instead take a hard left to find a rock sat by a river.
Direct your Rot to lift up the rock to find another Rot to add to your team.
Rot #3
To get the third Rot, you will need to obtain the Spirit Mail from the treehouse area in the Forgotten Forest.
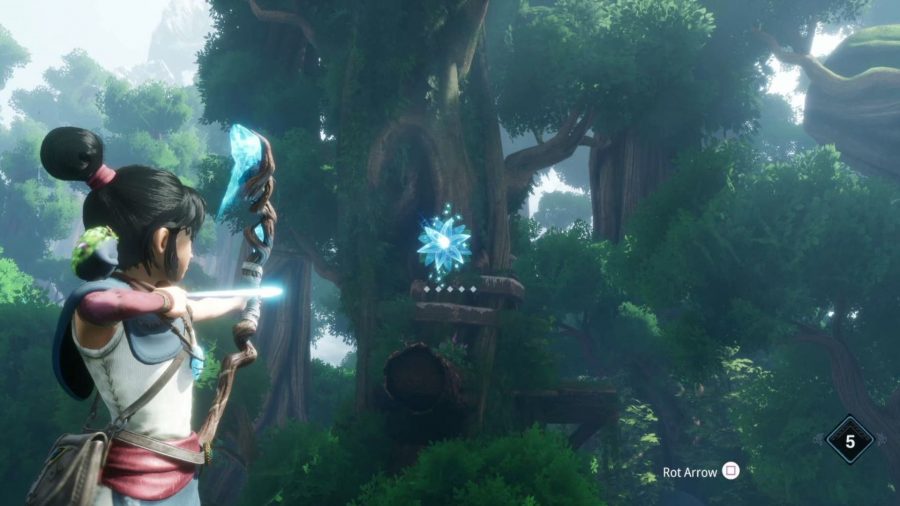
Once you reach the top of the first tree, fire an arrow at the flower across from you and climb up the platforms to find the Spirit Mail on the platform at the end.
Take the Spirit Mail back to the central circular building in The Village and drop it off. Use your Rot to destroy the corruption inside and activate the Corrupted Chest on the left. Once all of the enemies are dead, open the chest to obtain the Rot.
Rot #4
After you obtain the bow, head to the east of The Village and shoot the large circular disc to knock the drawbridge down. In this small area, next to the house you will find a switch that your Rot can pull.
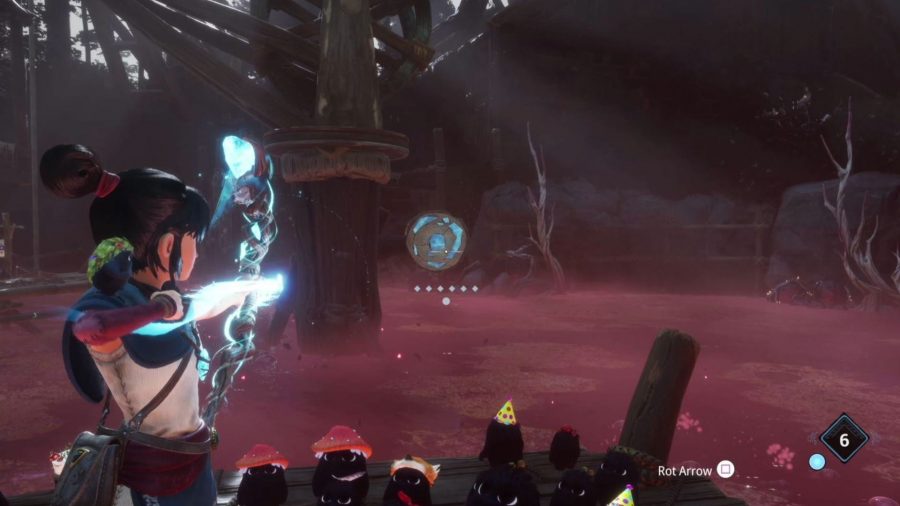
Pulling this switch will cause some targets to fly into the air. Complete all three rounds of the archery challenge to unlock the Rot.
Rot #5
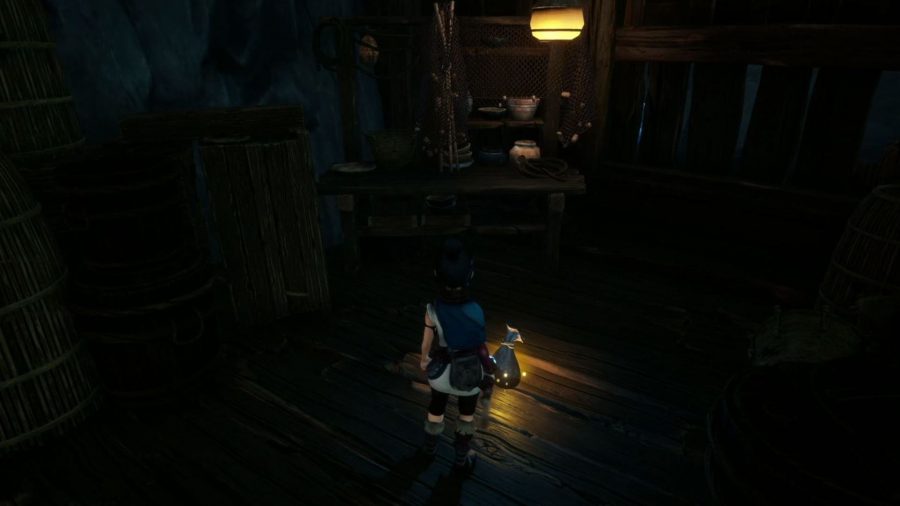
For the next Rot, you will need to find the Spirit Mail in the Storehouse, which is on the main path inside a house. It is impossible to not come across it when heading towards The Fields.
Head back to The Village and deliver it at the marked location. Clear the corruption in this area and head to the pond.
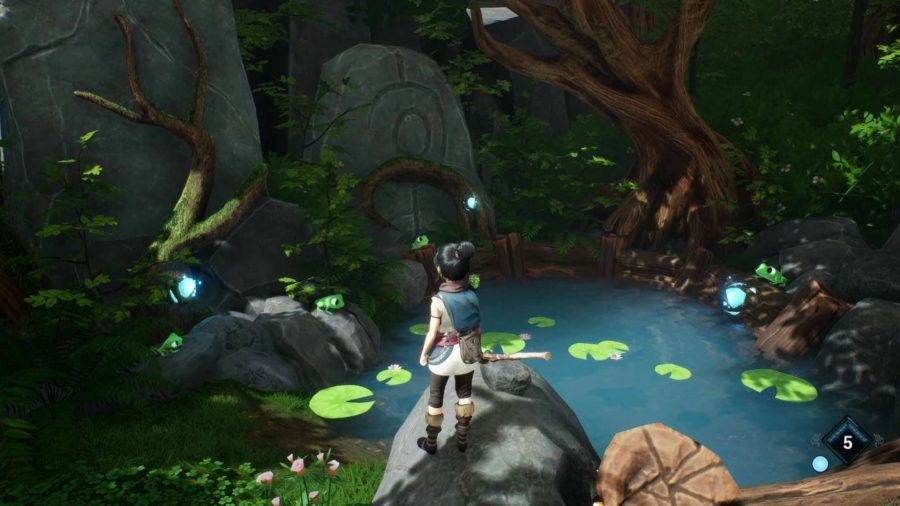
You will need to shoot the crystals quickly in the order the frogs croak. So, you need to shoot the middle, right, and then the left. This will spawn the Rot. If it doesn’t work the first time, give it another few tries as it is a bit fiddly.
We will update this section with more Rot locations in The Village once we find them.
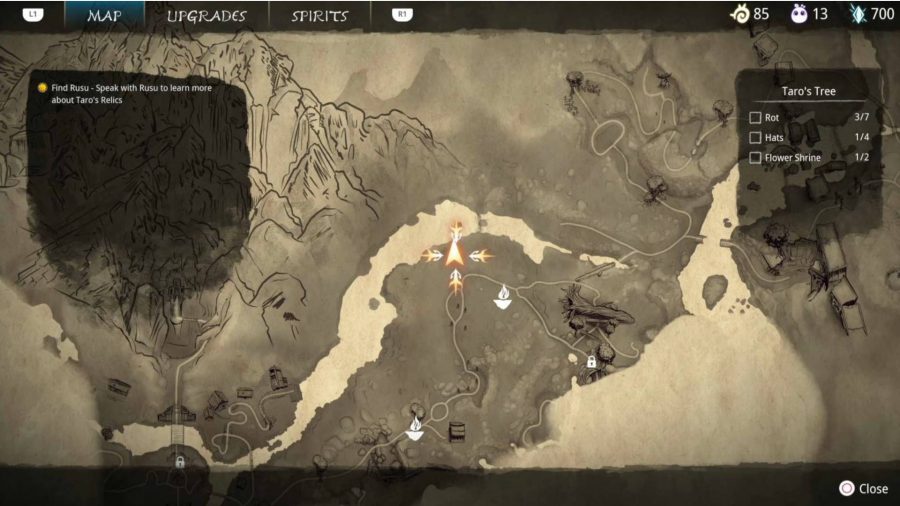
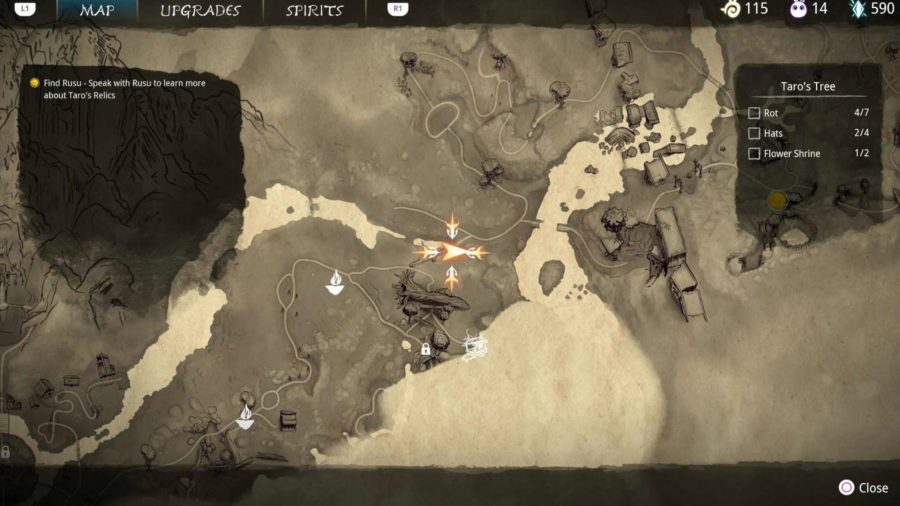
Taro’s Tree
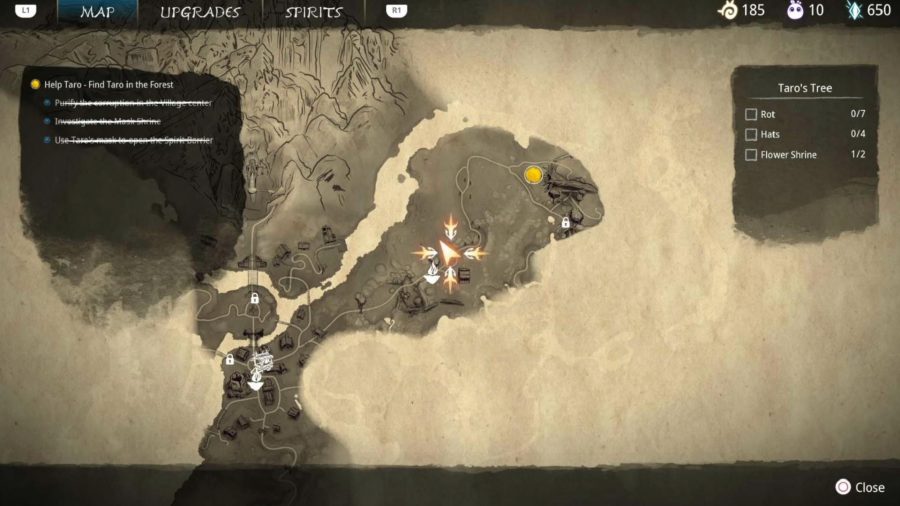
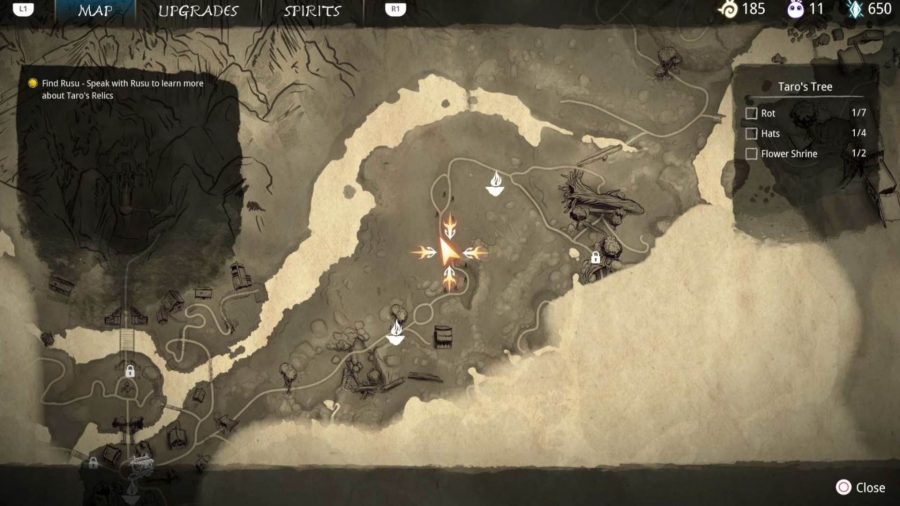
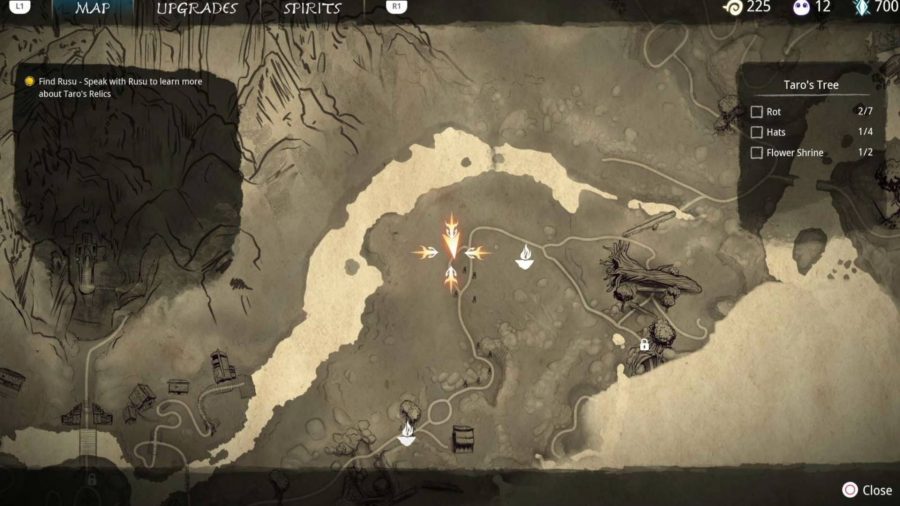
There are seven Rot to find in Taro’s Tree.
Rot #1
Once you are able to use the Forest Tear, take control of the Rot using it and direct them over to the large tree with a barrier you can destroy. Use the Rot to destroy that barrier and the Rot will be waiting inside the tree’s base.
Rot #2
From the start of the large forest area, look to your right and direct the Rot to lift a branch down a path. Underneath the branch is another Rot.
Rot #3
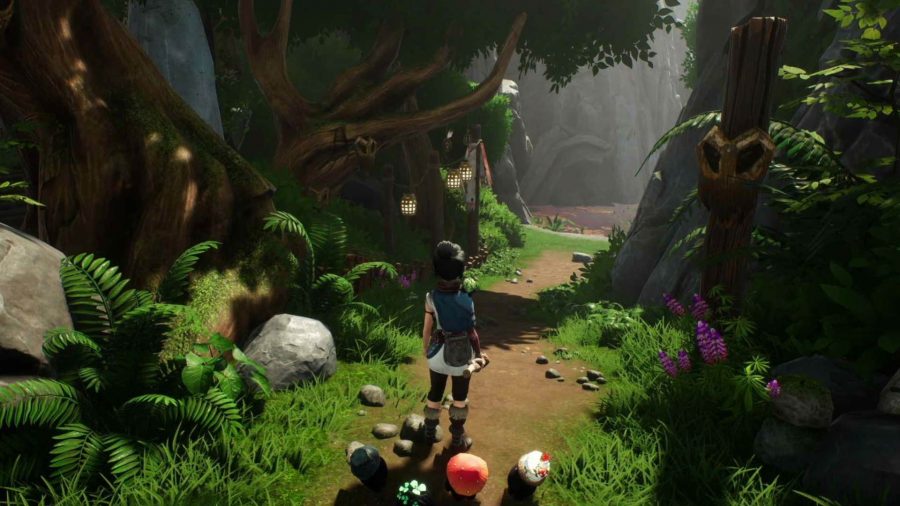
In the same area, stick to the left side of the path until you see a lantern in a tree. The Rot is on the rock beneath it.
Rot #4
Walk just ahead to find three rocks laying on the ground. Direct your Rot to lift the middle one to find this Rot collectible in Taro’s Tree.
Rot #5
Eventually, you will arrive at a fallen over tree, which you can use as a bridge to reach the level above. Before you do that, look beneath the tree to find the next Rot.
We will update this section with more Rot locations in Taro’s Tree once we find them.
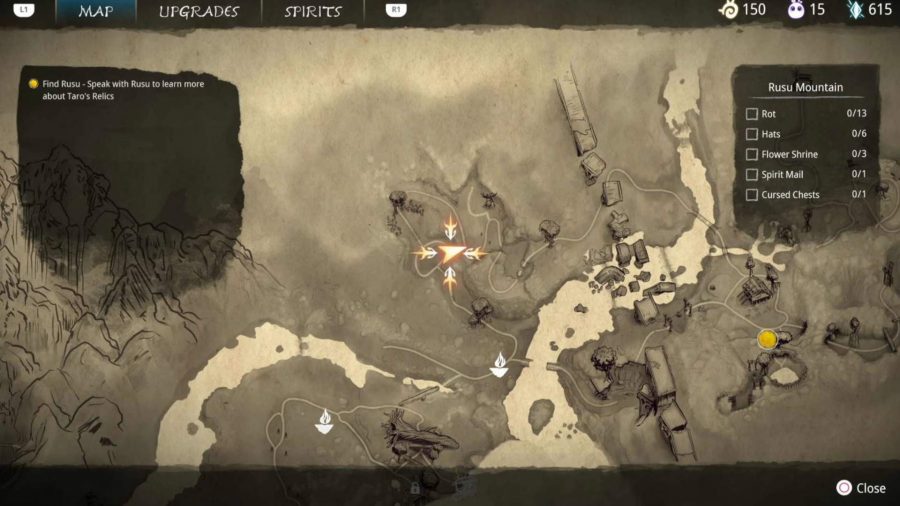
Rusu Mountain
There are 13 Rot to find on Rusu Mountain.
Rot #1
After your fight later on in this area in the large arena with the platform, look to the right of where you came in to find another rock. Tell the Rot to lift the rock up to find another one of the little guys underneath.
Rot #2
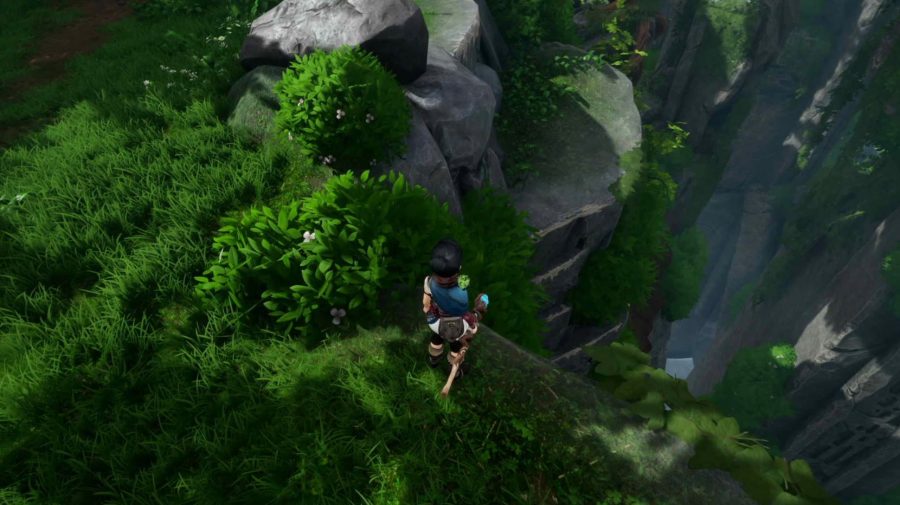
Once you reach the top of the cliffs up to Rusu Mountain, turn around to find a platform beneath you, on the slope, which was inaccessible on the climb up. Jump down to the slope and then onto the platform to find the Rot in the corner, by the stones against the cliff.
Rot #3
From the Ruins, fast travel location, looking out at the cliffs across the ruins, look off the cliff to find a path down, which you can climb to. Jump onto the platform at the bottom of this path to find the Rot.
Rot #4, #5, #6
Three Rot can be found automatically after you clear the corruption from Rusu’s house, defeating the Wood Knight, and obtaining Taro’s Knife.
Rot #7
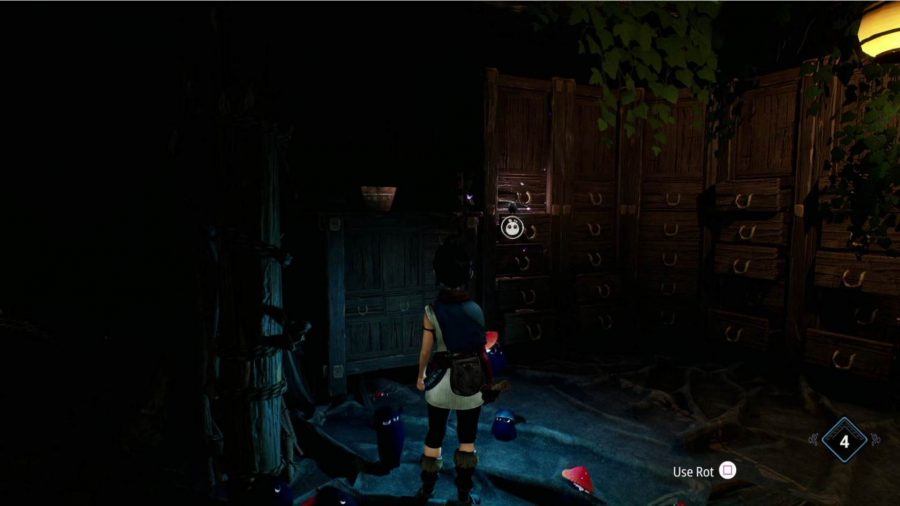
The fourth rot can be found inside Rusu’s house after you clear the corruption. Use your Rot Action ability to search the draw, which will cause the little fellow to jump out onto the floor for you to collect.
Rot #8
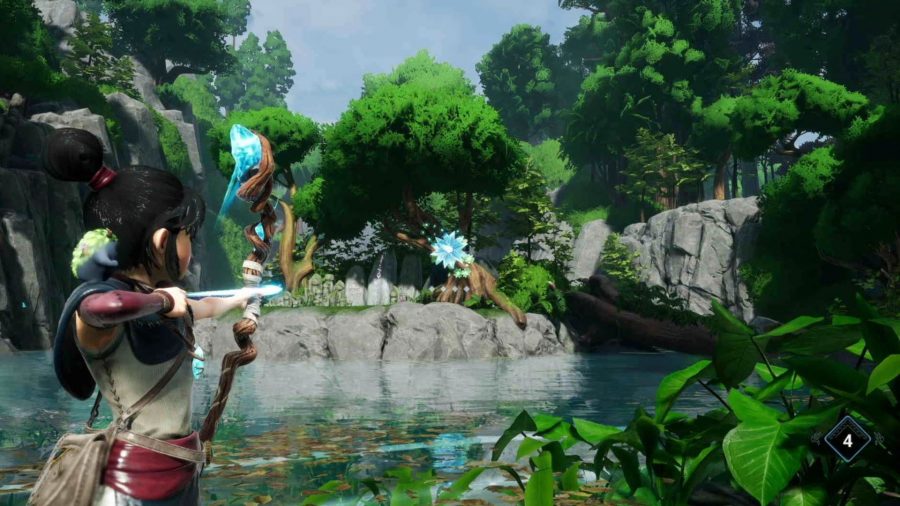
After obtaining the bow, head back to the large lake at the Gorge Warp Point and fire an arrow at the flower on the island to the left. You will be pulled onto the small island, where you can find the rot by using your shield ability.
Rot #9
From the Gorge Warp Point, swim along the lake, following the left side of the cliff. At the end, you will see a set of platforms that you can jump to. Climb up here and use your Rot to lift up the rock and find the Rot.
We will update this section with more Rot locations on Rusu Mountain once we find them.
Forgotten Forest
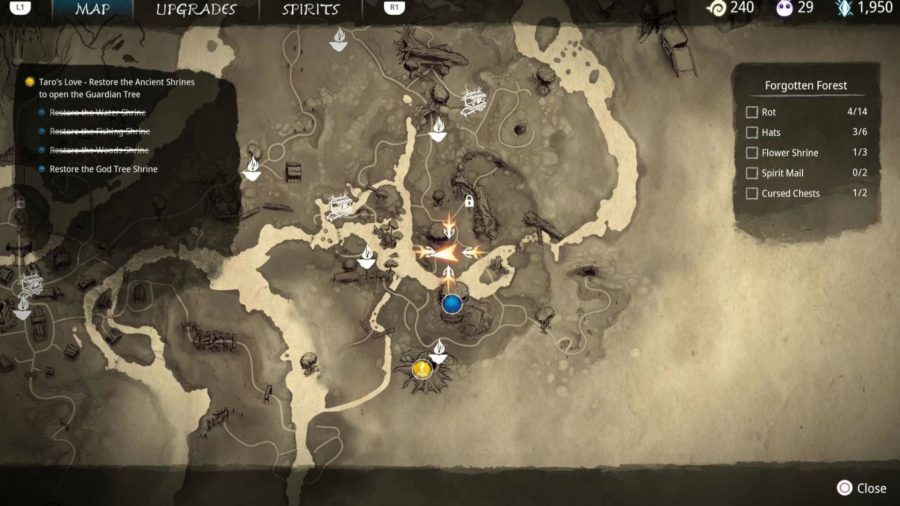
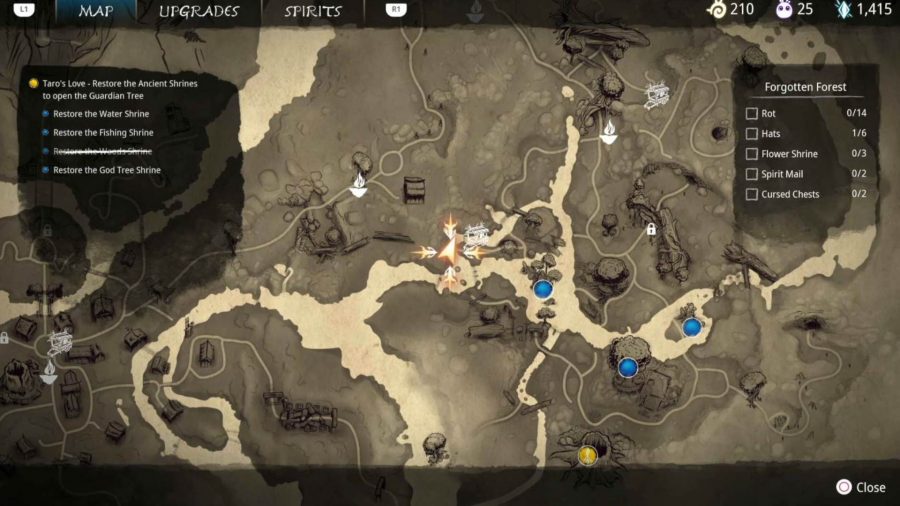
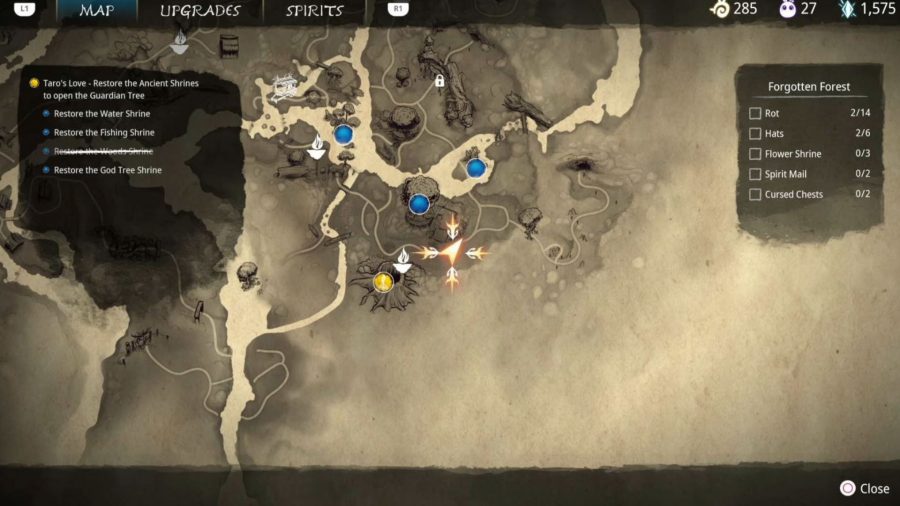
There are 14 Rot in the Forgotten Forest
Rot #1
The first Rot can be found beneath the Hat Cart at the start of this area. Slide down the tree trunk and immediately turn to your left to find the river running down a small stream. At the end of the stream, you will find the Rot.
Rot #2
Along the path to the south of the area, head down the river from the bridge. Shoot the blue crystal to raise some platforms and down here you can find a Meditation Spot and a Rot underneath a Rock to the right of the central tree.
Rot #3
Along the path to the far east of the area from the Sacred Tree Warp Stone, look up in the trees to find a blue pot hanging. Shoot it with your bow to find the Rot.
Rot #4
At the Water Shrine in the centre of the lake, move both of the blue stones to the marked locations on the ground by having the Rot carry them. This will open up the Forest Tear for you to use after you free the shrine of corruption.
Interact with it and bring the Rot over to some corruption next to the ruins right by the shrine. Destroy the corruption and then have the Rot carry the large block to the wall opposite.
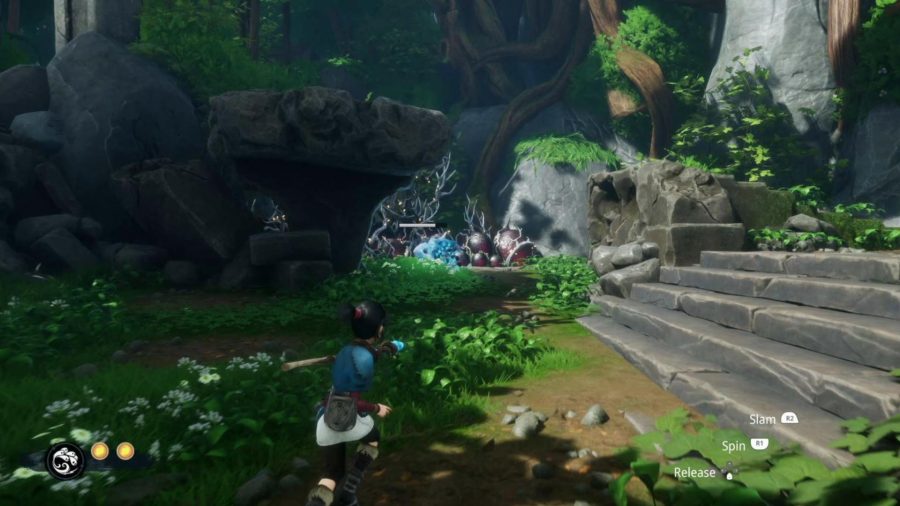
Climb up the cliff above and use the Rot to move the wooden barricade. Head back down and use the Forest tear again, this time bringing the Rot up the slope you just opened. Turn to your right and have the Rot slam into the pile of leaves to free the Rot.
Rot #5, #6, #7
You will automatically unlock 3 Rot after you defeat the Sprout Captain and gain the Food Offering Relic.
Rot #8
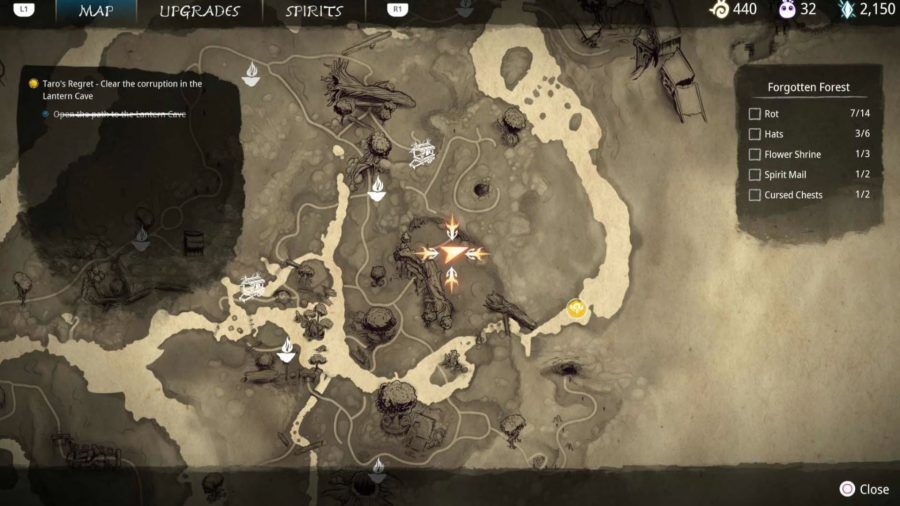
After opening the path to the Lantern Cave, go inside and look on the right for three stones. A Rot is hiding beneath the one on the right.
Rot #9, #10, #11
You will automatically unlock 3 Rot after you defeat the Sprout Guardian and gain the Lantern Relic.
We will update this section with more Rot locations in the Forgotten Forest once we find them.
Storehouse
There are three Rot in the Storehouse
Rot #1
The first Rot can be found in the main central part of the Storehouse. After you get the bomb ability, use it on one of the clusters of rocks to reveal the Rot.
Rot #2
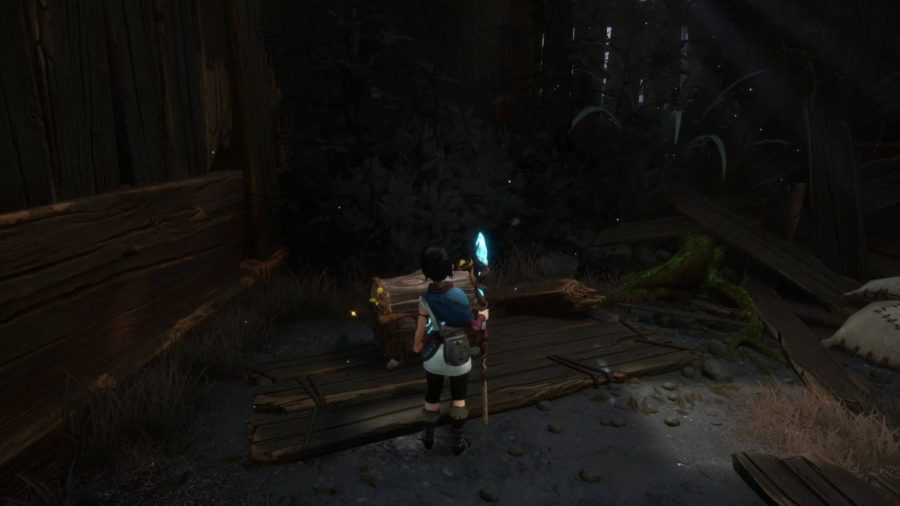
The second Rot can be found by climbing up the right path in the storehouse. After the large fight, use your bow to reach the platform above via the flower. In the chest, you can find the Rot.
Rot #3
Continue along the main path until you adjust the stones on this side of the storehouse. Before moving on, look to your right to find a small outcrop with a purple circle on the ground. Use Kena’s shield ability to spawn some targets. Hit them all with your bow to get the Rot.
The Fields
There are 25 Rot in The Fields.
Rot #1
To the right of the central tree in the fields you can find a set of rocks that can be moved by throwing a bomb onto them.
Shoot the bomb and climb up using the flower. Move the second set of rocks with a bomb and jump through the gap created to find the Rot.
Rot #2
In the room where you destroy the corruption underneath the central tree, turn around to where you dropped down.
There is a stone here, which has the next Rot.
Rot #3
Continue along the path from Rot #2 till you get to the lift. Before heading up, get your Rot to lift up the block of wood to find another one of the fuzzy creatures.
Rot #4
After coming up the elevator from Rot #3, you will see a destroyed house with some platforms you can move with a bomb. Kill the enemies and then move the platforms.
Hit the crystals to flip them and then look past the house to some more. Move those with a bomb and then pull yourself towards them by shooting the flower after flipping it around. Jump onto the top floor of the house and open the chest to find the Rot.
Rot #5
After clearing the corruption in the middle of the village, you can find an archery challenge circle on the central platform, where the bulb was. Complete the challenge to get the Rot.
Rot #6
In the far west of the area, you will find a mechanism in some red water. Hit the panel to turn the platform and ride it all the way around to the elevated wooden platforms.
Inside the house here, you can find the Rot in the chest.
Rot #7
After clearing the corruption in this part of The Fields, look next to the house to find another pile of rocks which when moved create platforms. Climb up to the top rafters and follow the designated path to find the Rot at the end.
Rot #8
As you exit the main area with Rot #7, follow the river and open the chest underneath the bridge ahead.
That covers all the Kena: Bridge of Spirits Rot locations. For more guides on the game, check out our Kena: Bridge of Spirits walkthrough.
