
There are tons of interesting quests sending you into the mysterious and magical depths of Hogwarts, but the quest sending you to the legendary Herodiana’s troublesome puzzle chambers is perhaps the most challenging. Luckily, we’ve got you covered with the Hogwarts Legacy The Hall of Herodiana puzzle solutions, answers for all three puzzles, and a general quest overview.
To complete Hogwarts Legacy The Hall of Herodiana side quest, you’ll first need to know how to unlock all spells in Hogwarts Legacy as you’ll need to be able to cast Accio and Depulso. For more general ways to excel at Hogwarts, why not find out more about Hogwarts Legacy Talents and how to earn Talent points? We’ve completed The Hall of Herodiana during our playthrough for our Hogwarts Legacy review.
Hogwarts Legacy The Hall of Herodiana quest overview
To start the Hogwarts Legacy The Hall of Herodiana side quest, begin by finding Sophronia Franklin near the Charms Classroom Floo Flame in The Astronomy Wing. She’ll task you with finding Herodiana’s secret Depulso training room and returning with Herodiana’s signature outfit.
She asks you to do this as she doesn’t know the spell yet as a third-year.
Where is the Hall of Herodiana entrance location?
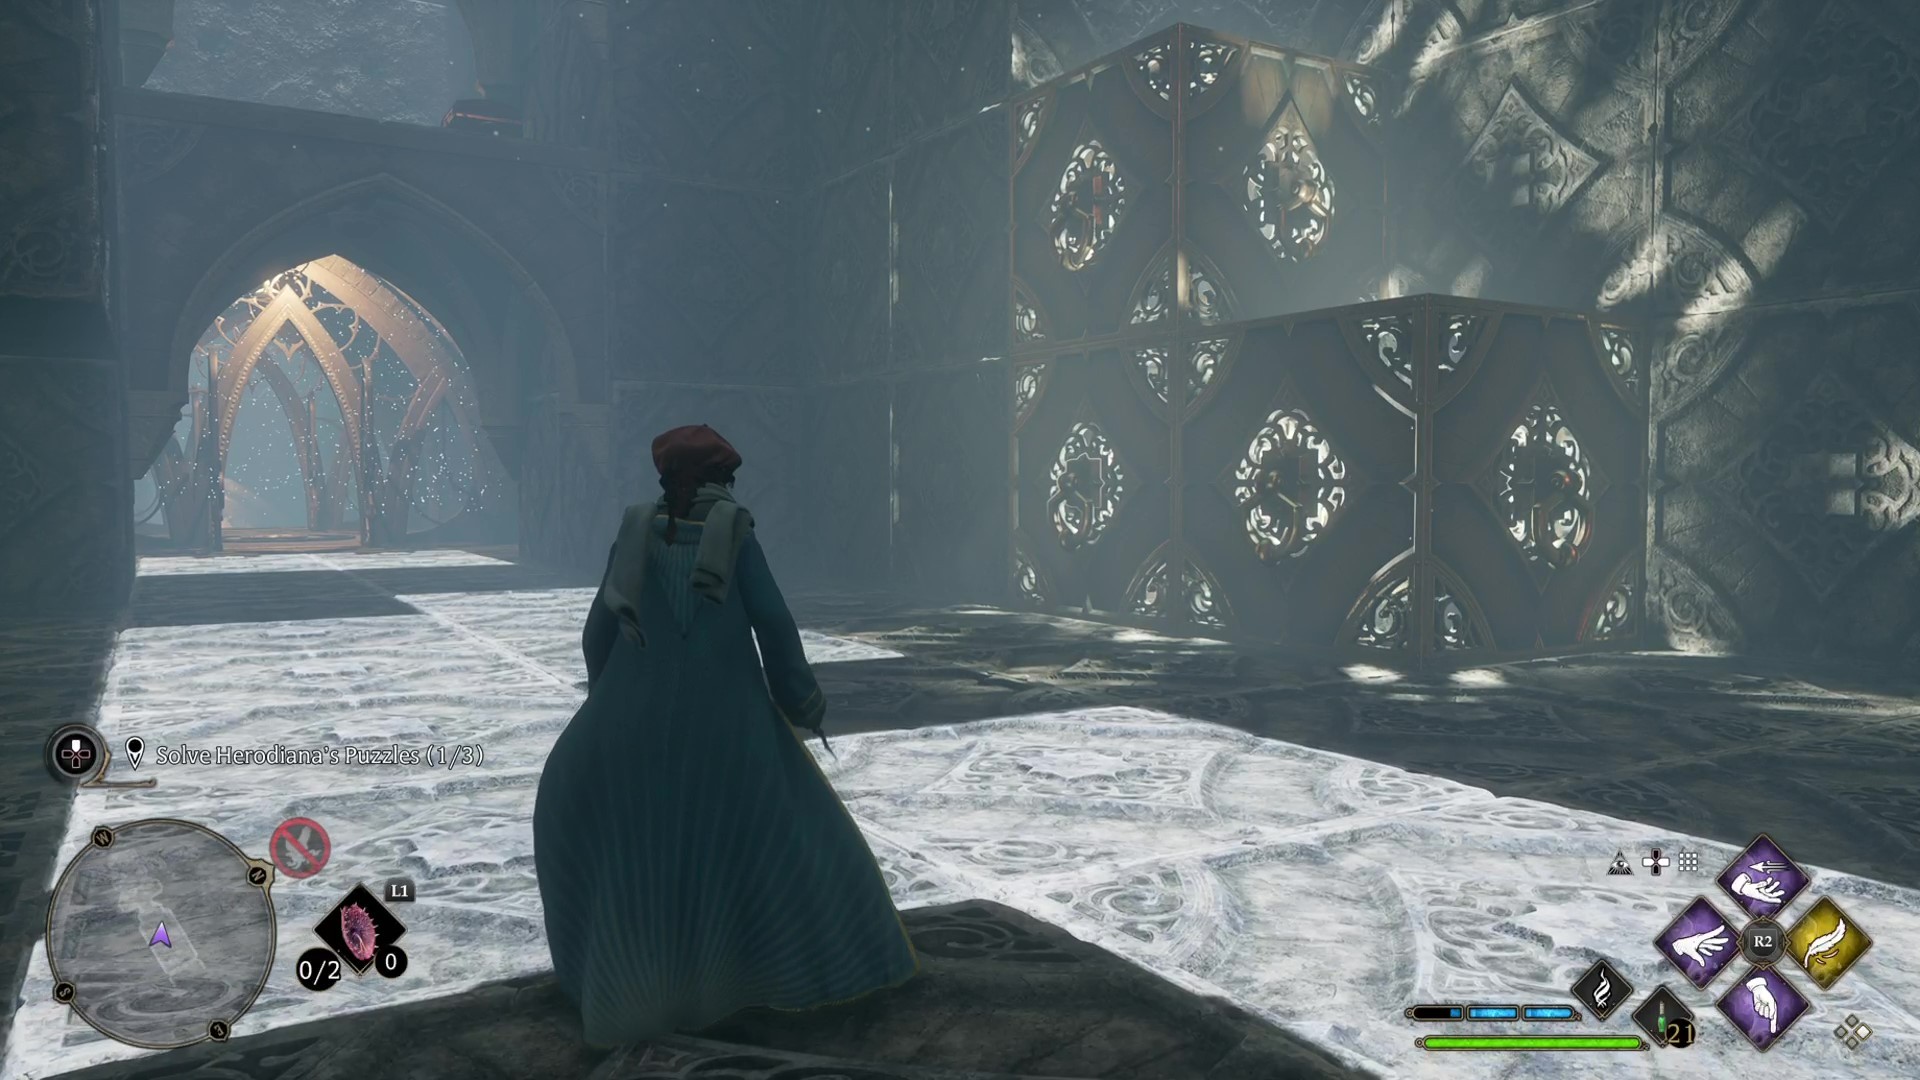
The entrance to the Hall of Herodian location can be found at the base of the Defence Against the Dark Arts Tower in The Astronomy Wing. Your best option is to travel to the Transfiguration Courtyard Floo Flame in The Astronomy Wing and make your way into the Defence Against the Dark Arts Tower. Here you’ll find the location of the Hall of Herodiana in the back wall.
To enter, use Depulso on the hook on the wall. This will cause the wall to shift and reveal a hidden door leading to the real puzzles in the Hall of Herodiana side quest.
Hogwarts Legacy The Hall of Herodiana puzzle solutions and answers
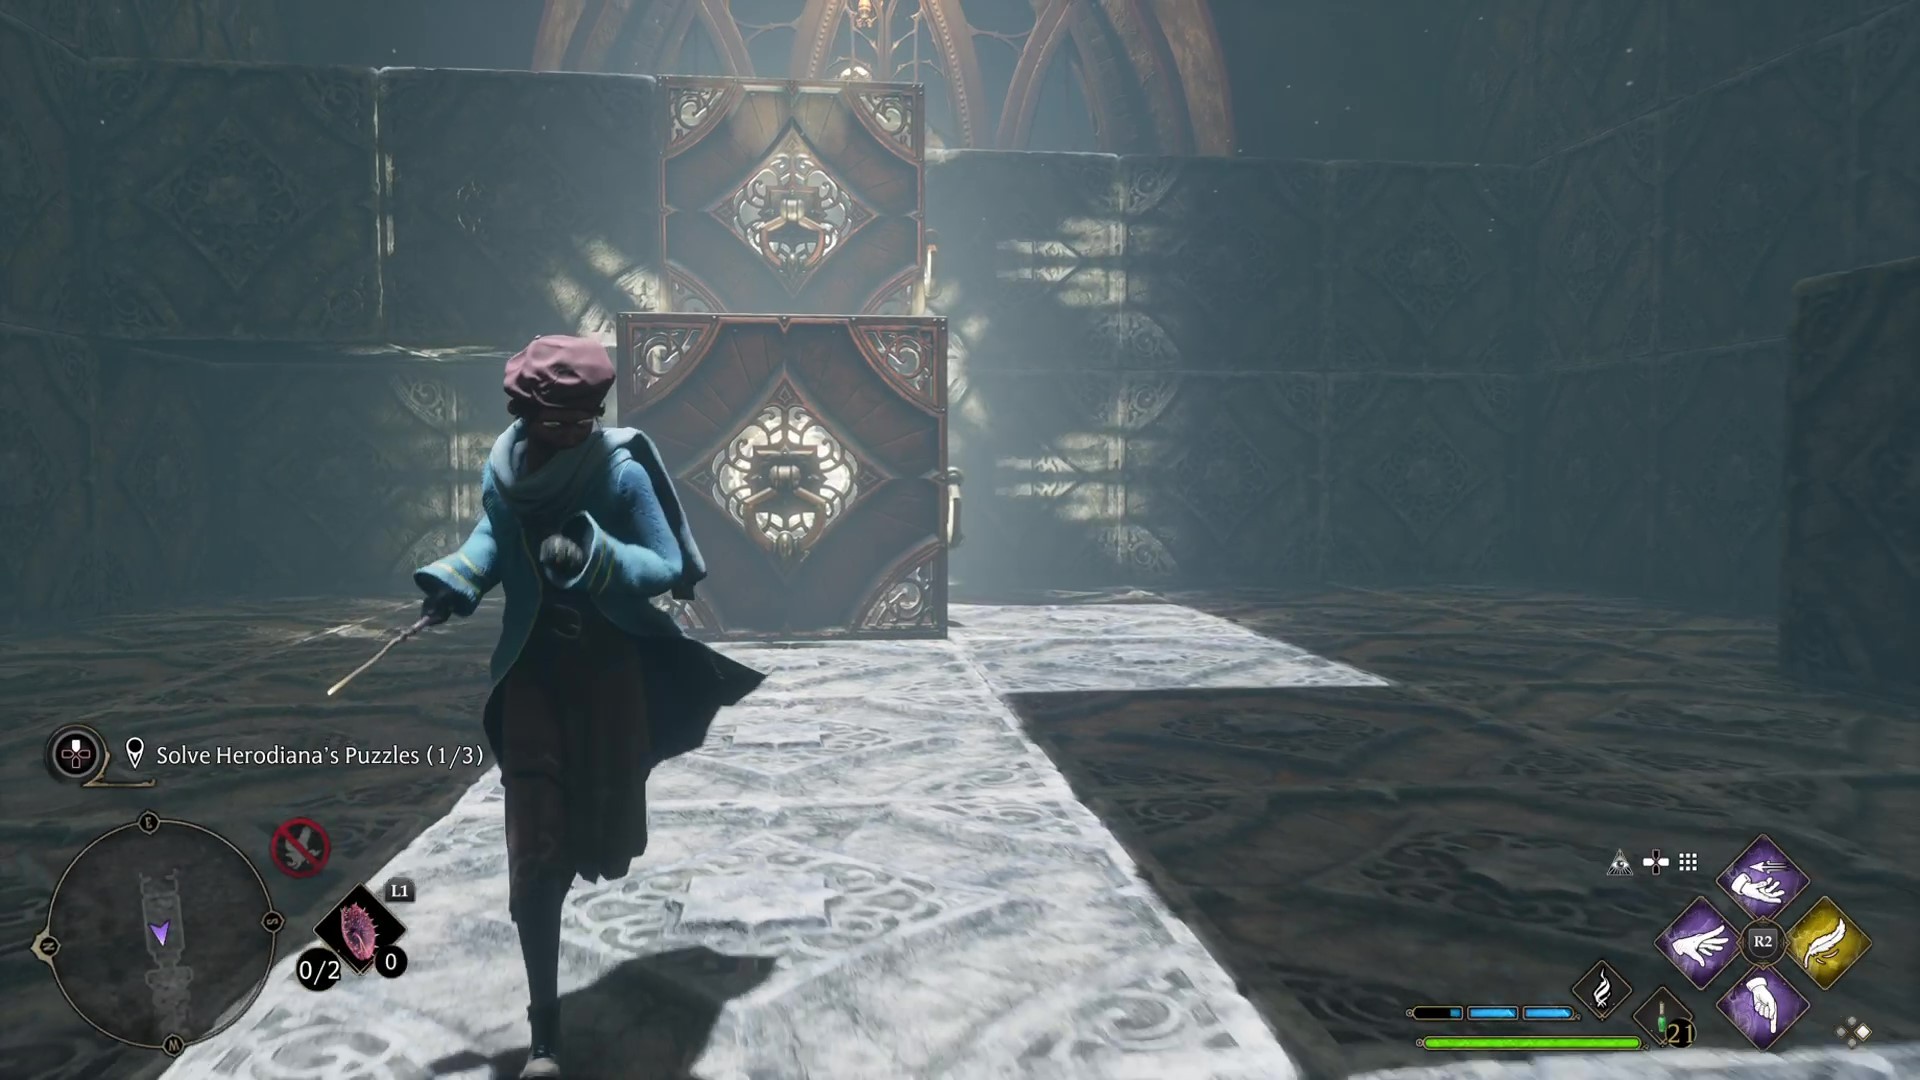
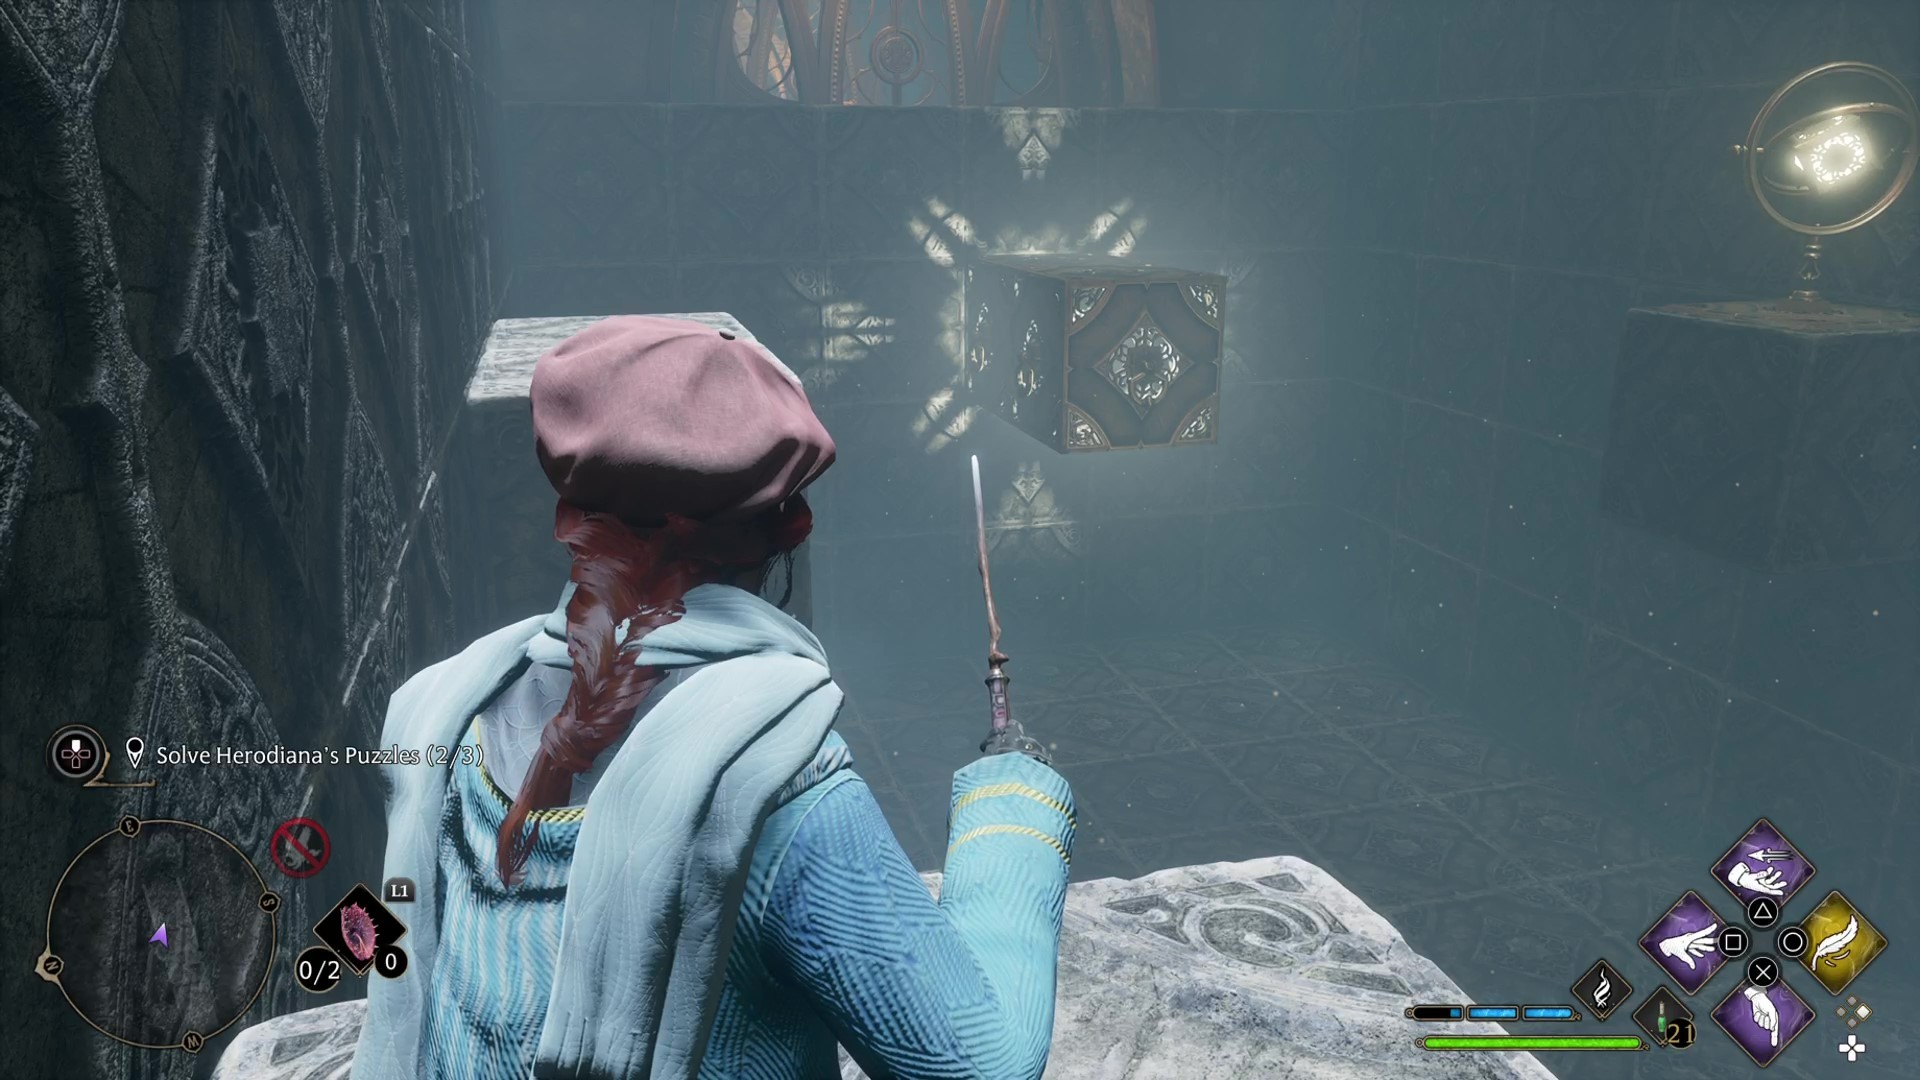
There are three puzzles to solve in the Hogwarts Legacy The Hall of Herodiana using Depulso and Accio to move blocks into the correct positions to proceed, with each puzzle getting progressively harder. There are also optional chests you can collect and you can use the glowing orbs stands to reset the blocks to their default position.
The Hall of Herodiana puzzle 1 solution and answer
The first puzzle solution in The Hall of Herodiana quest is straightforward, acting as a tutorial for the much harder second and third puzzles.

To solve the first puzzle:
- Cast Depulso on the two blocks to send them to the back of the room.
- Climb up the blocks to reach the raised area.
- Open the chest to receive the first piece of Herodiana’s clothing set, Herodiana’s Cape.
If you want the optional chest, cast Depulso to push the blocks towards the entrance to the first puzzle, then cast Depulso again to push them against the left wall (when facing the back wall to progress the quest).
The Hall of Herodiana puzzle 2 solution and answer
To solve the second puzzle in The Hall of Herodiana, you will need to move a single puzzle block and a double puzzle block into the correct positions to proceed.

To solve the second of Herodiana’s puzzles:
- Begin by heading to the back of the room to face the entrance you came in through.
- Cast Depulso on the single block to move it towards the entrance wall.
- Cast Accio on the double block to move it to the right side of the room, still facing the entrance.
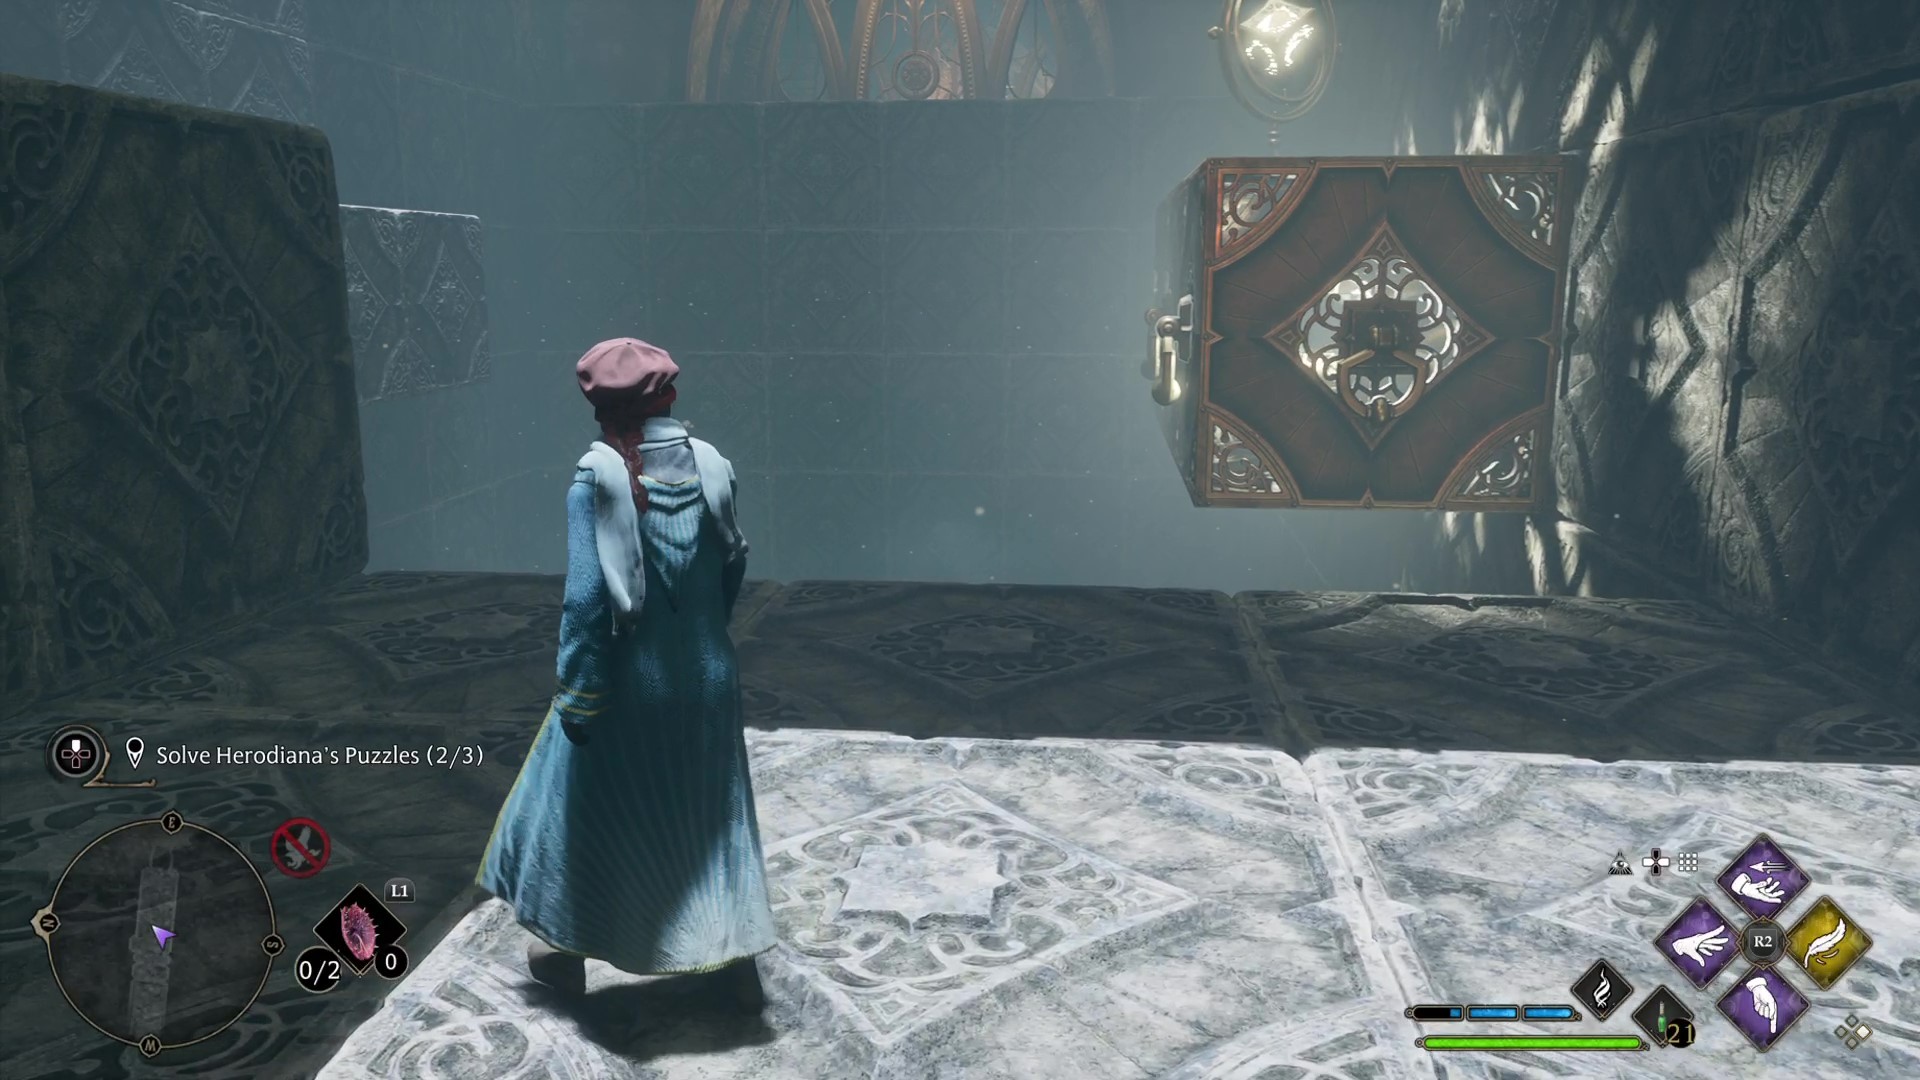
- Cast Depulso on the double block to push it to the spot underneath the single block.
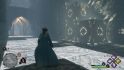
- They will then join to create a triple block in the shape of a staircase on the right side of the room. See image one below.
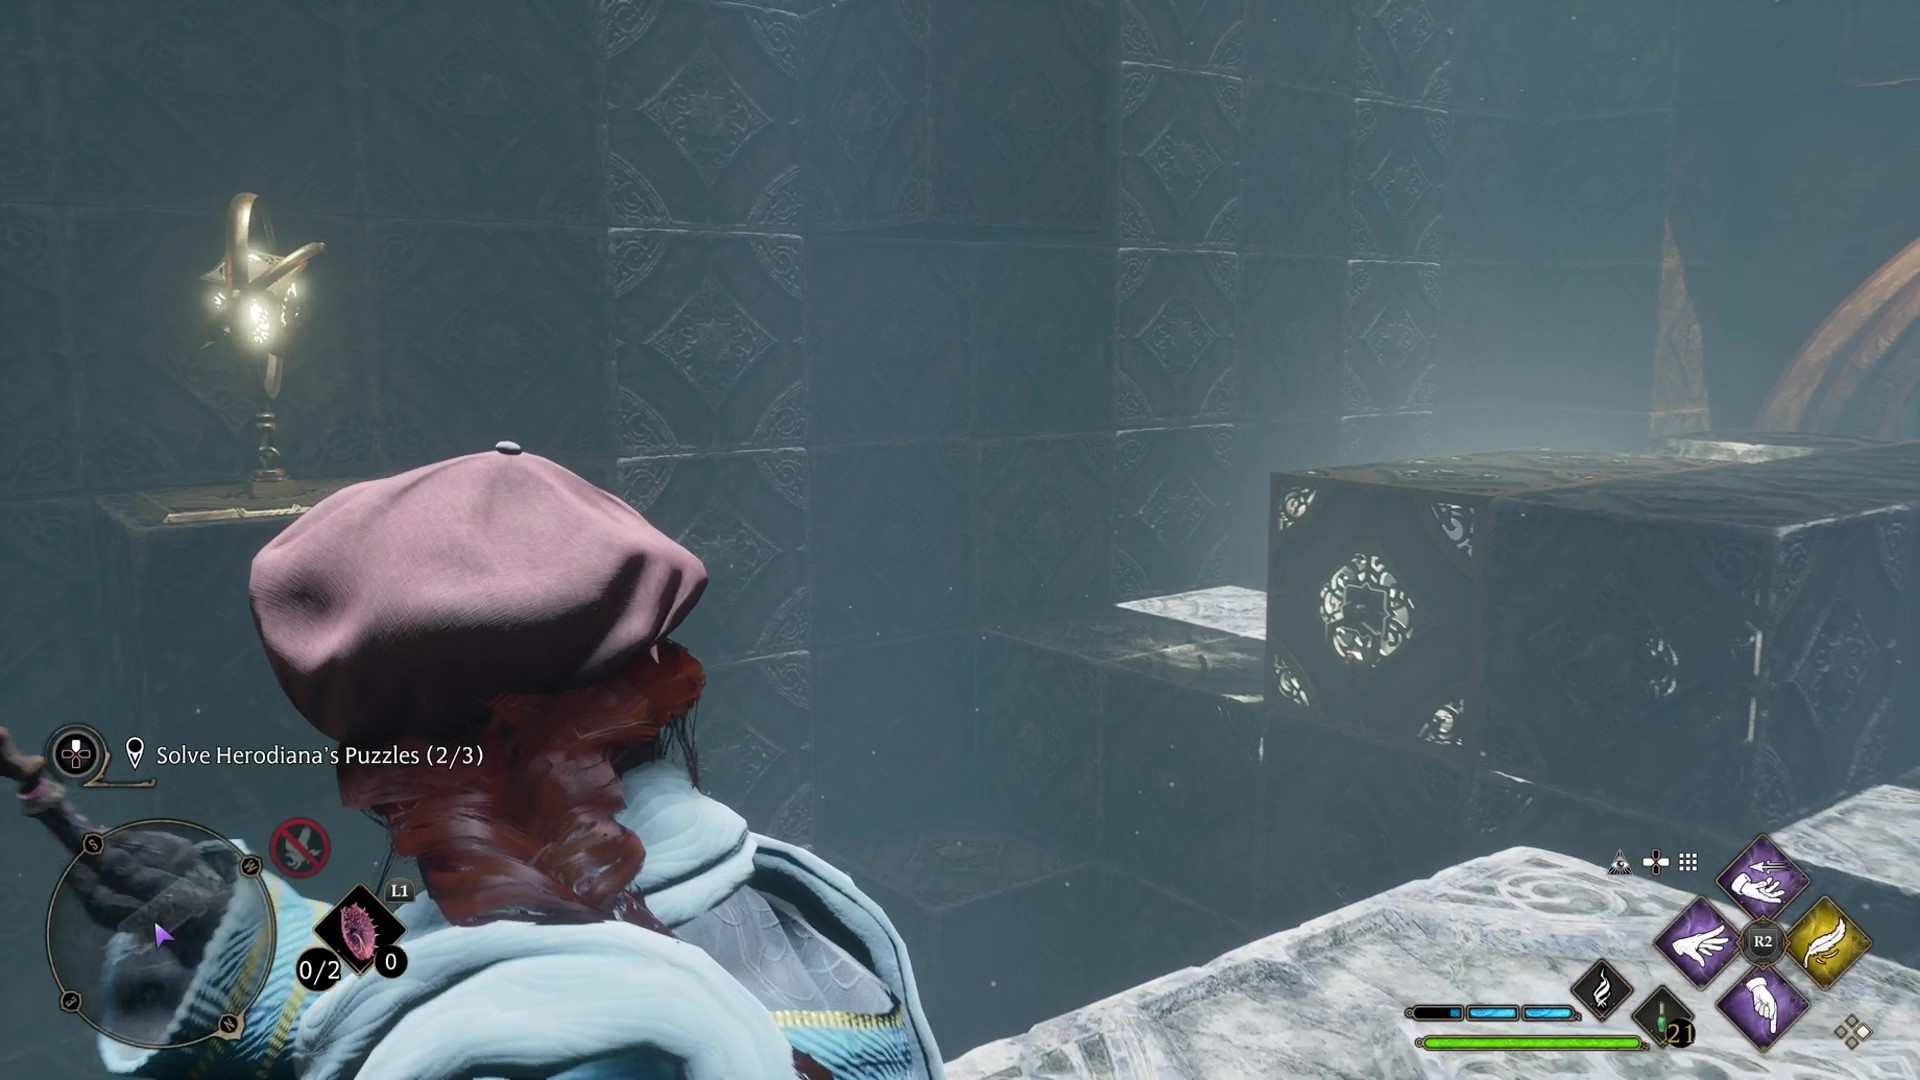
- Cast Accio to pull the staircase to the left side of the room, near to where the double block started.
- Cast Depulso to push the staircase towards the exit wall, which will have been behind so far.
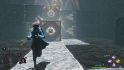
- Facing the exit, cast Accio to pull the staircase to the left side of the room, where it can now be climbed to reach the exit area. See image two below.
- Open the chest to receive the second piece of Herodiana’s clothing set, Herodiana’s Attire.
If you want the optional chest, face the exit and cast Accio to pull the staircase towards you so that it creates a staircase to the platform above the entrance to the second puzzle room. Here you will find a large chest. Cast Depulso to put the staircase back against the exit wall to progress to the third of Herodiana’s puzzles.
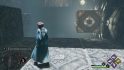
The Hall of Herodiana puzzle 3 solution and answer
The third puzzle solution in The Hall of Herodiana involves using the reset switches to progress, not just to reset to a blank slate if you get stuck. The reset switch will return the blocks to their original positions when you target it with a Basic Cast attack.

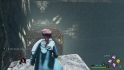
To solve the third and final of Herodiana’s puzzles and get the optional chest:
- Facing the exit, use Depulso on the double block to send it to the back of the room. See image one below.
- Climb up onto the immovable blocks on the left side of the room for a good vantage point.
- Use Depulso again to push the double block against the right wall.
- Cast Accio to pull the double block against the immovable block on the right-side wall which has the reset switch on.
- Cast Accio again to move the double block to the left side of the room, against the immovable blocks on the left.
- Cast Accio one more time to pull the double block past you and towards the entrance to the third puzzle chamber.
- Move to the entrance to position yourself behind the double block and use Depulso to push the block against the double wall.
- Climb up the blocks to open the first optional chest.
- Return to the starting position and use the reset switch to return the blocks to their original position.
- Next, cast Accio to pull the blocks against the right-hand wall, just in front of you.
- Cast Depulso to push the blocks against the immovable block on the right wall which has the reset switch on it. See image two below.
- Climb back up to the immovable blocks on the left-hand wall to gain a vantage point.
- Use Accio to pull the double blocks in front of you to fill the gap and then jump across. See image three below.
- Walk along until you’re standing on the immovable blocks on the left-hand wall and use the reset switch again. See image four below.
- Cast Accio to pull the blocks against the exit wall like before.
- Use Accio again to move the blocks in front of you against the left wall. See image five below.
- Jump across the gap and use the blocks to climb up to the exit platform


Now that you’ve solved all three of Herodiana’s puzzles, you’ll have the full Herodiana outfit. Return to Sophronia to complete the quest and earn the outfit as a Hogwarts Legacy transmog option.
That’s all the Hogwarts Legacy The Hall of Herodiana puzzle solutions you need to complete the quest and earn the lavish and historic outfit. For plenty more tips, tricks, and guides, use our handy Hogwarts Legacy walkthrough to help you through your first year at Hogwarts.
Hogwarts Legacy has drawn considerable criticism during its development, largely due to the fact that the creator of the Harry Potter series, J.K. Rowling, has made a number of transphobic remarks on social media in recent years.
While Avalanche has confirmed that J.K. Rowling is not “directly involved” in the development of Hogwarts Legacy, it is working with “her team” and Portkey Games, a Warner Bros. label dedicated to launching new experiences inspired by J.K. Rowling’s original stories. It is currently unclear whether she will earn any royalties from the game’s sale, but it is likely given it is based on her original body of work.
If you would like to learn more about transgender rights or lend your support, we’d encourage you to check out the National Center for Transgender Equality in the US and Mermaids in the UK.