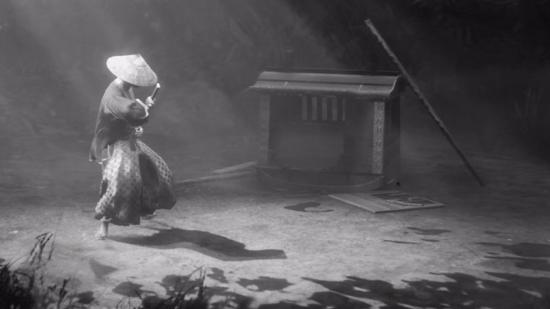
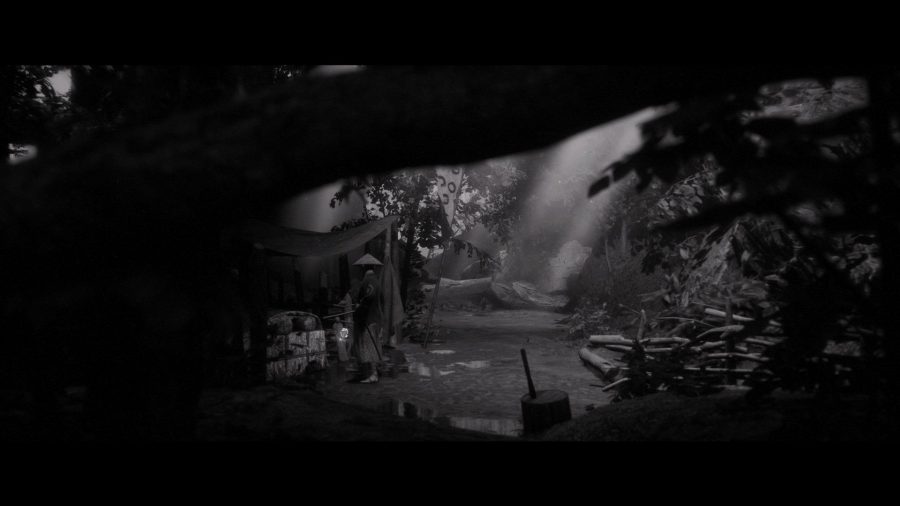
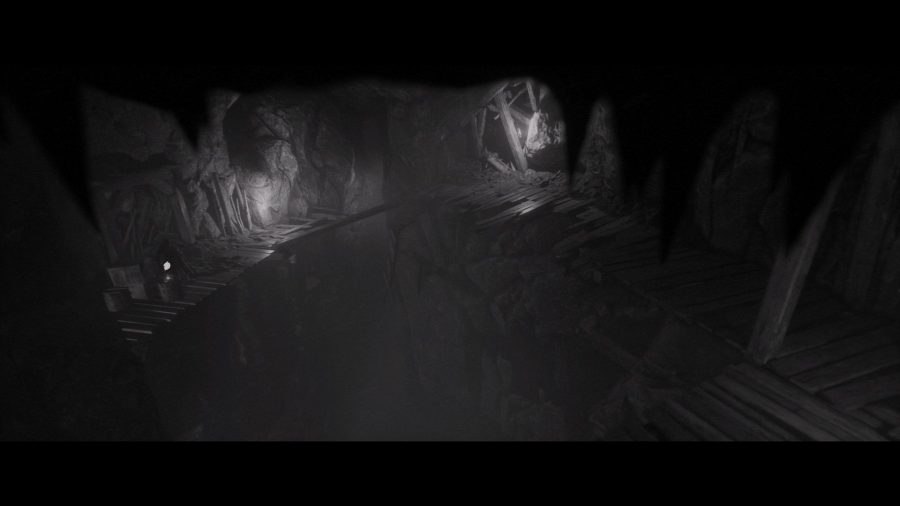
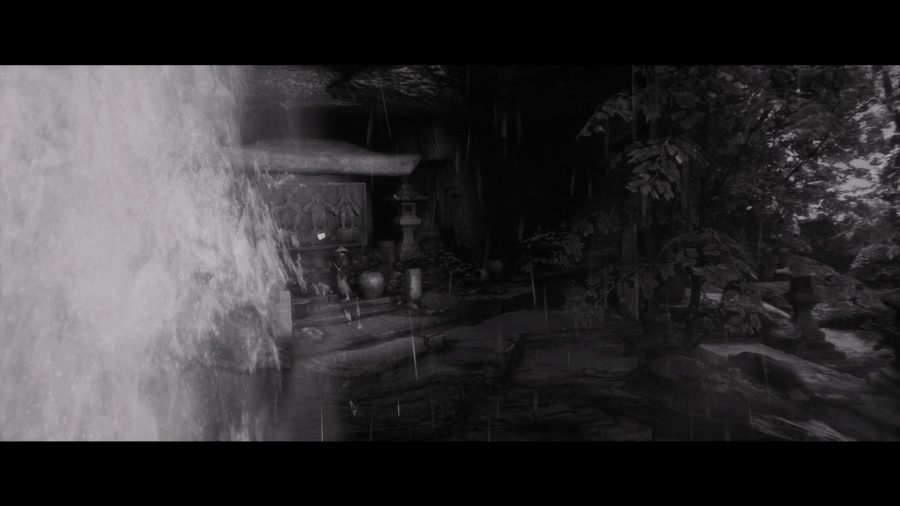
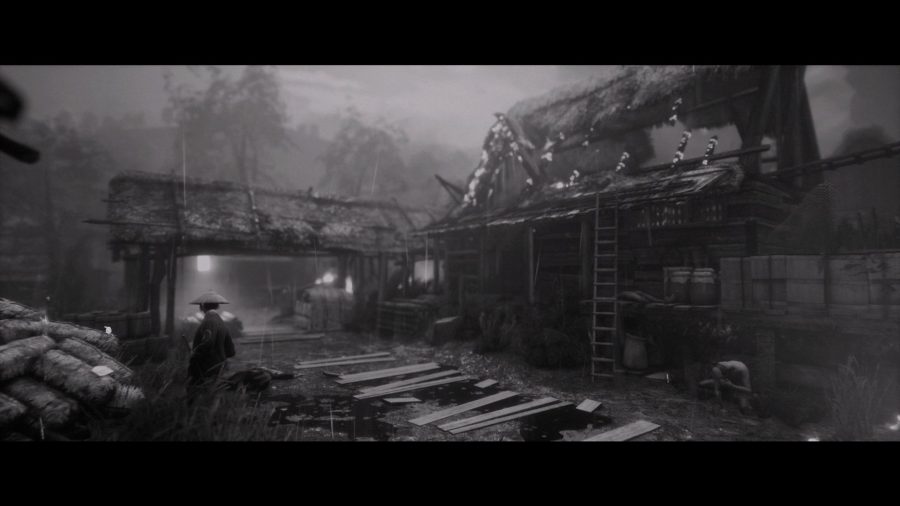
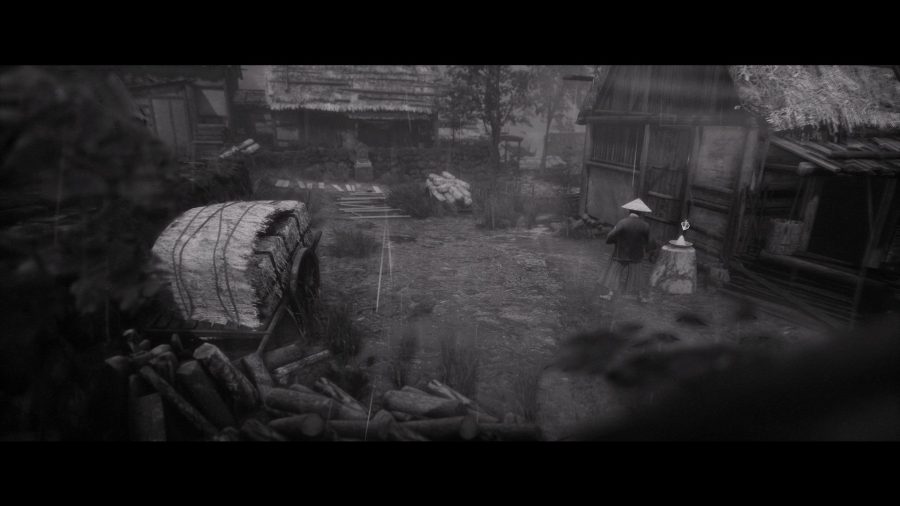
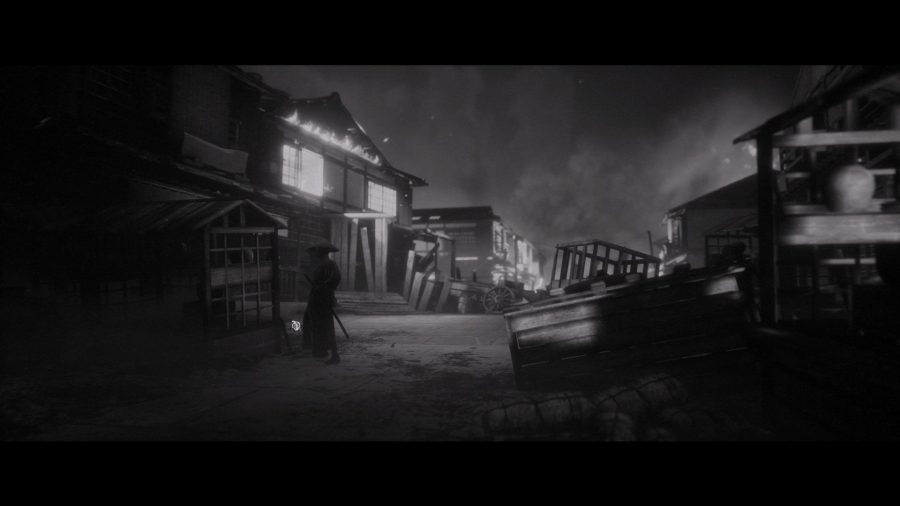
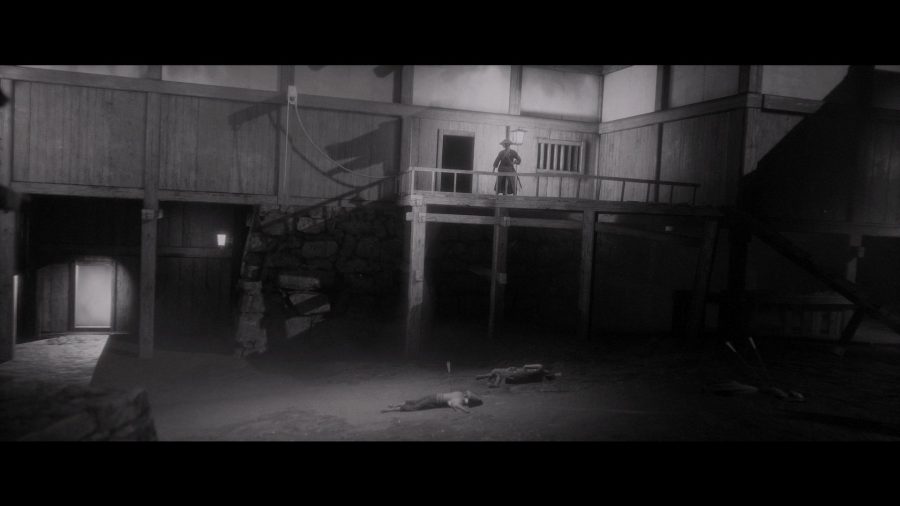
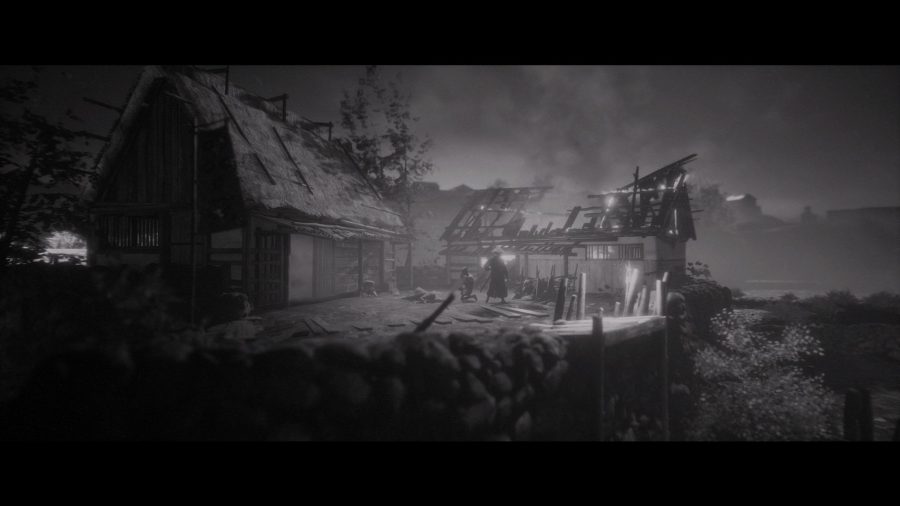
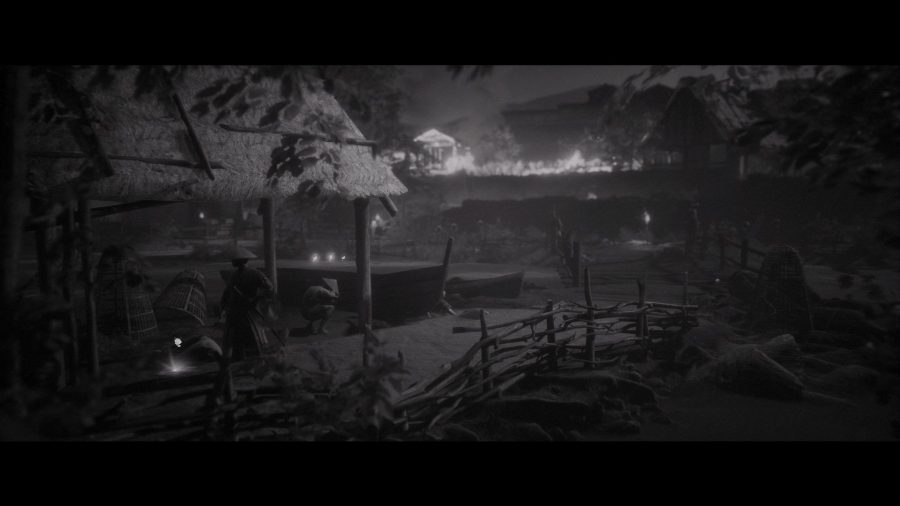
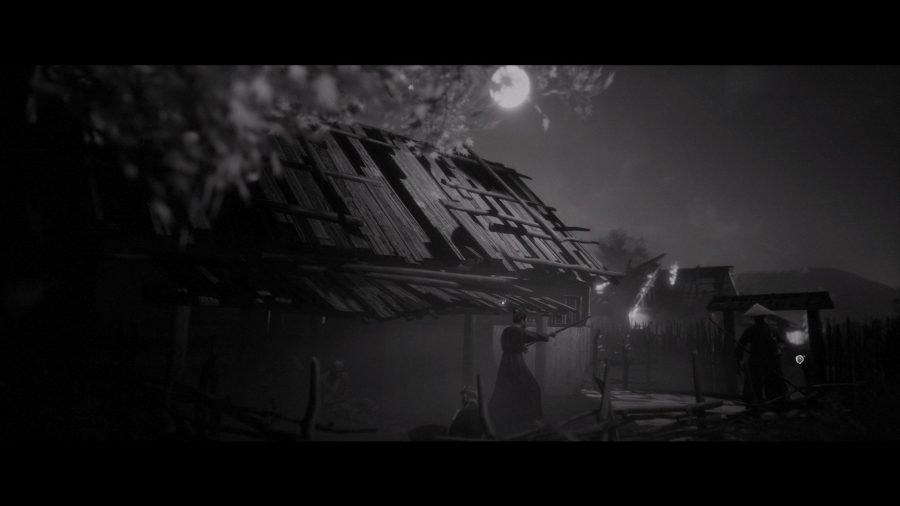
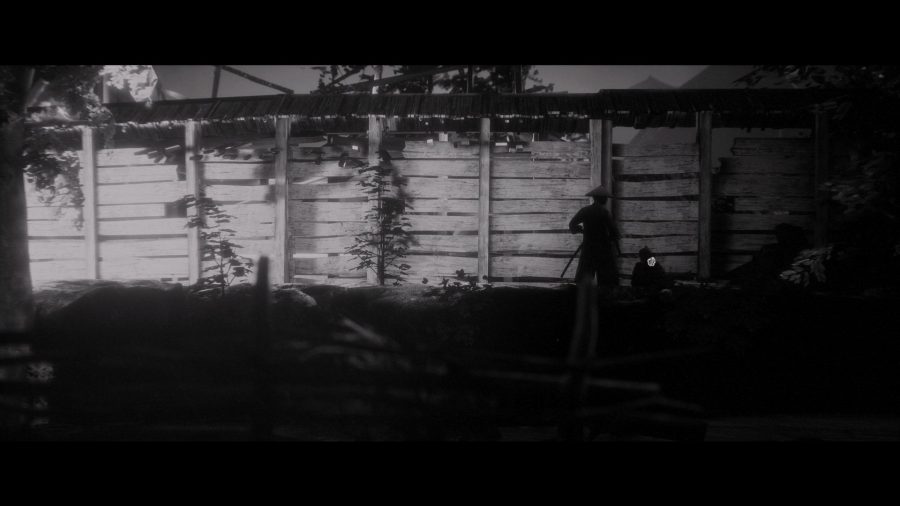
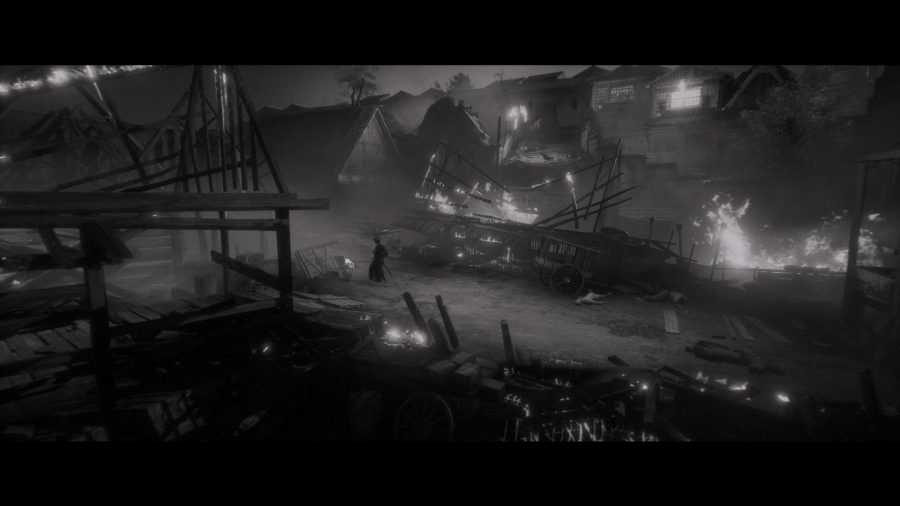
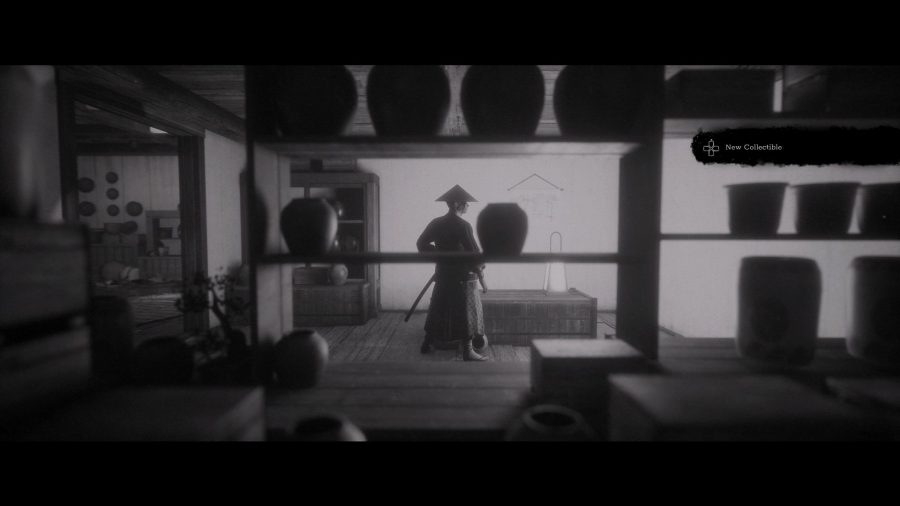
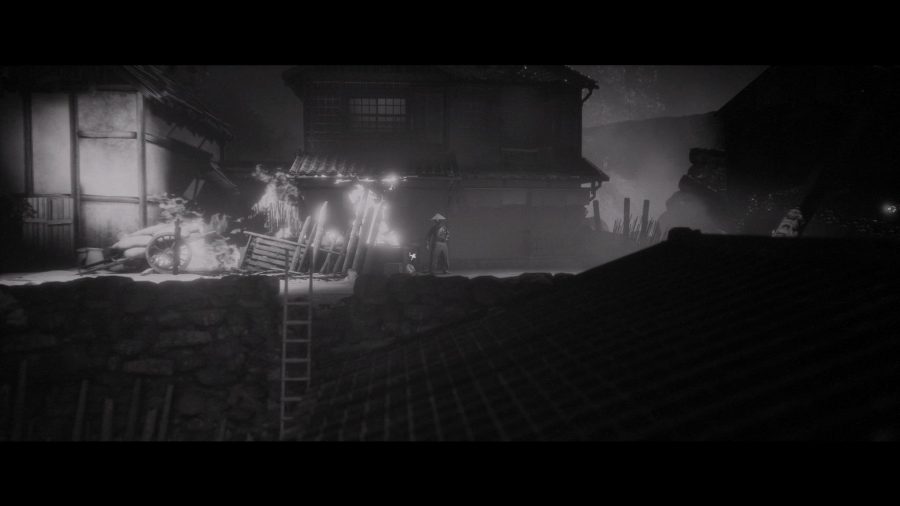
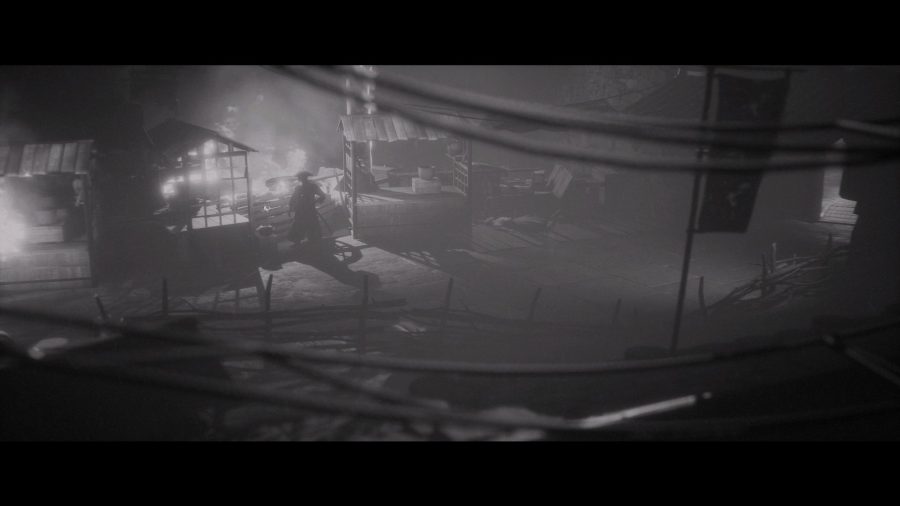
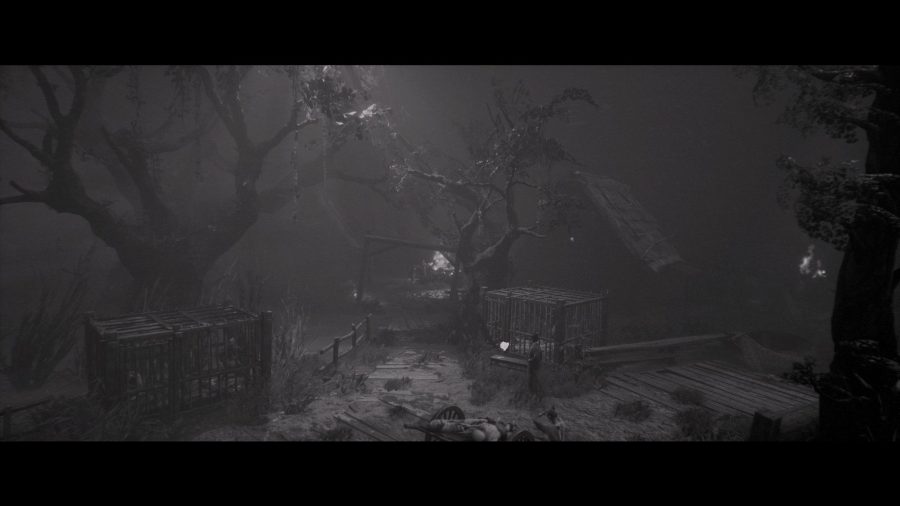
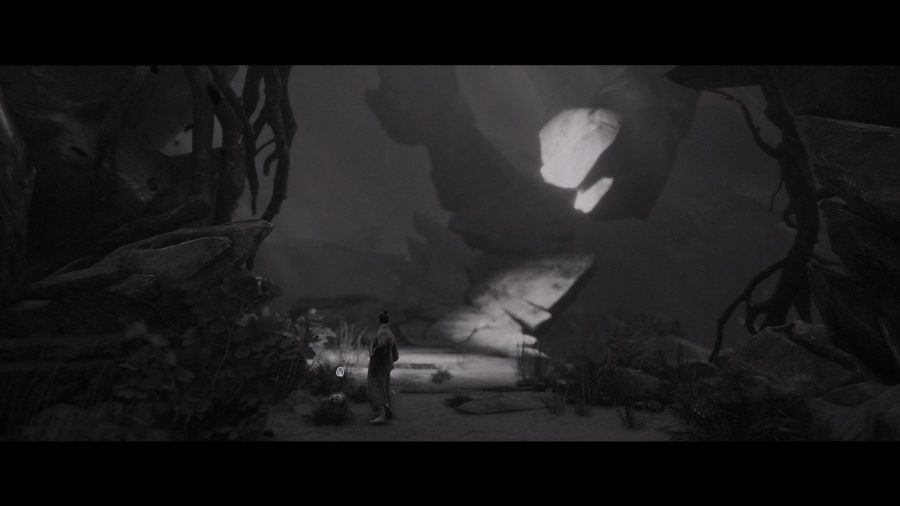
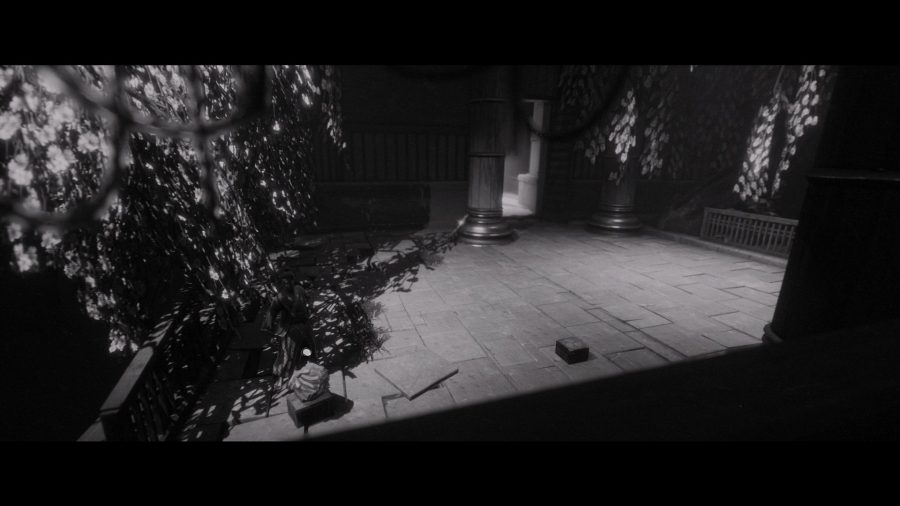
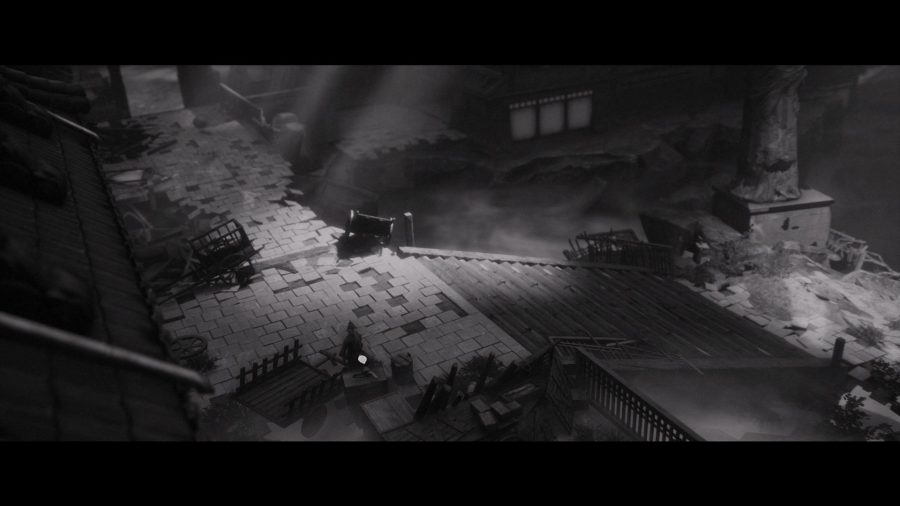
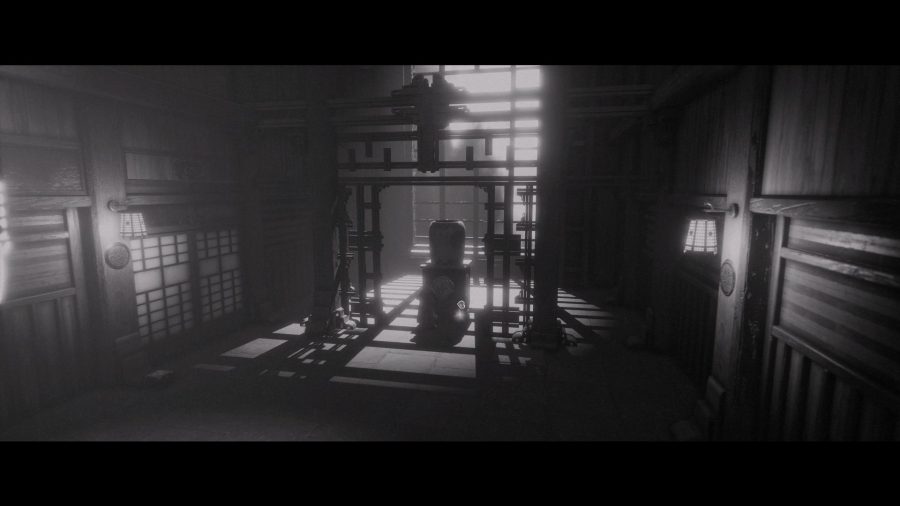
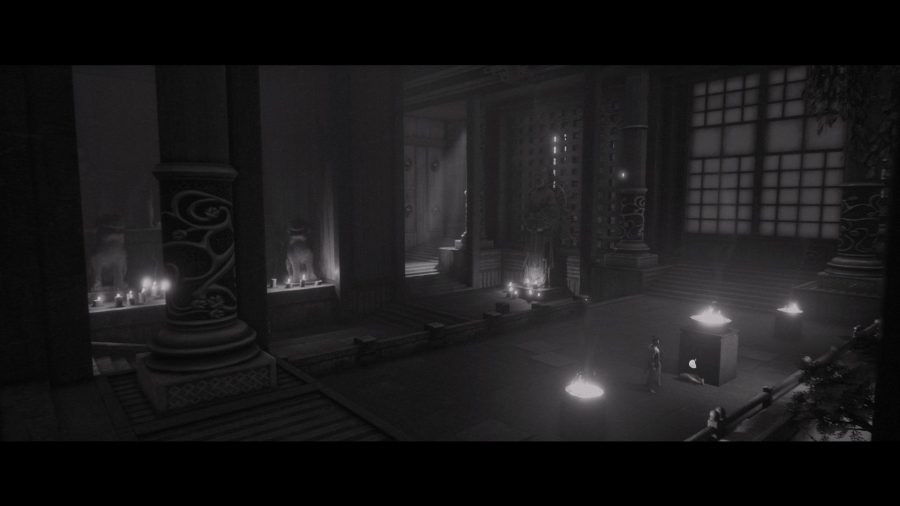
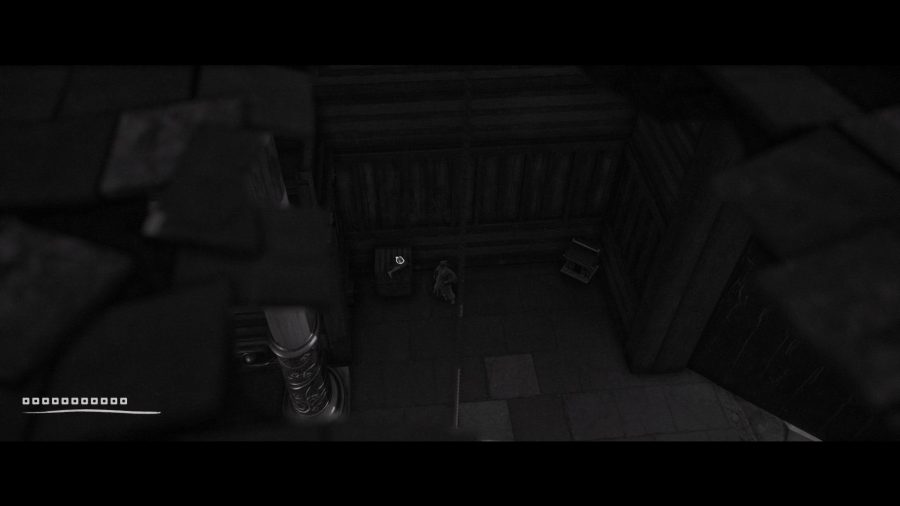
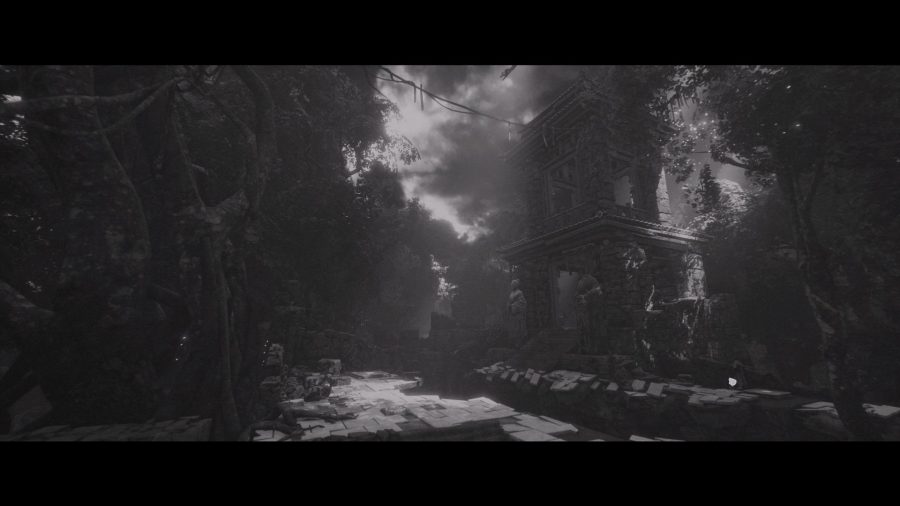
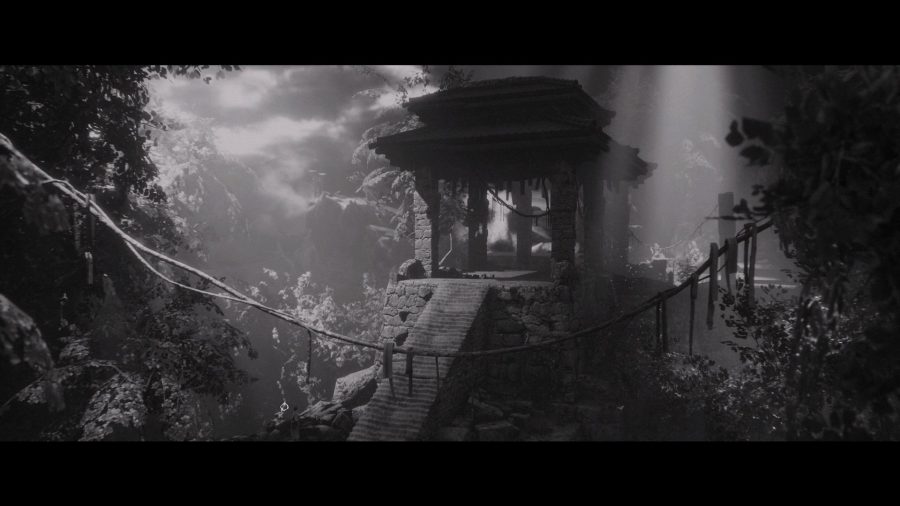
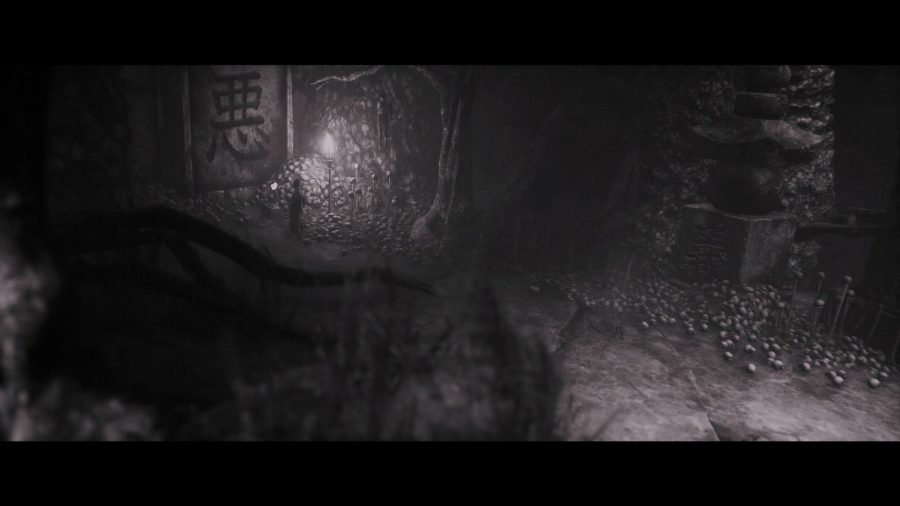
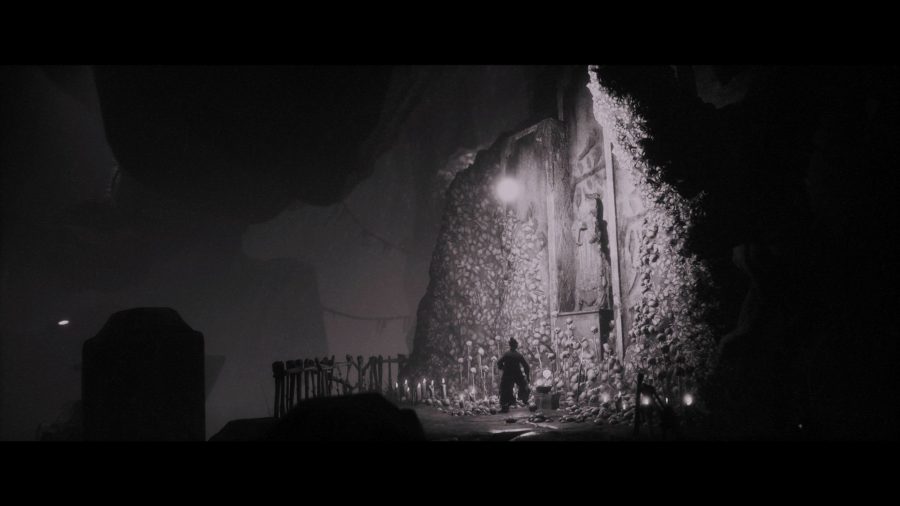
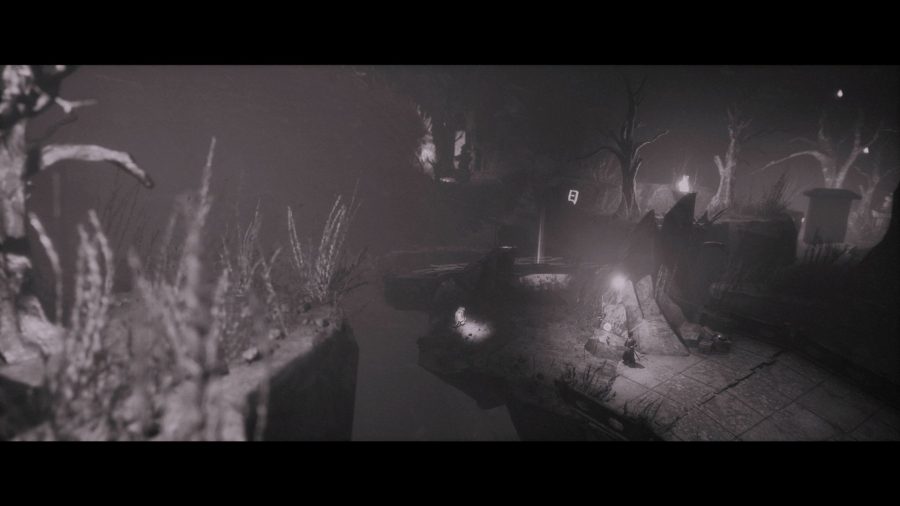
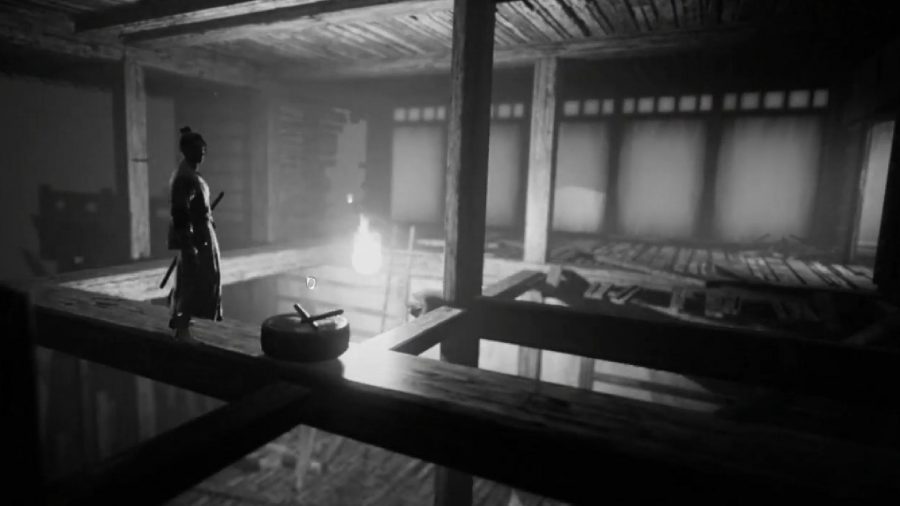
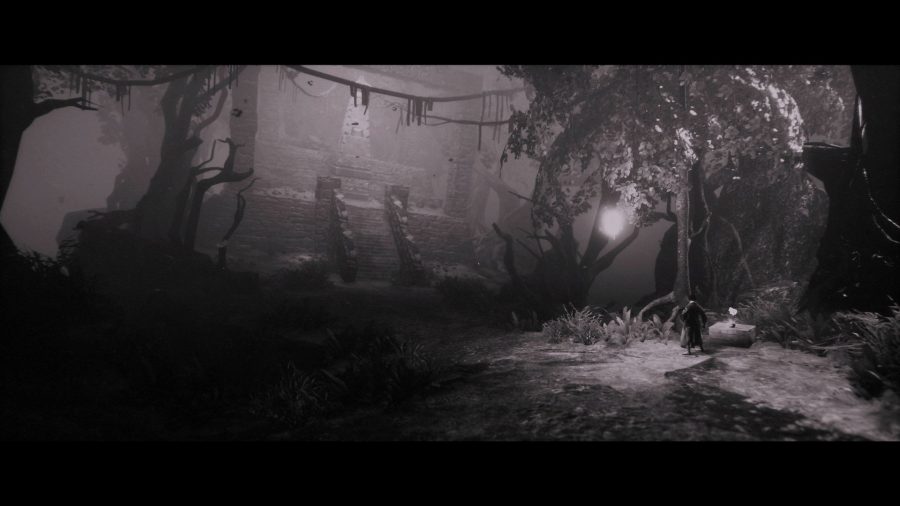
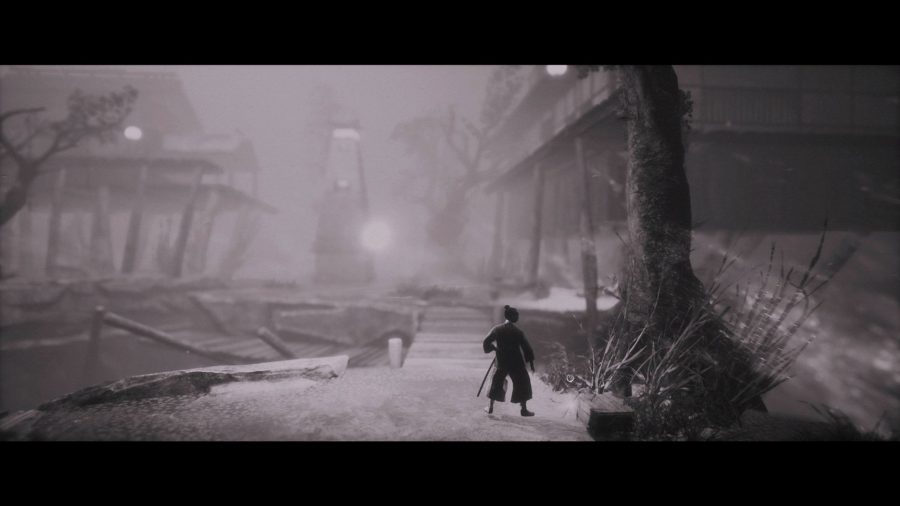
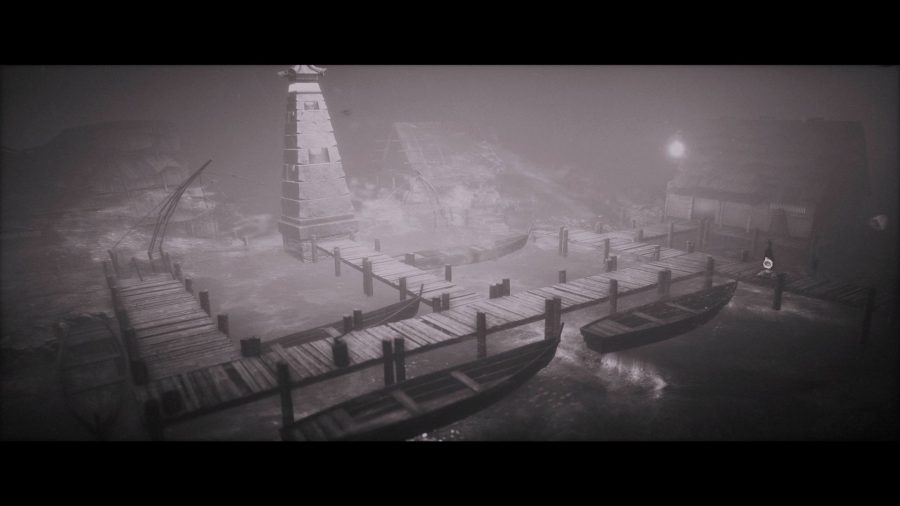
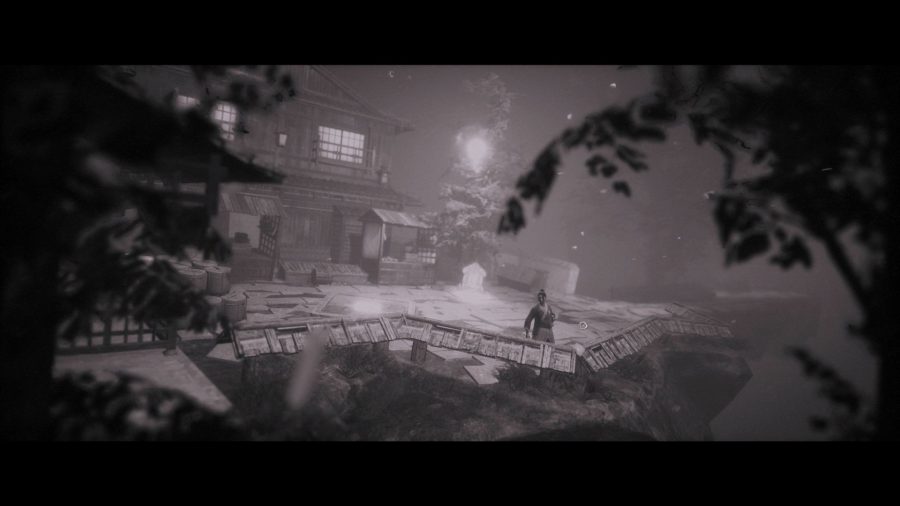
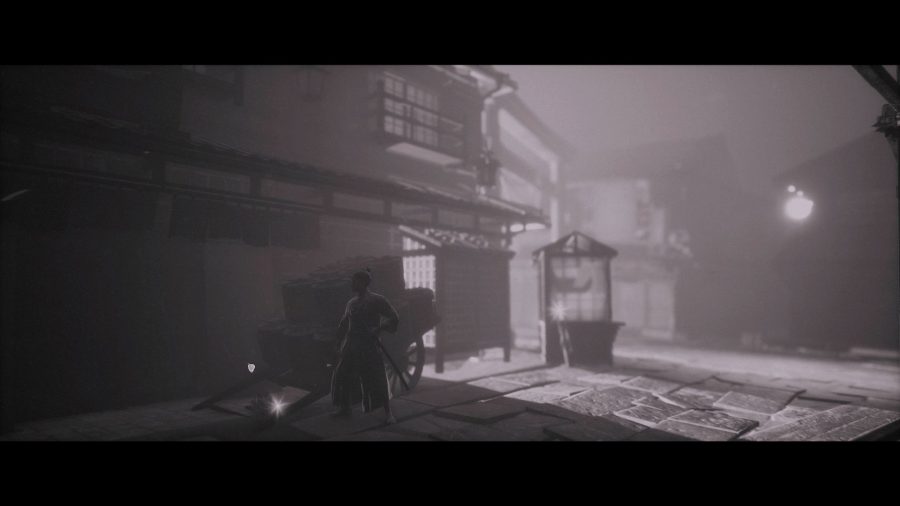
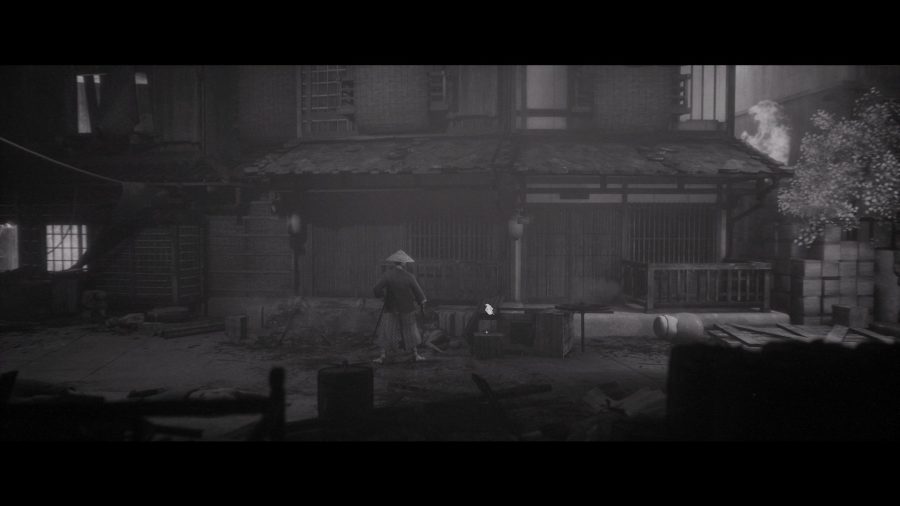
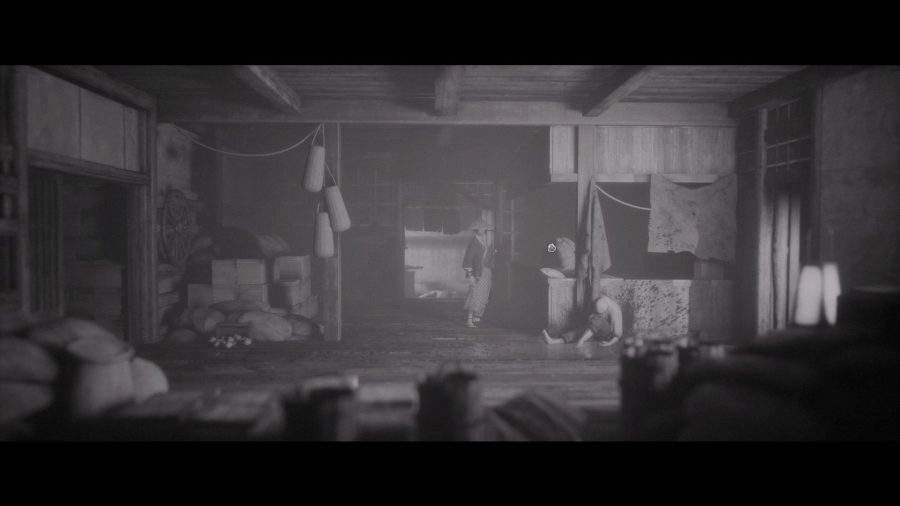
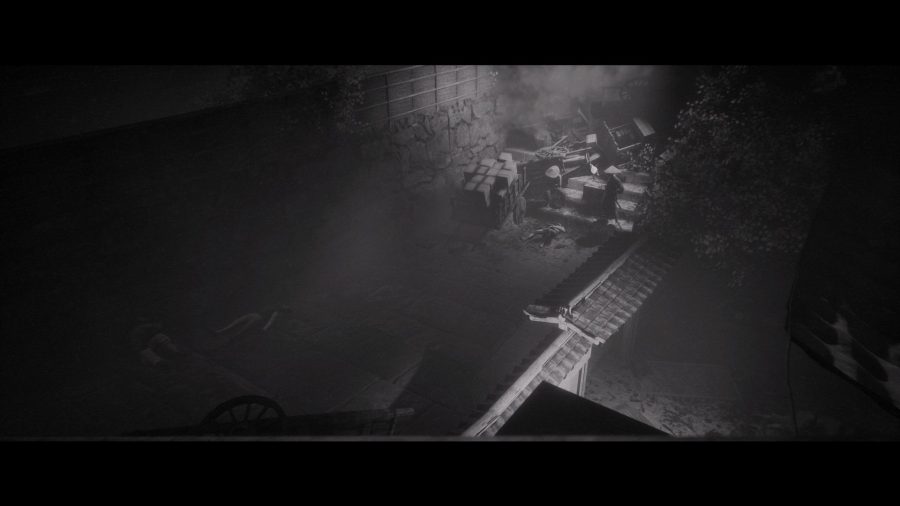
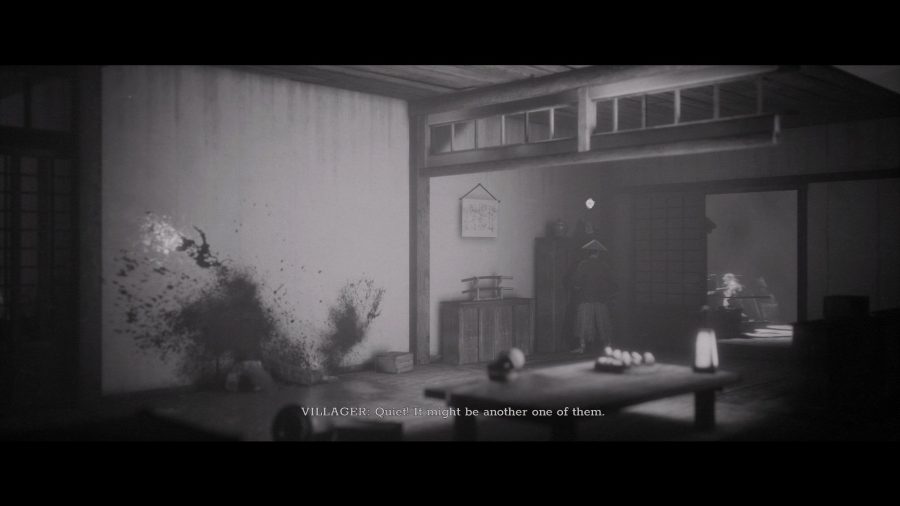
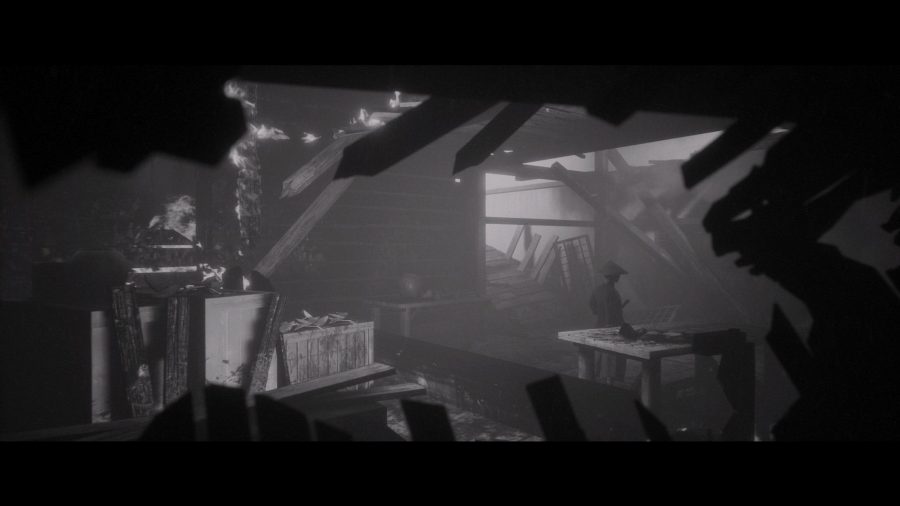
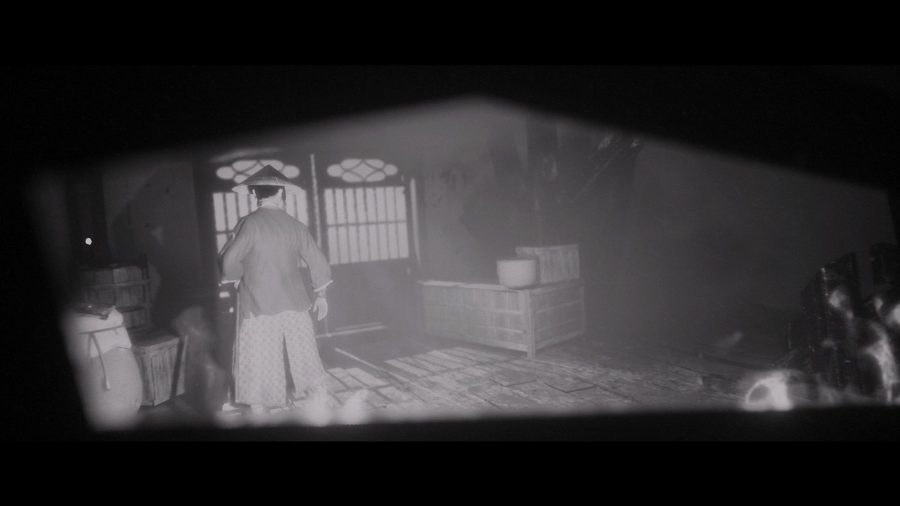
Trek To Yomi is a mostly linear game with very little side content to do or find in the world. However, there are a few dozen collectibles to find throughout the world that can be hidden rather well. So, if you are looking to complete the game and everything in it, you will want to use this Trek To Yomi collectible artifact locations guide.
There are around a dozen or fewer collectibles within each of the game’s chapters so you will need to keep an eye out while working your way through each of the chapters and slaying foes in the game’s chapters.
This guide will cover all of the Trek To Yomi collectible artifact locations, so you don’t have to scour the monochrome levels in the game for the fairly well-hidden objects that are hiding in the background and foreground.
Trek To Yomi collectible artifact locations
Trek To Yomi has 60 collectible artifact locations spread out across the seven chapters, which can be found in side rooms, in the foreground, and in the background of screens.
- Chapter 1 collectible artifact locations
- Chapter 2 collectible artifact locations
- Chapter 3 collectible artifact locations
- Chapter 4 collectible artifact locations
- Chapter 5 collectible artifact locations
- Chapter 6 collectible artifact locations
- Chapter 7 collectible artifact locations
Chapter 1 Collectible Artifact Locations
There are seven collectible artifact locations in Trek To Yomi’s first chapter. They are in the following locations:
Tamaya Mirror location
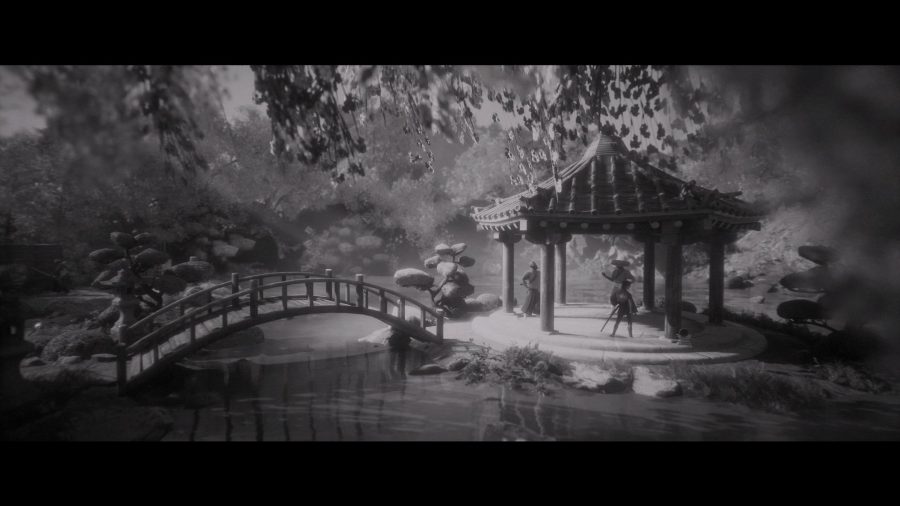
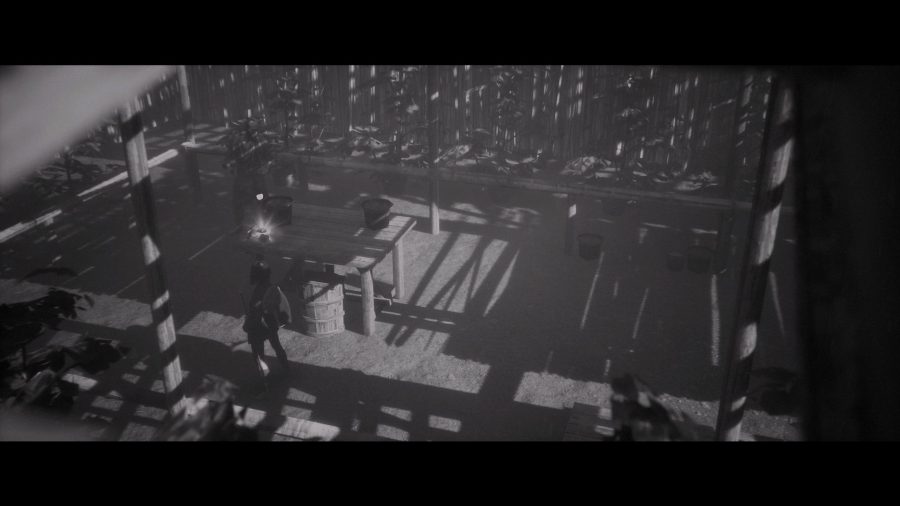
After you complete the tutorial fight, head out the back of the building to the garden. Underneath the gazebo at the end of the garden, you can find the mirror by a supporting pole.
Izanagi Print location
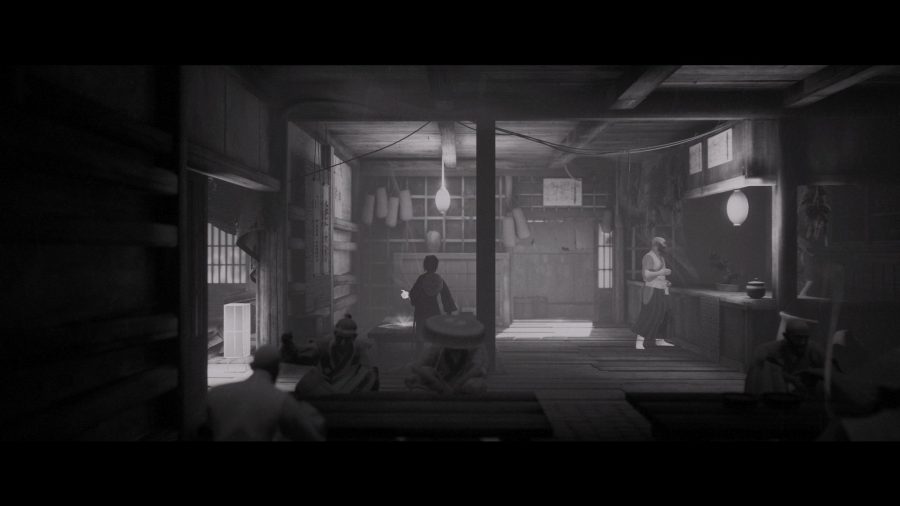
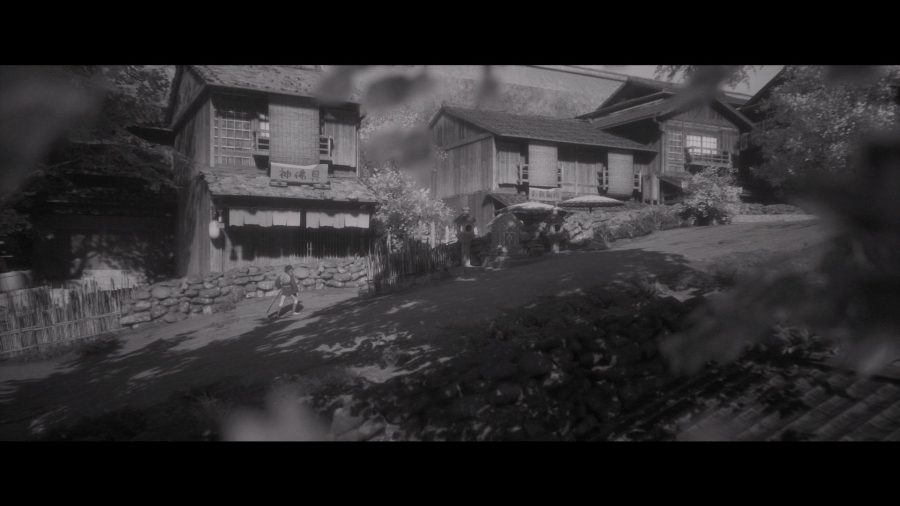
As you make your way through the town and buildings, you will come across a building where people are eating. On the table, in the first room of this building, you can find the collectible artifact.
Kai-Awase Shell location
The Kai-Awase Shell collectible artifact location can be found when you reach the first shrine. Instead of heading forward, head to the left to find a man talking to Hiroki, he will offer him the collectible if you talk to him.
Sakura Bloom location
The Sakura Bloom can be found just past the shrine. While heading to the outer edge of the village, take the left path into a barn. The flower is sat on the table in the barn.
Field Mouse Sculpture location
The next collectible can be found a little further on, once you begin heading down the hill. You will see a small path, behind the hill, denoted by a wooden fence. Head back there to find the collectible on the table.
Kakute location
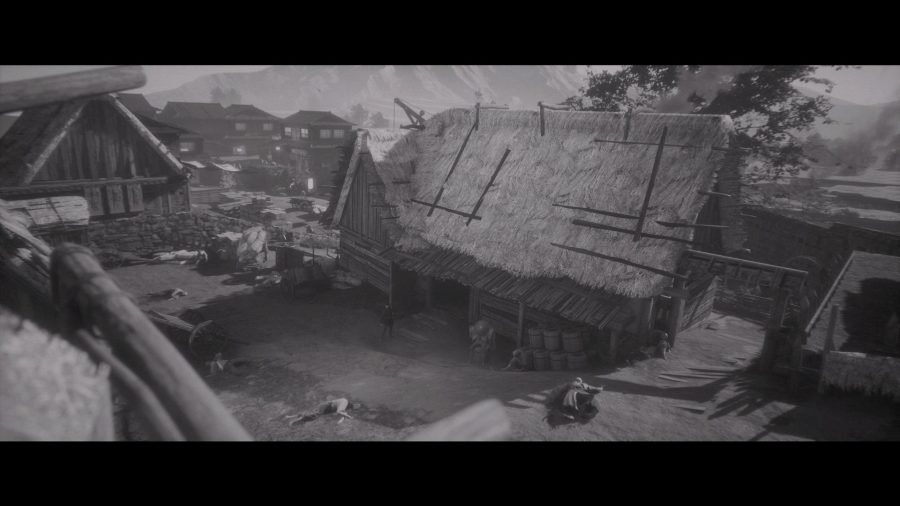
The Kakute collectible artifact location can be found inside the building with the straw roof in the outer village before you push the cart.
Izanami Print location
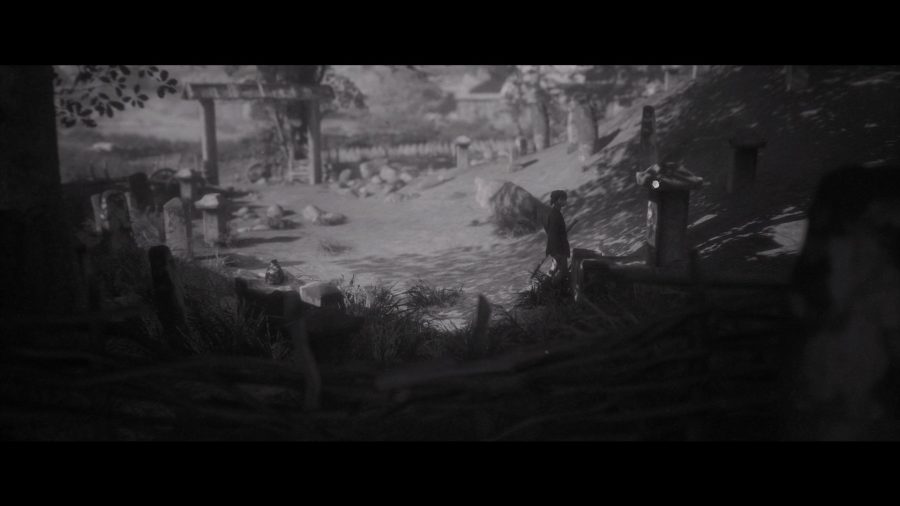
The final collectible in this chapter can be found at the very end of the level, when you reach the fields. Before you head, left at the junction in the path, take a right to find the print on a stone memorial. You can also find a Stamina Upgrade location here.
Chapter 2 collectible artifact locations
There are six collectible artifact locations in chapter 2 of Trek To Yomi. They can be found in the following places:
Discarded Kami Carving location
The Discarded Kami Carving can be found when you approach the cliff you need to climb up with the log. Before going up, continue to the right to find the item by a small pile of straw.
Crude Tekko location
When inside the mines, you will see a room which has a broken pathway and a plank of wood standing up straight. Shimmy along the wooden planks and push the wooden plank down and walk across it to find the collectible on a barrel on the other side of the mine.
The Three Monkeys location
Once outside and have crossed the bridge, take the cliff up to the left to find a shrine. Interact with the shrine to pick up the collectible.
EMA Location
After you push the cart out of the way, you will need to climb a ladder to progress. Before you do, look on the straw to the left to find the artifact collectible location.
Lost Love Letter location
The next Trek To Yomi collectible artifact location can be found after you cross the river. Before going across the small boats, head to the left to find another section of the area. Enter the house at the very end to find the letter on a stool.
Mori Shio location
The final collectible artifact in chapter 2 can be found after you kick the doors to the barn and come across a shrine. Instead of continuing to the right, walk towards the camera to find it on a stump.
Chapter 3 collectible artifact locations
There are 10 Trek To Yomi chapter 3 collectible artifact locations. They can be found in the following areas of the level:
Swordsmith’s Hammer location
Towards the beginning of the level, you can find the hammer next to a disheveled hut along the main street of the village.
Dove location
The Dove can be found inside the top floor of the large building you come across with the bridge. In the first room of the upper floor, next to the shrine, you can find the dove collectable artifact.
Magatama Bead location
The Magatama Bead can be found much later in the game. After you make your way to the field on the outskirts of the village, head up the path towards the burning houses. Here you can find the bead sitting just behind the crying man.
Fujin Print location
Next, head back down to the field and walk towards the camera when you reach the junction in the path. On this next screen, you can find the Fujin Print by the boat, on the ground.
Fishing Rod location
Continue onwards until you reach a screen which has a gate to your left. This is just before you face the enemies on horses. Head through the gate to find the fishing road on the fence, on the right side of the screen.
Ugajin location
The Ugajin collectible artifact location can be found when you reach the next gate, to head back inside the village. Before going through, walk along the fence to the right to find the collectible at the end of the path.
Bronze Mirror location
The Bronze Mirror can be found a little ahead, after you climb up and have to head to the right. Before you do, look by a toppled over cart at the top of the path to find the collectible.
Inarizushi location
After you enter the next house, you can find the collectible on a shelf on the lower floor, next to a stamina upgrade. You can grab this before jumping through the window on the upper floor.
Moon Flask location
The Moon Flask can be much later on in the level, after you come across a ladder in a small alcove. Either climb it or head up the path prior to find the flask sitting by a crate.
Rice Bowl location
Chapter 4 Collectible artifact locations
There are 10 collectible artifacts in Chapter 4 of Trek To Yomi. They are in the following locations:
Onyudo location
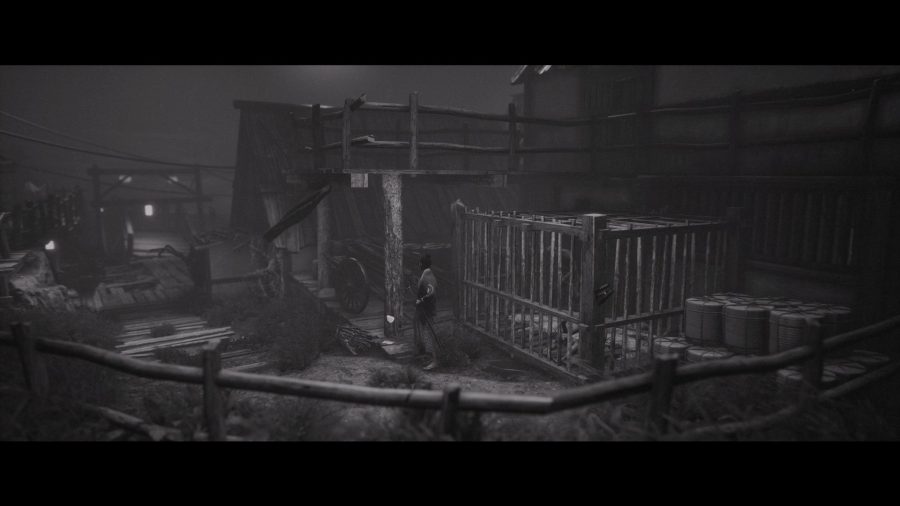
The first collectible can be found when you reach the junction by the broken bridge with a boat. It is sitting on a small table, in front of a cage.
Noppera-Bo location
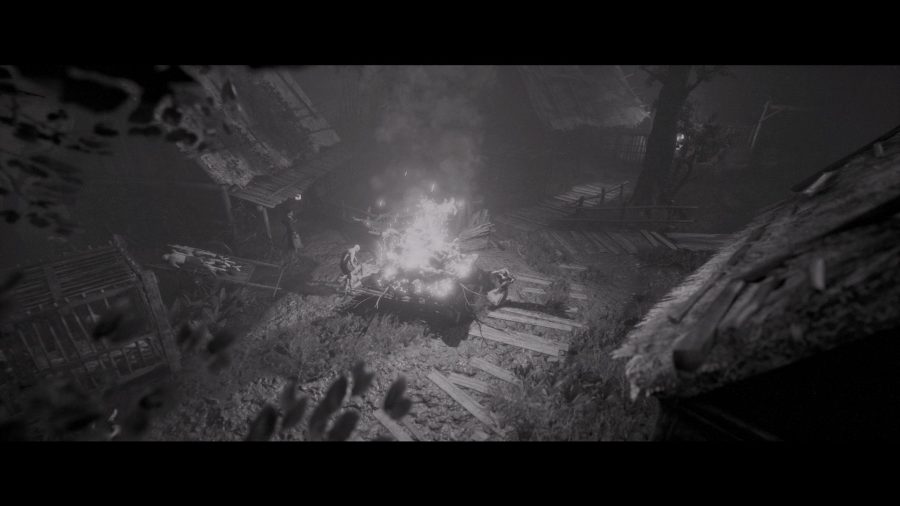
The next collectible is shortly after, inside the house to the left of the large fire. Inside, you can find it sitting on a box in the foreground.
Otoroshi location
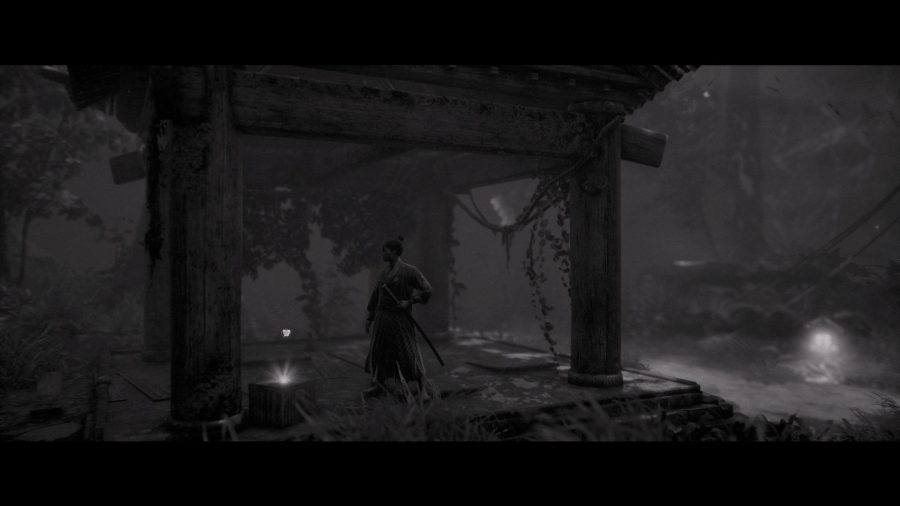
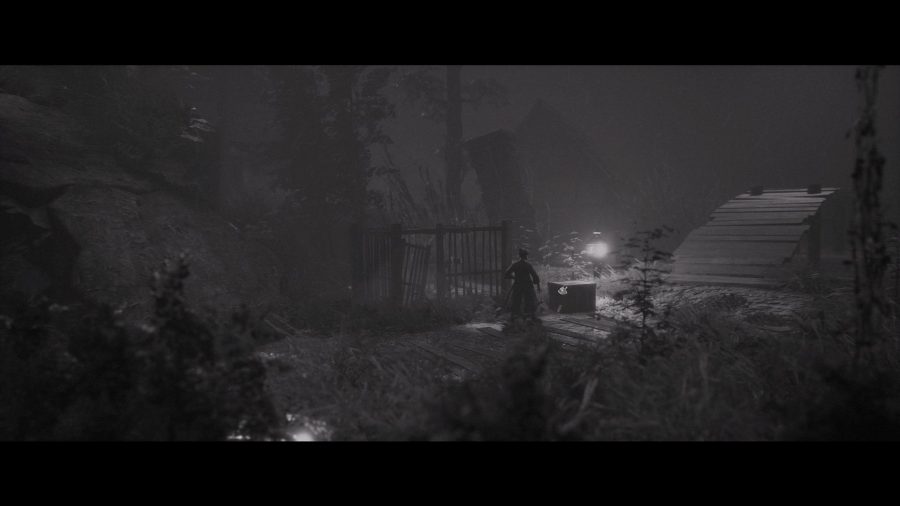
Slightly further on you will reach a saving shrine, with a small gazebo to the left. Sitting on a box under that gazebo is the collectible.
Hitotsume-Kozo location
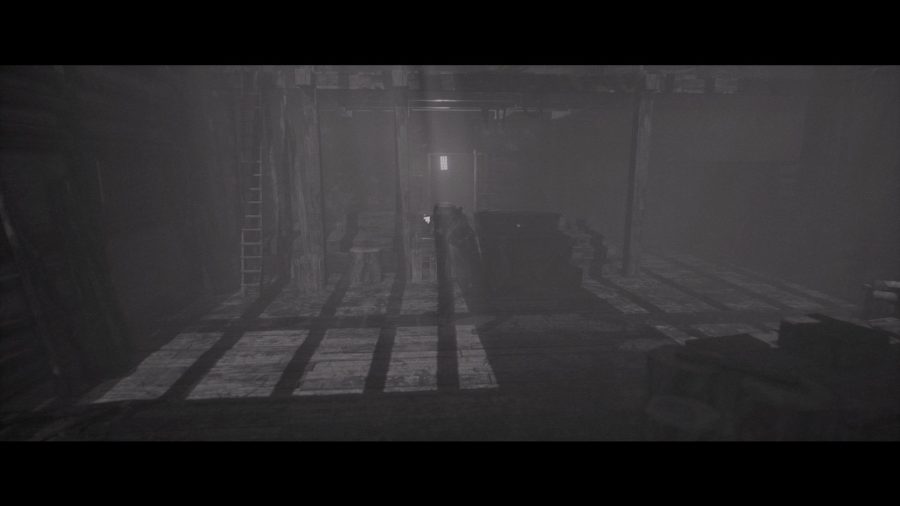
Once you enter the barn, you can find the collectible on the lower level, just next to the ladder, sitting on a box.
Yurei location
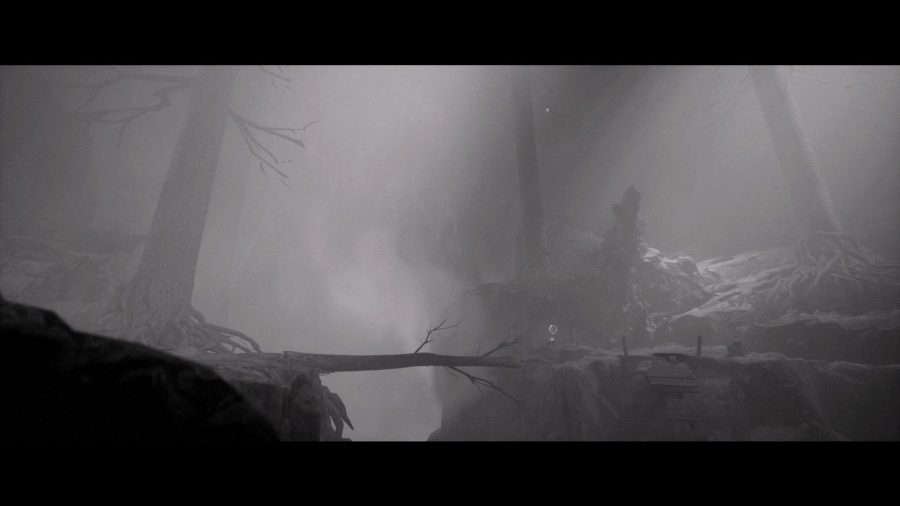
When you get back outside, you will be presented with two paths after climbing a small cliff. Ignore the wooden pathway to the left and take the right path. Up here, push the tree down to find the Yurei collectible artifact location in Trek To Yomi.
Uwan location
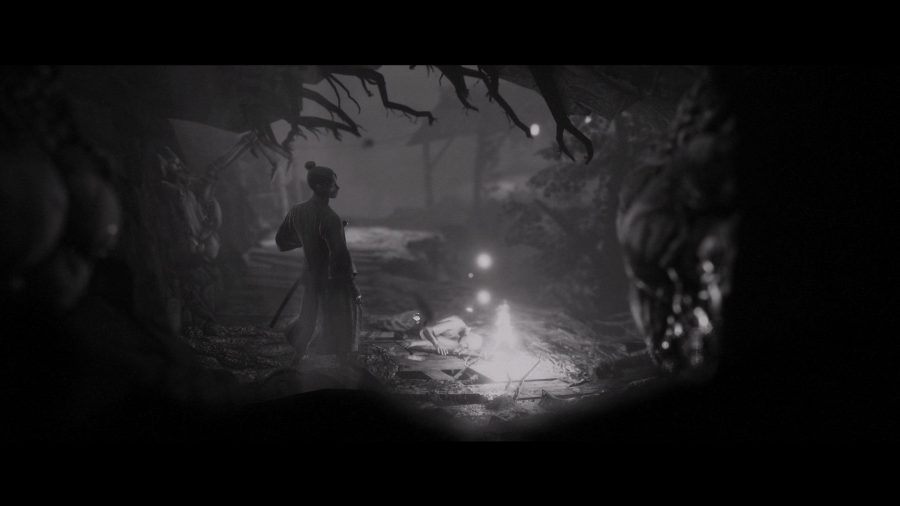
A little bit later on you will cross a large bridge covered with leaves. Pass through the following building and then at the junction, take the steps upwards. Walk towards the body by the fire to find the collectible on the ground.
Nuppeppo location
As you enter the marshlands, instead of heading across the bridge, walk in the opposite direction, to find a small area behind the building. Back here, next to a supporting pole for the walkway above, you can find the collectible.
Inugami location
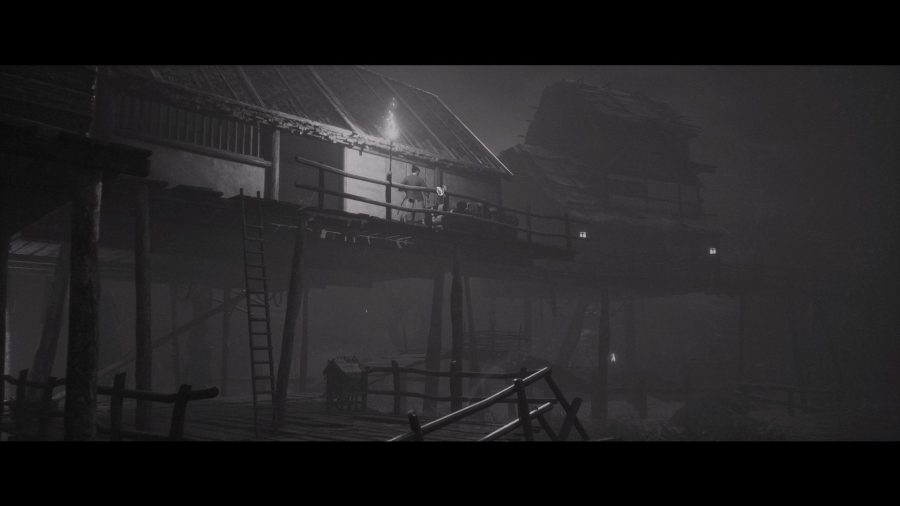
Past the main part of the swampy, marshlands, you will find a building suspended above the water and ground level with a long ladder. Climb up that ladder and on the items by the entrance to the building, you can find the collectible.
Ushi-Oni location
Towards the end of the level, after you have passed the large tower, you will find a bridge that will collapse behind you as you walk on it. After making your way across, walk to the far right of the screen and climb up to the wooden walkway that has broken off. Here, you can find the Ushi-Oni collectible on a small box at the back of the platform.
Yamawaro location
Finally, before you cross the wooden walkway into the swampy marshlands itself, you will see a cage with a door ajar. Resting by the box next to that cage is the final collectible artifact.
Chapter 5 Collectible Artifact Locations
There are eight collectible in Chapter 5 of Trek To Yomi:
Great Thunder location
This collectible can be found at the very beginning of the level, after you head down the small set of stairs.
Cleaving Thunder location
When inside the first building in the level, you will reach a small L shaped path that leads to a cliff overlooking a tower. Before heading along that path, turn to the left and head through the opening to the right of the door you just came through. Here, you can find the collectible in the corner.
Earth Thunder location
When travelling through the crumbling village, you will eventually need to head down a large set of stairs, past a statue. Before going down those stairs, look on a box by the cart to find the collectible.
Black Thunder location
The next collectible can be found after you have entered a large building with multiple boss fights. Eventually, you will come across a screen door that opens in the centre of the screen and leads to a staircase. Before heading through that door, walk all the way to the right to find the collectible by the large vase on the pillar.
Couchant Thunder location
Slightly further on, you will pass a shrine with a large statue that has a few candles by its base. Before heading up the staircase to the left, walk up the one to the right to find the collectible sitting behind a brazier pillar.
Roaring Thunder location
After the boss battle in the large dojo room, which is a repeat of the boss battle from the beginning chapters of the game, head into the next room. Look next to the shrine to find the collectible on a box.
Young Thunder location
Much further into the level, you will need to complete a symbol puzzle and stand on a platform to raise the broken ground. Instead of heading into the tower, after raising the ground quickly run towards the right of the staircase to find the collectible on the ground. You will need to get there before the ground collapses again.
Fire Thunder location and Raijin location
These two collectibles can be found a little bit further on when climbing up multiple staircases to a tower. They are sitting by the base of the last staircase.
Chapter 6 Collectible artifact locations
There are 10 collectible artifact locations in Trek To Yomi chapter 6:
Yutsu-Tsuma-Gushi location
At the beginning of the level, walk up to the background to find a small area, with the collectible sitting on a box.
Maggots location
The Maggots can be found a little further on when you reach a large open door after completing the first puzzles. Before progressing through, head up the ramp in the background to find the collectible.
Ebikazura Grapes location
After heading through the large Torii Gate portal, and passing the first set of falling rocks, you will reach a small rest bite area by a shrine. On a rock, just before the shrine, you can find the grapes.
Thunder Drum location
When you reach the large creature skull in the background, head into the building nearby and up the ladder. Walk along the ramparts, to find the collectible.
Ookamuduminomikoto location
A little further on, you will see one of the large teleporting pillars up a staircase. Just before then, you can find the collectible on a box.
Totsuka-No-Tsurugi location
Later on, when you are exploring the islands with a number of buildings, you will need to cross a bridge to one of the teleporting pillars. Before that bridge is a tree with the collectible sitting next to it.
Naginata Tip location
When crossing the small islands connected by burning bridges, you will eventually reach the entrance to a group of buildings. Before progressing to the right, look on some boxes in the background to find the collectible.
Tainted Clothing location
When on the docks, ignore the teleportation tower, and head to the back-right corner of the docks to find the collectible.
Yomotsu Hirasaka location
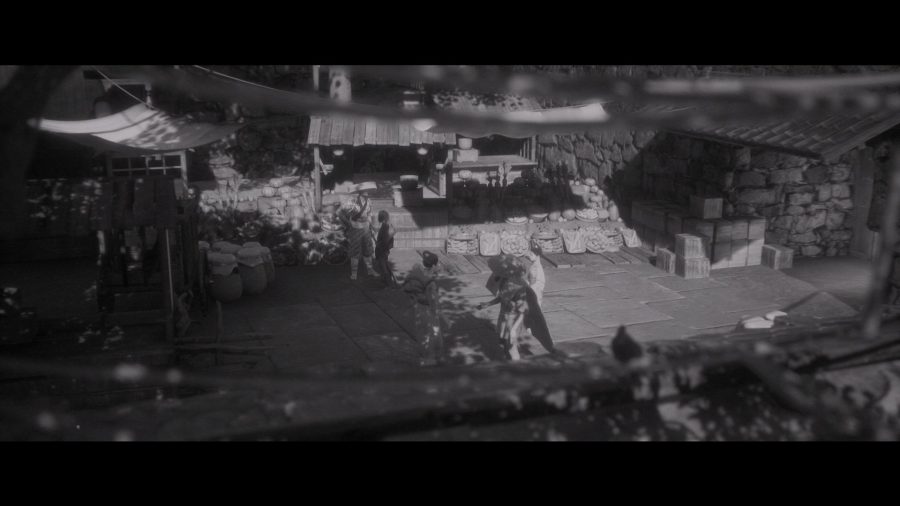
Later on, when you reach a shrine in front of a building and some market stalls, look by the fence in the foreground to find the collectible artifact.
Onusa location
Right before the very end of the level, the final gate in the collection of buildings, head to the left to find the collectible behind a cart.
Chapter 7 Collectible Artifact locations
There are nine collectible artifact locations in chapter 7 of Trek To Yomi:
Matching Kai-Awase Shell location
At the start of the level, take the right path to find the collectible on a box.
Hiogi Remnant location
Right after going up the stairs, you can find the collectible on the side above the dead body.
Kiseru Remnant location
When back outside, head up the staircase with rubble. The collectible is sitting on this staircase.
Death Warrant location
After you drop through the building and head back to ground level, ignore the shrine and walk to the right to find a small back alley area. The collectible is sitting on a barrel in the foreground.
Omoikane Mask location
After you defeat the first boss in front of the burning rubble, look on the shelf in the first room of the next building. On the shelf, you can find the next collectible.
Tsurugi location
Much later into the level, you will kill a number of enemies in a garden and pass into a building. Hiroki will squeeze past some rubble and in the foreground, there will be a table. The collectible is sitting on the table.
Kanke Koshu location
Directly after that, head up to the top floor and look to the left of the door to find the next collectible artifact.
Kagami location
After you run past the burning buildings and it explodes, you will be on a set of docks by a river. Instead of going up the wooden platform, walk up the river to find the collectible.
Sake Cup
Before you head up the stairs in the courtyard towards the final fight. Head to the left to find the collectible on a barrel.
That covers all the Trek To Yomi collectible artifact locations. For more tips as you play, check out our Trek To Yomi walkthrough which is packed with additional guides.
