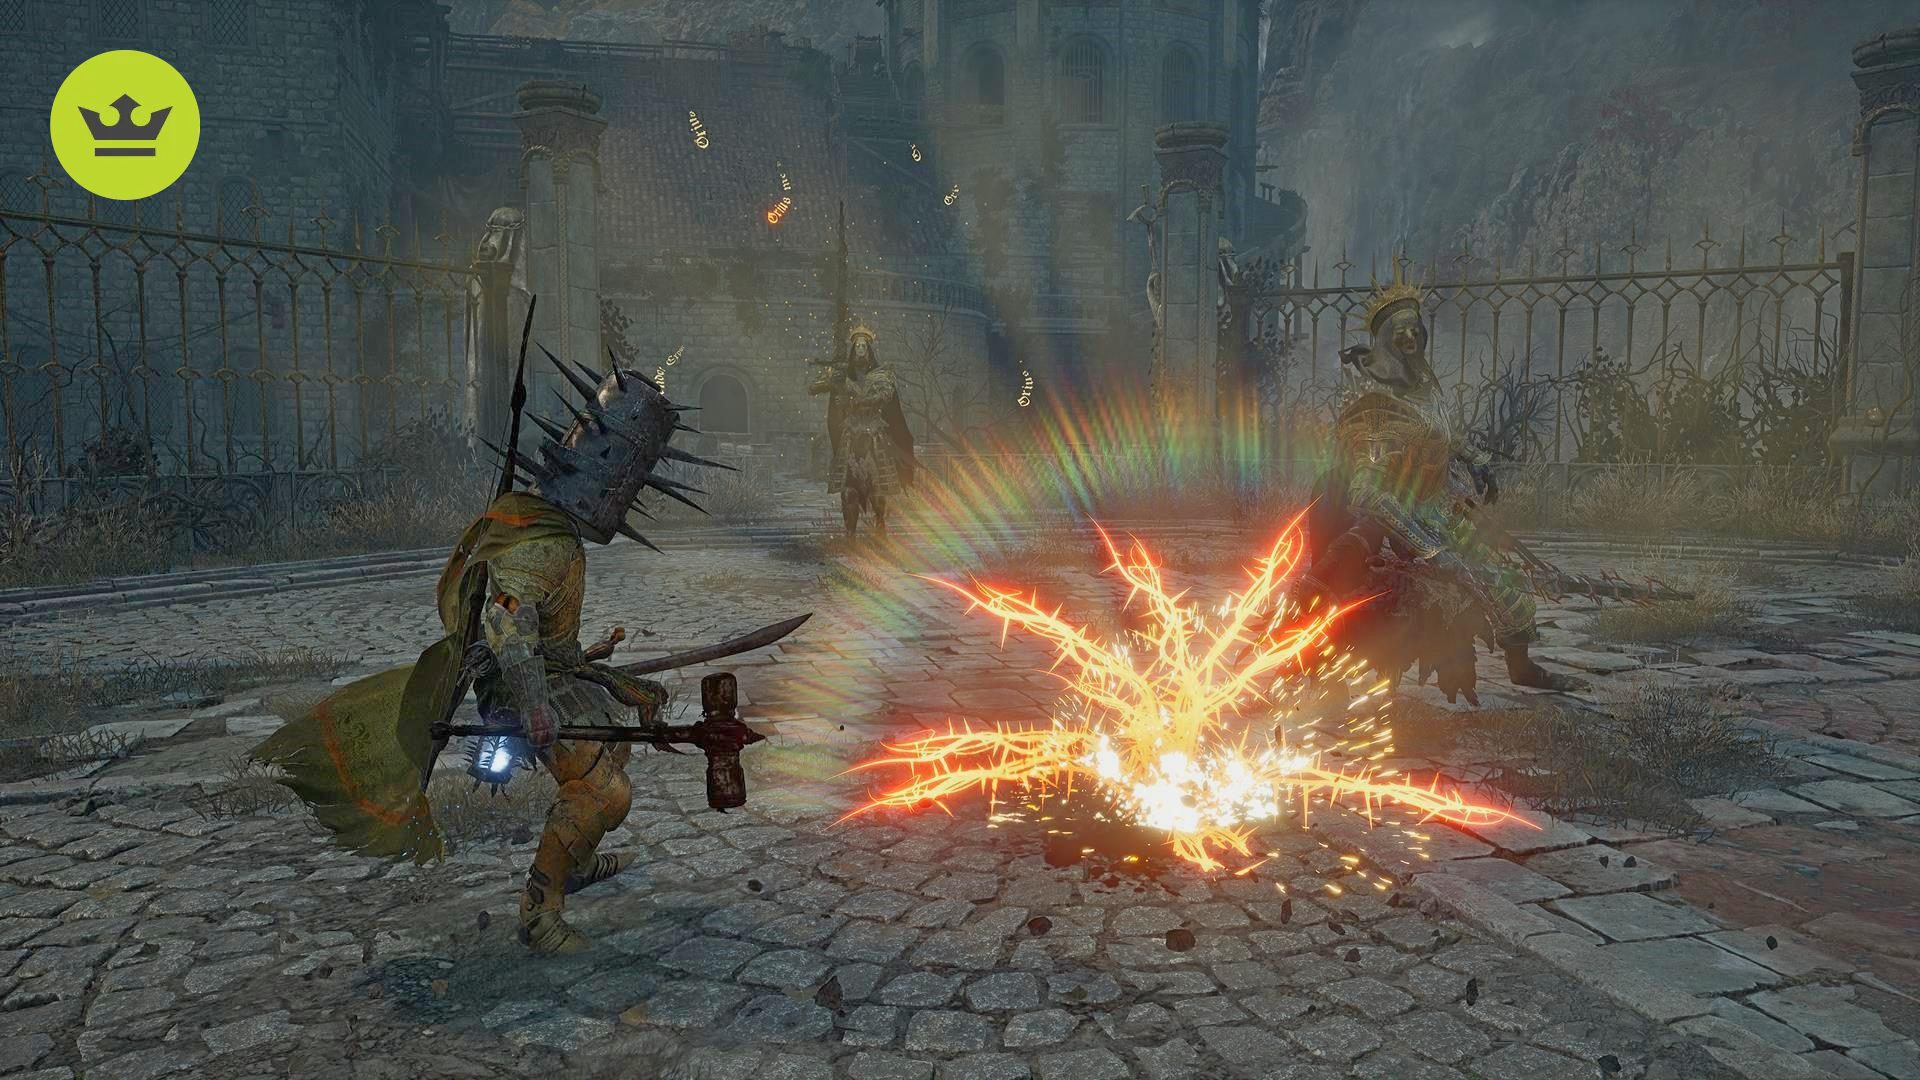
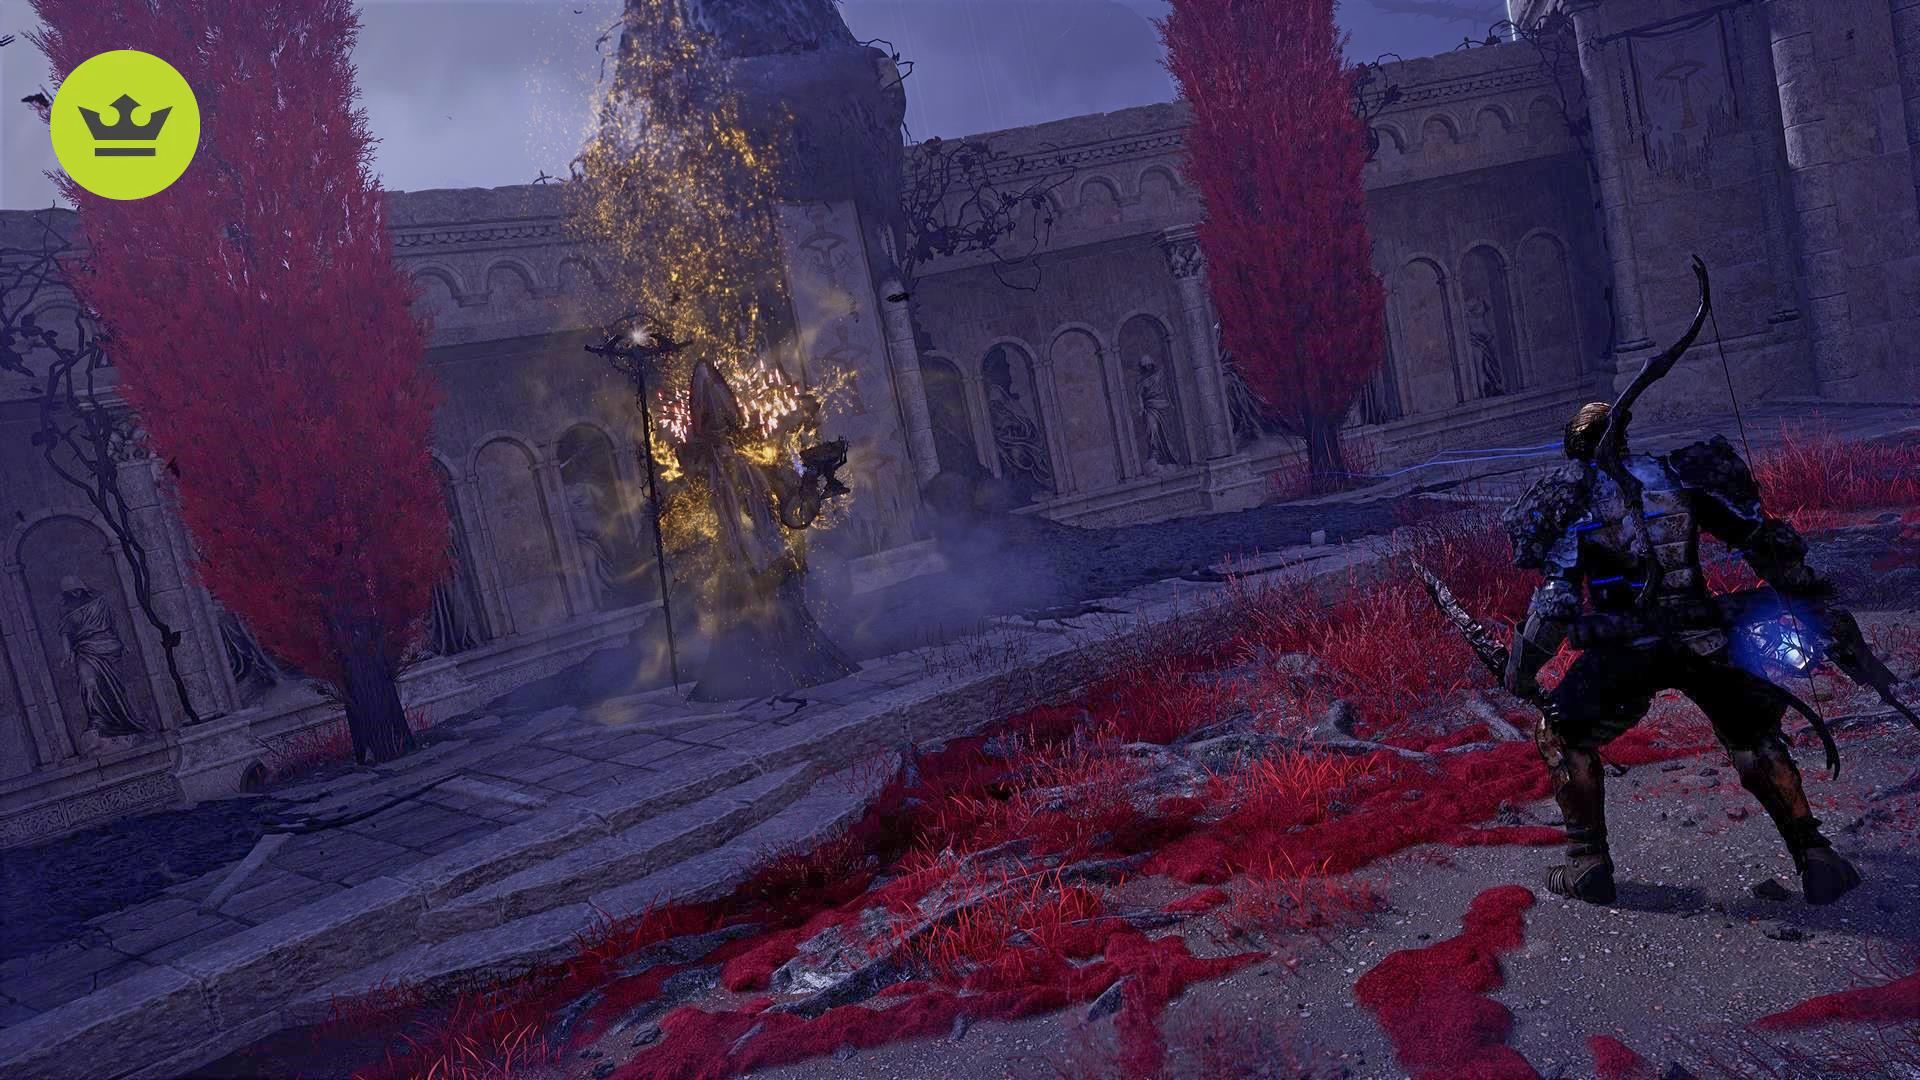
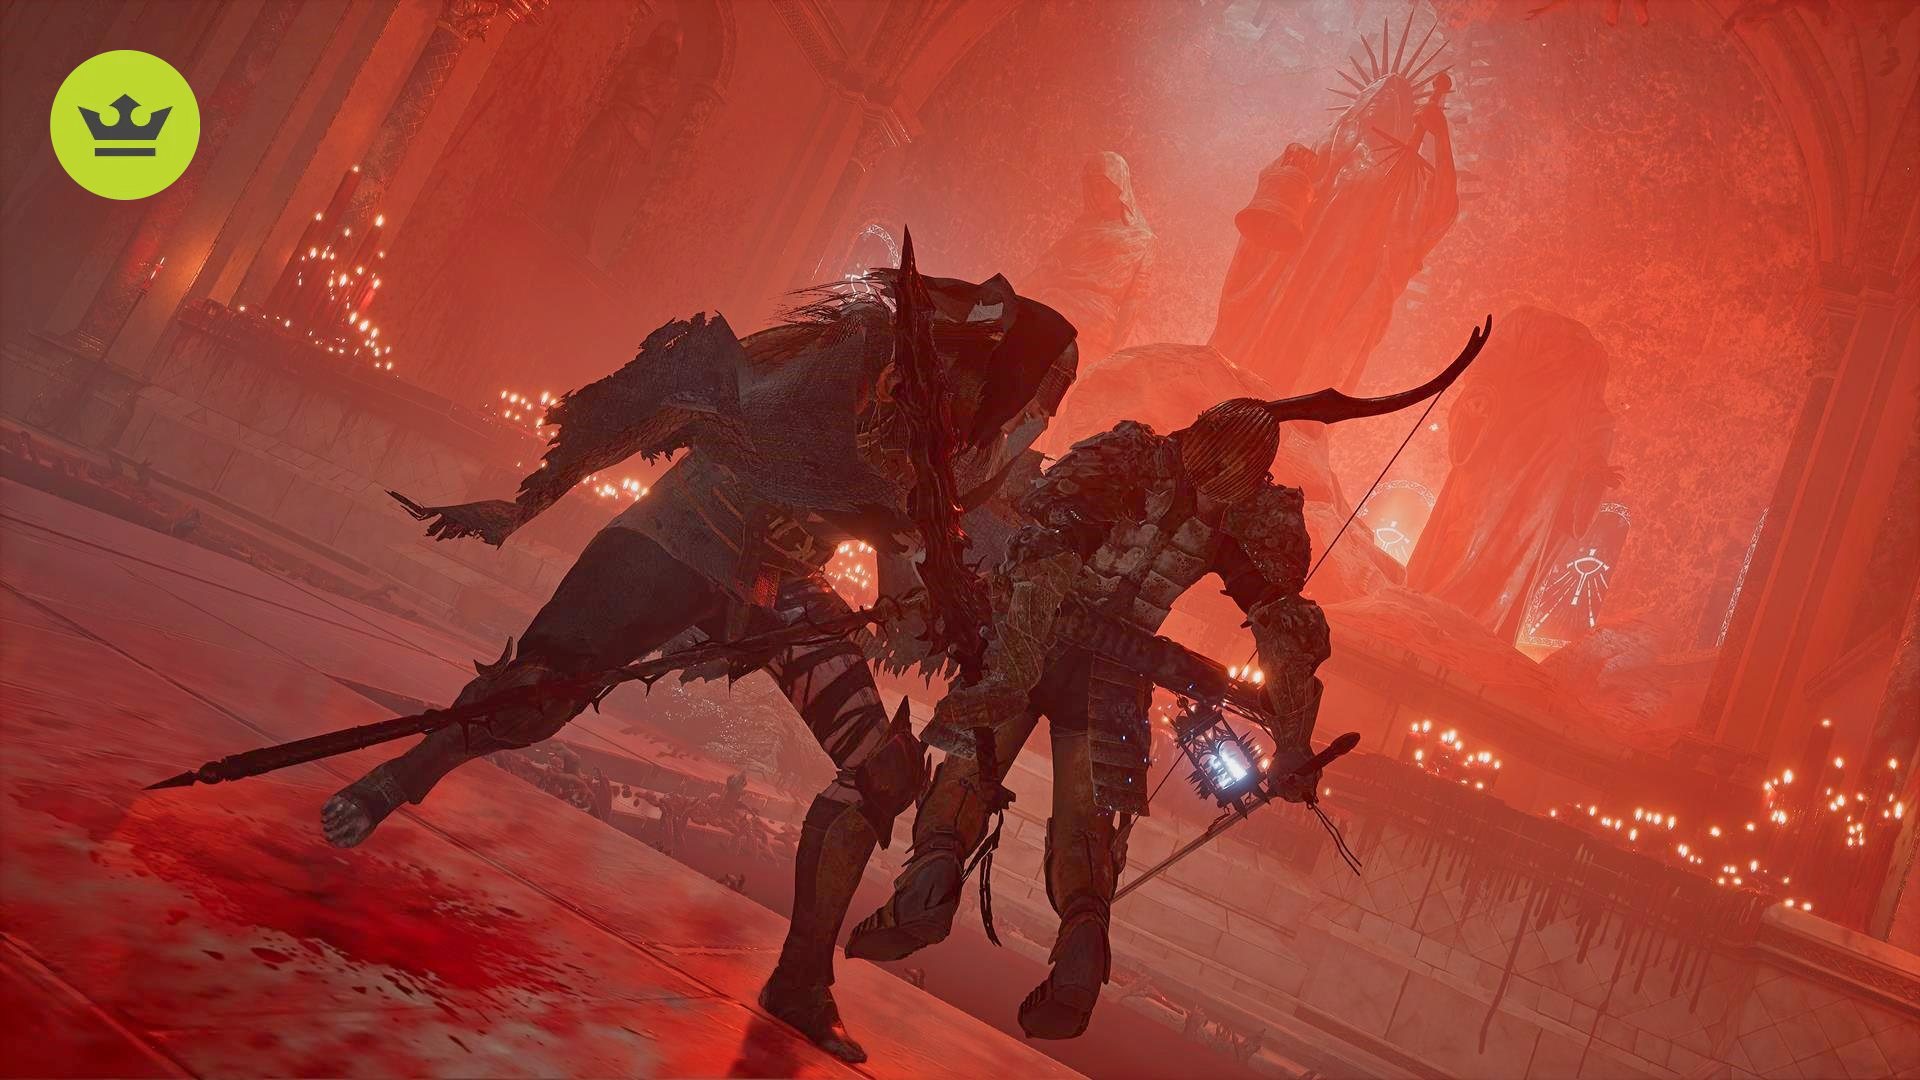
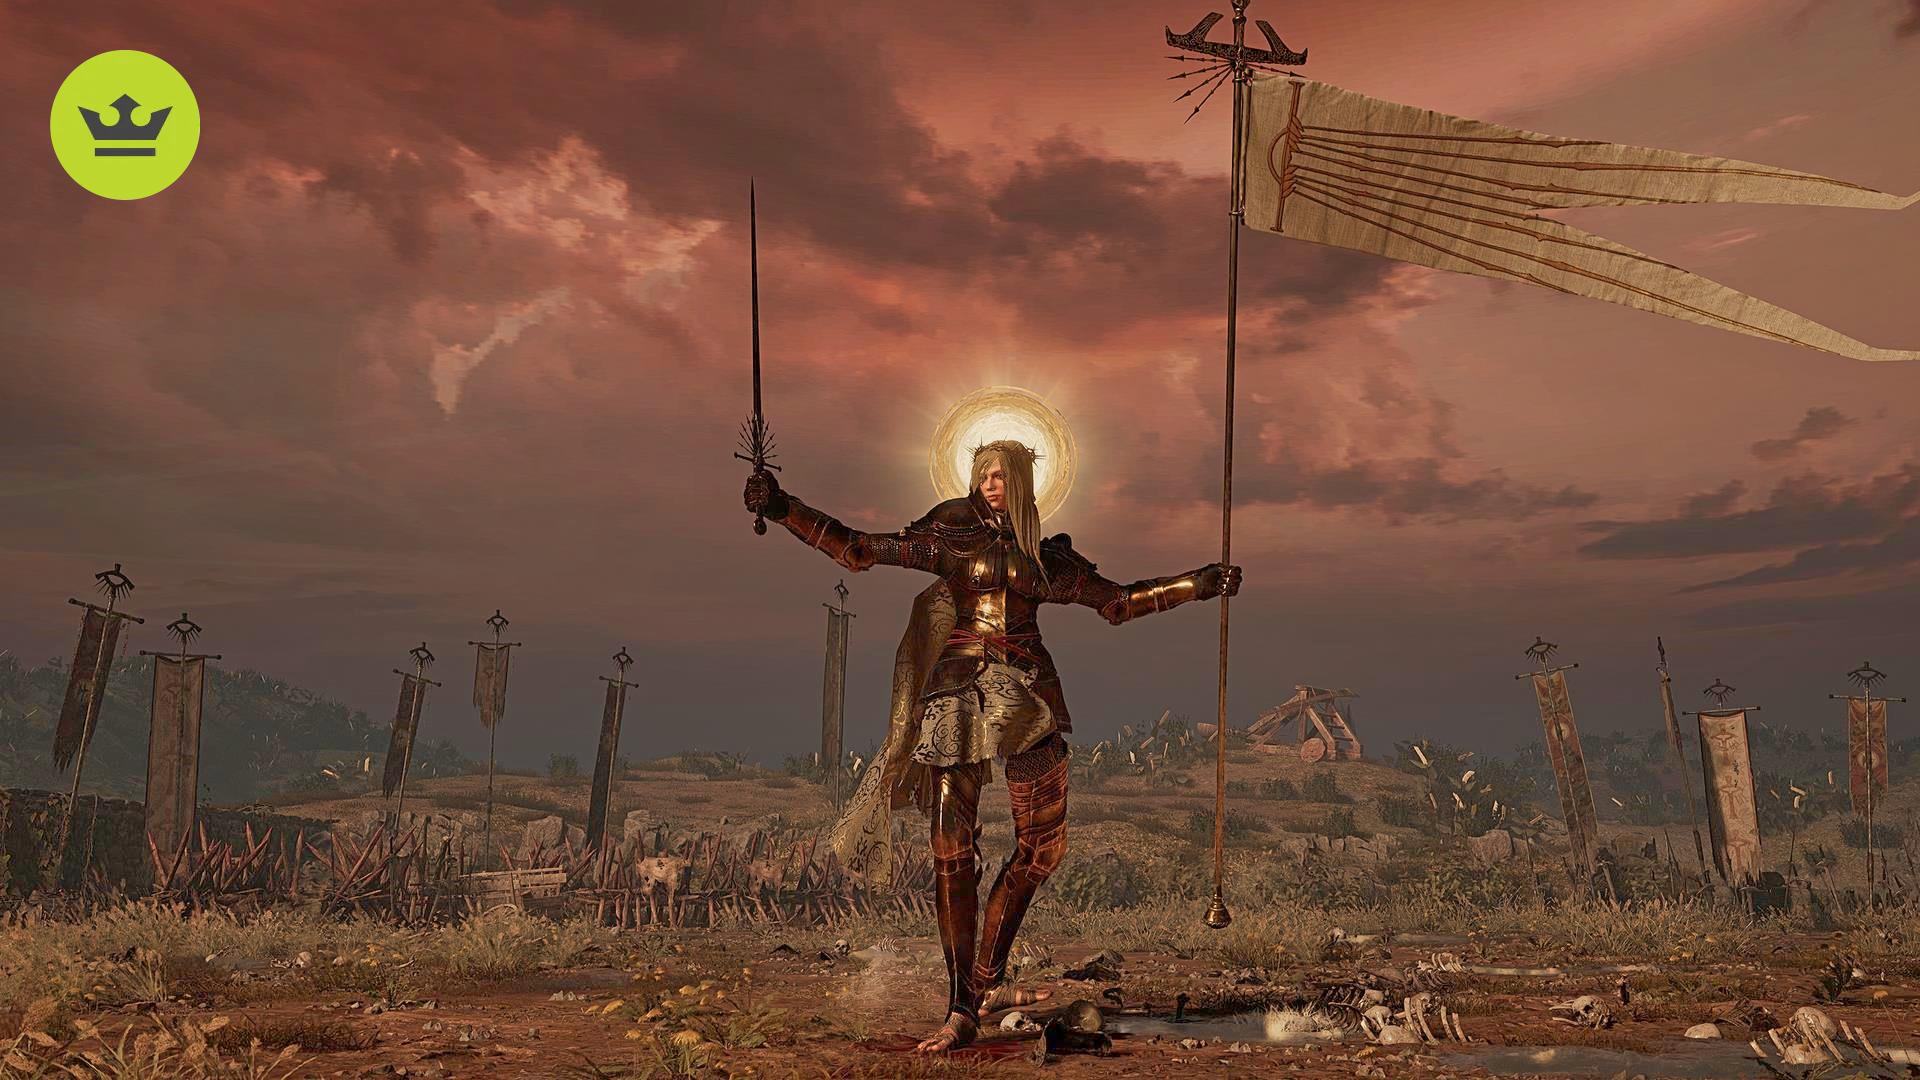
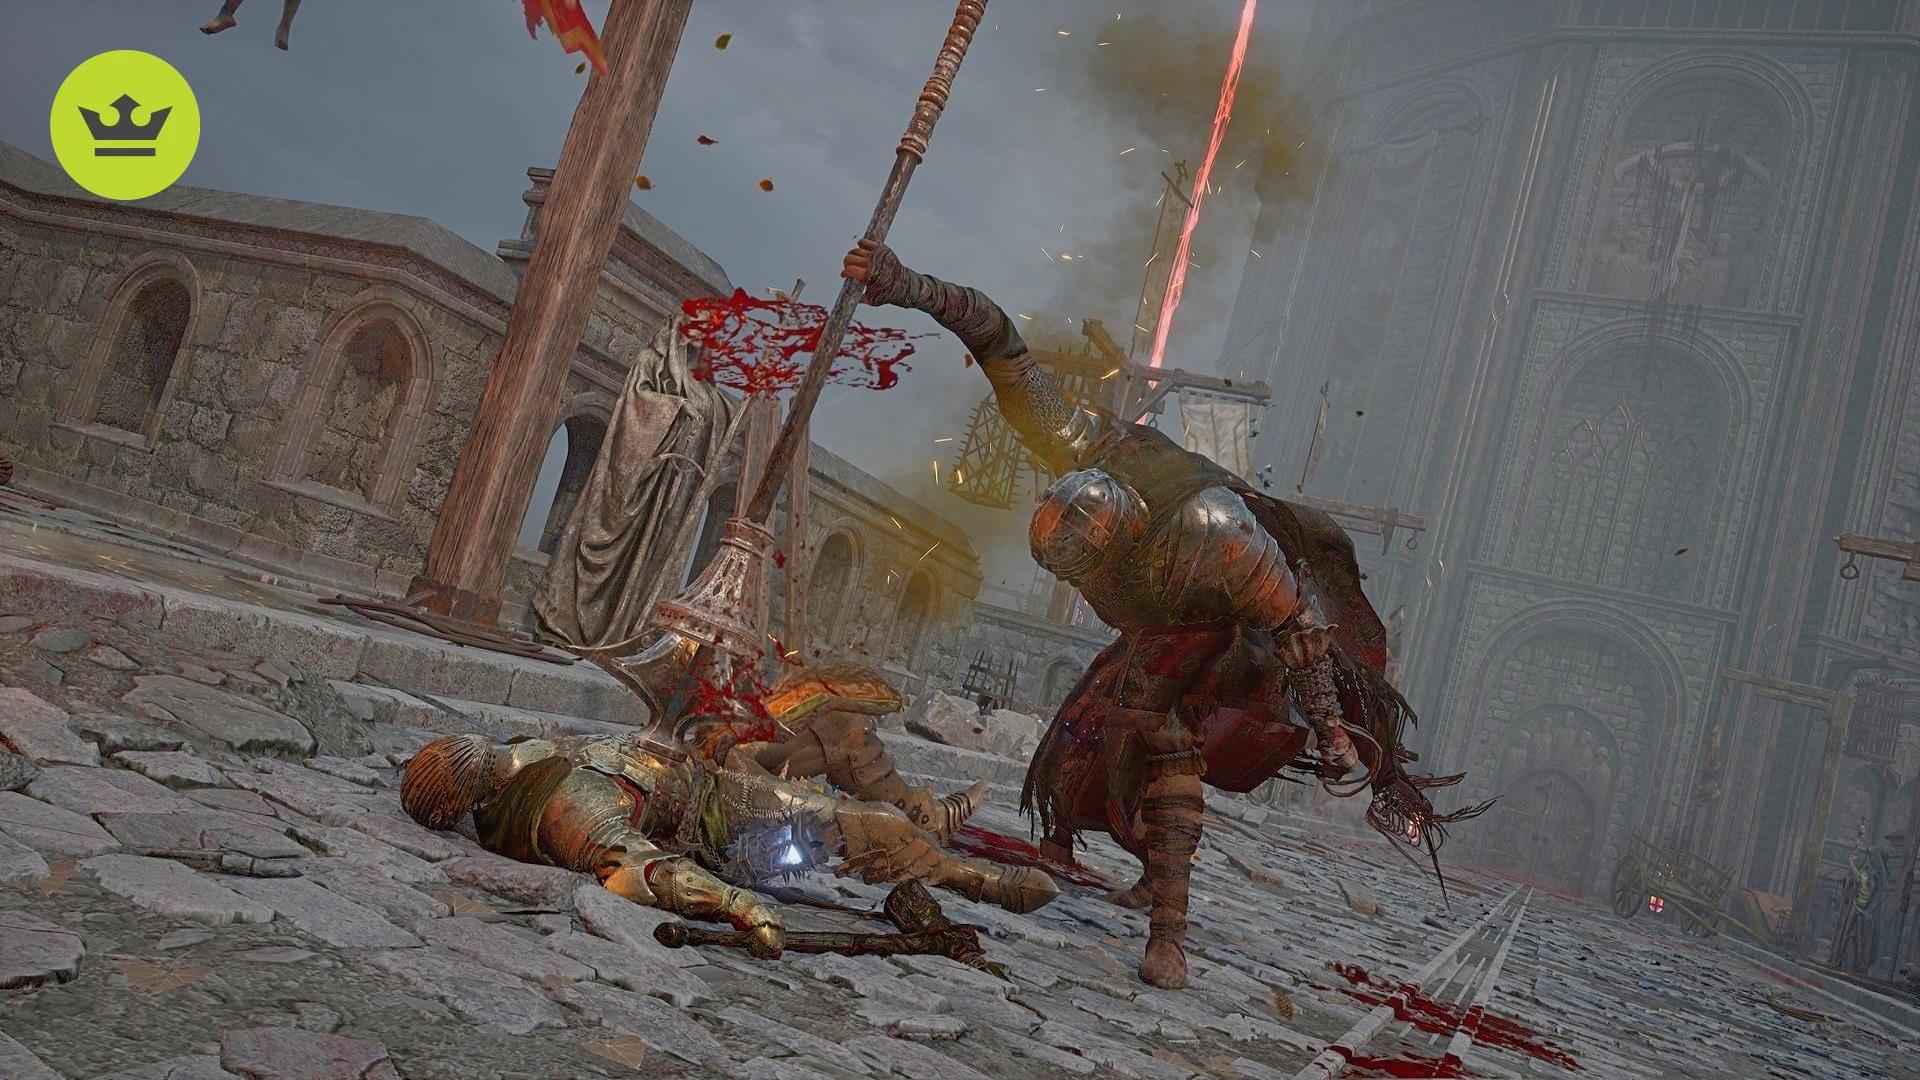
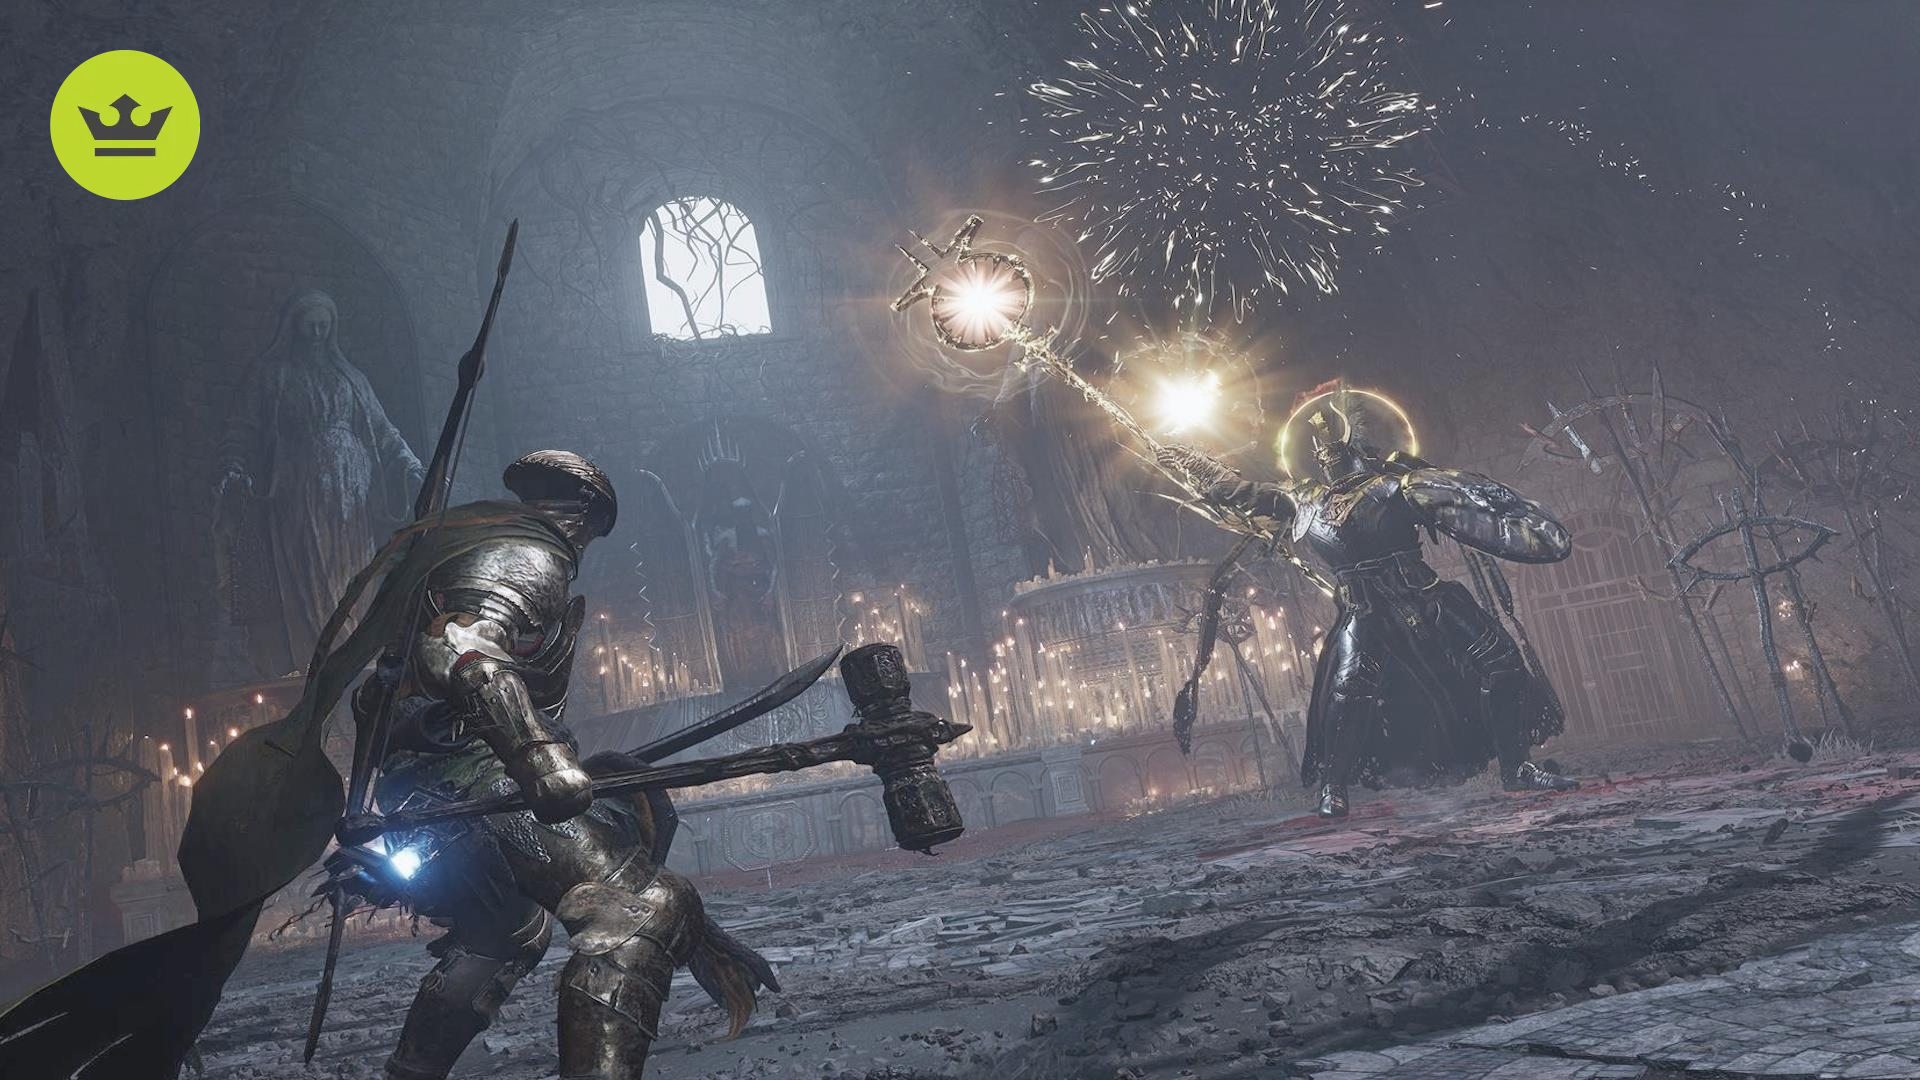
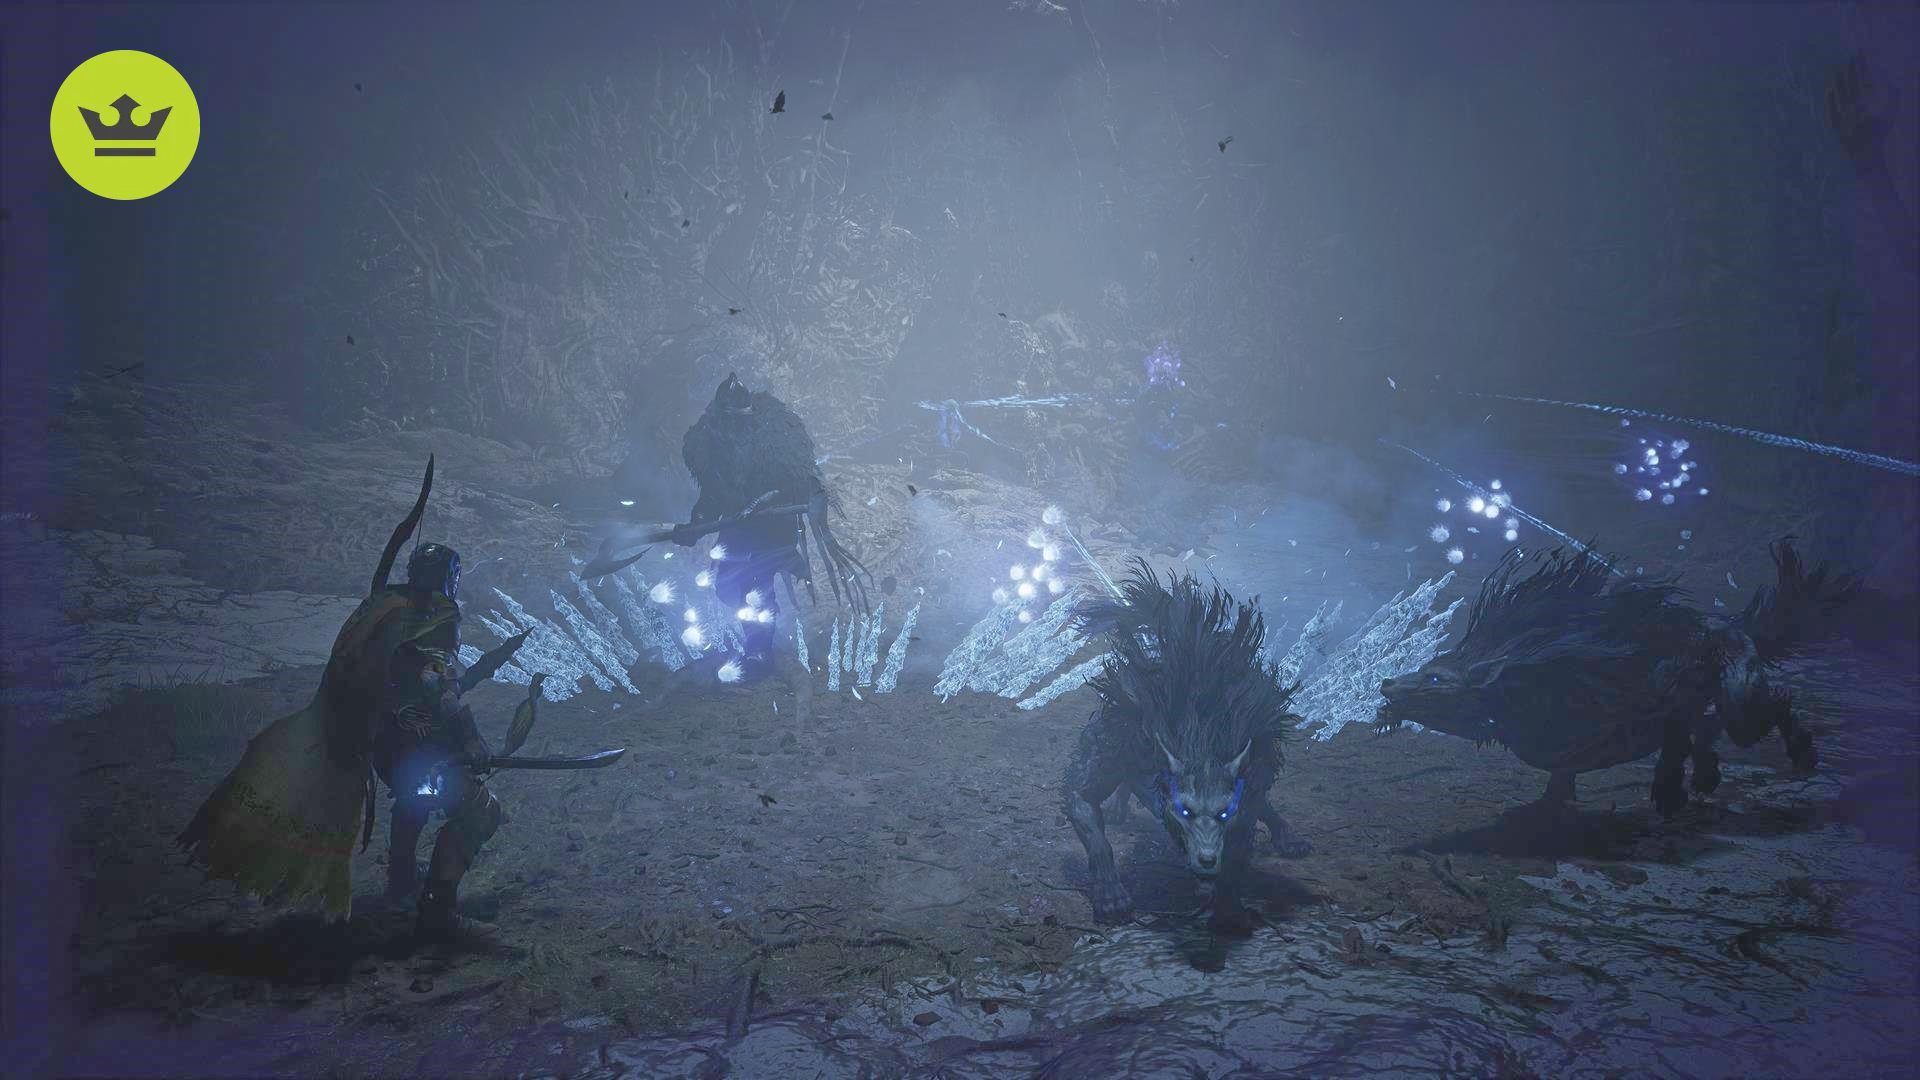
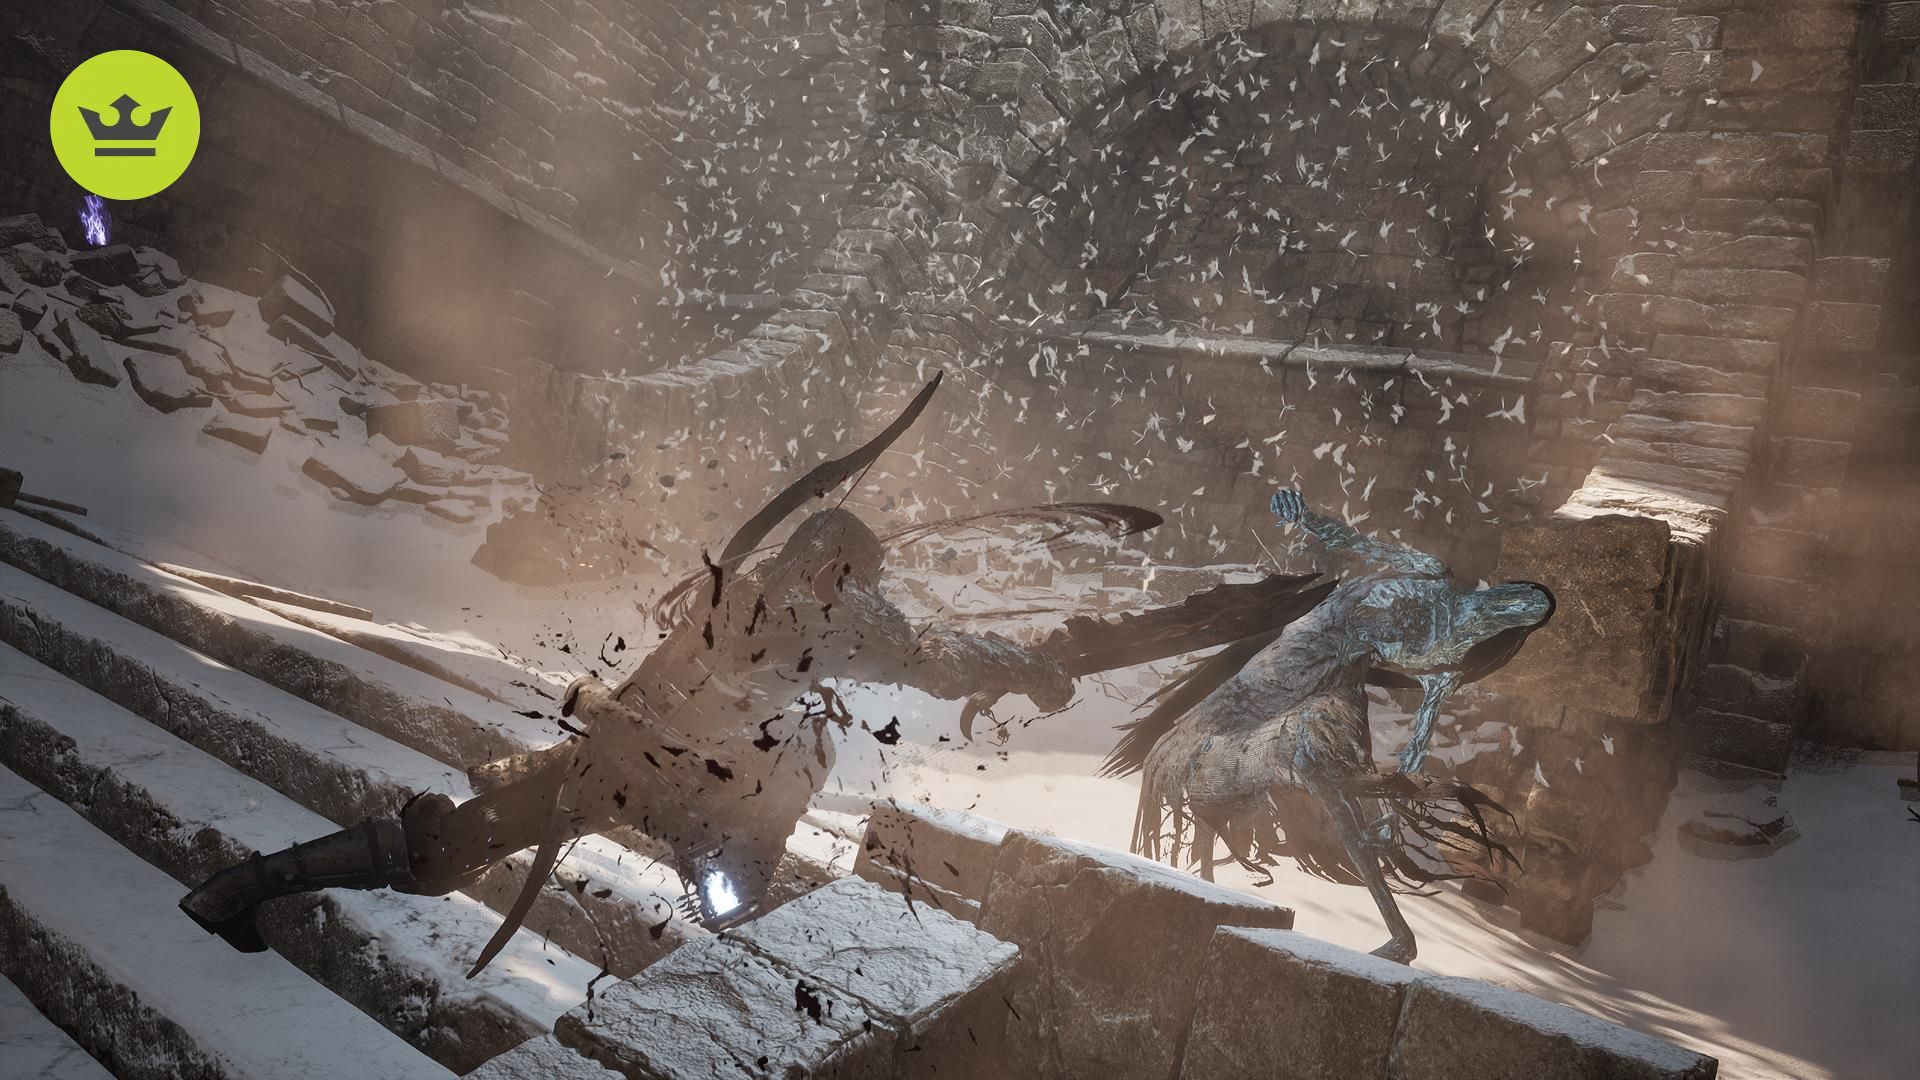
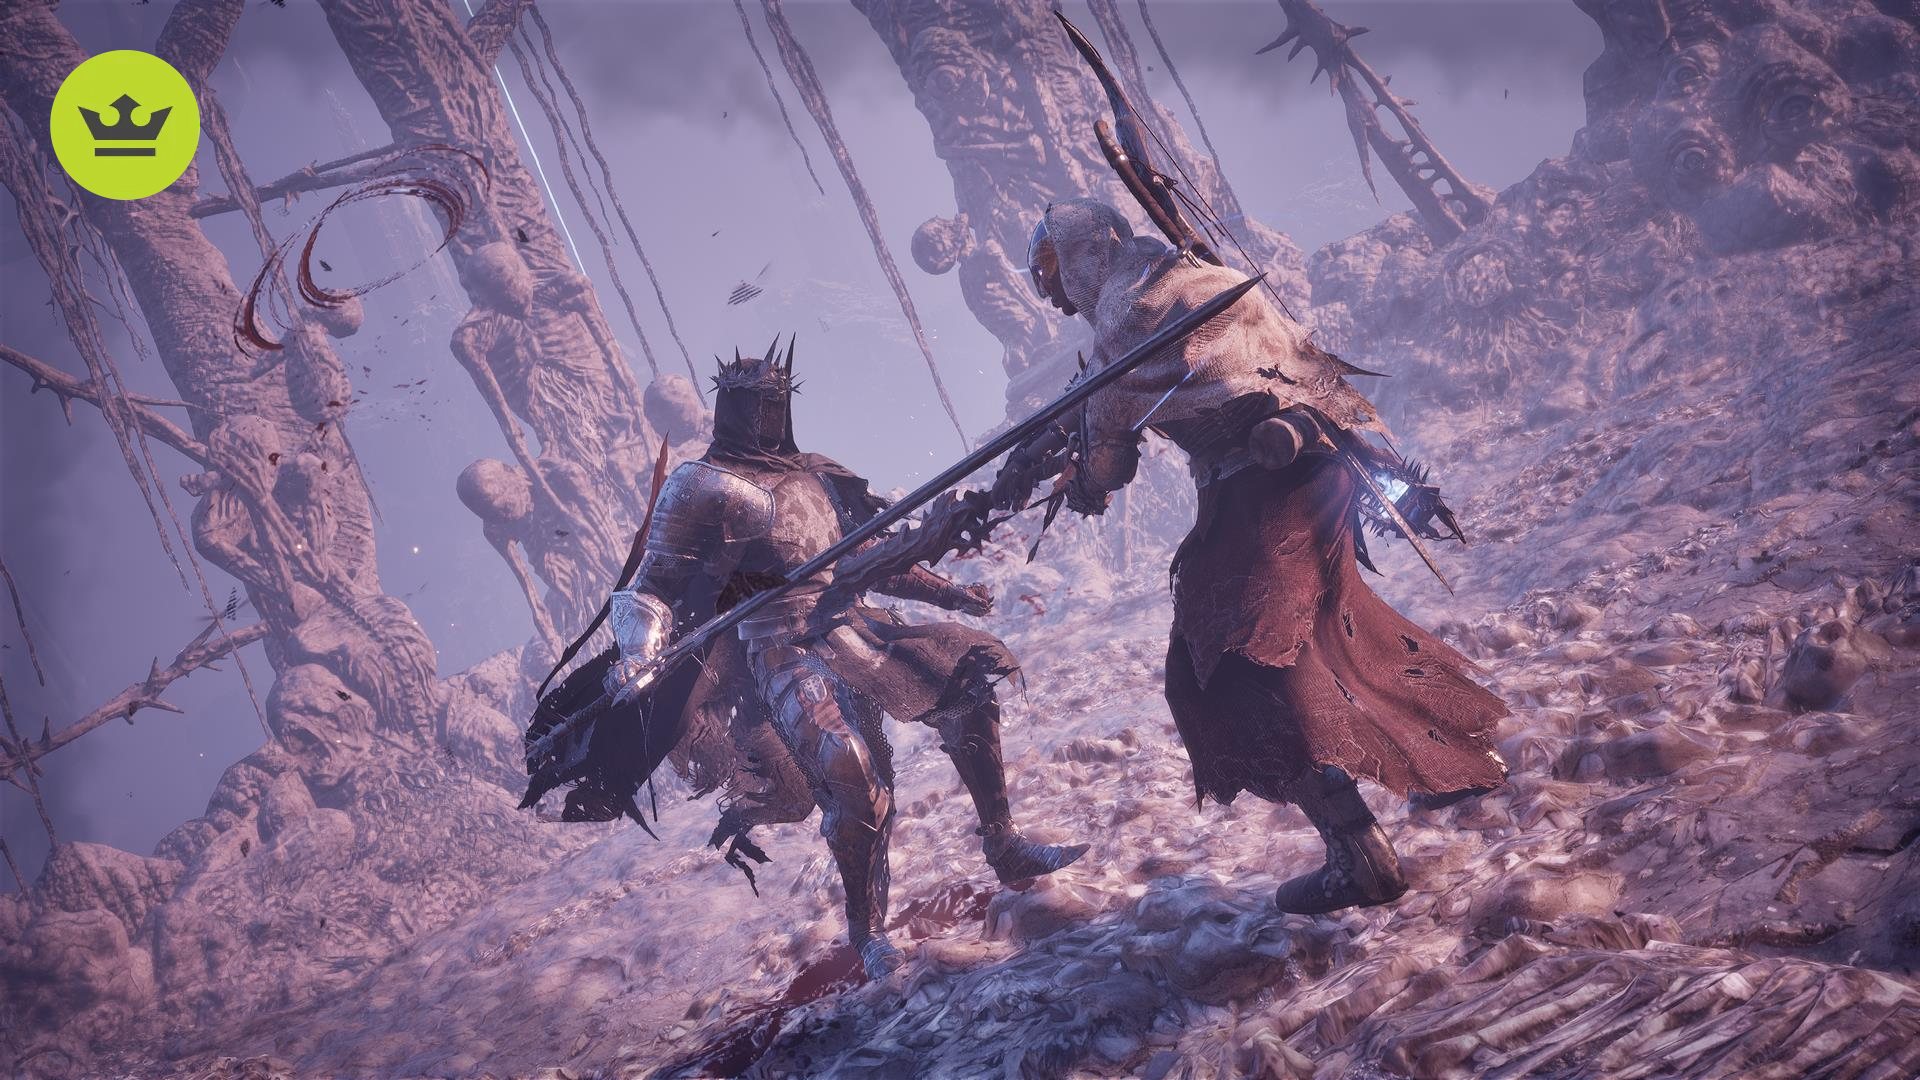
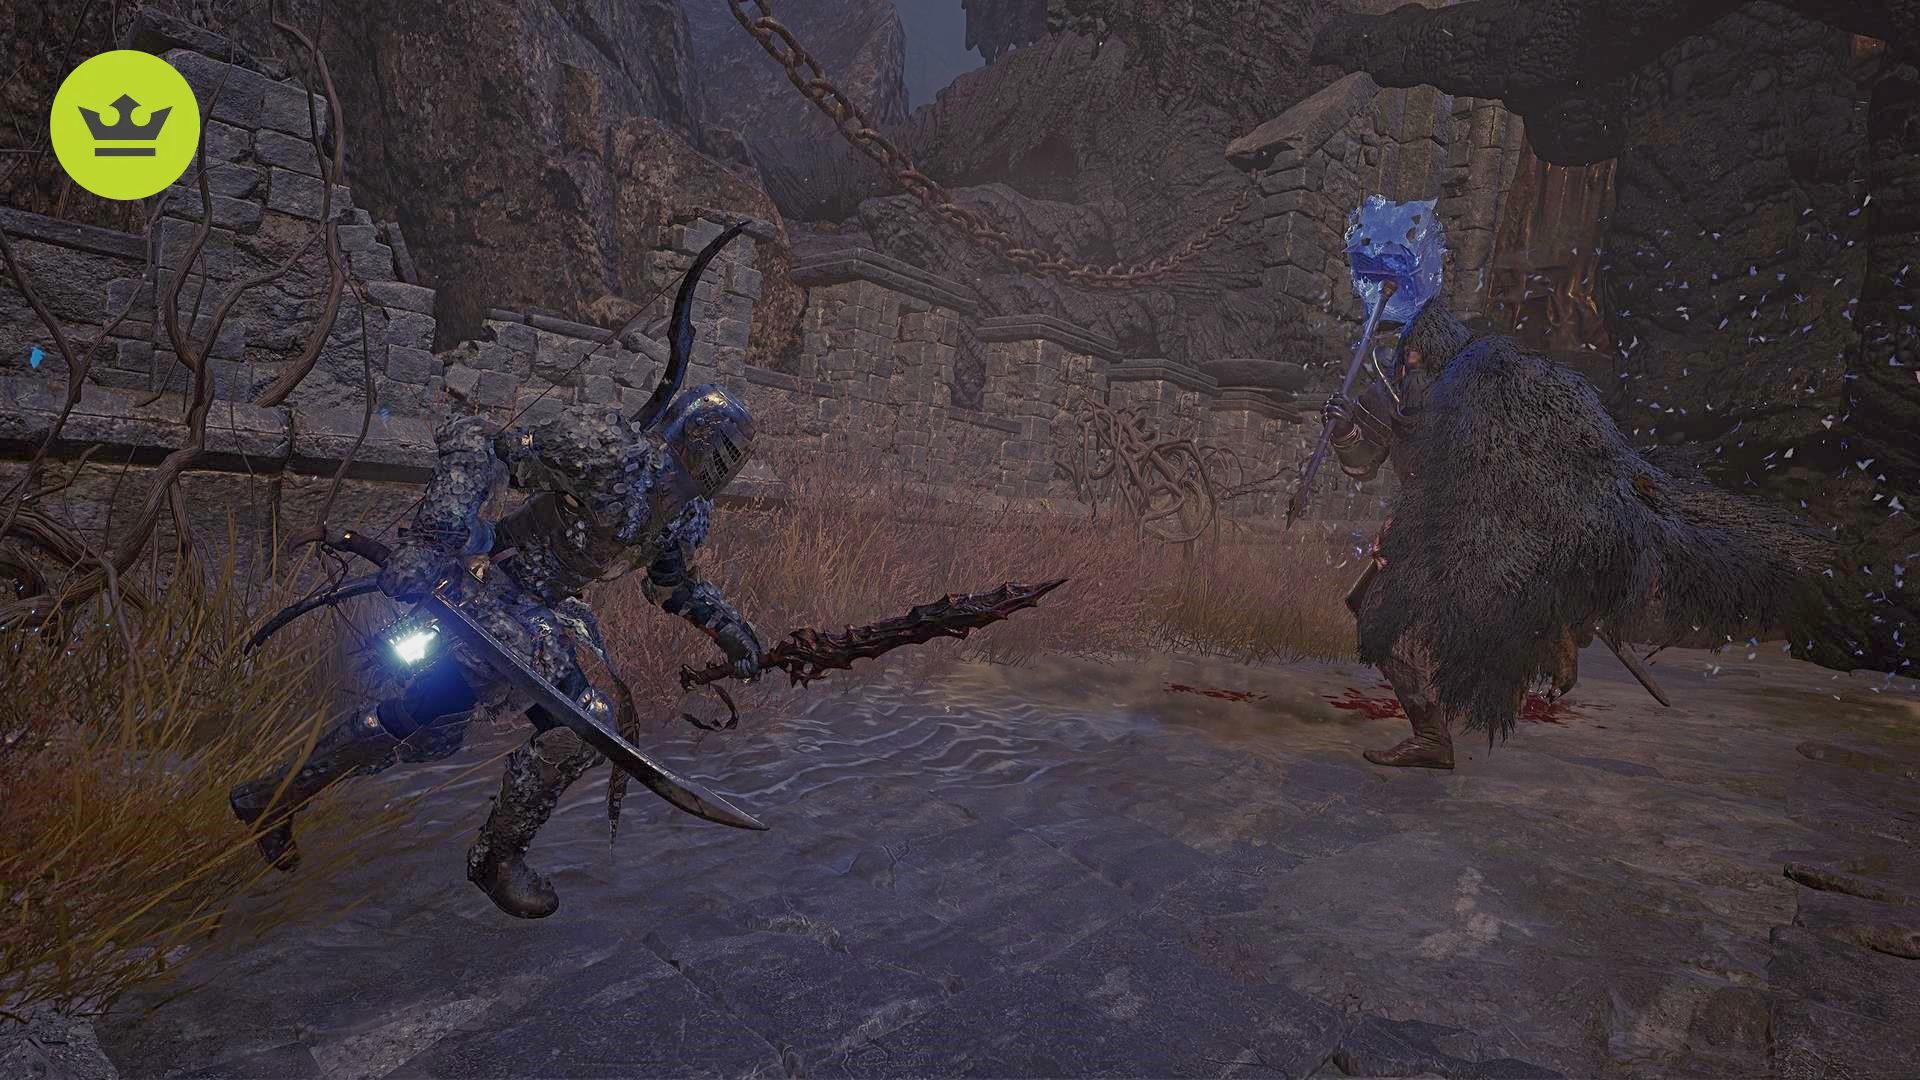
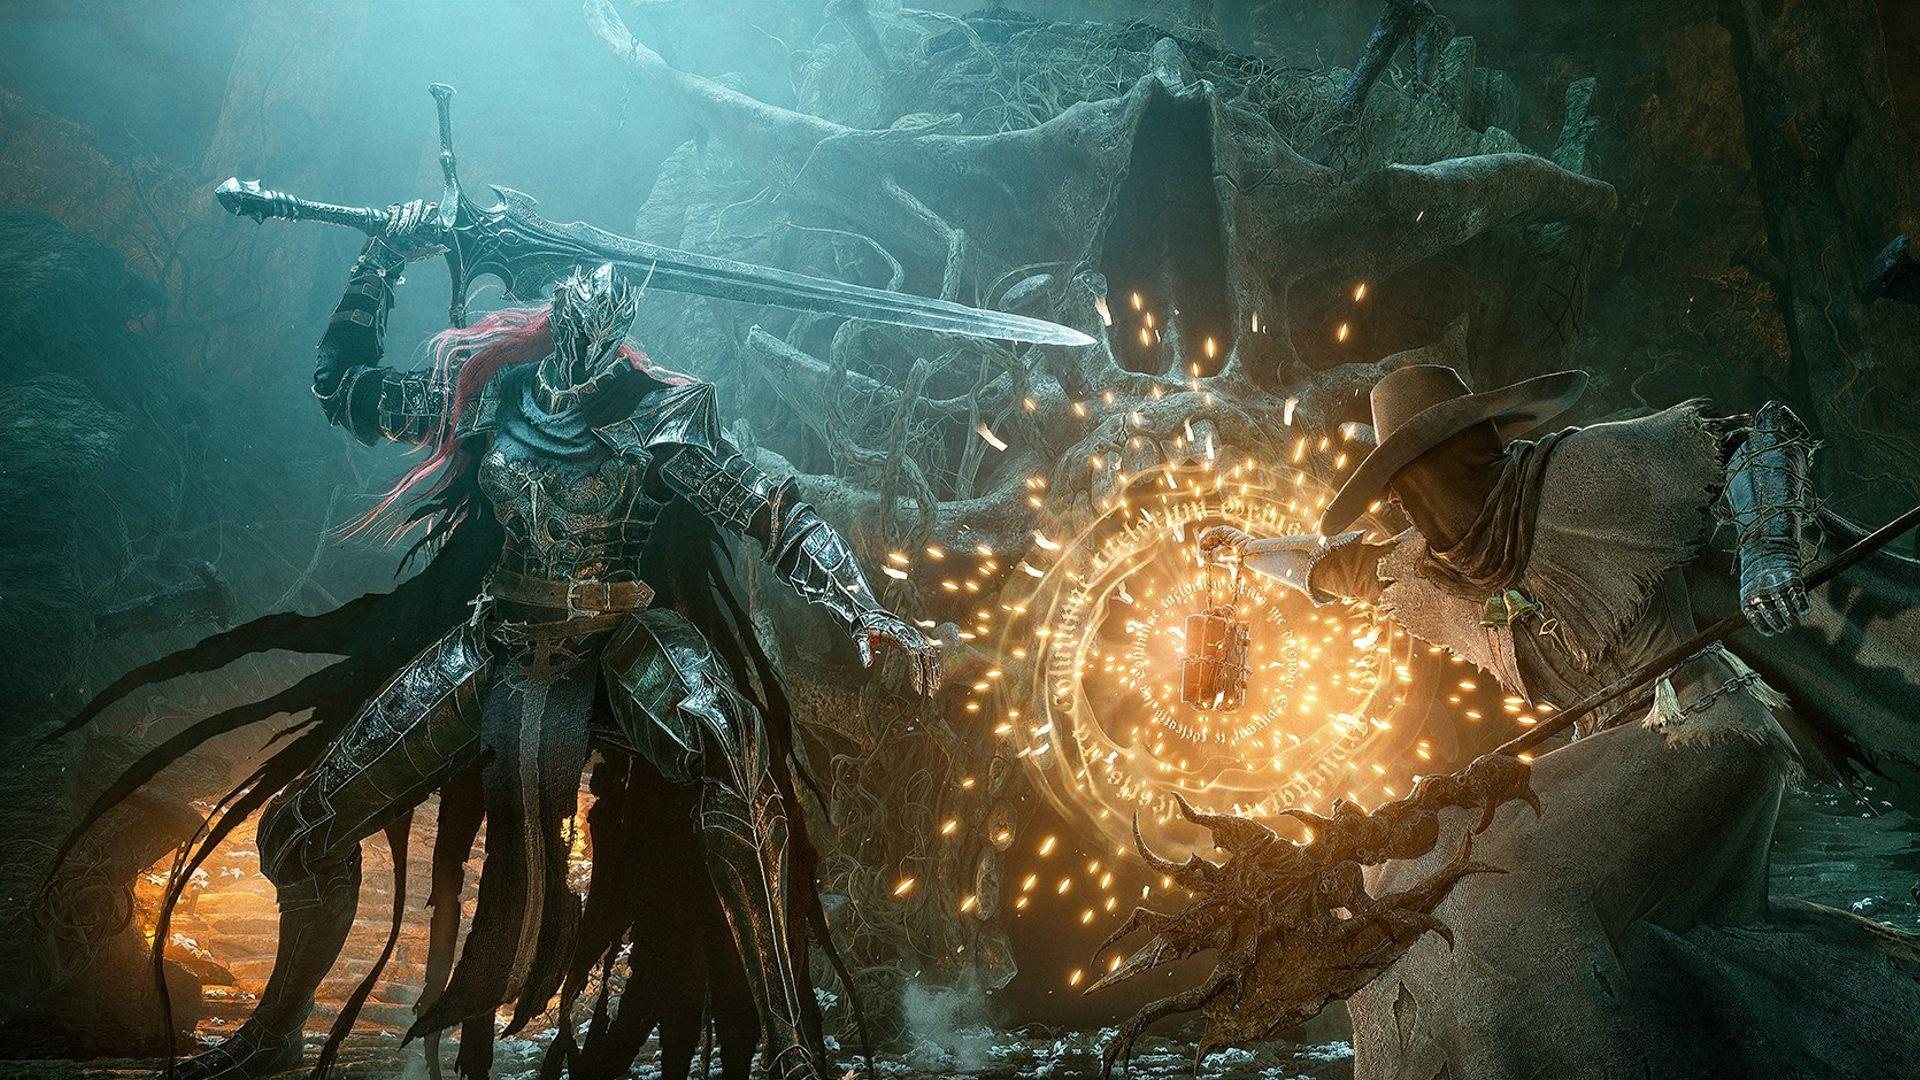
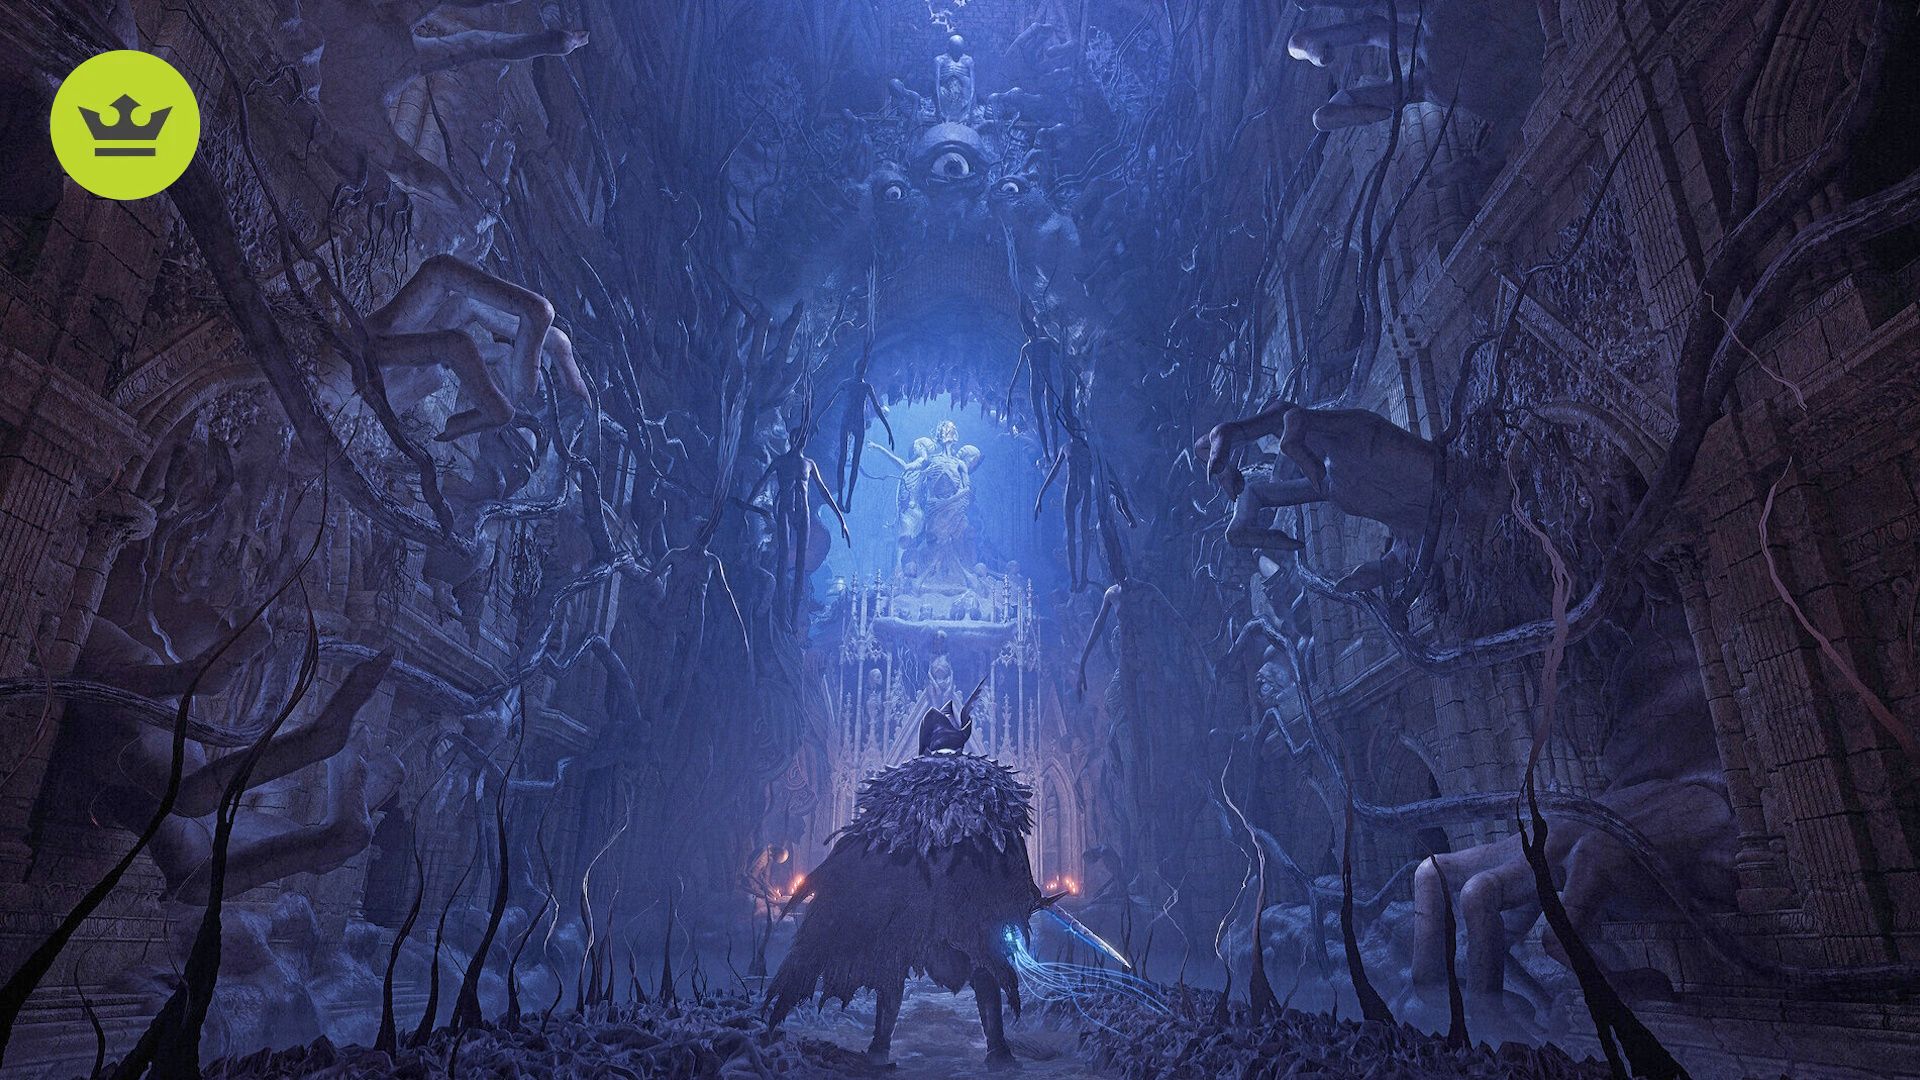
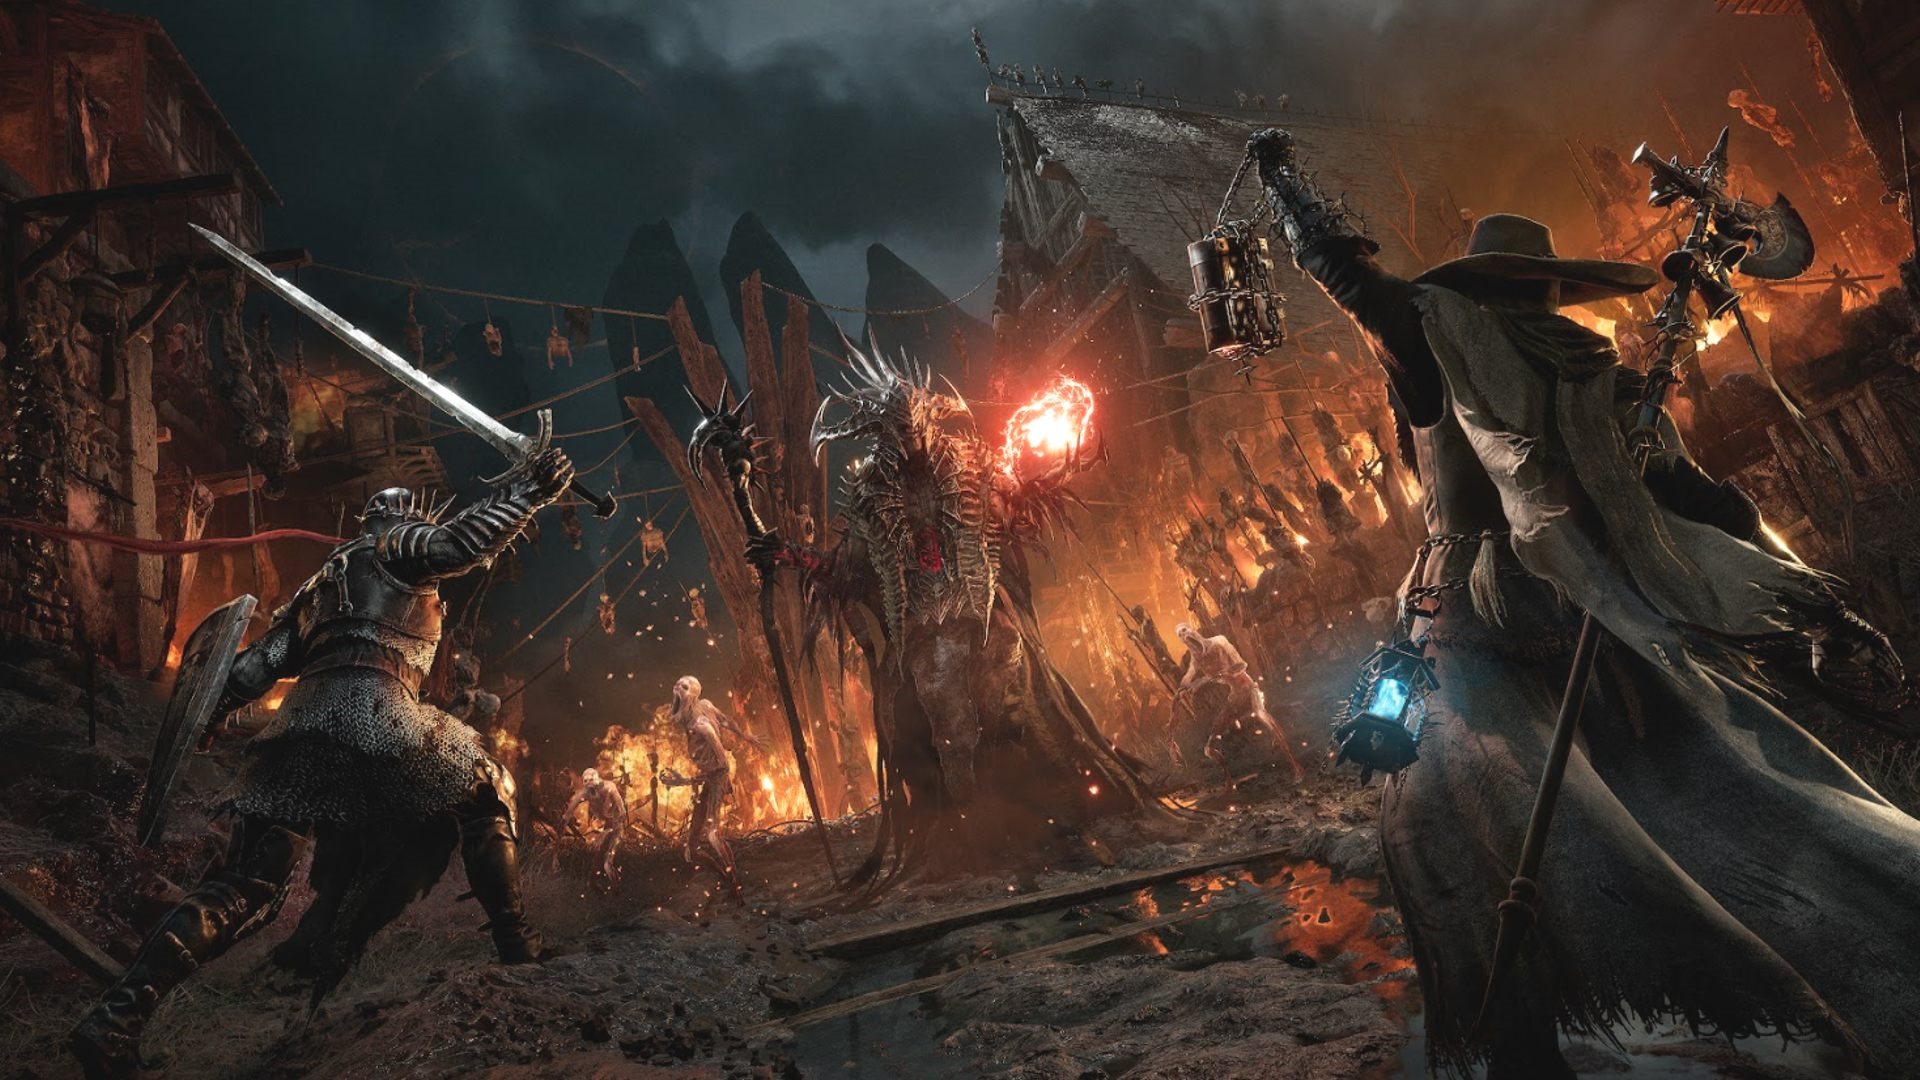
The Lords of the Fallen bosses are one of the most vital aspects of the Soulslike. As with any game within the genre, grand, memorable, and challenging boss fights are essential, and in that area, Lords of the Fallen doesn’t disappoint. Below you can find a full list of every boss in the game, the Lords of the Fallen boss order, as well as tips on how to beat them in your journey through the worlds of Axiom and Umbral.
Lords of the Fallen is stacked with difficult bosses, so it’s a good idea to learn as much as you can and prepare with the best Lords of the Fallen builds and best Lords of the Fallen weapons. There are dozens of boss encounters throughout the RPG game and they’re not easy to topple, though that’s why we’ll equip you with the knowledge you’ll need to take them on.
Lords of the Fallen bosses list
There are a staggering 34 Lords of the Fallen bosses to beat, split into two categories. Most bosses are required to beat the game, though a handful are entirely optional, even being locked behind hidden quests. Nevertheless, each one will test your skills and reward you handsomely if you prevail.
The Lords of the Fallen bosses are:
- Holy Bulwark Otto
- The Lightreaper
- Pieta, She of Blessed Renewal
- Scourged Sister Delyth
- Gentle Gaverus, Mistress of Hounds
- Sacred Resonance of Tenacity
- The Congregated Flesh
- Mendacious Visage
- The Hushed Saint
- Crimson Rector Percival
- Ruiner
- Infernal Enchantress
- Spurned Progeny
- Skinstealer
- Bringer of Stillness
- Abiding Defenders
- Abbess Ursula
- Rupturous Huntress Lirenne
- Judge Cleric The Radiant
- Blessed Carrion Knight Sanisho
- Tancred and Reinhold
- Kinrangr Guardian Folard
- Griefbound Rowena
- Andreas of Ebb
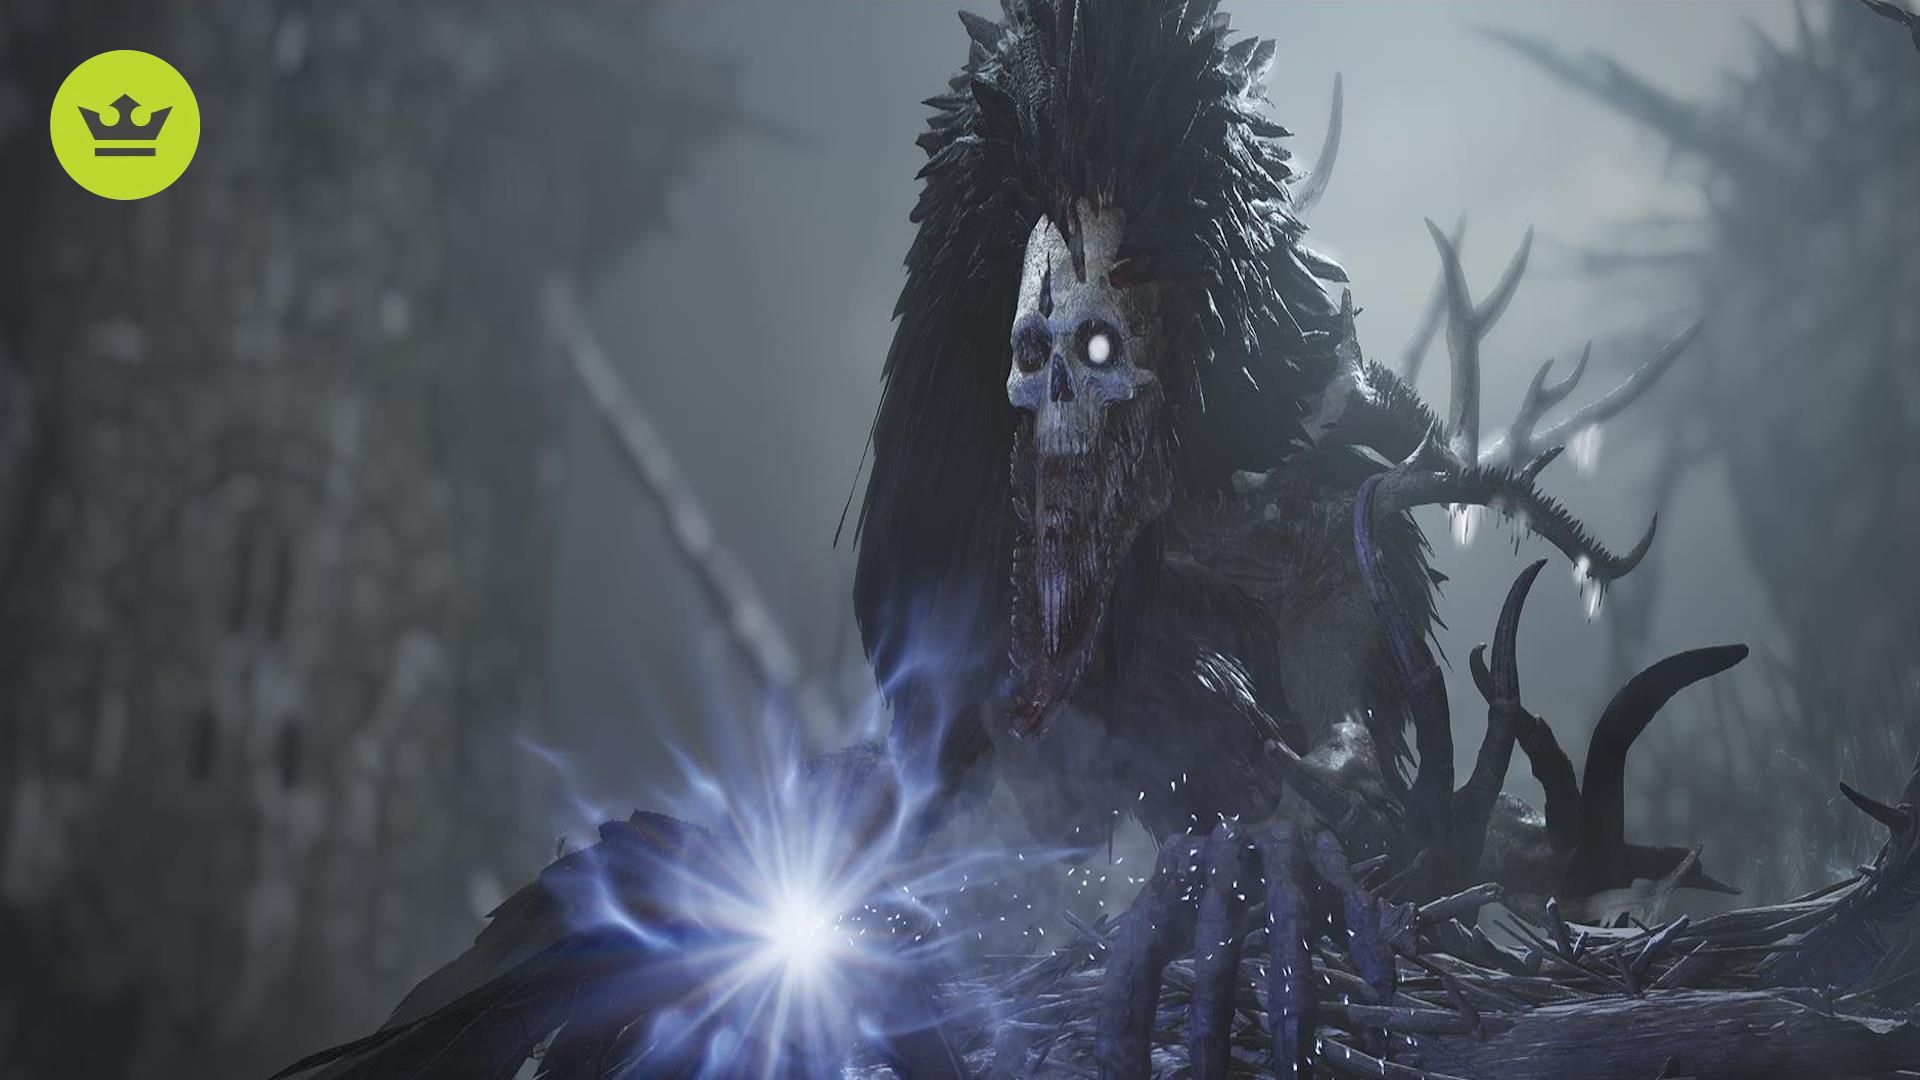
- The Hollow Crow
- Kukajin
- Paladin's Burden
- The Iron Wayfarer
- Damarose The Marked
- Tortured Prisoner
- The Sundered Monarch
- Harrower Dervla of the Dark Crusaders
- Elaine The Starved
- Adyr, The Demon God
The main thing to consider when we discuss the Lords of the Fallen bosses is that they’re classified into two types: Sinner and Heresy. The Sinners are more akin to elites or mini-bosses – essentially, beefed-up versions of regular enemy mobs. These are typically optional bosses, so you don’t have to face them if you don’t want to – though the valuable chunk of runes you’ll get for defeating them will help you level up quicker, so we certainly recommend it.
The Heresy-type bosses, meanwhile, are major foes, some of which have unique cutscenes or notable changes when you begin the second phase of the battle. Heresy bosses also leave behind an echo or stigma, which you can siphon to earn a Remembrance. The Remembrance can then be exchanged for boss items by talking to Molhu in the Skyrest Bridge hub.
Read on below to find out more about each of the bosses, including where to find them and how to beat them so you can progress through the game. Unfortunately, beating one boss inevitably leads you towards the next challenging foe, so check back here whenever you’re having a hard time. All of these details on the bosses were obtained during our Lords of the Fallen review playthrough.
Holy Bulwark Otto
Most games of a challenging nature feature a tutorial boss or, at the very least, an introductory early-game boss. For Lords of the Fallen, it’s Holy Bulwark Otto and, unsurprisingly, it’s a pretty easy fight. Dodging is going to be your friend here to escape Otto’s heavy mace attacks and grabs, and you’ll need to deliver short bursts of damage in between his attack animations.
The Lightreaper
The Lightreaper serves as the second introductory boss, taking over from Otto when he falls in battle. This enormous beast is Lords of the Fallen’s version of Genichiro from Sekiro. Essentially, you’re meant to die to this boss. Sure, you can beat it, though it’s nearly impossible, and the end result is the same for the sake of the story. Don’t worry since you’ll still encounter him as you progress further in the campaign.
Pieta, She of Blessed Renewal
Pieta is the first proper big boss of Lords of the Fallen. This boss favors slow and heavily telegraphed attacks and Radiant magic, which is something you can take advantage of. She uses a lot of AoEs, can spawn clones of herself, and has a tendency to fly about, which makes it hard to hit her.
To beat Pieta, make sure to time your dodges (or, better yet, parry) correctly to avoid her long attack chains. Once she’s finished a chain, she’ll remain vulnerable for a short period, allowing you to attack without risk of getting smacked. The most important thing to remember is to not get greedy. This is vital for all the bosses but Pieta is great at punishing you for being overly aggressive.
Once Pieta reaches around half health, she’ll move into her second phase. In Pieta’s second phase, she’s even faster and more deadly thanks to the pair of clones she can create when attacking. Fortunately, your approach remains the same despite the increased ferocity of the boss.
It’s important to note that you can also summon an NPC to help you during this boss fight. If you’re struggling and find yourself sent back to camp repeatedly, summon them and they will deal lots of damage while also serving as a distraction.
If you’re yet to defeat Pieta, a small spoiler warning here – after defeating her, Pieta actually becomes an NPC in Lords of the Fallen’s hub area.
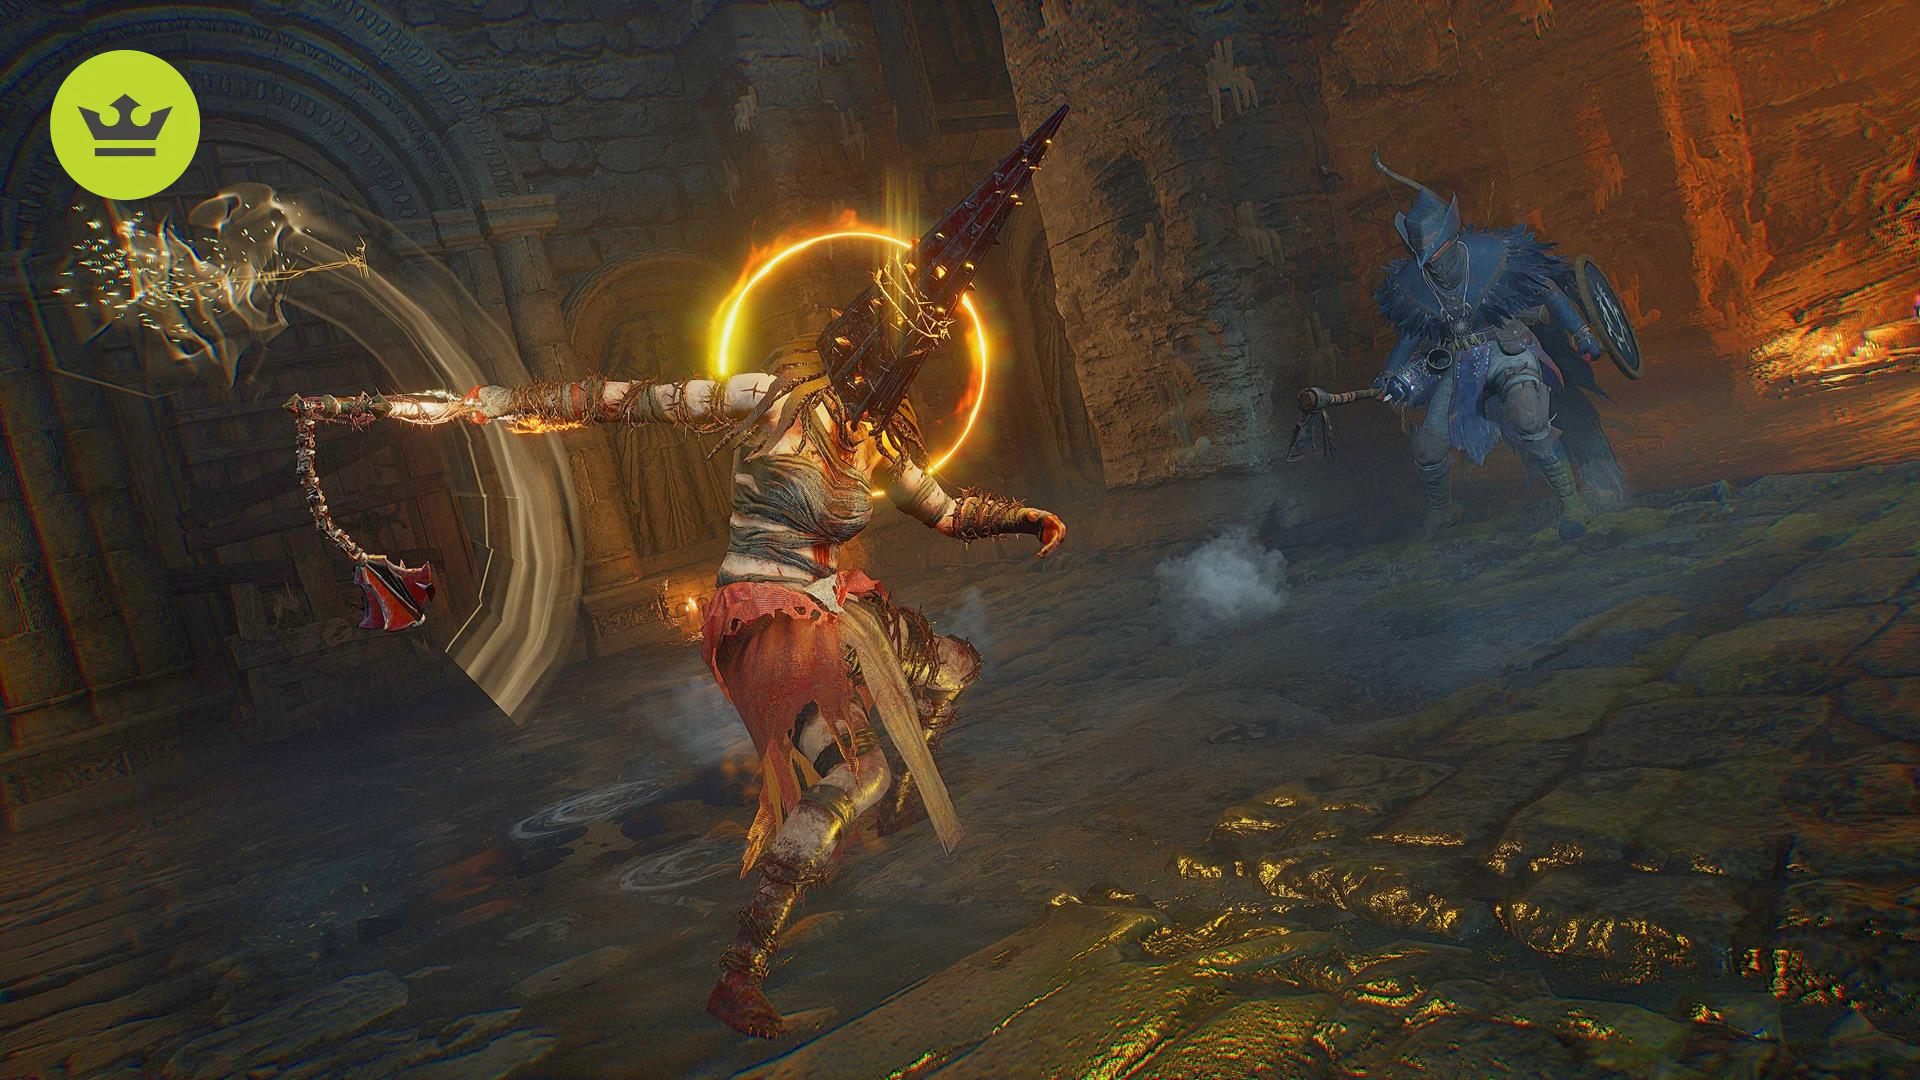
Scourged Sister Delyth
Okay, this Lords of the Fallen boss is absolute hell. We’re not going to sugarcoat it. Delyth has a mixture of fast attacks, that are telegraphed in a slow manner, which throws a real spanner in the works as you can never be sure if the attack she’s doing is, in fact, a slow assault or if she’s gearing up for a quick attack. As such, it’s hard to perfectly execute dodges in this fight. However, while she’s a menace with her ball and chain, there are pillars scattered throughout the arena that you can use to block her blood tornadoes.
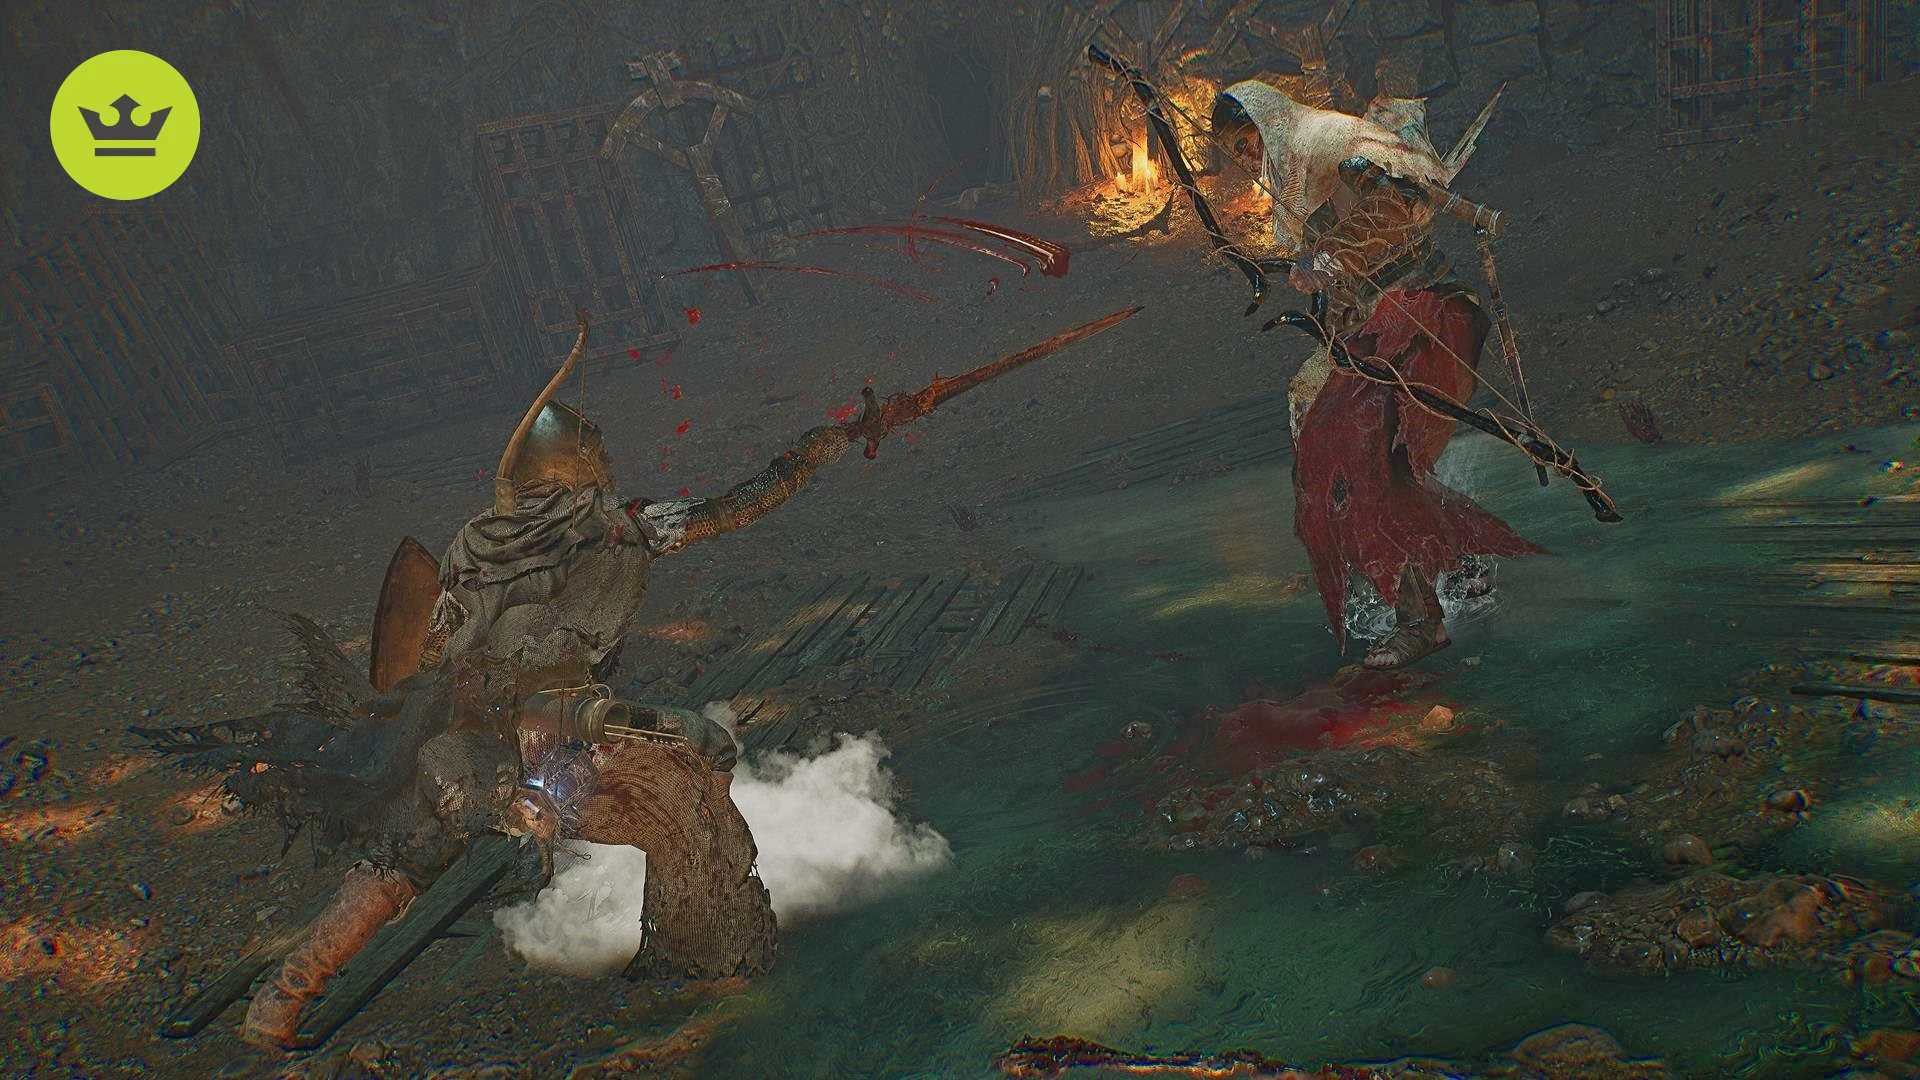
Gentle Gaverus, Mistress of Hounds
Luckily for all of you, after the absolute hell of a fight you have with Scourged Sister Delyth, you get to come across Gentle Gaverus, the Mistress of Hounds – a mini-boss that’s so easy you’ll feel your confidence in your abilities soar. Only joking – Gentle Gaverus can be incredibly hard for heavy melee builds that lack the speed to keep up with the quick flow of the fight.
As for what you can expect from her boss fight, you need to knock the armor off of her dogs, make sure you dodge their snapping jaws as they chase you, and avoid her deadly arrows. While this sounds tricky, it’s not too challenging – as long as you’re constantly moving around the edge of the circular arena, you’ll be able to avoid Gentle Gaverus’ arrows and the dogs’ attacks are easily countered with a dodge.
When Gaverus is attacking, avoid getting too close because if you do, she won’t perform her arrow recharge animation, which sees her kneel on the ground for a good five seconds or so. This is your time to then run up to her and deal some damage.
If you’re struggling, especially if you’re using a heavy melee build, we recommend actually ignoring the dogs altogether. Instead, stay on the move at a distance from the boss, before charging in when she kneels down. Repeat this process until she’s dead.
Although it sounds risky, heavy melee builds could also swap to light armor to be more mobile. The benefit of this is that you can still use a heavy two-handed weapon (which will instantly break the dog’s chains without stunning you) while gaining mobility.
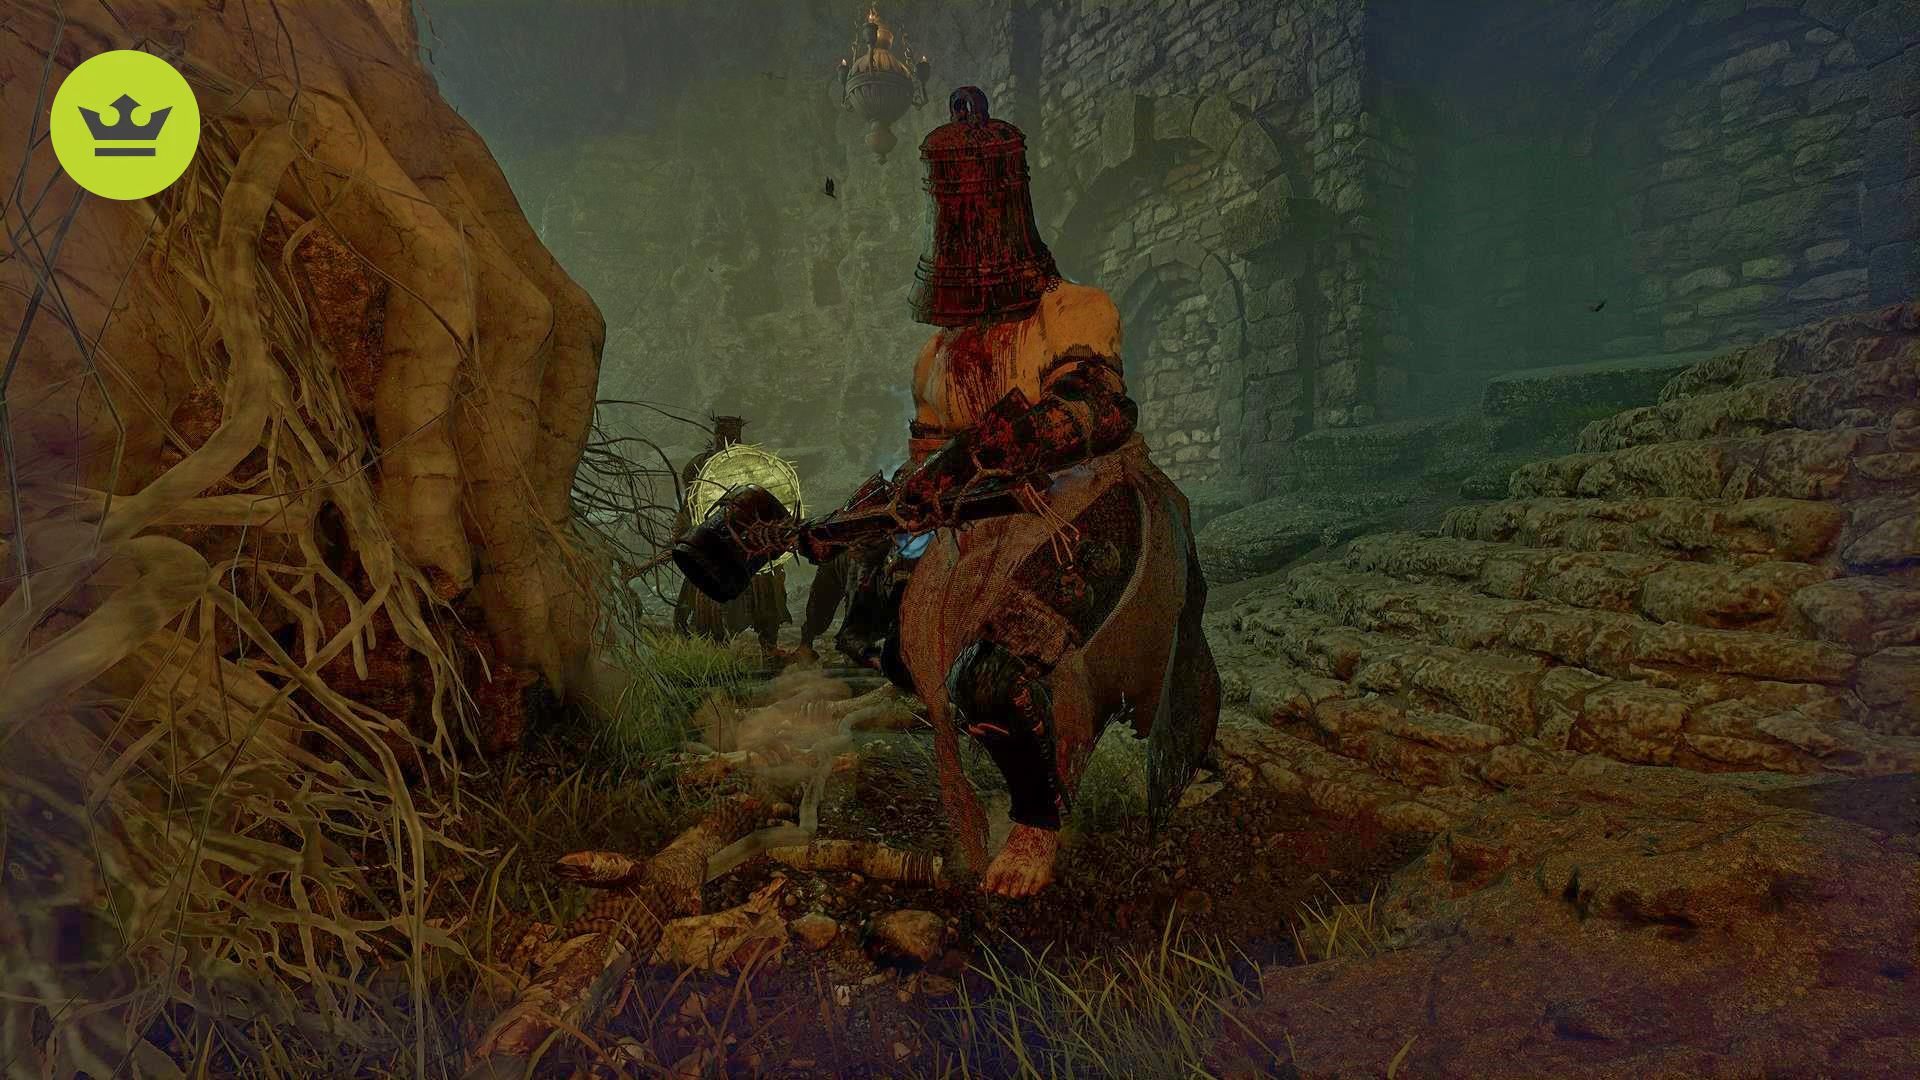
Sacred Resonance of Tenacity
If you do manage to find a pathway in Pilgrim’s Perch, you’ll be able to reach the upper sections where this brute awaits. This fella wears a large bell helmet, so he’s probably having a really bad day, and he wants to take out all his frustrations on you. This includes holy-infused hammer blows, as well as a massive AoE blast that can easily kill your character.
We had to rely on ranged weapons just to be on the safe side, and use our stamina for dodges carefully. Remember that ranged weapons aren’t limited to bows and magic, though these are the best options.
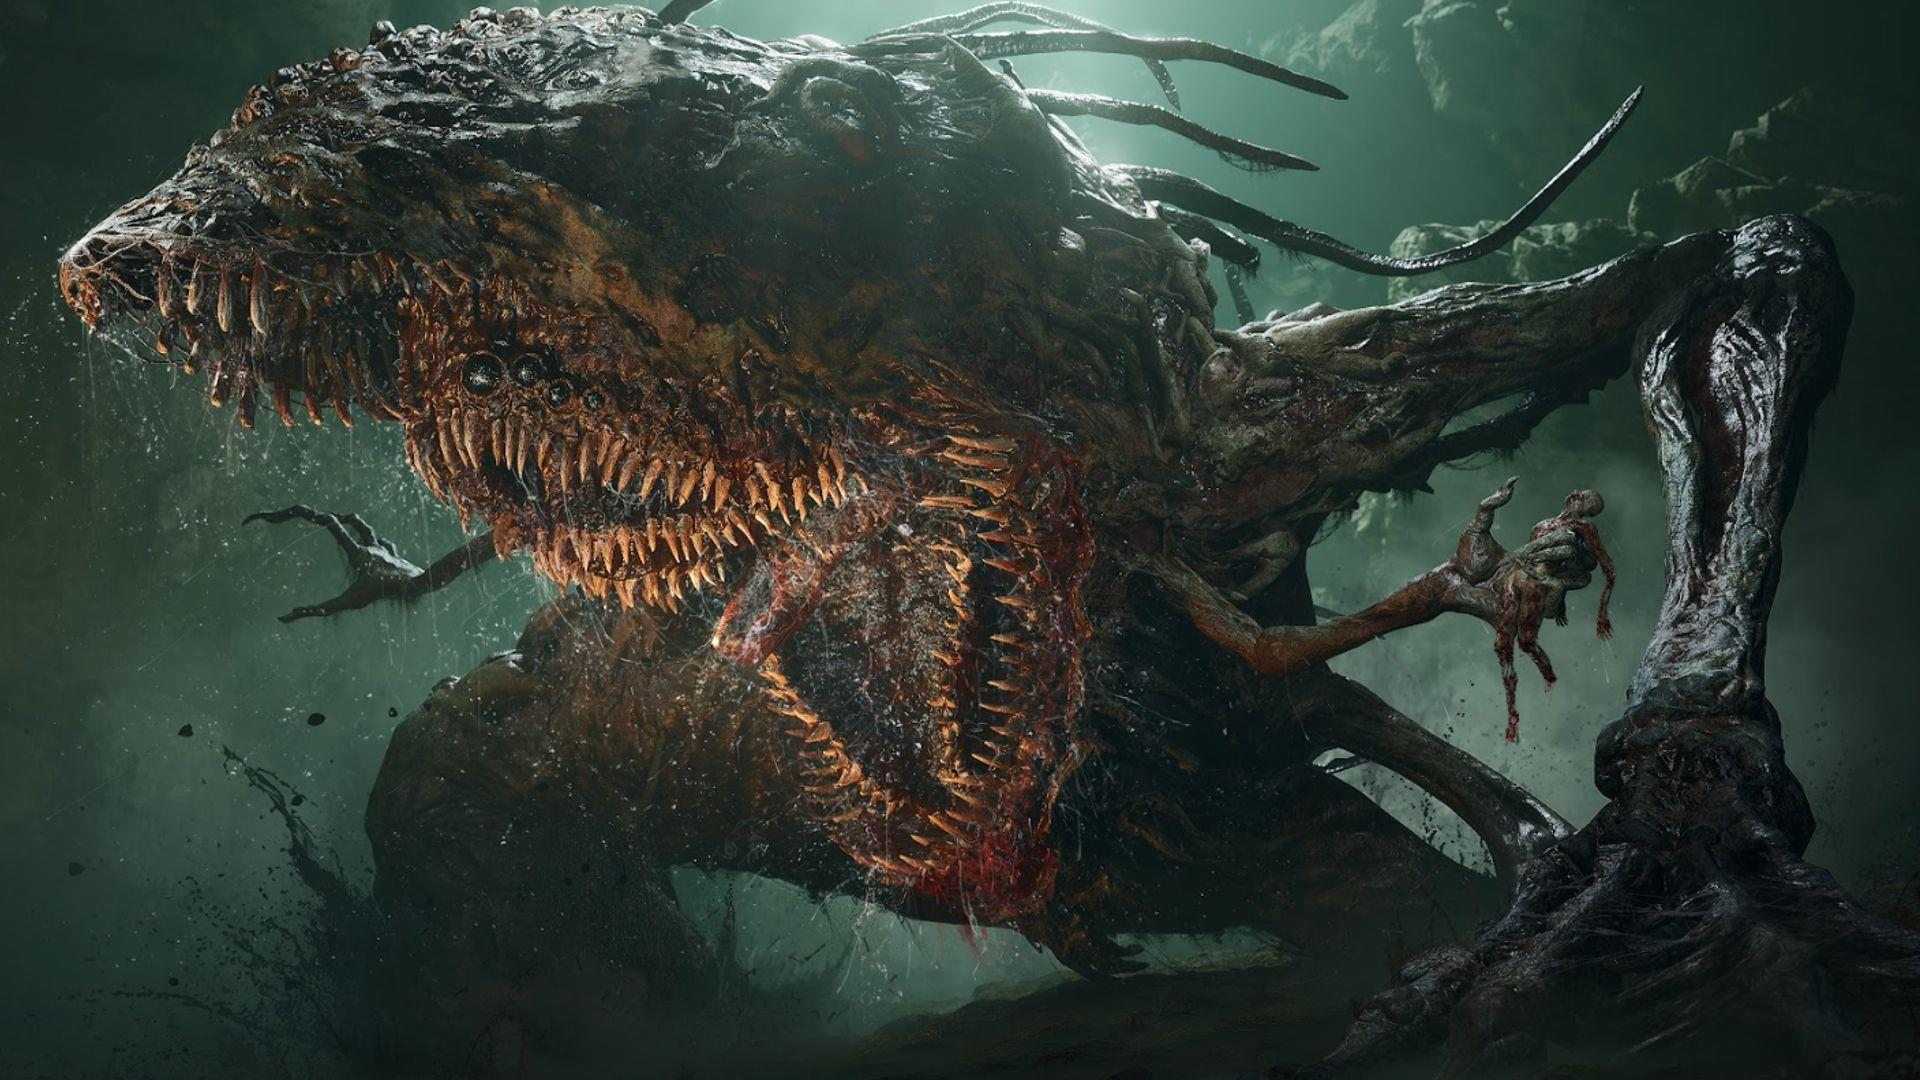
The Congregator of Flesh
This fight requires you to not only fight the boss but the camera, too, as it tends to get stuck due to the small arena. The size of the arena makes this boss’ wide-sweeping attacks a real nuisance. Furthermore, you have to contend with The Congregator of Flesh’s poison buff, though you can remove this from your foe if you head into the Umbral realm and destroy a parasite. However, its removal is short-lived, as the buff returns after 30 seconds. Either keep on top of removing this buff periodically or brute force it.
As a huge being, it moves relatively slowly, so dodging its attacks isn’t too much of an issue when the camera isn’t fighting against you. It has slow and telegraphed attacks that leave it open to counter-strikes due to the Congregator’s long recovery window.
The biggest hurdle, however, is likely to be the Congregator’s poison attacks while it has its parasite alongside it. This hulking monstrosity can create a poison wave and pool that not only deals a fair chunk of damage but also causes poison build-up. While these attacks can be avoided, taking poison damage is a pain that requires you to cleanse yourself to remove the debuff. Don’t venture into the Congregator boss fight without a stockpile of antidotes.
Mendacious Visage
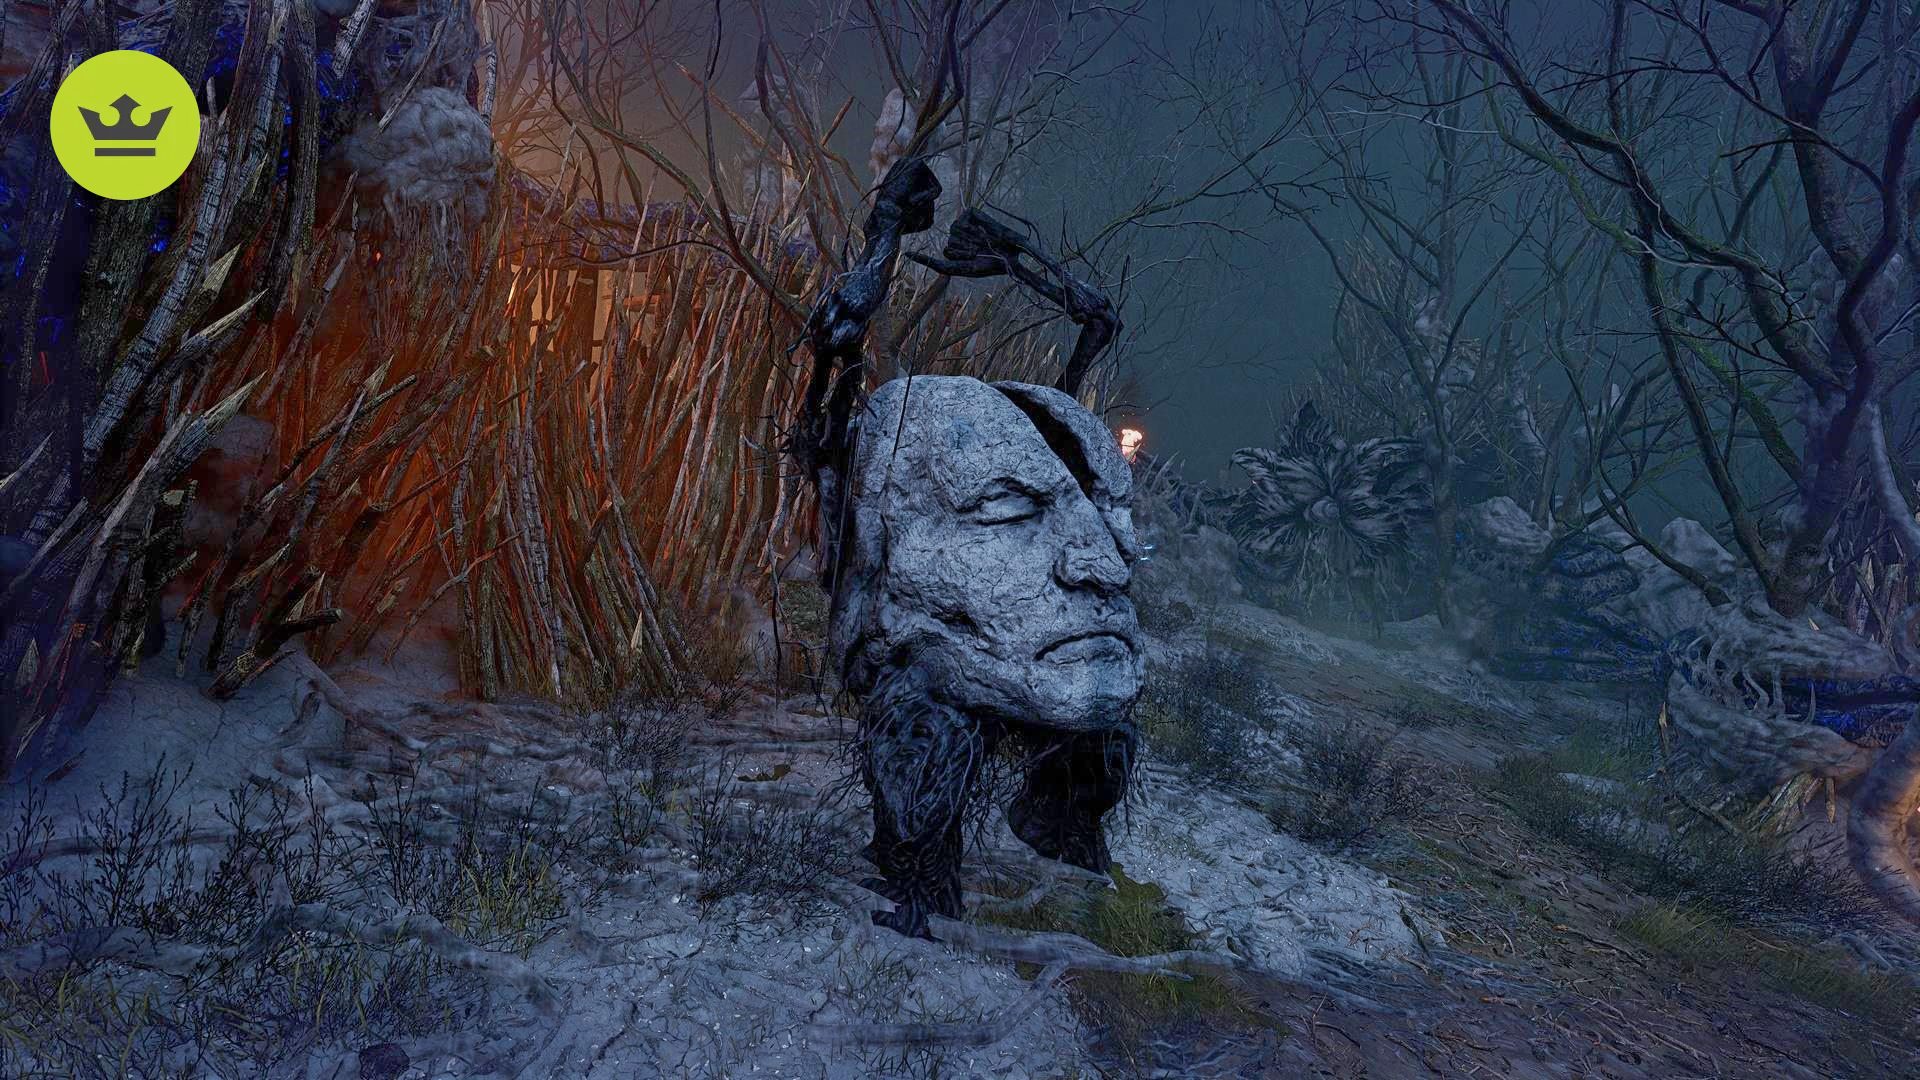
This creature will surprise the heck out of you as you make your way through the swamplands. What initially seems like a boulder turns out to be a giant stone head with arms and legs. As you can expect, it’s got high defense, to the point that most weapons will simply get deflected. You have to wait for it to open up its weak spot or attempt to circle behind it just to deal damage.
Our advice is to bait the Mendacious Visage into attacking to open it up for a counterattack while it’s recovering. Your best opportunity, however, arises when the Mendacious Visage rather unhygienically begins to spew out Umbral creatures, at which point you can use the Umbral lamp to soul-flay the boss to temporarily disable it.
The Hushed Saint
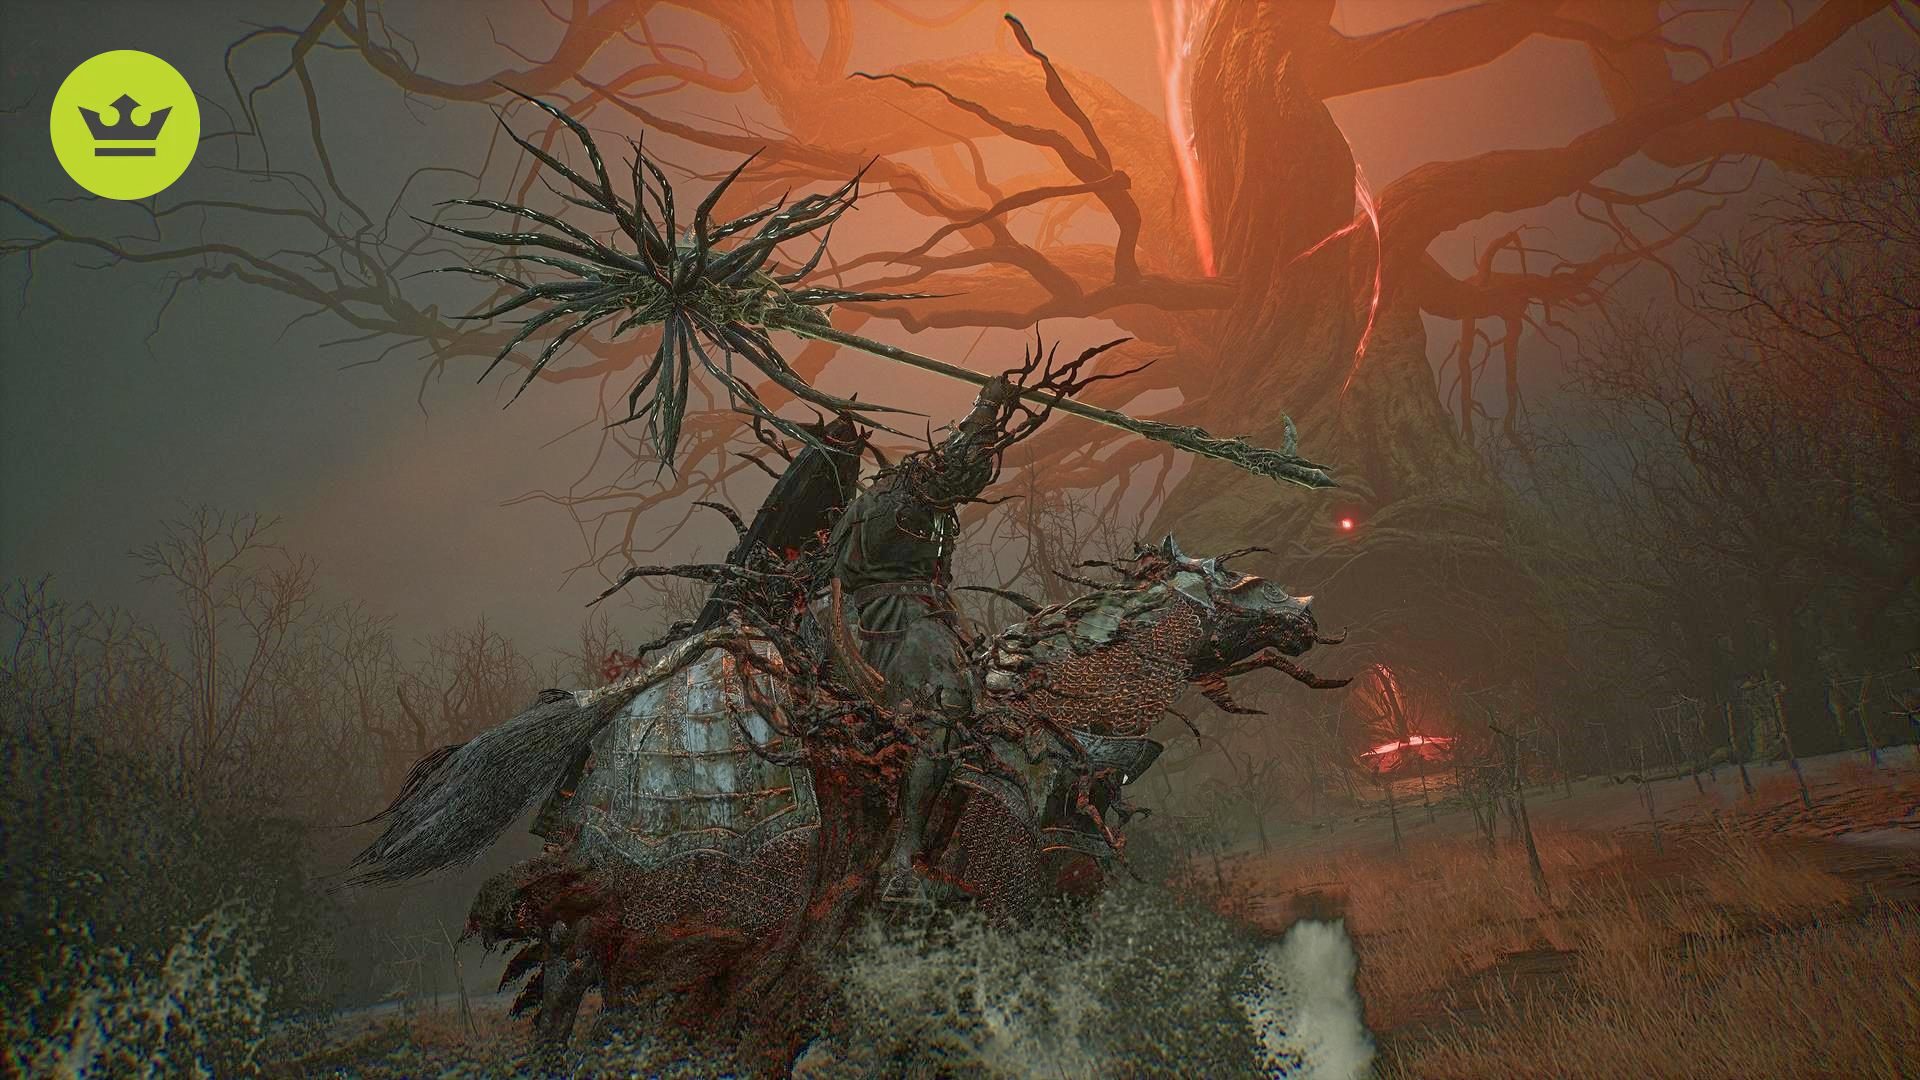
For this Lords of the Fallen boss fight, your opponent begins the battle astride his horse, only to subvert all expectations by dismounting and stabbing you in the face with his lance. Just when you thought it was going to be a one-on-one melee bout, he’ll transition back to his mounted stance, charging at you when you least expect it. Later, he’ll also call on his steed to run you down.
The crucial component of this boss fight requires using your Umbral lamp to locate some weird-looking parasites that rise up out of the ground. Raise your lamp to spot them in between The Hushed Saint’s attacks, and run to the nearest one and stay close. When they approach you to deal damage, raise your lantern up to the parasite for a short time to make it explode, which will stun the boss, letting you deal damage.
This makes The Hushed Saint a test of patience rather than skill, further reinforcing that being overly aggressive will often be punished
Crimson Rector Percival
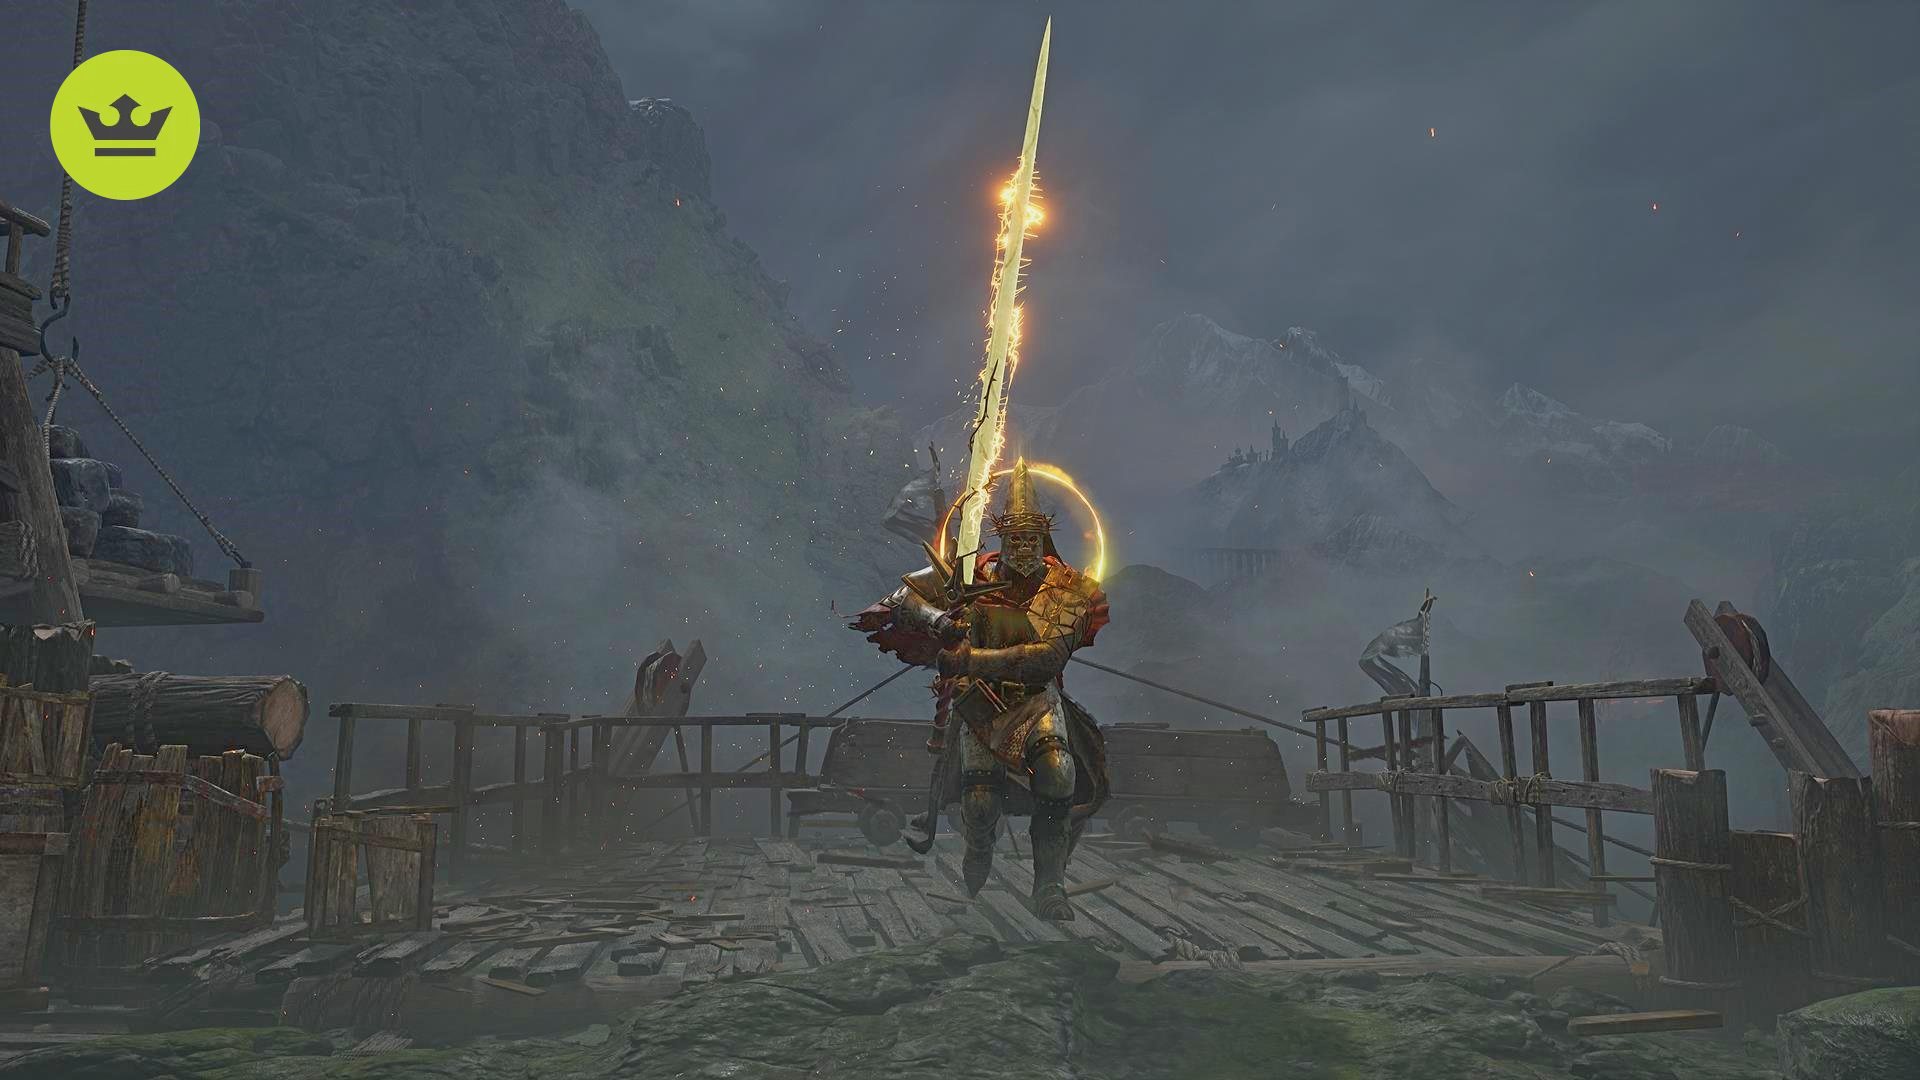
You’ll find this lonely knight in an abandoned rampart. As with others of his kind, he uses holy-infused abilities, including a spectral summon that rushes toward your character and slams down on the ground. And, yes, he also loves to heal, prolonging the fight considerably unless you can burst him down before he gets a chance.
Ruiner
This rampaging monster guards a bridge and, just like Gandalf, he does not want you to pass. From bull-rush ramming to ground stomps that cause explosions, you’ll need to be mindful of his abilities due to limited space.
We recommend keeping a close eye on your positioning to bait the Ruiner into charging at you, at which point you can dodge and move in for a counterattack. Though it can take a while, playing it safe and maintaining a safe distance is the safest option. as the Ruiner has several deadly fire-based attacks at its disposal.
The best tip we can give you for this fight, though, is to make sure you’re well protected against fire damage. Trust us, you’ll need it.
Infernal Enchantress
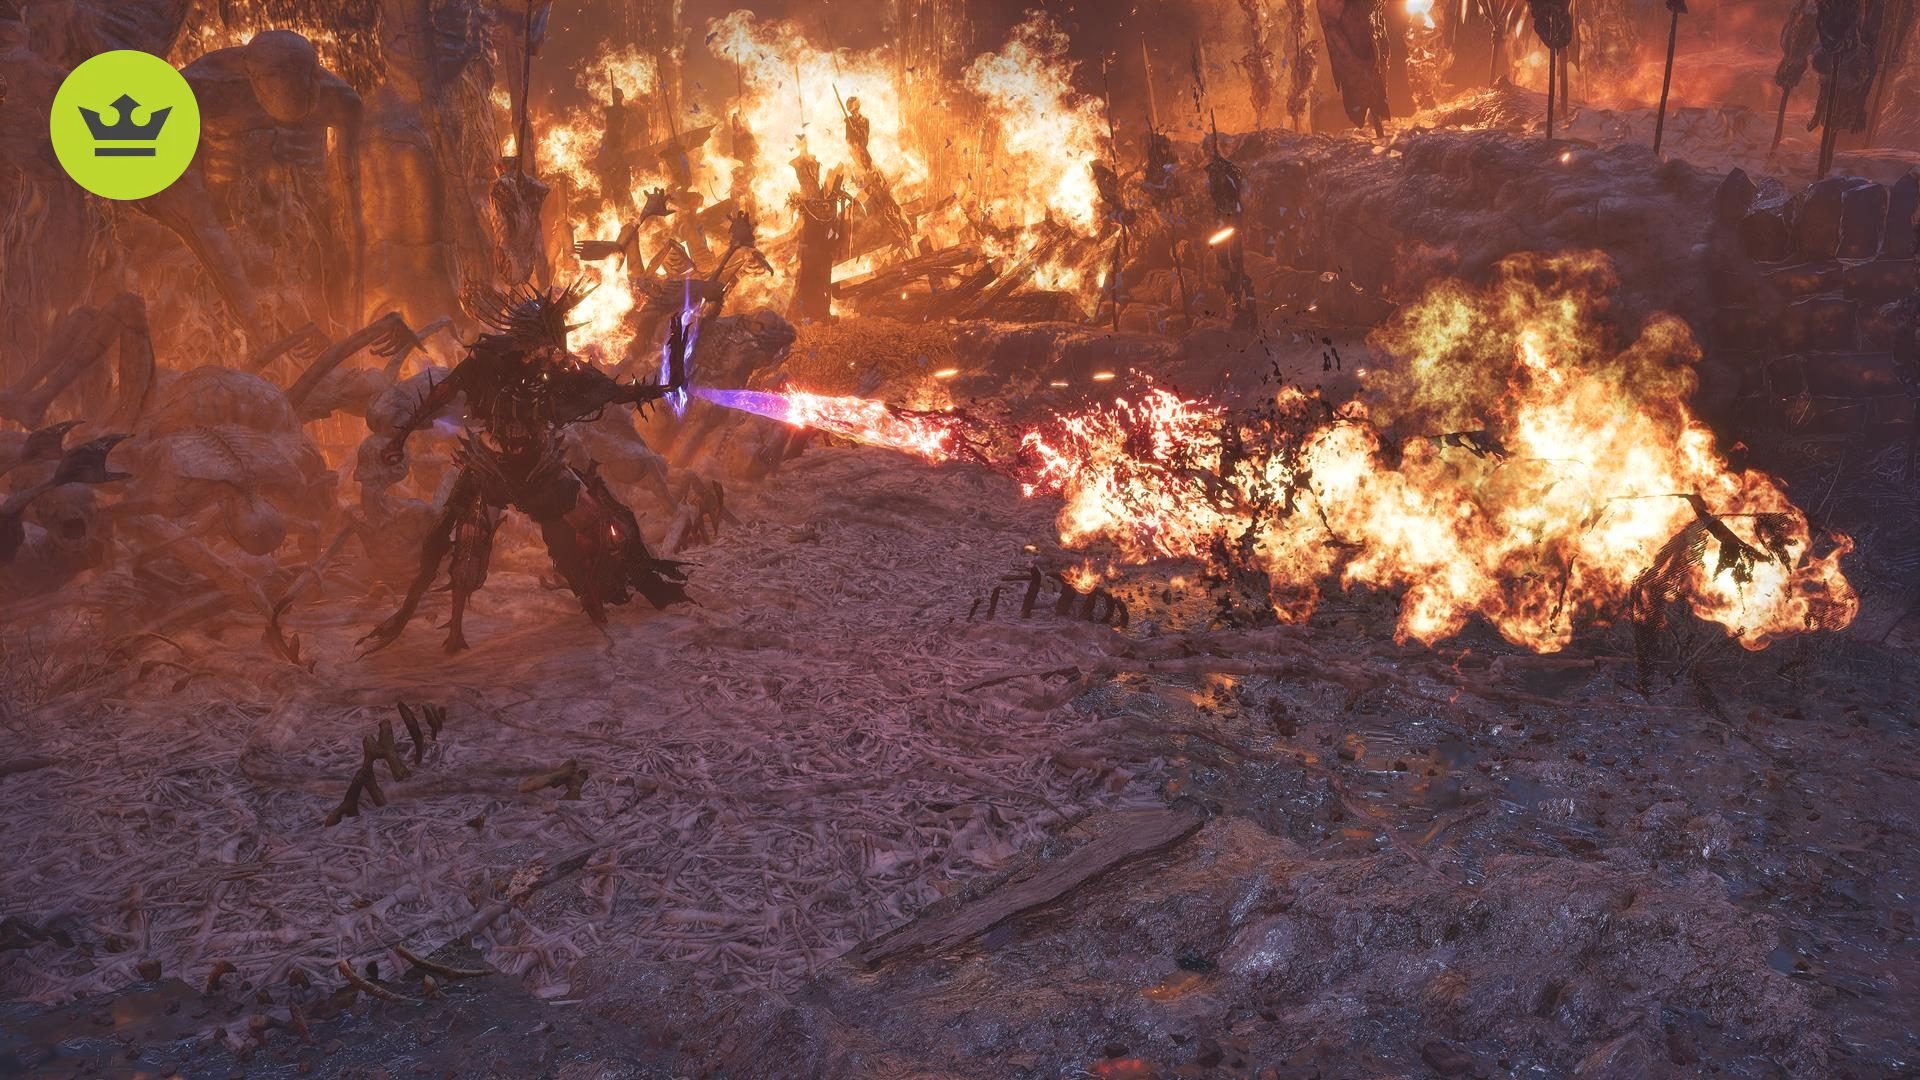
Speaking of fire damage, this spellcaster will torch you to smithereens if you’re not careful. Surrounded by the ruins of a burning village, she’ll use flamethrower attacks and cast exploding orbs. Again, look to increase your fire protection to be able to withstand more damage from the Infernal Enchantress.
Spurned Progeny
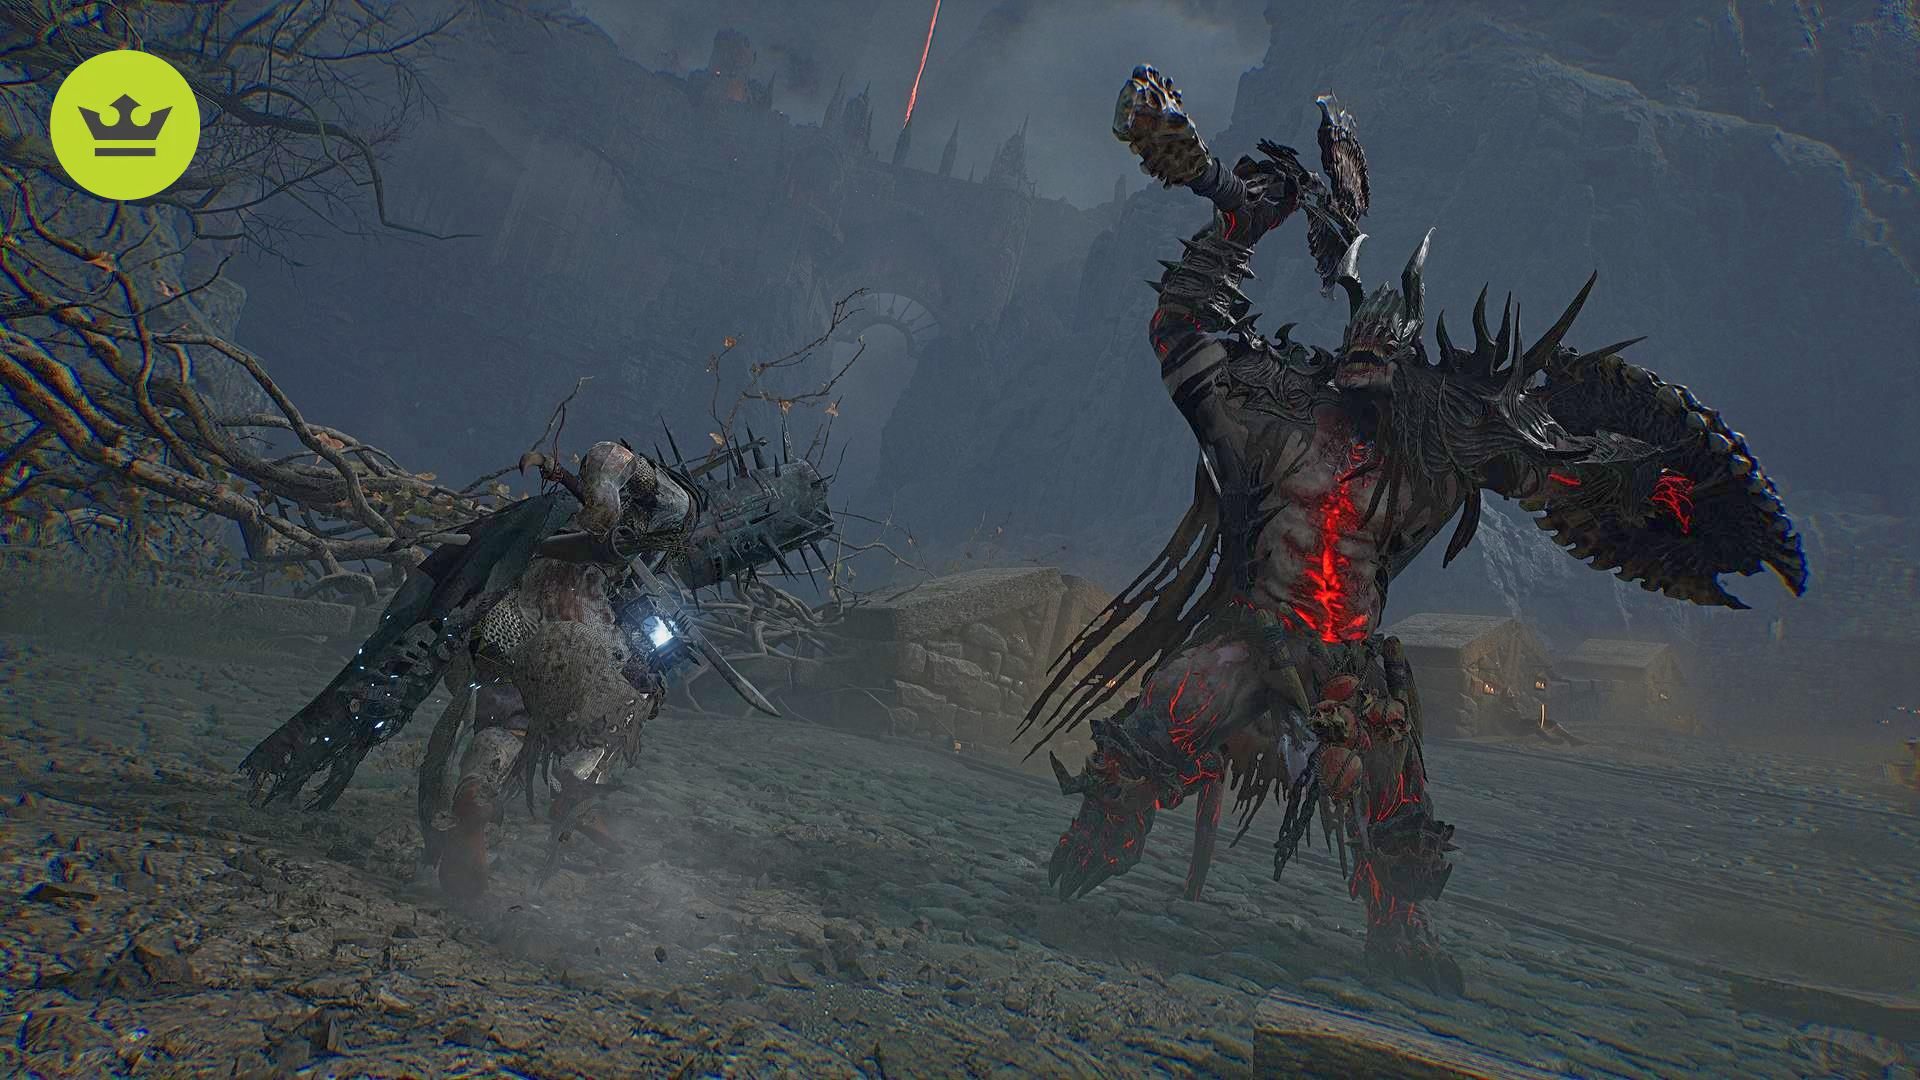
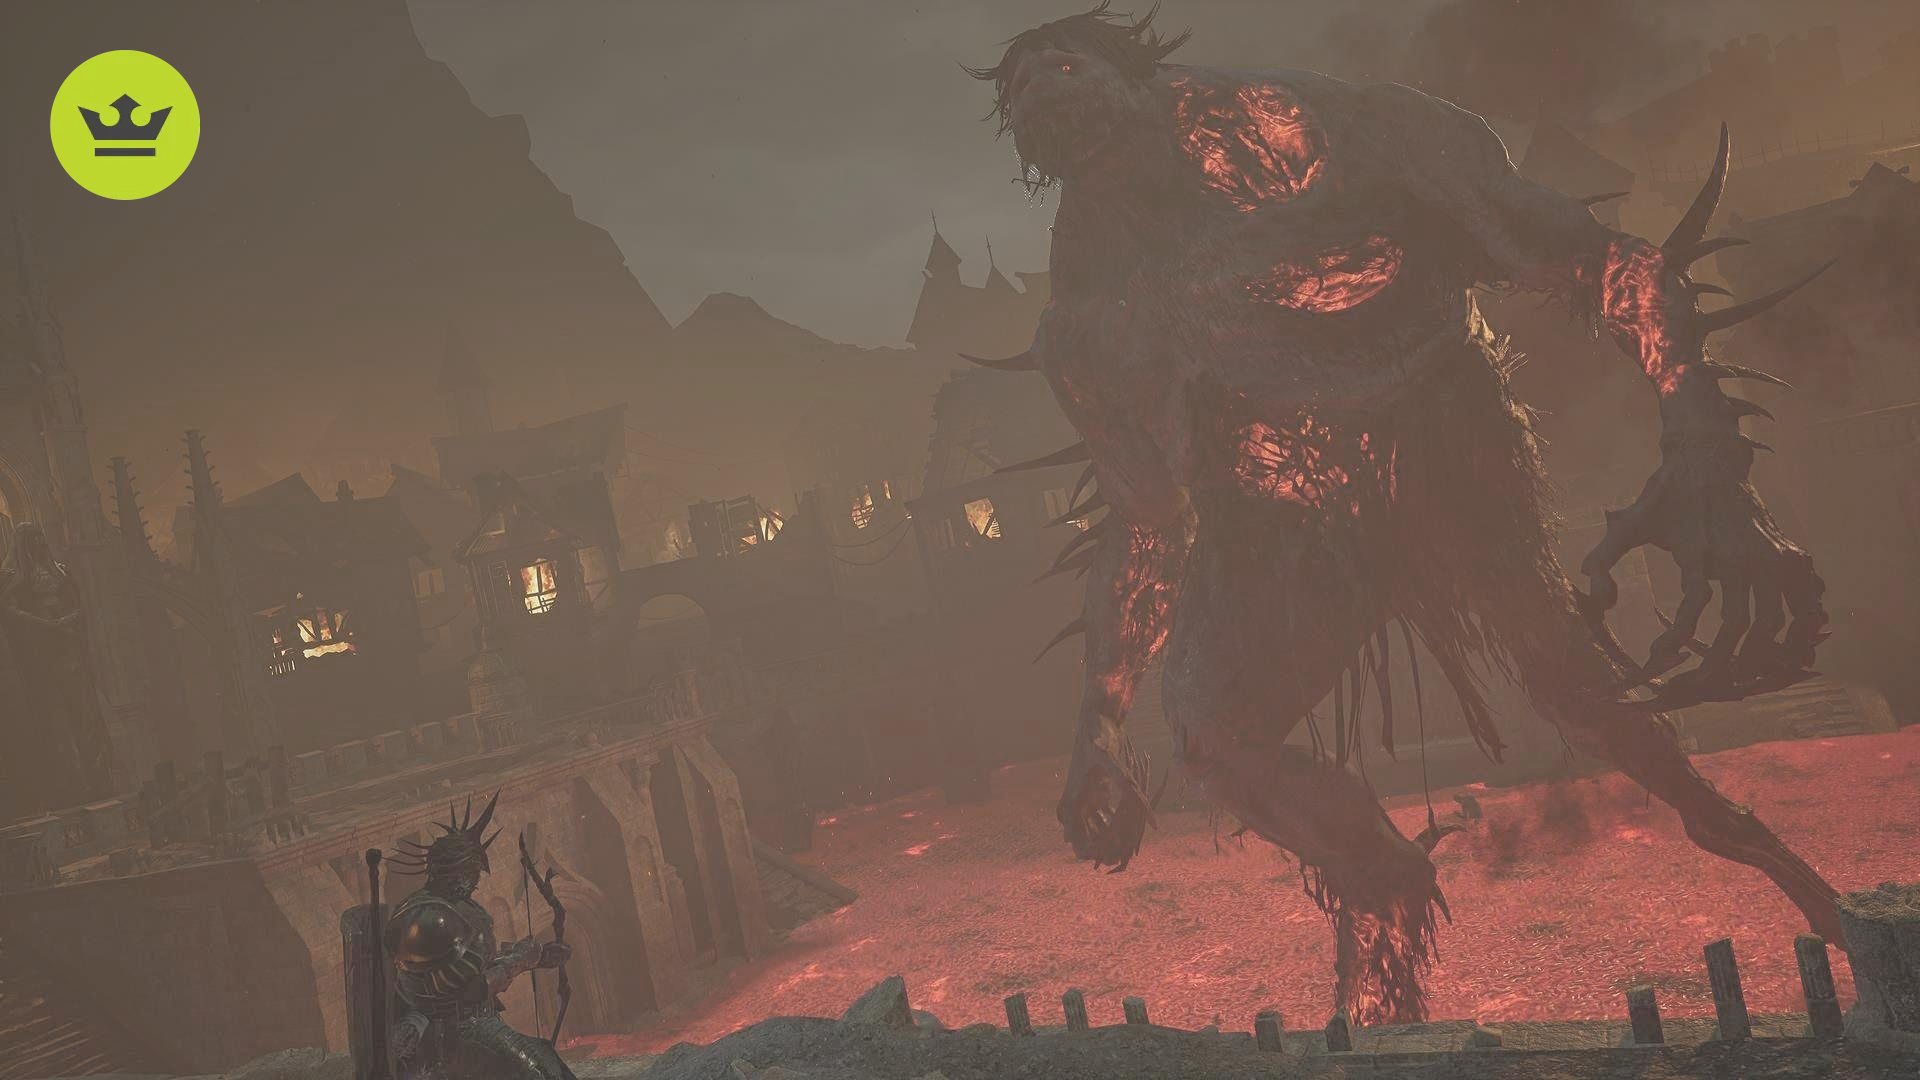
Eventually, you’ll come across this huge ogre in what we can only consider one of the most memorable Lords of the Fallen boss fights, as noted in our review. The circular arena is massive, which is befitting of your foe’s size. Likewise, the mechanics require you to stay on the move, as you have to dodge arm swipes, fireballs, and whatever that thing is that comes out of its mouth.
Moreover, we literally have to say that “the floor is lava,” as you whittle down the boss’ health by way of ranged weapons or spells. If those aren’t enough, then you need to be ready for its last-stand attack that’s guaranteed to kill your character if you don’t succeed.
Skinstealer
This four-armed reptilian warrior vaguely looks like The Lightreaper, though he has different attacks and abilities. The one that you need to watch out for is his melee sequence, which involves two of each arm hitting you per swipe. Failure to perfectly parry or dodge one can mean getting damaged by the next blow. As such, focus on blocking or dodging at the right time to get a leg up on the Skinstealer.
Bringer of Stillness
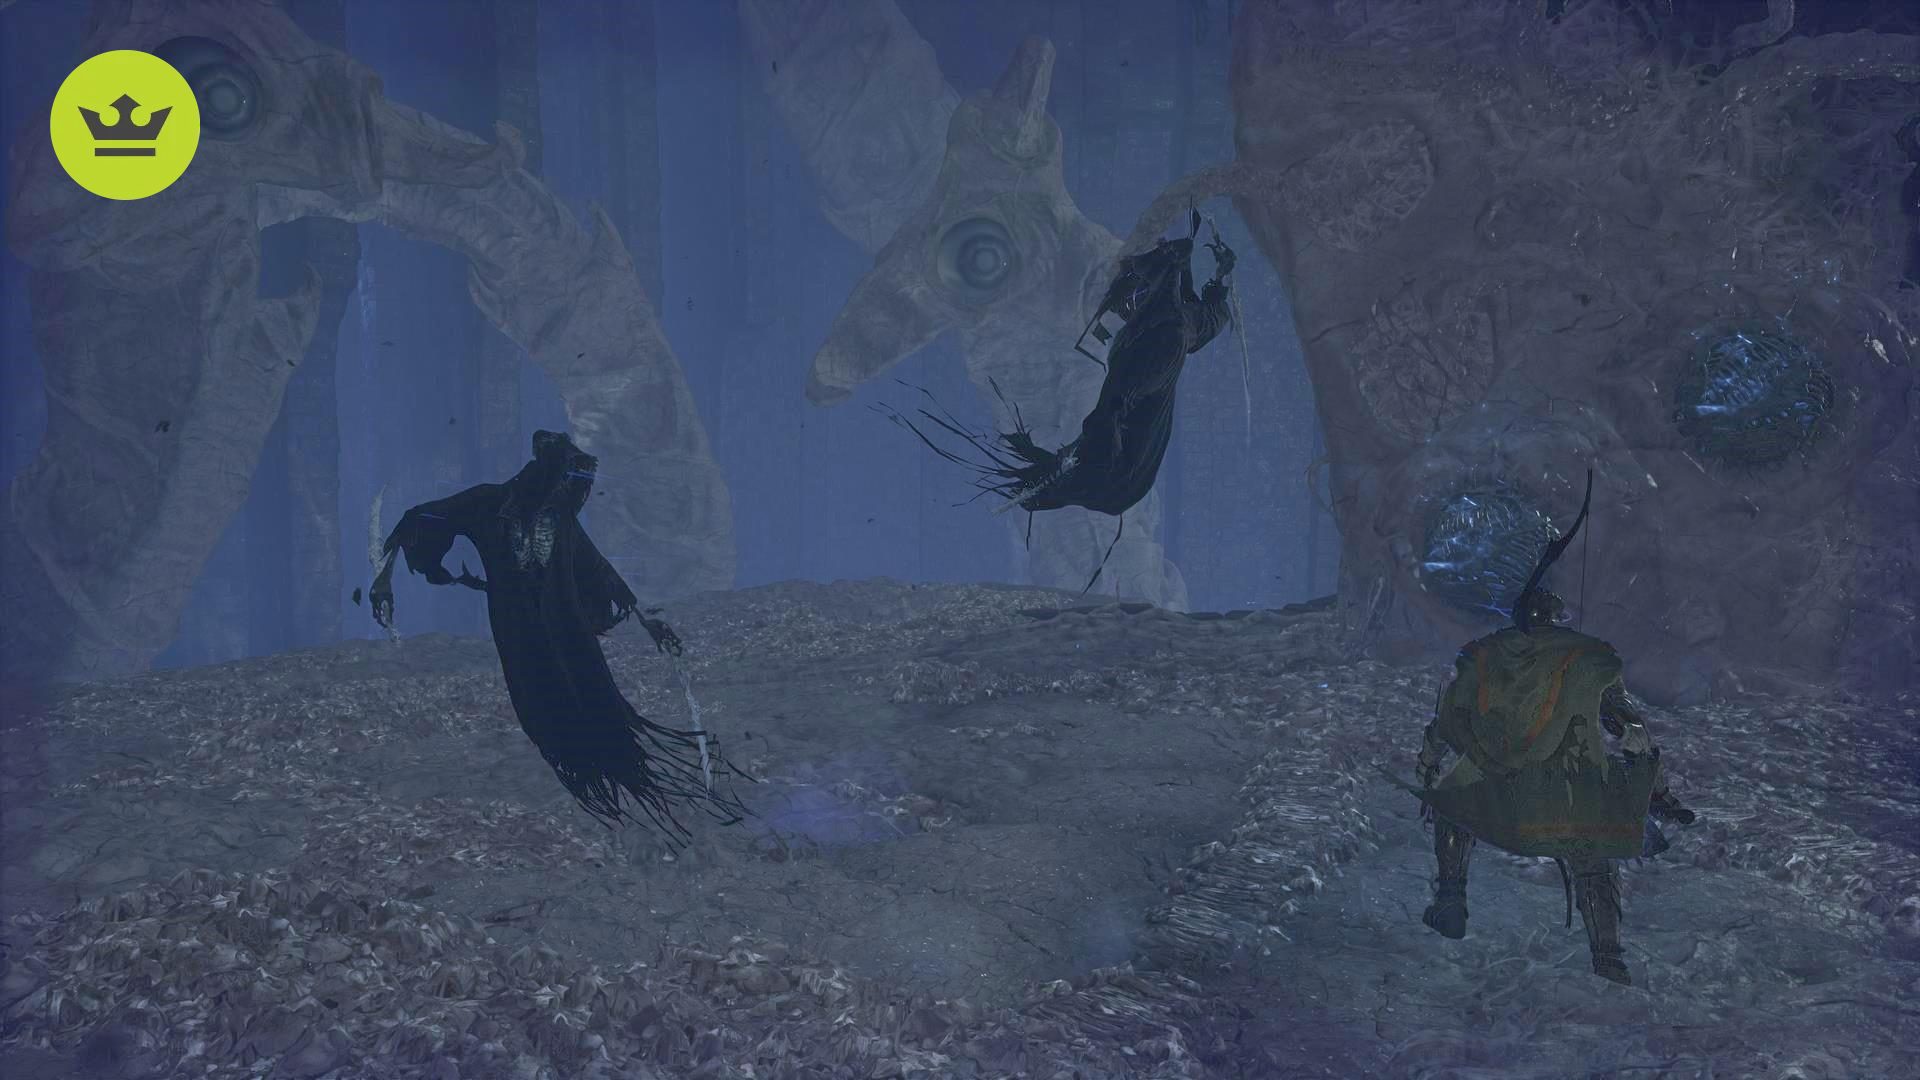
This Lords of the Fallen boss battle seems inconspicuous at first since it’s just against one grim reaper-esque enemy on a floating platform. However, as you whittle down its health, you’ll end up taking on three of these reapers, who all have devastating multi-hit combos. Stay on the move and take them out one at a time if you can so you have less to deal with all at once.
Abiding Defenders Lirenee & Kyra
This bout pits you against two paladin elites, both of whom use the holy element to its fullest potential. One of them prefers to get up close and personal, while the other creates sacred sword projectiles that travel along the ground. We recommend taking out the ranged Abiding Defender first, as his attacks are much more annoying to deal with. Once they’re out of the way, take down the melee one with well-timed dodges and frequent, short bursts of damage in between their attacks.
Abbess Ursula
Speaking of holy spells, look no further than Abbess Ursula, who’s found in the abbey’s courtyard. This encounter requires you to use the pillar at the center to your advantage since it can block her magic beams. But watch out since she’ll also try to heal herself, which can prolong the fight.
Rupturous Huntress Lirenne
The Rapturous Huntress has blazingly fast attack combos, which tend to be somewhat erratic and unpredictable. She can use a string of three hits with her spear, or switch it up by doing kicks that push you back. We recommend trying to dodge these attacks to avoid eating up all your stamina blocking, and then going in for a strike when they’re vulnerable.
Judge Cleric The Radiant
This lady will test your mettle in a two-phase fight. She dual-wields a sword and banner setup, so watch out for fast attacks and immense reach. Your opponent during the first phase also loves to use holy abilities, but her form in the second phase has her switching to fire spells. This means you’ll have to juggle different resistances if you’re looking to withstand more hits.
Blessed Carrion Knight Sanisho
This foe might surprise you at first since he’s just a lowly undead knight who moves slowly. Suddenly, most of the area gets shrouded in poison, so you need to look for a safe spot. Worse, killing him once won’t be enough, since he also has a reanimation spell. Be prepared for a more drawn-out fight than you first expect, so manage your resources accordingly.
Tancred and Reinhold
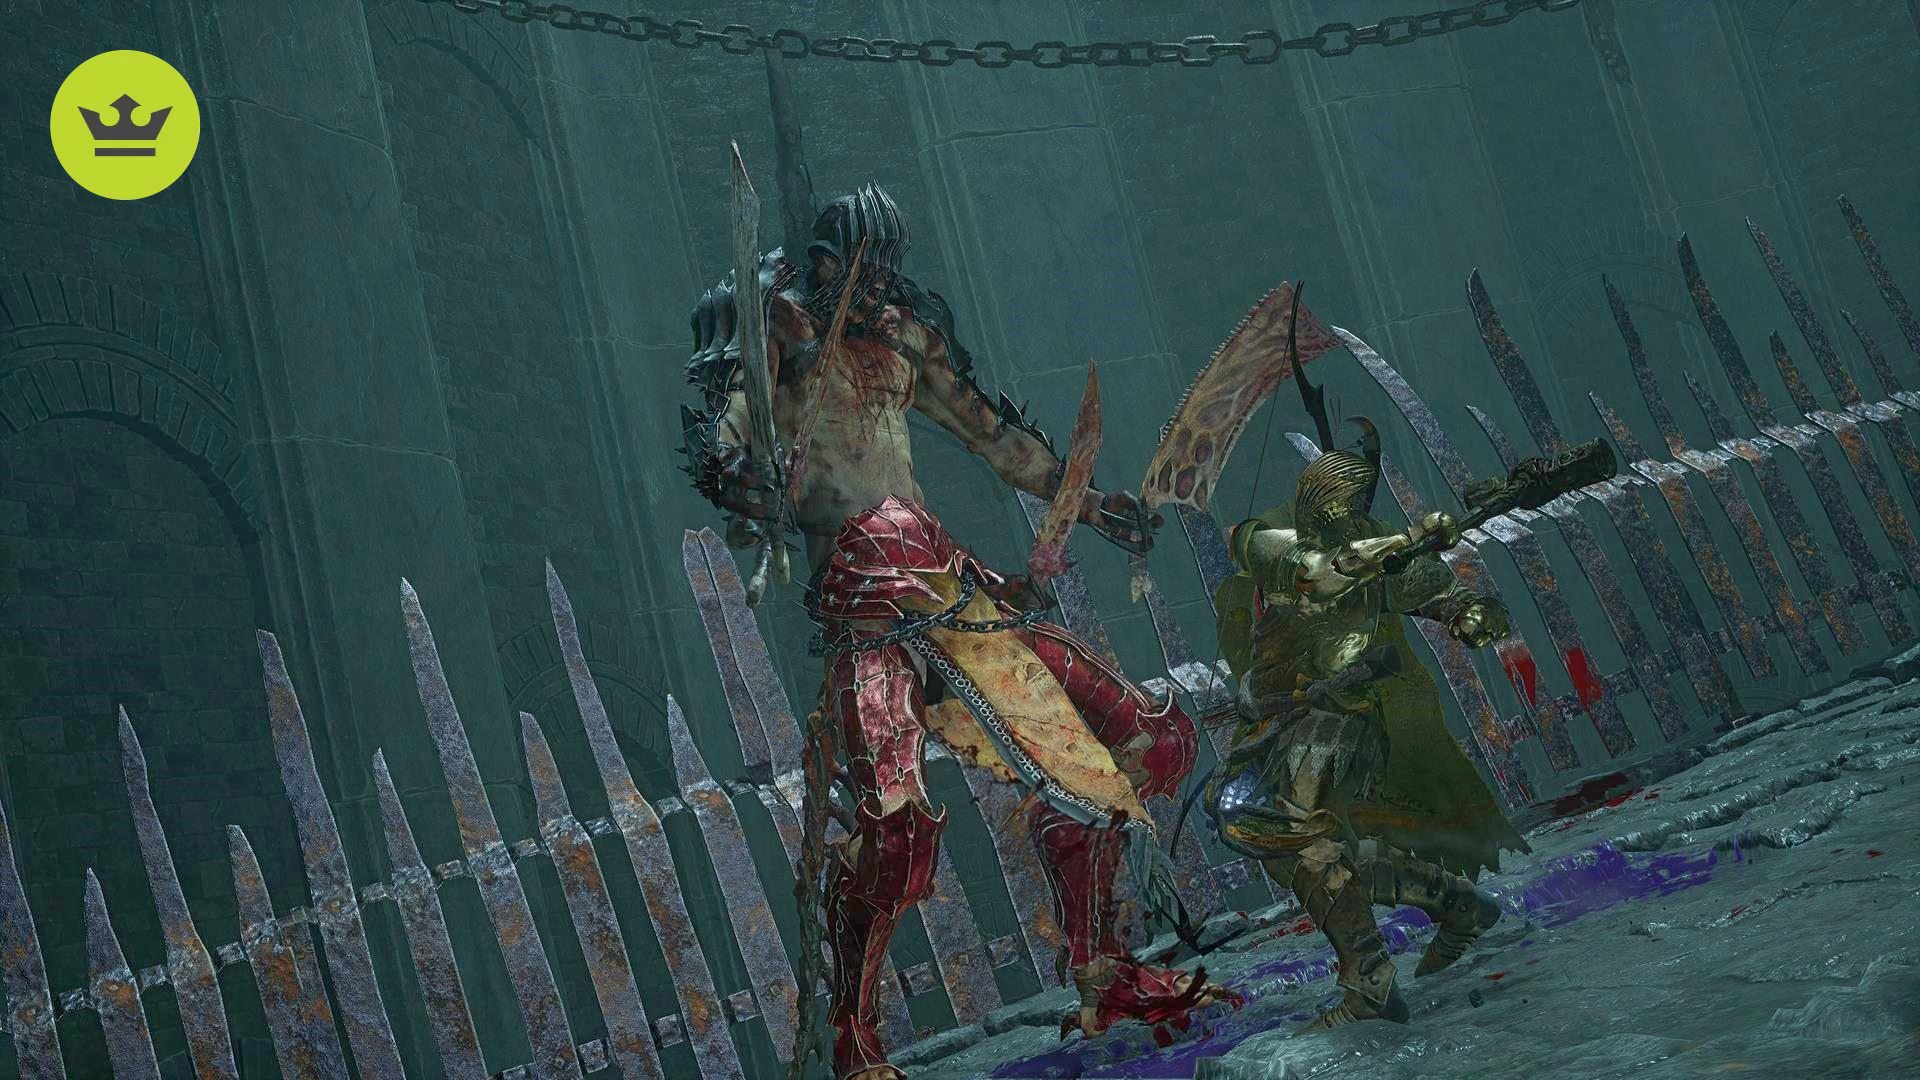
This Lords of the Fallen boss fight begins with you facing Tancred, a tall and fearsome armored warrior who likes to use magic and his shield to create some powerful AOE attacks. However, attacks with the shield are heavily telegraphed, and a roll through the attack allows you to avoid the AOE damage altogether. Come the second phase of the fight, the warrior’s brother, Reinhold, takes over his body, resulting in a monster that has four legs, aggressive attacks, and a speed that’s sure to keep you on your toes, especially after the slow first phase. Adjusting to phase two will likely be the biggest challenge you’ll encounter.
Kinrangr Guardian Folard
We feel that this is one of the most overtuned bosses in the campaign due to what goes on. This battle takes place in a small cavern, most of which is partially flooded (which means hampered mobility). Swapping to the Umbral Realm is also a bad idea since a Mendacious Visage enemy waits in the shadows. Worse, the Kinrangr Guardian and his Wolfhounds are also immune to damage until you destroy an Umbral Eye in the cavern. This means you’ve got a lot to contend with all at once, with the environment also being a hurdle. We highly recommend doing a few practice runs before going all out and using valuable resources.
Griefbound Rowena
Thankfully, the Griefbound Rowena battle that follows Kinrangr Guardian Folard isn’t as difficult. Your target uses a bunch of ice spells while she’s flanked by various undead wights. She can resurrect the mobs, so it’s better to focus on bringing her down rather than waging war on a never-ending stream of wights.
Andreas of Ebb
The Andreas of Ebb boss can either be very challenging or rather easy, depending on your playstyle. This boss fight takes place in a very narrow alleyway, giving you little room to maneuver away from his attacks. However, the same also applies to him. So, if you’ve got lots of AoE damage spells and stuns, then this fight can be a breeze as they don’t have all that much health. Otherwise, you’re forced into close-quarters combat with a ferocious foe.
To beat Andreas of Ebb, we recommend taking your time. Given the limited space, dodge as and when you need to and bide your time until their attack chain has ended. When you see an opening, move in for an attack or two before preparing to evade again.
The Hollow Crow
This Heresy boss in the Kinrangr Fief zone is quite unique since you don’t really damage it directly. Instead, your goal is to defeat the ghost of a woman that’s floating around in the arena. While this is going on, you also need to be mindful of frost-based spells, as well as various mobs that you’ve encountered throughout this level.
Kukajin
The Kukajin boss fight puts your timing to the test. With several slow and heavy attacks that you expect to impact sooner than they actually do, it’s easy to end up dodging too soon or too late.
Luckily, you’ve got plenty of room for this fight and Kukajin doesn’t have all too much health. So, to beat Kukajin, you’ll need to execute perfect timing with your dodges and blocks to avoid taking unnecessary damage.
Paladin’s Burden
This Lords of the Fallen boss can only be fought as part of a secret quest tied to the Dark Crusader and The Lightreaper. It will, eventually, lead to unlocking the Dark Crusader class when you start your campaign (assuming you don’t own the Deluxe Edition of the game).
The Paladin’s Burden itself isn’t too challenging early on, since you mostly need to recognize his melee attack patterns. However, halfway through the bout, he’ll cast a spell that calls down holy lightning.
The Iron Wayfarer
The Iron Wayfarer is an NPC that you encounter very early in the campaign. In fact, he’s the one who hands over your first Vestige Seed, which is used to make Seedling waypoints. Much later, though, he’ll bar the gate to a distant castle, and it’s up to you to finish him off. He uses a one-handed hammer empowered by wither magic.
If you summoned him during the fight against Pieta, She of Blessed Renewal, towards the start of the game, then you’ll have an idea of what to expect. Oh, how the tables have turned…
Damarose The Marked
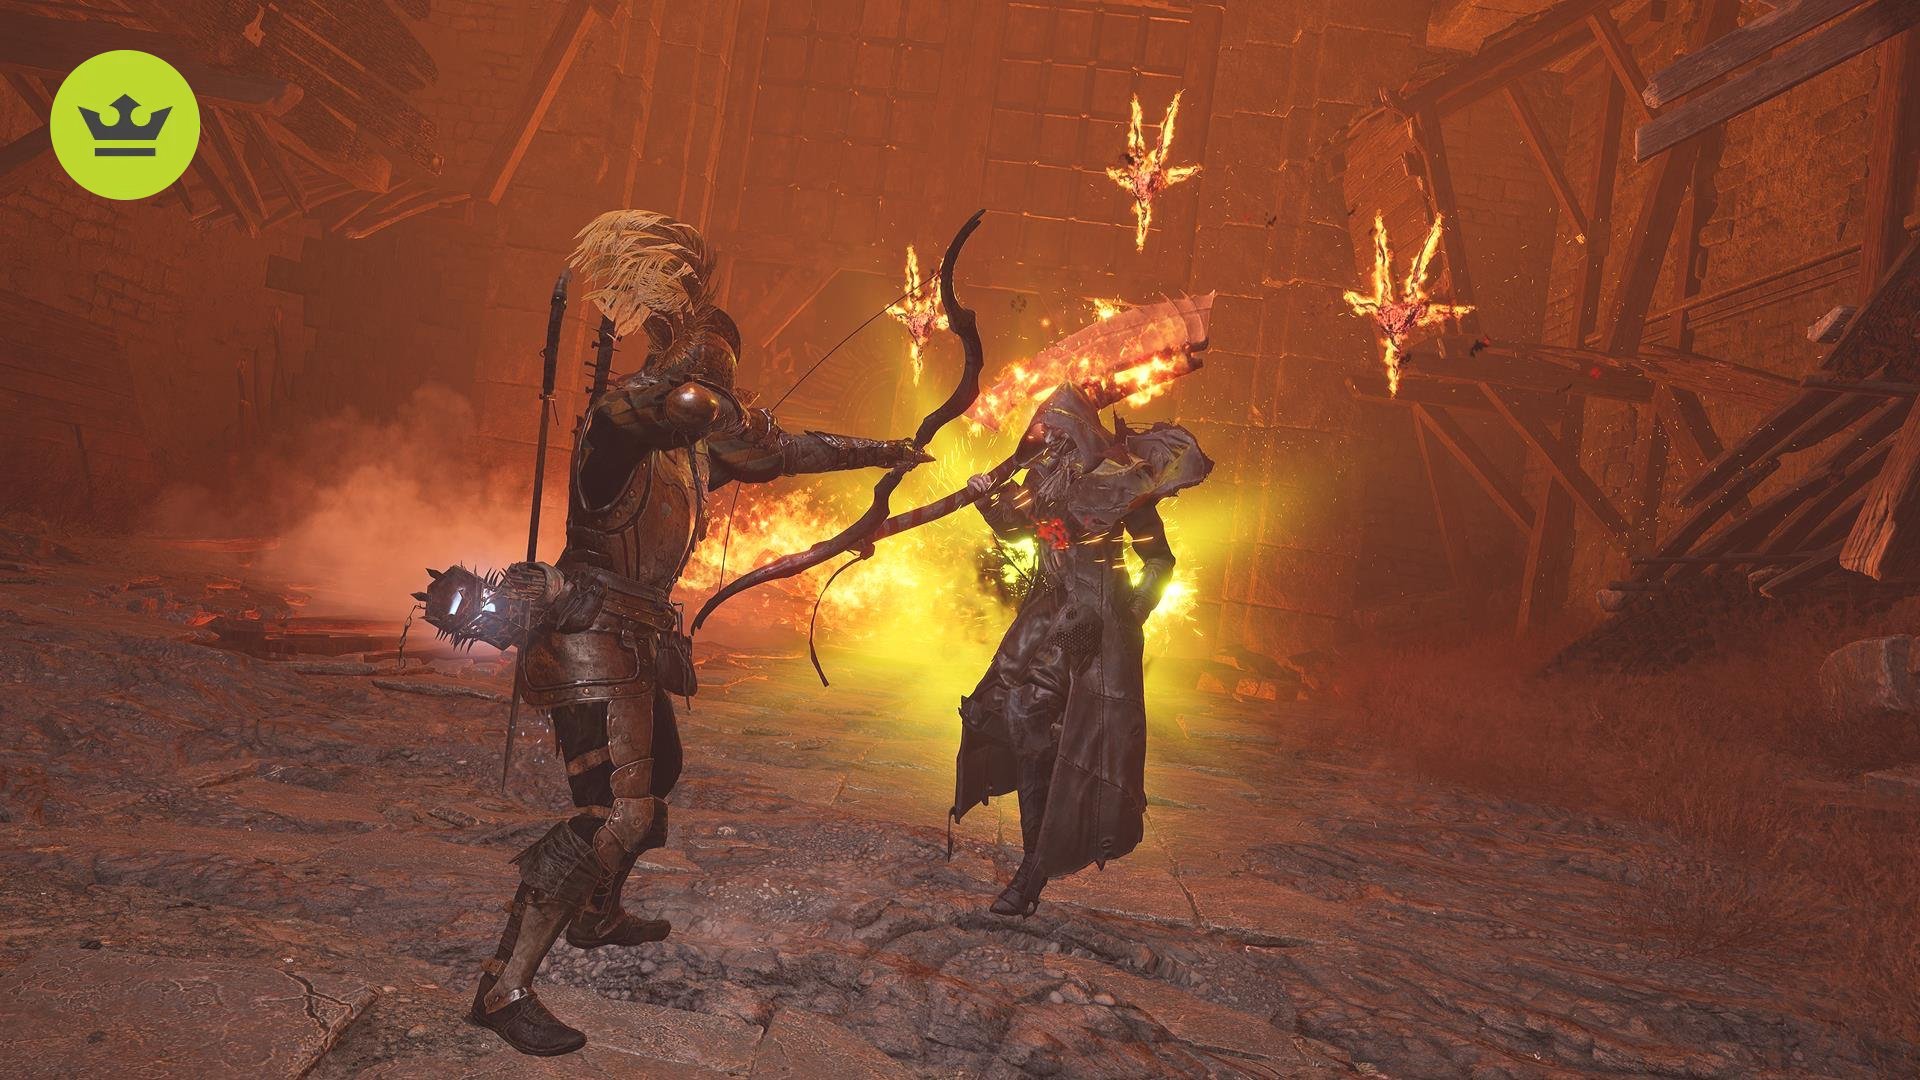
Similar to The Iron Wayfarer, Damarose the Marked is also an NPC that you meet in your journey. As an adherent of Adyr and the Rhogar, she wants you to renege from your quest to cleanse the beacons. Then, at the closing stages of the campaign, and assuming you did cleanse all the beacons, she’ll wait for your arrival. As her moniker implies, she’s protected by floating sigils that “mark” you, sending out fireballs at your last location. To best her, stay on the move by rolling and looking for openings to attack.
Tortured Prisoner
The Tortured Prisoner boss fight is sure to give you quite the fright when you encounter them in a small overlook off to the side of the path, as it’s not exactly where you’d expect a boss to be. To make matters worse, this pyromancer can also teleport, letting her get the drop on you right away.
The Tortured Prisoner’s main attacks are a ring of fire and a rain of fireballs. The ring of fire is a lot easier to avoid than it sounds, simply dodge through it at the right time and you won’t take any damage. The latter, however, is more troublesome. If you’re a melee character, you’ll be in the range of her fireballs, so keep an eye on her animations to know when you have to dodge back.
Thankfully, once she’s finished an attack chain, you’re able to move in for an attack. If you’re able to stagger or stun her, you’ll have plenty of time for a charged heavy attack while she recovers, letting you get some good damage in before she either teleports or casts more spells.
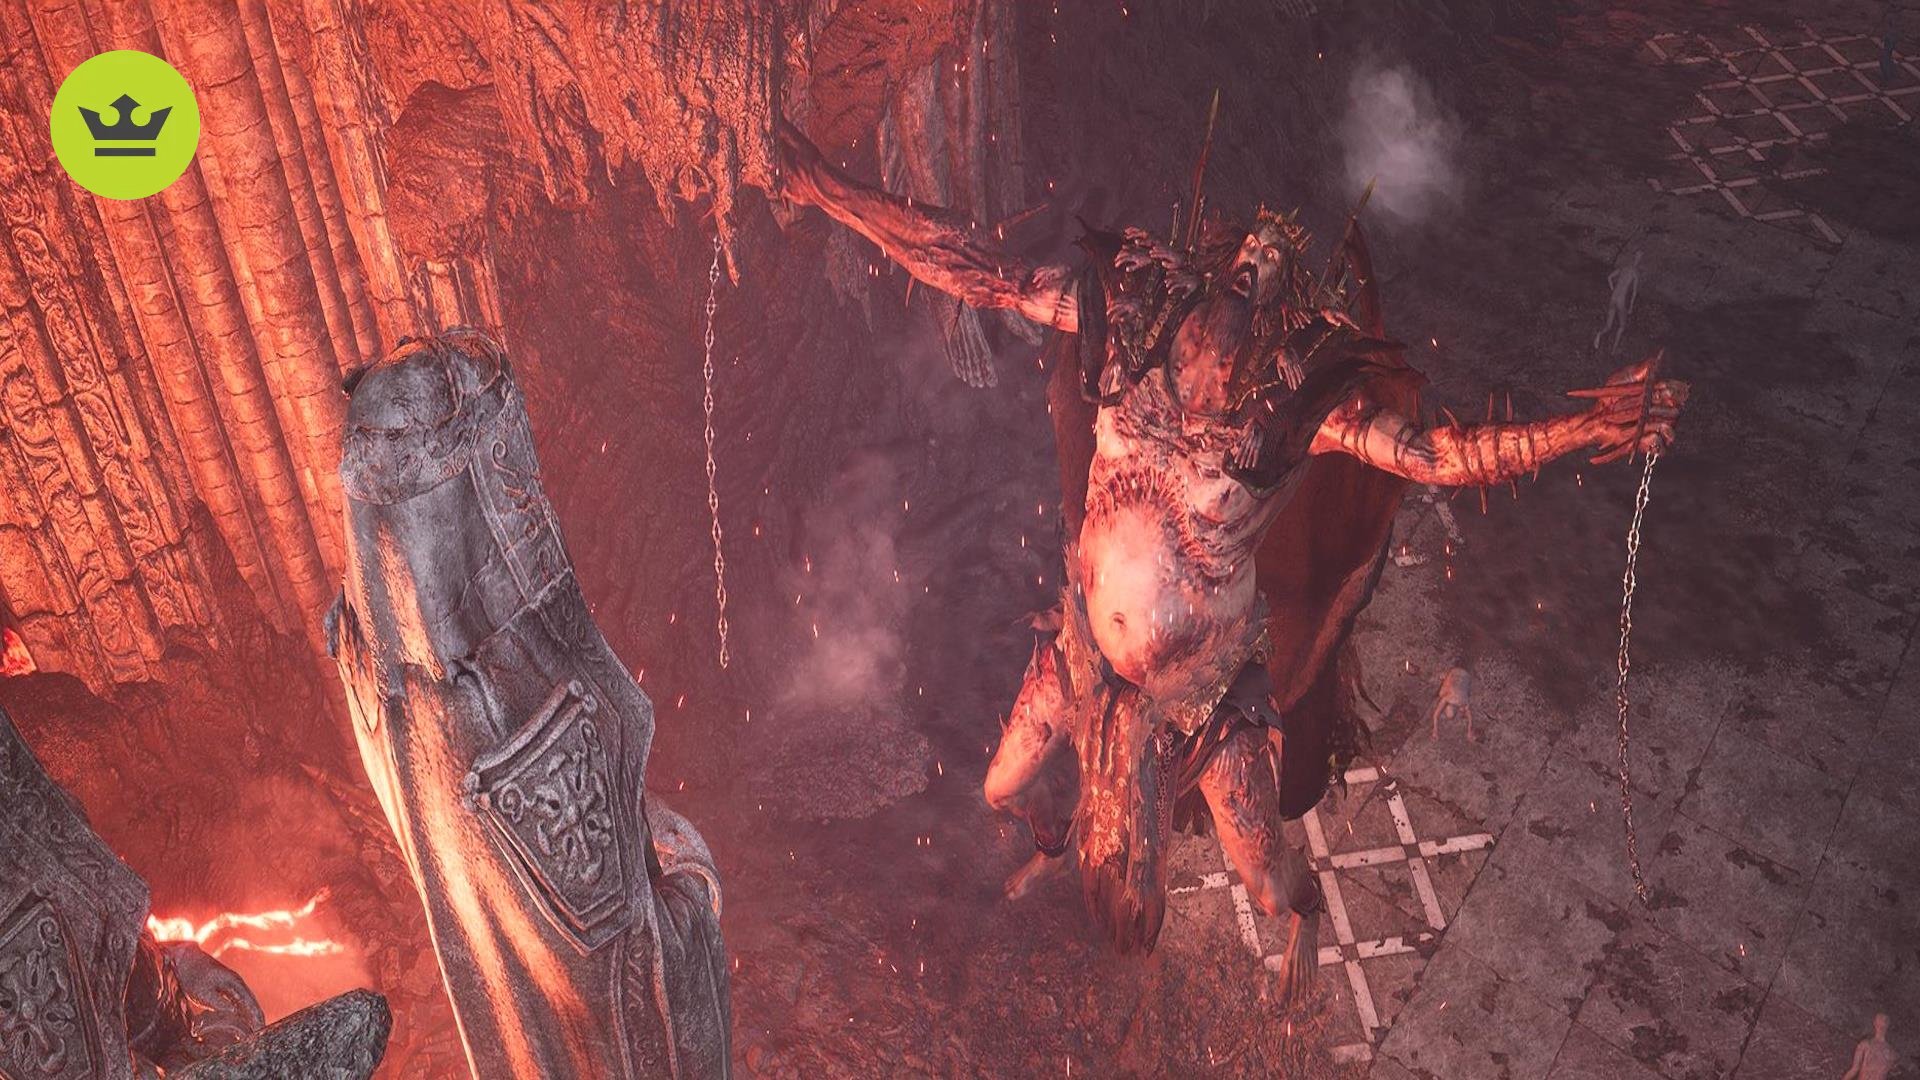
The Sundered Monarch
This Lords of the Fallen boss fight features a humongous king who mourns the passing of his wife, so much so that he even uses her statue as a weapon. Be prepared for some of the most devastating single-hit attacks in the game, including leaping smashes that cause shockwaves and flying sword projectiles that cover large swathes of the arena. Take full advantage of the invulnerability frames offered by the roll dodge to survive.
Harrower Dervla, the Pledged Knight
Harrower Dervla feels like a combination of Artorias from Dark Souls and Melania from Elden Ring. Long ago, she traveled to the deepest depths of the world to fight rising undead, but she discovered something so horrific she chose to stay. As such, she’s a boss that you must face on your travels, and she’s one that possesses great speed and agility, posing a threat to those who aren’t light on their feet.
She makes for a very challenging boss fight, with a first phase that includes some aggressive melee attacks with her sword and exploding ranged projectiles.
In the second phase, she becomes one with her Putrid Child and becomes even more savage. You’ll have to watch out for frenzied ground slam attacks, AoE slams, and floating nails that will hover over you and attempt to inflict damage upon you. She can also regenerate her health. We recommend having a lot of healing items on hand for this one.
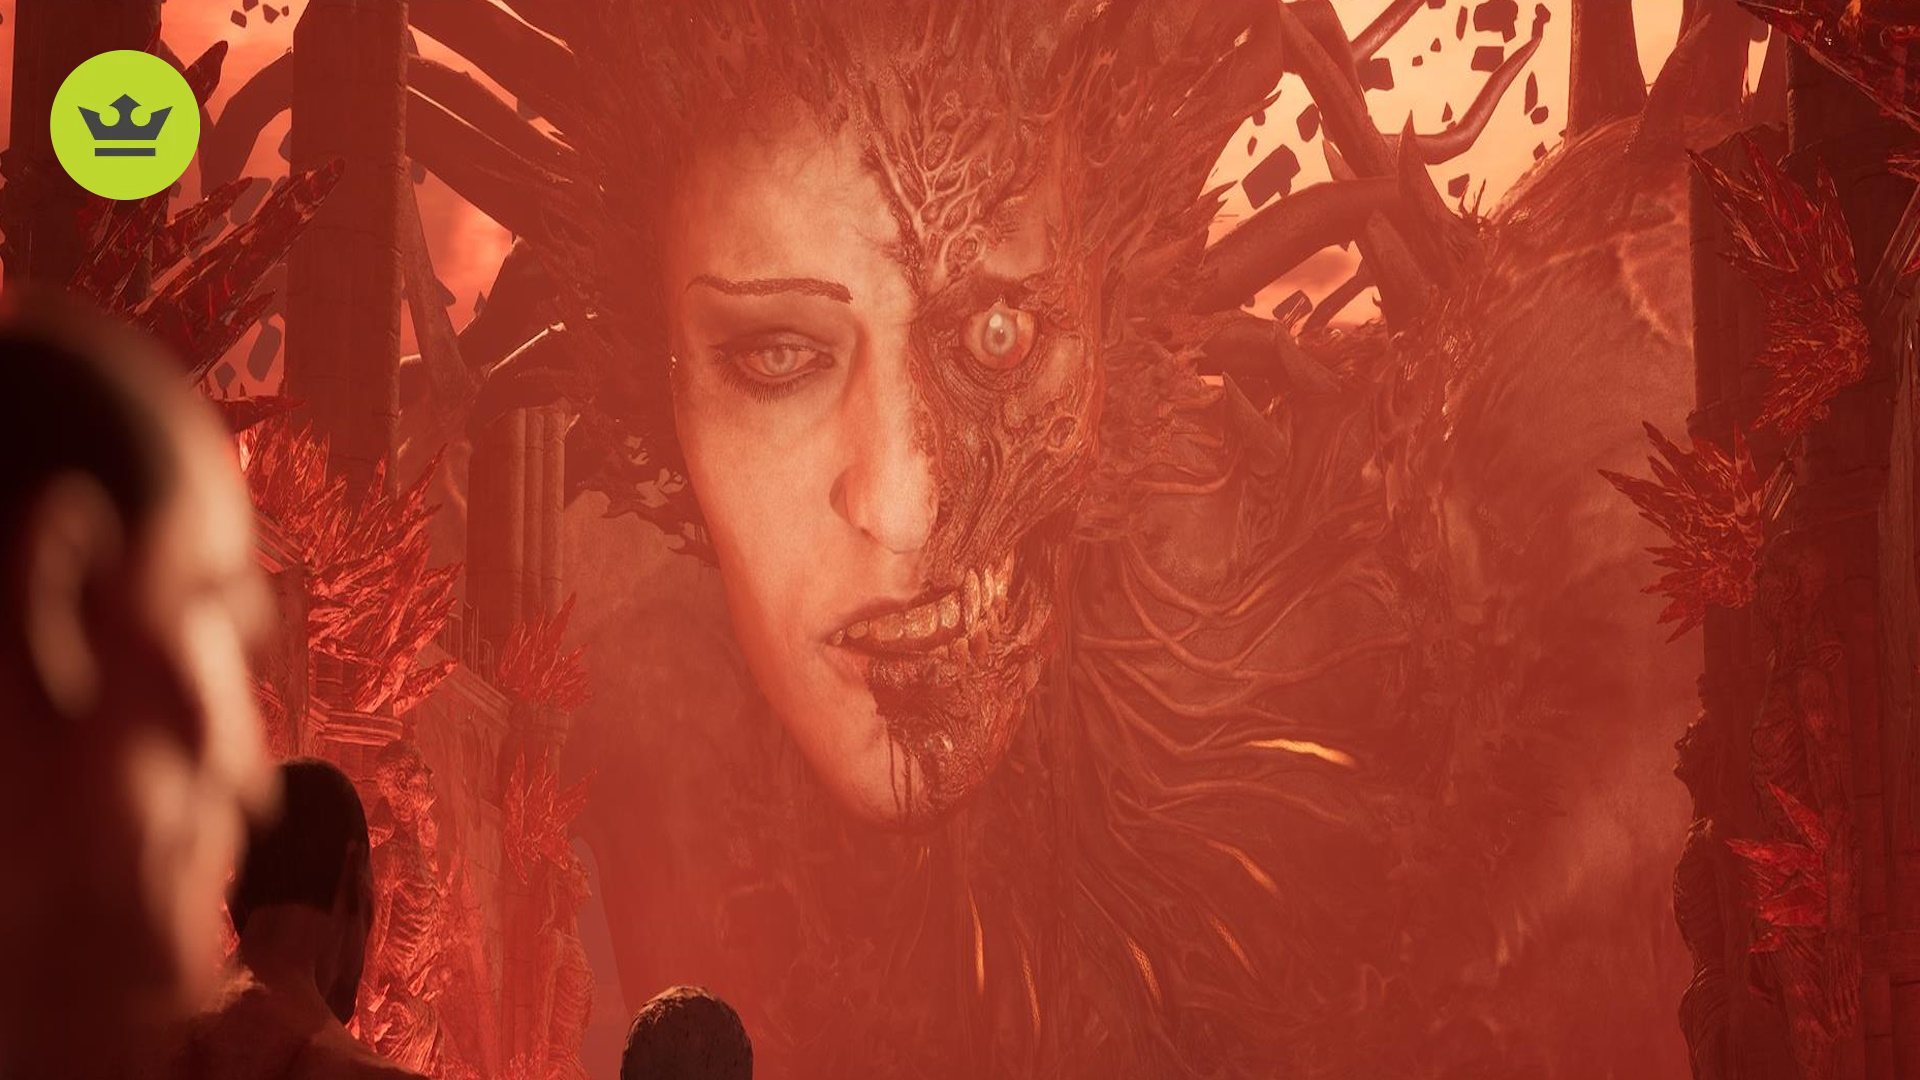
Elainne The Starved
Elainne The Starved is probably the Lords of the Fallen boss that will make you concentrate the hardest – if you get to face her, that is. Elainne is faced at the end of the most complicated of the three Lords of the Fallen endings, but it’s an epic boss fight that’s worth the effort.
With a wide range of attacks, the ability to send out a ghostly second version of herself, and floating eyeballs that squirm around the arena, there’s a lot to keep track of when it comes to dodging and parrying.
Elainne is a winged boss who delivers various melee attacks while floating around the arena. At certain damage gates, she will produce a clone of herself called Voracity’s Reflection, which takes over attacking duties while she zips to the edges of the arena sending out eyeballs you need to dodge. While most of the time you’ll need a hard-hitting melee weapon to deal damage, it’s worth having a strong ranged option too to chip away during her defensive moves.
Adyr, The Demon God
Adyr is the final boss in Lords of the Fallen, assuming you follow the general objective of cleansing the beacons that you come across and achieve the standard ‘Radiant’ ending. You don’t actually deal damage to Adyr directly. Instead, you have to slay all the cultists in the area within a time limit to fully deplete his health.
These enemies are not massively challenging in terms of attacks or health, but one thing that could catch you out is that they explode once defeated. Be sure to quickly dodge out of the blast zone as soon as you’ve got their health bars down to zero.
It’s a bit of a strange – and in many ways, underwhelming – final boss encounter. Adyr is a massive, intriguing character, but not one you get to face directly in a super-challenging one-on-one battle.
Who is the hardest Lords of the Fallen boss?
Out of the great foes that we’ve bested, it’s clear that Scourged Sister Delyth and Sacred Resonance of Tenacity are serious contenders for the hardest bosses in Lords of the Fallen, at least in the early stages of the campaign. Delyth uses a mix of slow and fast attacks to keep you guessing and has some punishing AoE abilities that can deal a lot of damage. The Sacred Resonance, meanwhile, has hard-hitting melee swings, as well as a holy-based AoE ability that can easily kill your character if you’re too close.
However, much later in the campaign, you’ll experience some really overtuned encounters. For instance, Kinrangr Guardian Folard is surrounded by his Wolfhounds, and they’re all immune to damage until you destroy the Umbral Eye via siphoning, which leaves you open to attacks. Worse, switching to the Umbral Realm means that you’ll have to deal with a Mendacious Visage, albeit just a regular one and not a mini-boss. Likewise, there’s Harrower Dervla, who you won’t encounter until late in the game in an optional area. As noted, she’s akin to a cross between Malenia and Artorias, so you know she’ll pose a tough challenge. Where’s ‘Let Me Solo Her’ when you need them, eh?
Finally, there’s Elainne the Starved, the final boss of the Umbral ending – the most difficult and complicated ending to achieve. Due to the wide variety of attacks, and the fact you have to watch her, her clone, and the eyeballs that float across the arena, it’s a tricky one to pull off without a few practise runs.
However, if you want to see someone make the game look easy, then take a look at the video below by ‘Esoterickk’ in which they beat every boss without taking damage.
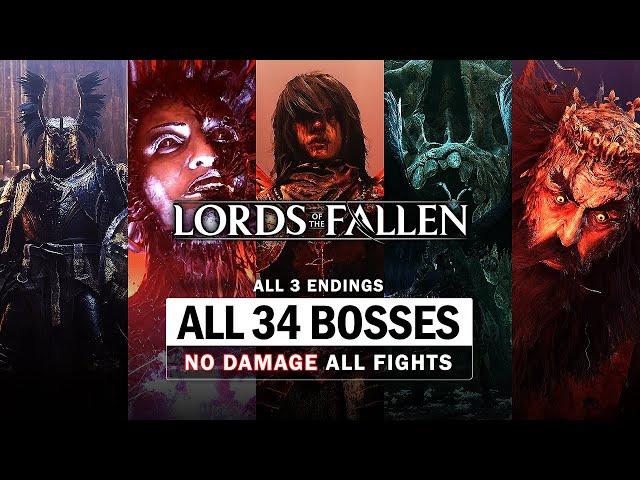
How many Lords of the Fallen bosses are there?
There are a total of 34 Lords of the Fallen bosses you can encounter. However, a few of them are optional bosses, such as Kinrangr Guardian Folard. This means that, if you’re struggling against these optional bosses, you’re free to move on – if you don’t want the treasure they drop at least.
Unlike Elden Ring, one of the best Soulslike games, Lords of the Fallen does not offer quite so much freedom. A larger percentage of bosses are mandatory, and there’s not a sprawling open world for you to explore to level up more if you’re struggling. This can make it harder for less experienced Soulslike players to make it to the end of the game and see all the bosses it has to offer.
That covers all of the Lords of the Fallen bosses and how to beat them. Should they prove to be more of a challenge than you’re prepared for, you might want to dive into the realms of Lords of the Fallen co-op and call for some backup. Be sure to also check our list of the best games you can play right now so that you’ve got another excellent title lined up after you’ve rolled credits on Lords of the Fallen.
