Fire Emblem Engage tells a story of great legends invoked to assist the Divine Dragon in a fight against an old and powerful enemy. While the game’s chapters focus on taking you through this exciting narrative, Fire Emblem Engage also gives you the opportunity of playing a selection of Fire Emblem Engage Paralogues!
These additional chapters will place you in the middle of a crisis happening in different places in the game’s world. Even though Paralogues don’t build up anything special to the main narrative, playing them makes it possible to recruit characters that are only accessible during these special missions. Follow this guide to ace every Paralogue and recruit new Fire Emblem Engage characters and level up the bond with a specific Emblem.
Fire Emblem Engage Paralogues
Paralogues are special chapters in Fire Emblem Engage. They are additional chapters that work as side missions. Completing them is optional, but it’s extremely useful too since this is how you unlock new Fire Emblem Engage Characters.
The full list of Fire Emblem Engage Paralogues is as follows:
- Paralogue – Budding Talent
- Paralogue – Mysterious Merchant
- Divine Paralogue – Dragon Temple
- Paralogue – The Exalt
- Paralogue – The Lady of the Plains
- Paralogue – The Radiant Hero
- Paralogue – The Instructor
- Paralogue – The Crux of Fate
- Paralogue – The Azure Twin
- Paralogue – The Holy Knight
- Paralogue – The Sage Lord
- Paralogue – The Dawn Maiden
- Paralogue – The Young Lion
- Paralogue – The Caring Princess
- Paralogue – The Hero-King
- Paralogue – The Connector
Although the game is structured in chapters with the Fire Emblem Engage chapters list, Paralogues act separately and they become accessible once you can travel to the World Map. In each Paralogue, players experience a brief tale that is linked to a specific character. During the battle, to recruit the new character, you must go beside them and use the Talk command. You can only convince them into taking your side by talking to them with specific characters. Divine Paralogues are also available and are related to the characters you can get from the Fire Emblem Engage Expansion Pass.
Below is a detailed guide to every Paralogue in the game, the characters you can unlock in each of them, which party member you should use to talk to them, and the materials/animals you can find there.
Paralogue Budding Talent – Tea-Field Village
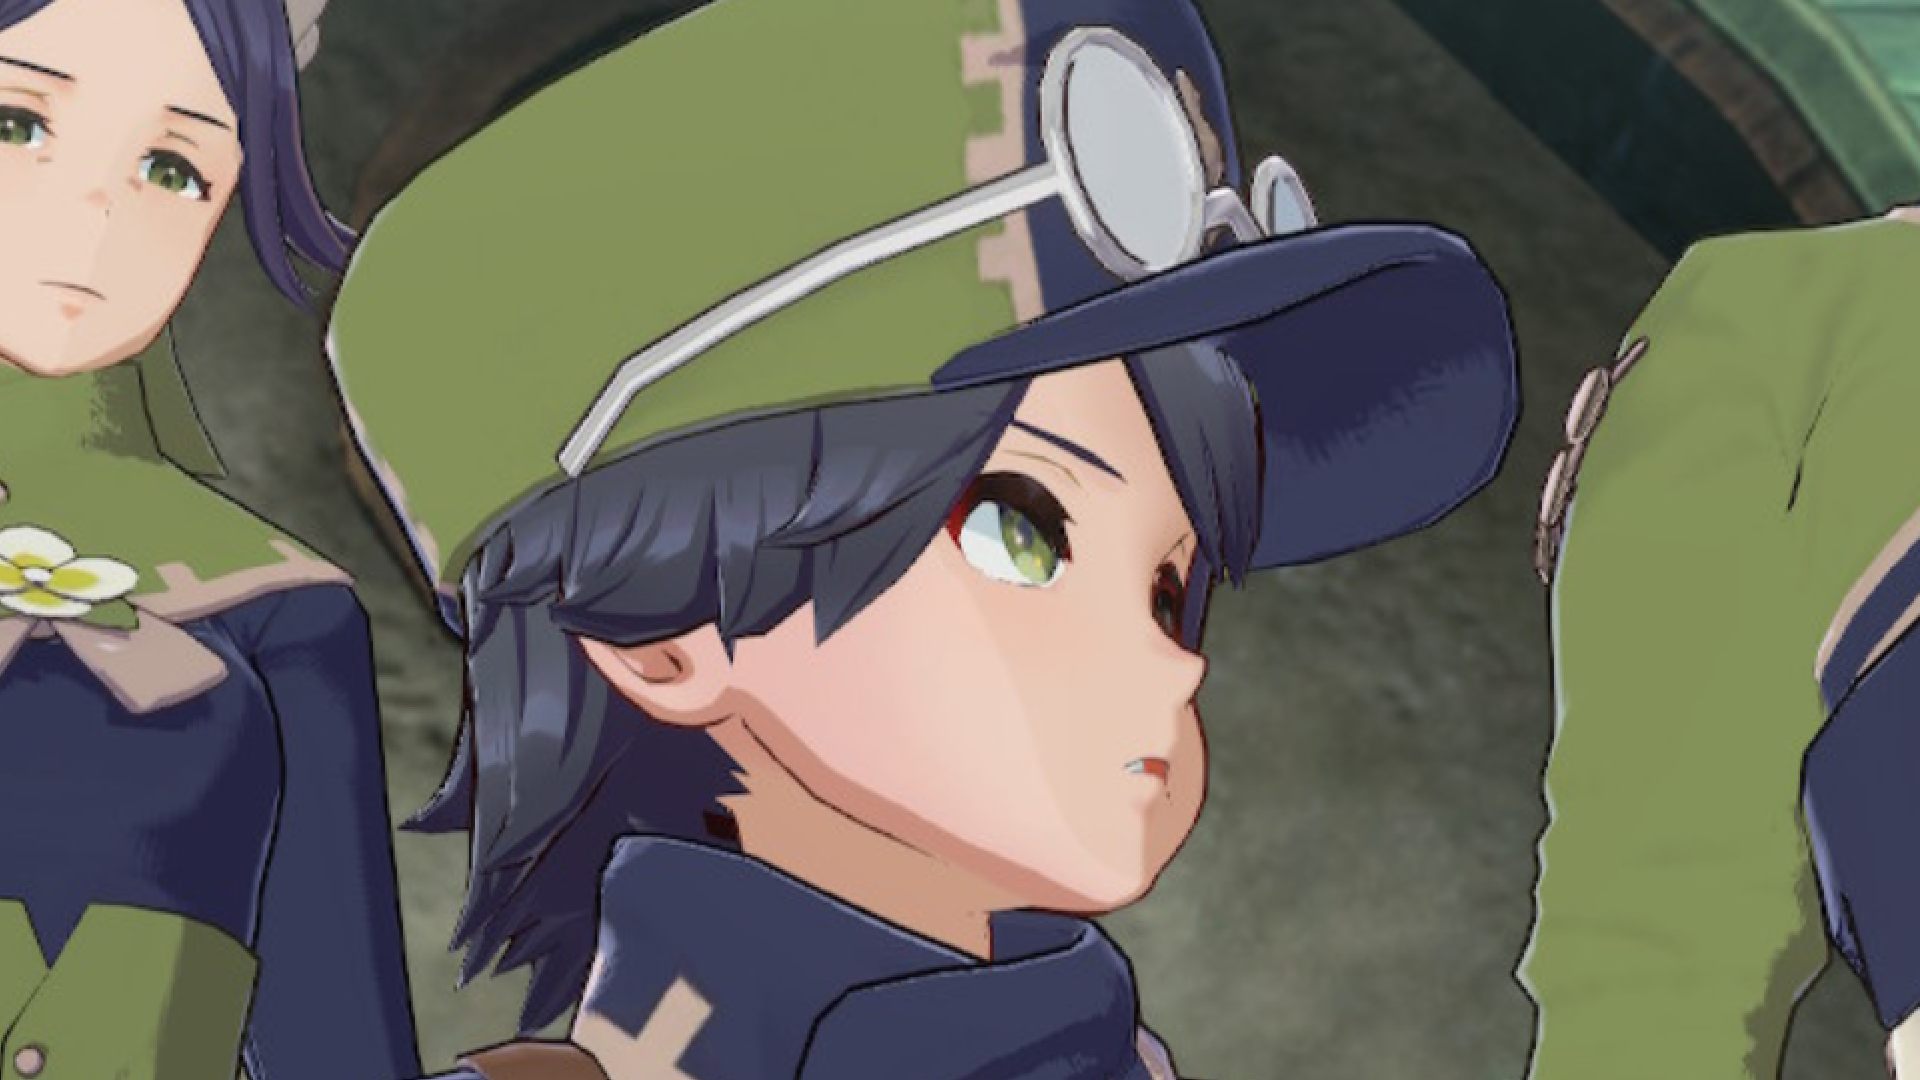
This is the first Paralogue in Fire Emblem Engage and the one where you unlock Jean, a Martial Monk/Qi Adept during chapter 6. To do so, you must talk to him during the fight. Use Alear to move next to him on the battlefield and use the command Talk to recruit him.
In this paralogue, you should be around level four, as your mission is to save a small village that is being attacked by the Corrupted. While the village folk are trying to find shelter in the doctor’s house, your team must defeat all the enemies on the battlefield to achieve victory. This is an area where you can find materials such as Iron, Steel, Orange, Wheat Flour, Potato, and Rice, as well as animals such as Elyosian Sheep, Firenese Cat, Calisson Chicken, White Elyosian Dog.
Paralogue Mysterious Merchant – Bandit’s Hideout
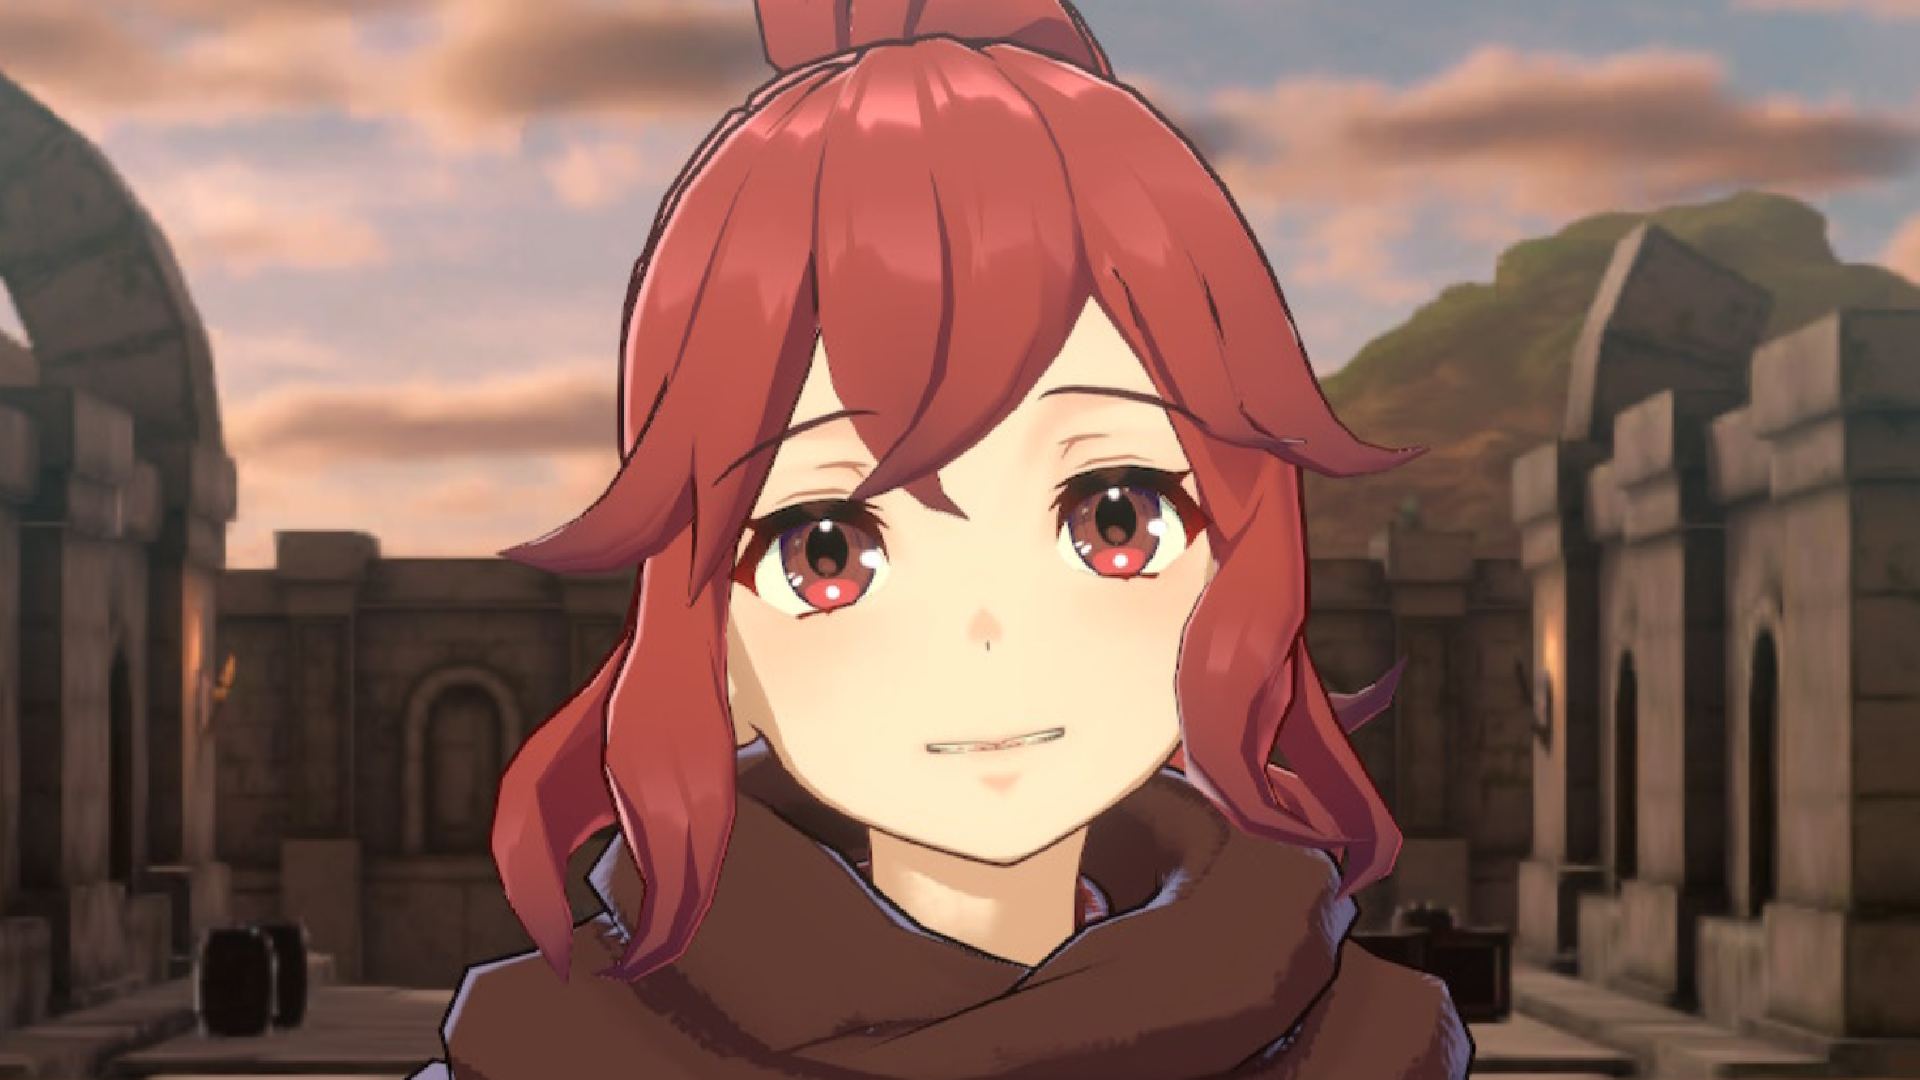
During this Paralogue in chapter 7, you have the chance to recruit Anna. This little girl is an Axe Fighter who is hiding from a group of bandits. It’s not a problem if she is discovered by one of them in the chest where she is hiding as you can just use Alear to talk to Anna as soon as possible and she will volunteer to be part of your group.
This Paralogue is best for around level seven characters, where you can find Iron, Steel, and Beans to collect, as well as Eastern Freecat, Elyosian Pigeon, and Black Elyosian Dog to adopt. To win the fight in this chapter, you must defeat the bandit group’s leader, Mitan.
Divine Paralogue Dragon Temple – The Ancestor
The Ancestor is Tiki’s Paralogue and one of the Divine Paralogues players who bought the Fire Emblem Engage Expansion Pass has access to. It becomes available during chapter 7 and it’s indicated to have a party of characters around level twelve to complete it. Unlike the previous Paralogues, instead of talking to the character you want to recruit, Tiki will only accept coming to your army after you defeat her.
To beat Tiki, you must first complete the task of unsealing the entrance of the room she is in. First, you must go to the one in the middle and interact with the sigil that unlocked the room on the left side. Once you get to the new room, there is the sigil which unlocks the last room where Tiki is. On this map, there are Iron, Steel, and Berries for you to collect. You will also find and Elusian Cat, White Elyosian Dog, and Vervain Deer to adopt.
Paralogue The Exalt – Arena of the Gods
In chapter 12, you will have contact with the first paralogue whose goal is different from what you have had to do so far. Instead of recruiting a new character, certain paralogues, such as The Exalt, increase the cap of your bond with a specific Emblem as a reward for completing the mission. The Arena of the Gods is where you face Lucina, the Emblem of Awakening.
Although the area has no gimmicks and the terrain is flat, your main challenge is to deal with Lucina’s soldiers that will attack until you reach her. Consider forming a strong frontline alongside a cavalry unit to reach casters, since they can become troublesome and kill a couple of your units before you get to Lucina. Reinforcements come from the stairs on the ground after some time, so try to act fast! After the battle, you can explore the area, but you’ll only find Iron and Steel to collect.
Paralogue The Lady of the Plains – Plains of Swift Winds
The Lady of the Plains is a Paralogue unlocked in chapter 13, once the Divine Dragon gets in contact with Lyn, The Emblem of Blazing. During this Paralogue, you visit a small village where you will challenge Lyn. Respecting the suggested level for The Lady of the Plains is a good idea, considering you are going to face powerful units while playing.
In this fight, your team is split into three fronts and your objective is to face Lyn’s units and defeat her on a battlefield composed of large areas connected with small bridges. Flying units are welcome in this fight as well as any unit that can cover large distances. It’s important to defeat the unit Fabrication in front of some tents to prevent reinforcements from arriving. As usual, in case Alear dies, you lose the mission. You can find Iron, Steel, Eggs, an Elyosian Sheep, a Western Freecat, and a White Elyosian Dog in The Plains of Swift Winds.
Paralogue The Radiant Hero – Fort of Hope
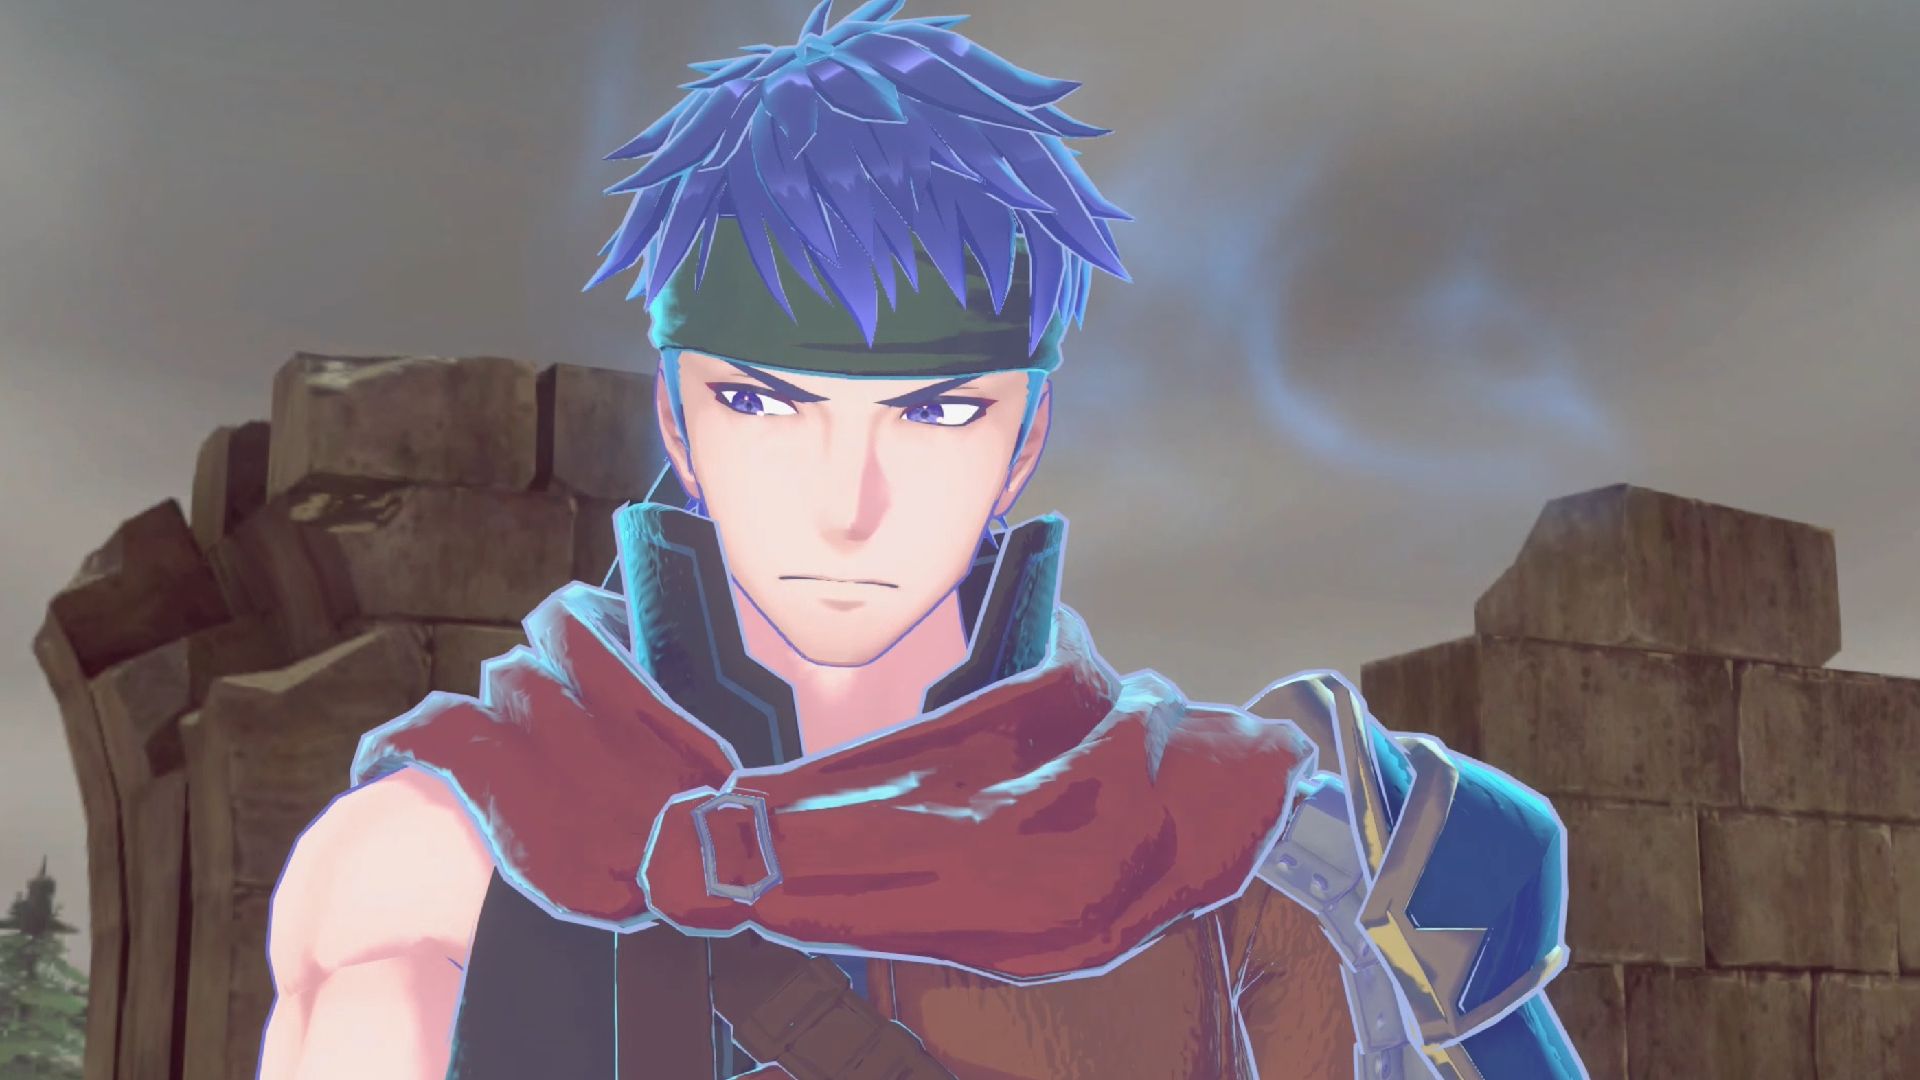
Radiant Hero is a paralogue unlocked in chapter 14 and suggested for Advanced Classes! This time, you face Ike, the Emblem of Radiance. Your team begins in the middle of some ruins and they are surrounded by enemies. By defeating Ike you increase the max bond level with him.
There are two initial routes to reach Ike. While splitting your team and attacking in two fronts might be a good idea, you can also just force your way through one of the paths taking care of your team’s rear side. Either way, it’s important to stay alert for enemies that can attack you from the other side of a wall, as is the case with some archers. Since you have to go through narrow corridors with your team, try to think about your unit’s position to prevent possible problems. After the battle, you can explore the area and collect Iron, Steel, and Spices as well as adopt the Brodian Cat, an Aura Eagle, and a Rutile Marmot.
Paralogue The Instructor – Sacred Tomb
Sacred Tomb is the location where you face Fire Emblem Three House’s protagonist, Byleth. Accessible after you get to chapter 15, The Instructor is indicated for characters with an Advanced Class around level five. Although it works the same as the few previous paralogues – you do increase your max bond level after defeating Byleth –, the challenge against the Emblem of the Academy adds a new mechanic to the encounter.
All around the Sacred Tomb, there are many purple-glowing crystals that are going to be focused by Byleth’s units. If they are destroyed you won’t lose the encounter, but if you keep them safe, you will earn a reward depending on how many are left. On the other hand, there are powerful units that you must deal with. It’s also important to know that some casters in Byleth’s team are going to teleport units close to your own. On the downside, there aren’t many collectibles in this area, only Iron and Steel.
Paralogue The Crux of Fate – Crossroads of Fate
The Crux of Fate puts you on the battlefield against Corrin, the Emblem of Fates. Unlocked in chapter 16, this Paralogue happens in Crossroads of Fate where you have to deal with very large areas of land connected by bridges. Moving your units between these areas and keeping them safe from Corrin’s ability to modify the terrain is fundamental to winning this trial that is indicated for level seven Advanced Class.
Because of how the terrain is divided, flying units have a natural advantage in this encounter. You can also use the Warp Staff to save time transporting units to other pieces of land. Otherwise, it will take a considerable amount of time to traverse the regular path, giving Corrin’s long-range units the chance to intercept you. Moreover, it is important to stay away from the water since Corrin will use her skill to set it on fire. After the battle, you can collect Iron, Steel, and Berries, and adopt an Elyosian Sheep, an Elyosian Dog, and a Mère Donkey.
Paralogue The Azure Twin – Dark Ruins
Although The Azure Twin is a Paralogue indicated to level eight Advanced Class characters, this is a pretty simple encounter. After all, it becomes available in chapter 17 and by then you’ve already faced more complicated fights. The trial puts you against Erika, the Emblem of the Sacred, but fortunately she doesn’t have a special ability that can make things difficult for you. It’s, however, important to study how you are going to deal with the narrow corridors and stay alert for the reinforcements she throws at you.
At the beginning of the fight, you have the option to go straight or split your team and go to both sides so you can deal with the two giant lizards. In case you have strong archers or magic users in your party, it’s possible to attack them from the central area since these units’ attacks are not blocked by walls. When exploring the Dark Ruins, you can find only Iron and Steel to collect.
Paralogue The Holy Knight – River of Light and Dark
As the name of this chapter implies, the Paralogue The Holy Knight is a trial in which you face Sigurd, the Emblem of Holy War and it’s unlocked in chapter 18. Even though this encounter is suggested to level five Advanced Class units, it might require more attention from you than most trials you’ve faced so far.
This fight has two phases. Your team can’t reach Sigurd until you take control of a fort which will allow you to operate the mechanism to lower a bridge you need to cross the river. Then, you have to deal with Sigurd and his many soldiers. During the first part of this encounter, there are a lot of mage units that can be quite deadly for your frontline. Plan correctly and after lowering the bridge, you can try to bait Sigurd to come at you so you don’t have to deal with the other units. Just avoid keeping your units in a straight line. Otherwise, he will use his Emblem Attack on them. In this area, you can collect Iron, Steel, and Spices, as well as adopt a Hop Rabbit, an Eastern Freecat, and an Elusian Cat.
Paralogue The Sage Lord – Bridges in a Row
The second paralogue that becomes available in chapter 18 is the Sage Lord, where you face Leif, the Emblem of Genealogy. Indicated to level eight Advanced Class, the Bridges in a Row offers a challenge that will demand you to tread carefully to reach the goal of defeating Leif and raising your bond max level with him.
During the Sage Lord Paralogue, you have to protect your characters from the ballistas that are spread in the area. There are a total of three and most of their attacks have a 100% hit rate, being pretty deadly to more squishy units such as Ivy. Leif will also call reinforcements consistently, so it’s important to make your way up to where he is fast without taking too long near the border of the area. You can collect, after the battle has ended, Iron, Steel, and Nuts. Also, you can find an Elyosian Sheep and an Elyosian Seagull to adopt there.
Paralogue The Dawn Maiden – Frozen Fortress
In Frozen Fortress, you will face a different trial when facing Micaiah, the Emblem of Dawn. On one hand, the Dawn Maiden Paralogue, suggested for level eight Advanced Class units and unlocked in chapter 20, determines that you must, as usual, defeat Micaiah to complete the trial. On the other hand, you must also prevent them from reaching an area on the north side of the map.
The Frozen Fortress is a map divided into narrow corridors and small rooms. Micaiah’s units are going to walk toward where the Divine Dragon is, so securing a good position from where you can attack them before they get too close is key to winning this one. There are some canons that are great tools to undermine their forces, making clearing the rooms easier. Once the battle is over, you can collect Iron, Steel, and Tomato in the Frozen Fortress. You will also find there some animals to adopt, such as a White Hop Rabbit, a Northern Freecat, and a Vervain Deer.
Paralogue The Young Lion – The Binding Grounds
After reaching chapter 20, you get access to the Young Lion Paralogue, where you face Roy, the Emblem of Binding. The battle happens at the Binding Grounds and it’s indicated to level ten Advanced Class units. This battle is quite challenging since your party is not only forced to pass through narrow areas but also gets easily surrounded by the enemy’s forces.
Because of how many flying units Roy deploys against you, there isn’t necessarily a safe route. There are two paths to reach where Roy is: a short and a long one. The shorter one forces you to face a considerable number of terrestrial units. But, even though the long one has many enemies, it takes so much time for all your units to traverse it that Roy’s flying units can intercept you consistently. Pick what suits the best for your strategy. You can collect Iron, Steel, and Milk in this area, and find Elyosian Sheep and Western Freecat to adopt.
Paralogue The Caring Princess – Forgotten Shrine
The Forgotten Shrine becomes the battlefield of the Paralogue the Caring Princess once you get to chapter 20. This trial is suggested for level ten Advanced Class units in which you face Celica, the Emblem of Echoes. Taking advantage of your units that can move long distances will make this encounter easy.
Although your main goal is to defeat Celica, you must first deal with some summoner units she has on her side. Four units of specific types – lancers, flying, and sword users – follow each of them. In case they aren’t defeated, they keep summoning more of these units, making reaching Celica a hard task. It’s also important to keep in mind that Celilca can use her Emblem Attack “Warp Ragnarok” to teleport right next to your units. Having finished the fight, at the Forgotten Shrine, you can collect Iron, Steel, and Beans, as well as adopt a Southern Freecat, an Elyosian Seagull, and a Tartu Flamingo.
Paralogue The Hero-King – The Broken Castle
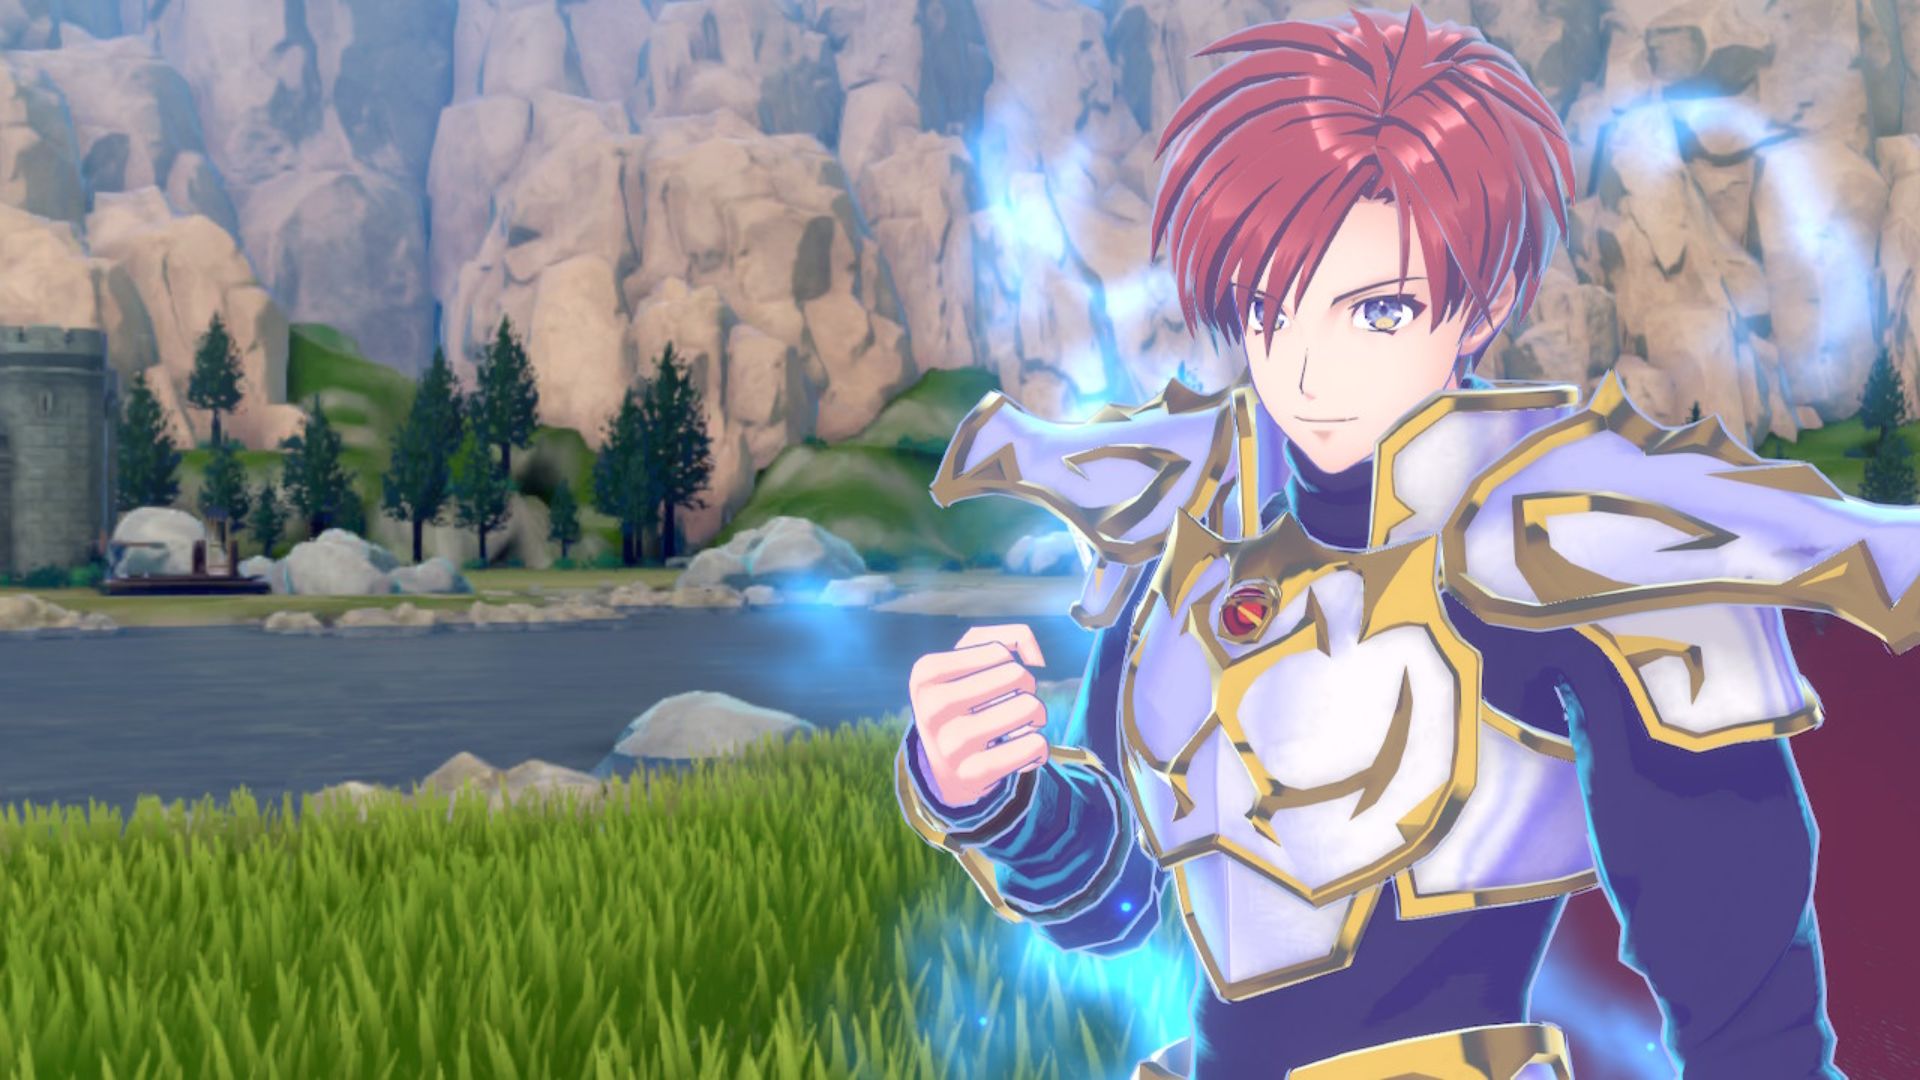
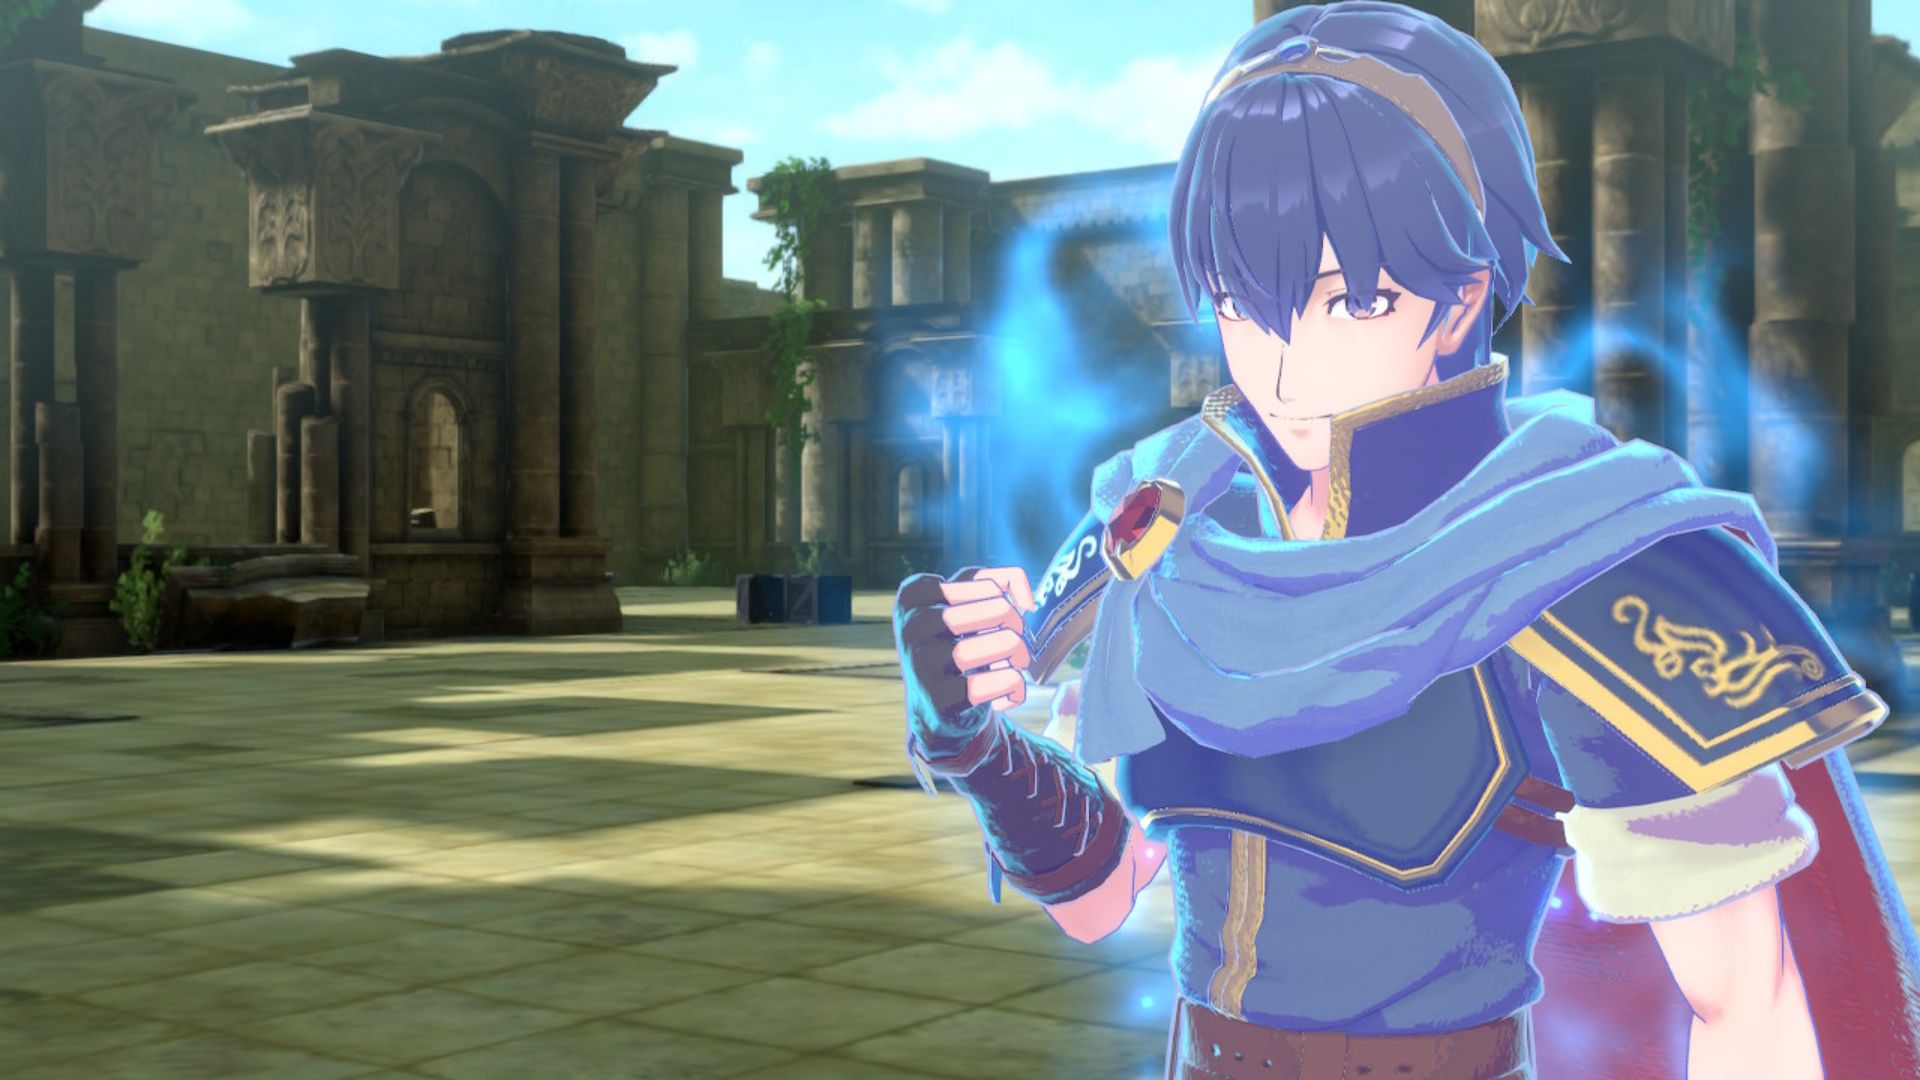
As you get near the end of the game, in chapter 23, the Paralogue The Hero-King becomes available. It’s finally time to face Marth, the Emblem of Beginnings in a battle at the Broken Castle indicated to Advanced Class units around level fourteen. With a good frontline and a solid strategy, Marth’s trial can be easily overcome.
The design of the arena where you face Marth gives you two options: you can go to your left, take the path where you’ll have to face a considerable number of Marth’s units, but you can get a few chests and get to the room where he is from two directions, or you can take the path at your right, destroy the door, and throw yourself into a very small room where you will become an easy target. While this last option might sound less efficient, it can work if you have a unit with Ike’s ring to take the frontline. Anyway, after the battle, you can find Iron, Steel, and Wheat Flour to collect in the area.
Paralogue The Connector – Garden of Memories
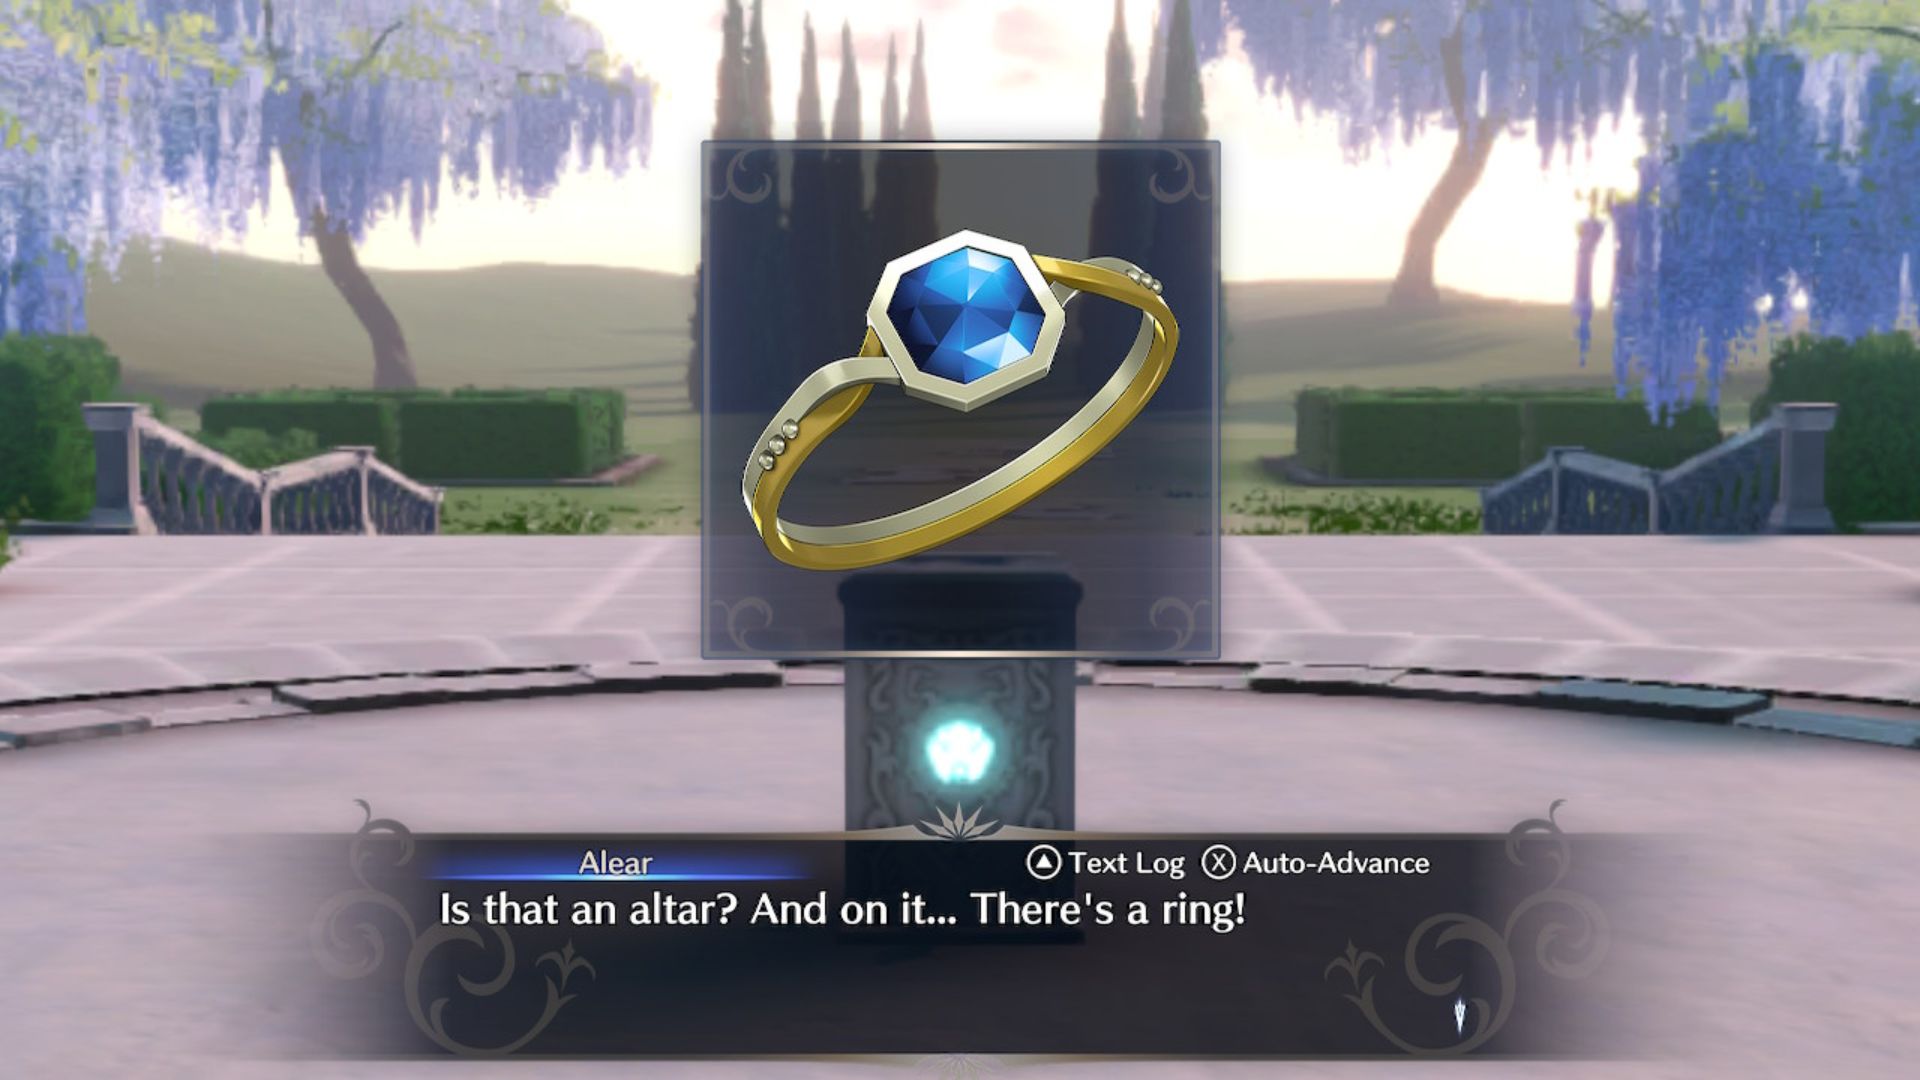
The Connector is the last Paralogue you have access to, but only after you get to chapter 23. This is a special trial that happens at the Garden of Memories and is suggested for level fourteen Advanced Class units. Different from all the previous paralogues, The Connector is not related to any of the Emblems, by completing it you earn the Pact Ring, an important item to get to Fire Emblem Engage romance.
This is a two-phase trial. In the first part, your objective is to retrieve the ring from one of the Corrupted units. In case you can’t do it before they reach the exit on the north side of the map, you fail the trial. If you defeat them and recover the ring before that, you pass to the second phase. Now, your mission is to protect Alear while you defeat every enemy on the map. A good strategy is to wait for the enemy to go toward your units while using this time to heal or recharge your unit’s Engage meter. Moreover, you can collect Iron, Steel, and Tomato, and adopt an Eastern Freecat, a Western Freecat, a Northern Freecat, as well as an Elyosian Pigeon.
With the knowledge of the Fire Emblem Engage Paralogues you should also take a look at our Fire Emblem Engage romance guide to figure out how to make one of these characters your best friend and be sure to check out our Fire Emblem Engage cast and voice actors to see who voices everyone.
