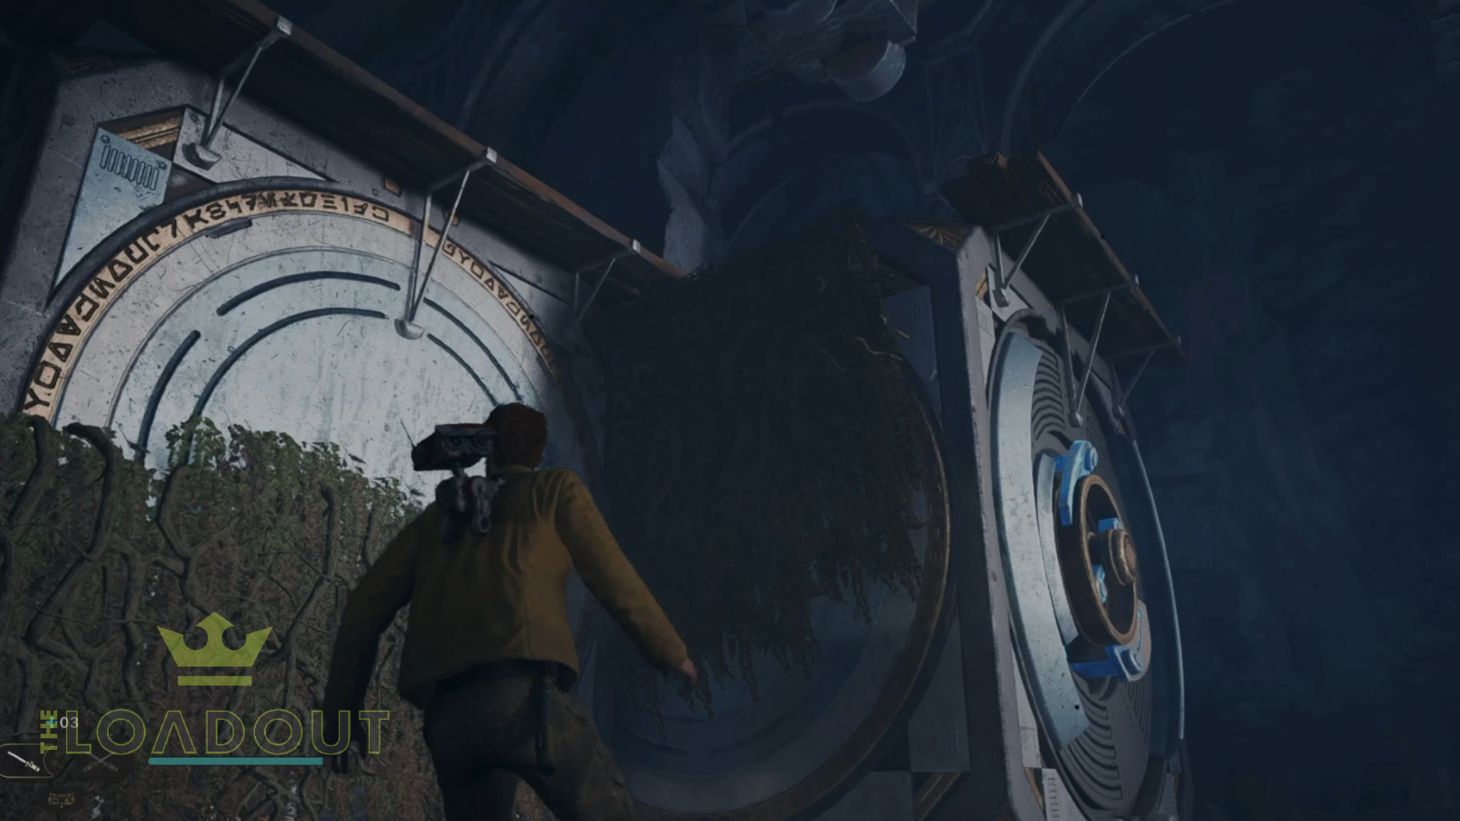
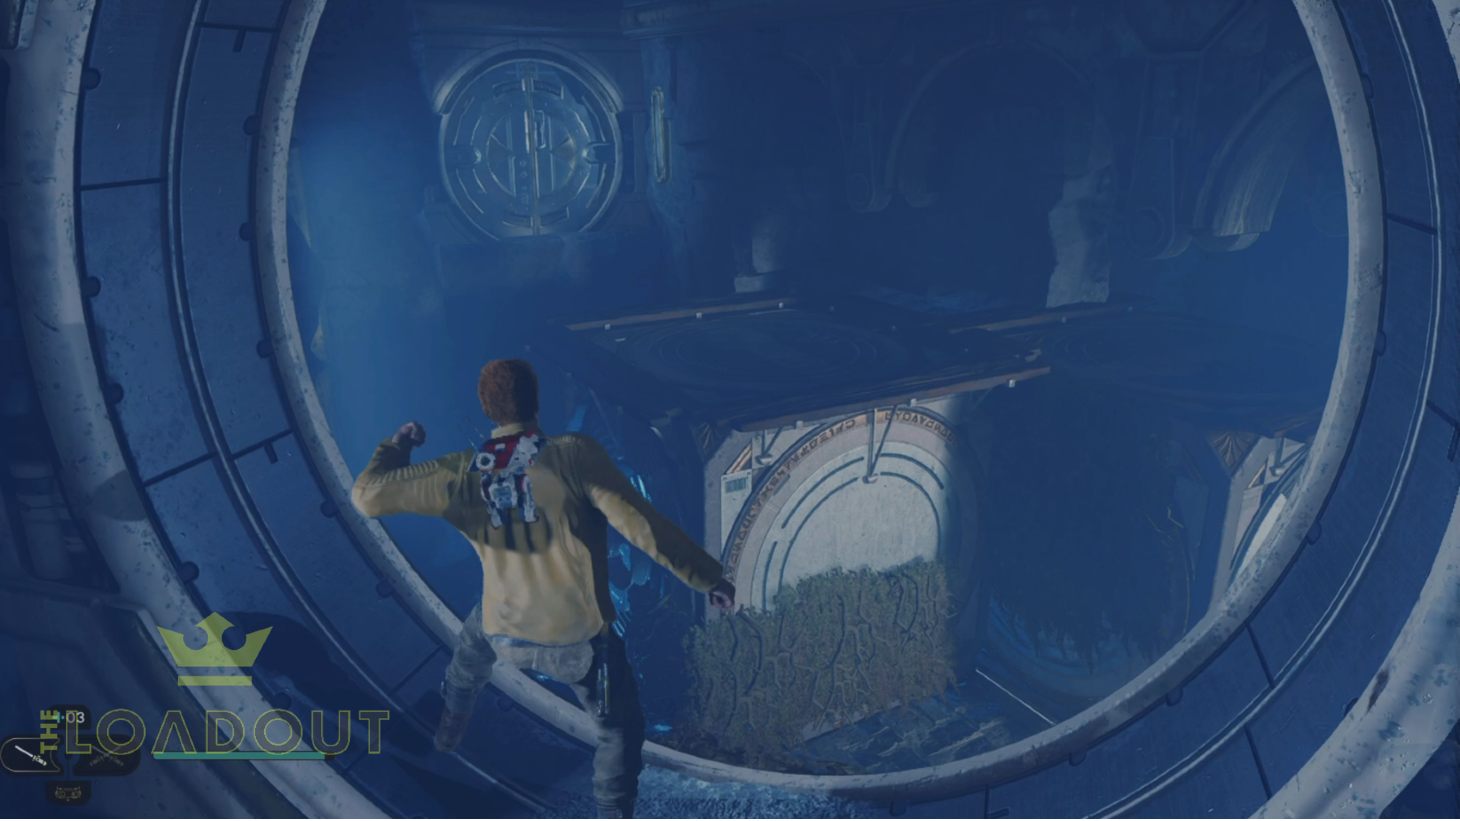
If you are hunting for all the Star Wars Jedi Survivor Jedi Chambers and want to grab all the perks from them then look no further. This guide has a full breakdown of where they can all be found on the game’s largest planet, Koboh. In addition, we have a full walkthrough of what to do to solve each one and get through the challenges you are presented by the Jedi.
Thankfully, the vast majority of these chambers in Star Wars Jedi Survivor can be solved pretty quickly, but the puzzles in some of them may leave you scratching your head. But, nevertheless, our time playing for our Star Wars Jedi Survivor review definitely helped us become a true Jedi and master our powers.
Star Wars Jedi Survivor Jedi Chambers
The Star Wars Jedi Survivor Jedi Chambers are:
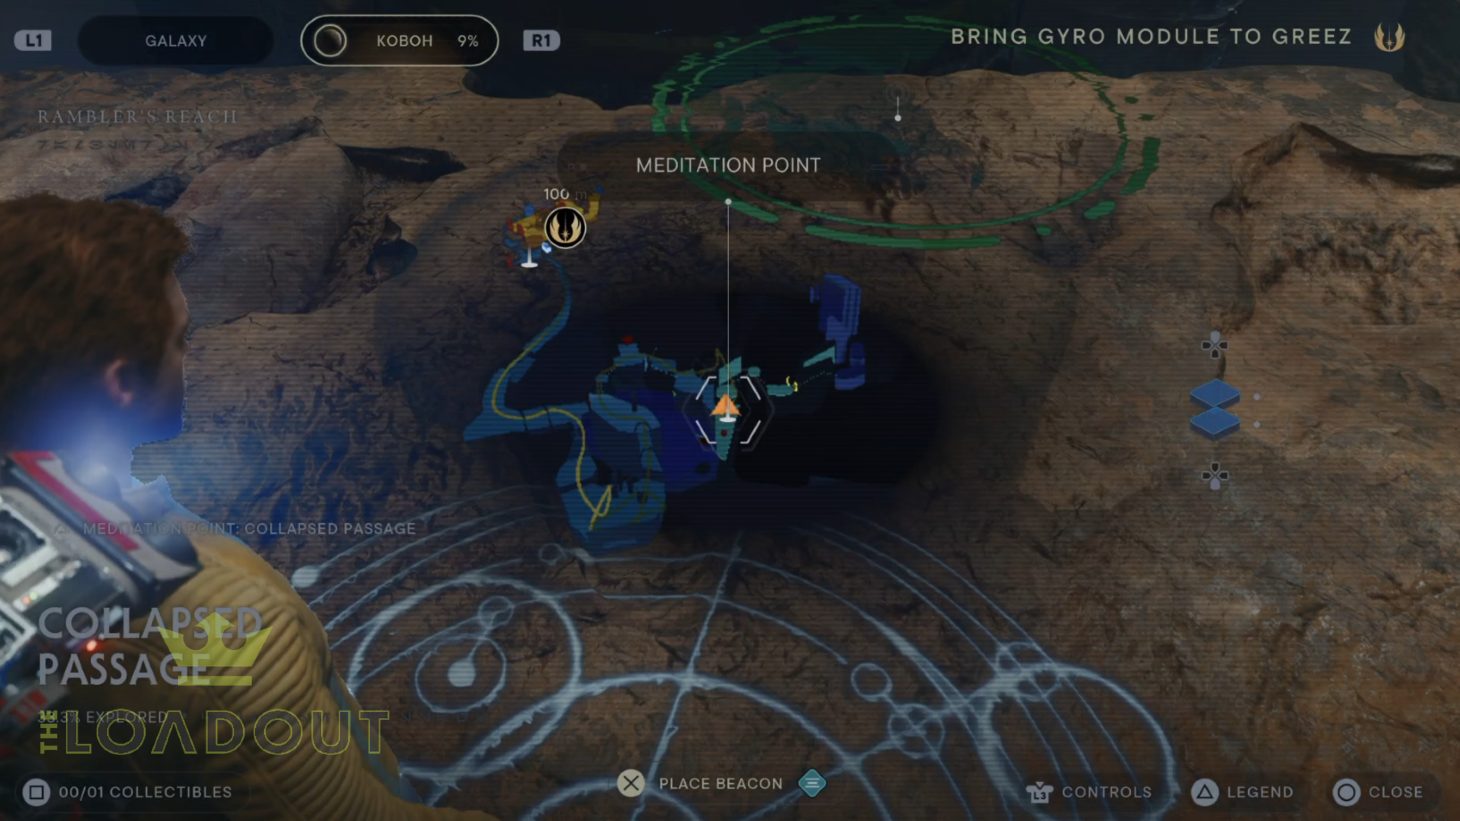
- Chamber of Duality – Collapsed Passage, Koboh
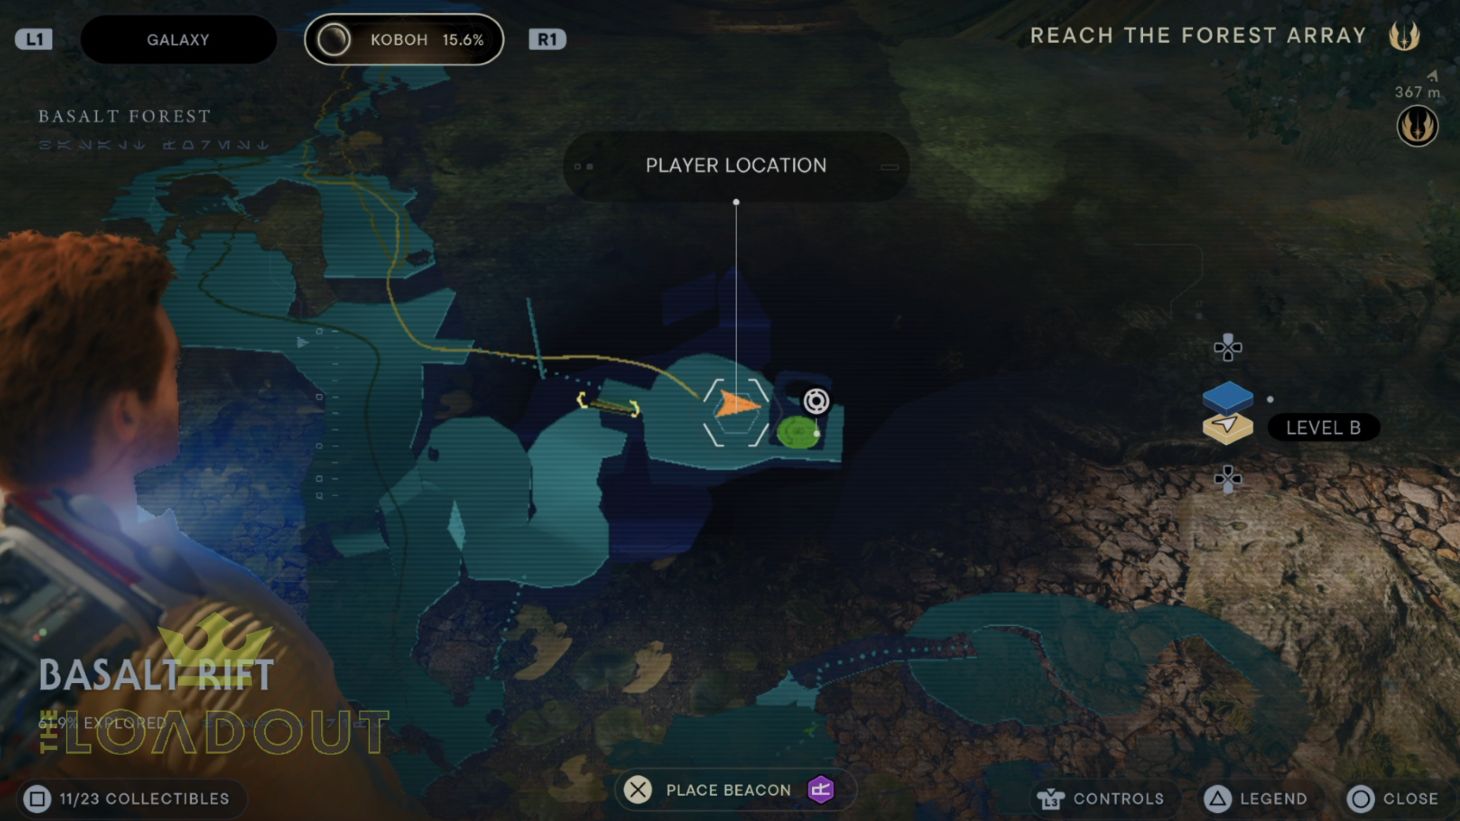
- Chamber of Reason – Basalt Rift, Koboh
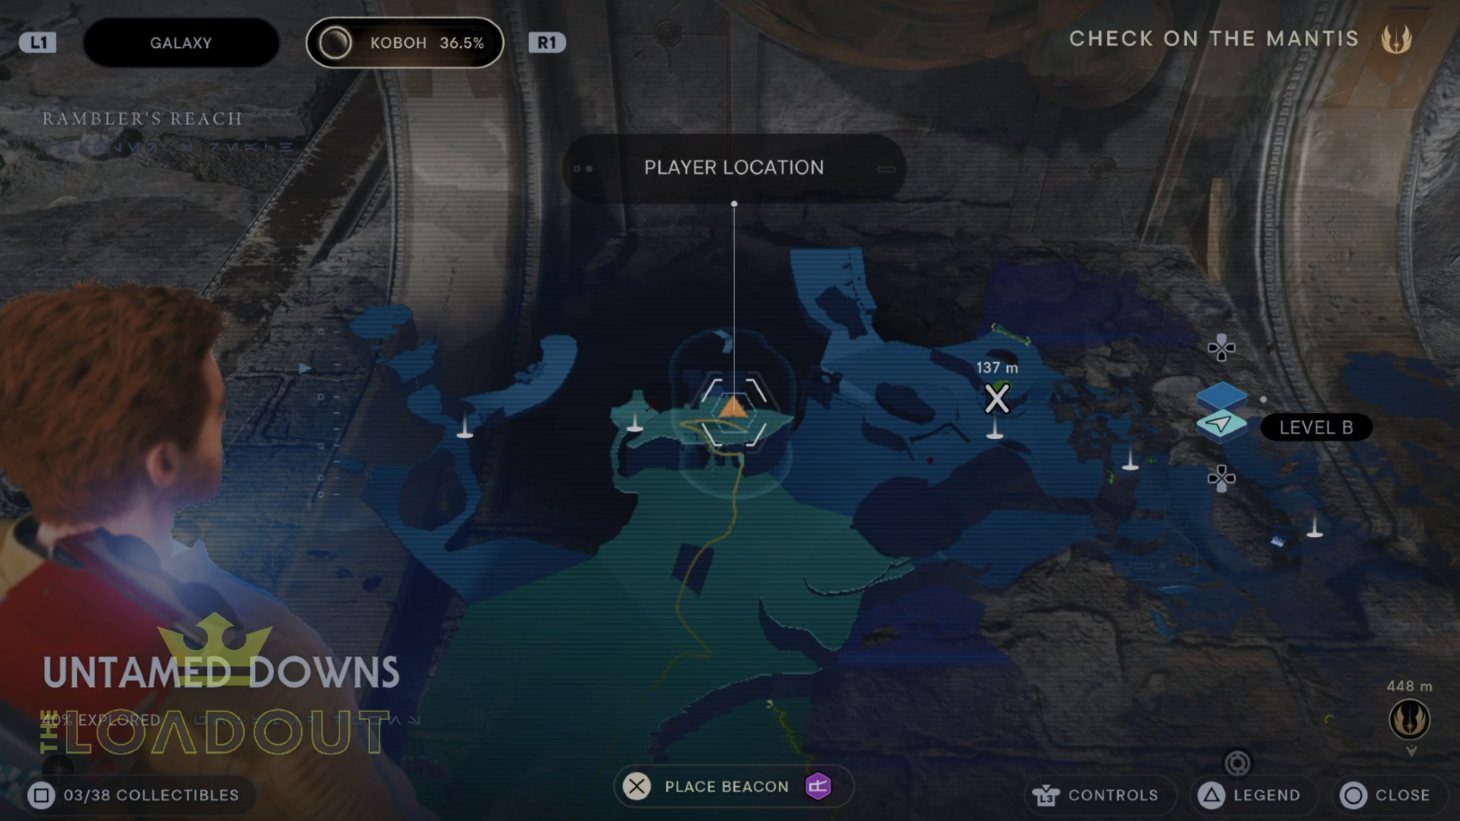
- Chamber of Clarity – Untamed Downs, Koboh
- Chamber of Connection – Viscid Bog, Koboh
- Chamber of Fortitude – Southern Reach, Koboh
- Chamber of Detachment – Mountain Ascent, Koboh
- Chamber in the Devastated Settlement – Devastated Settlement, Koboh
Chamber of Duality Jedi Chamber solution
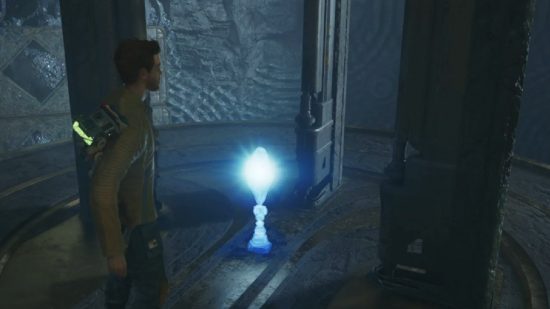
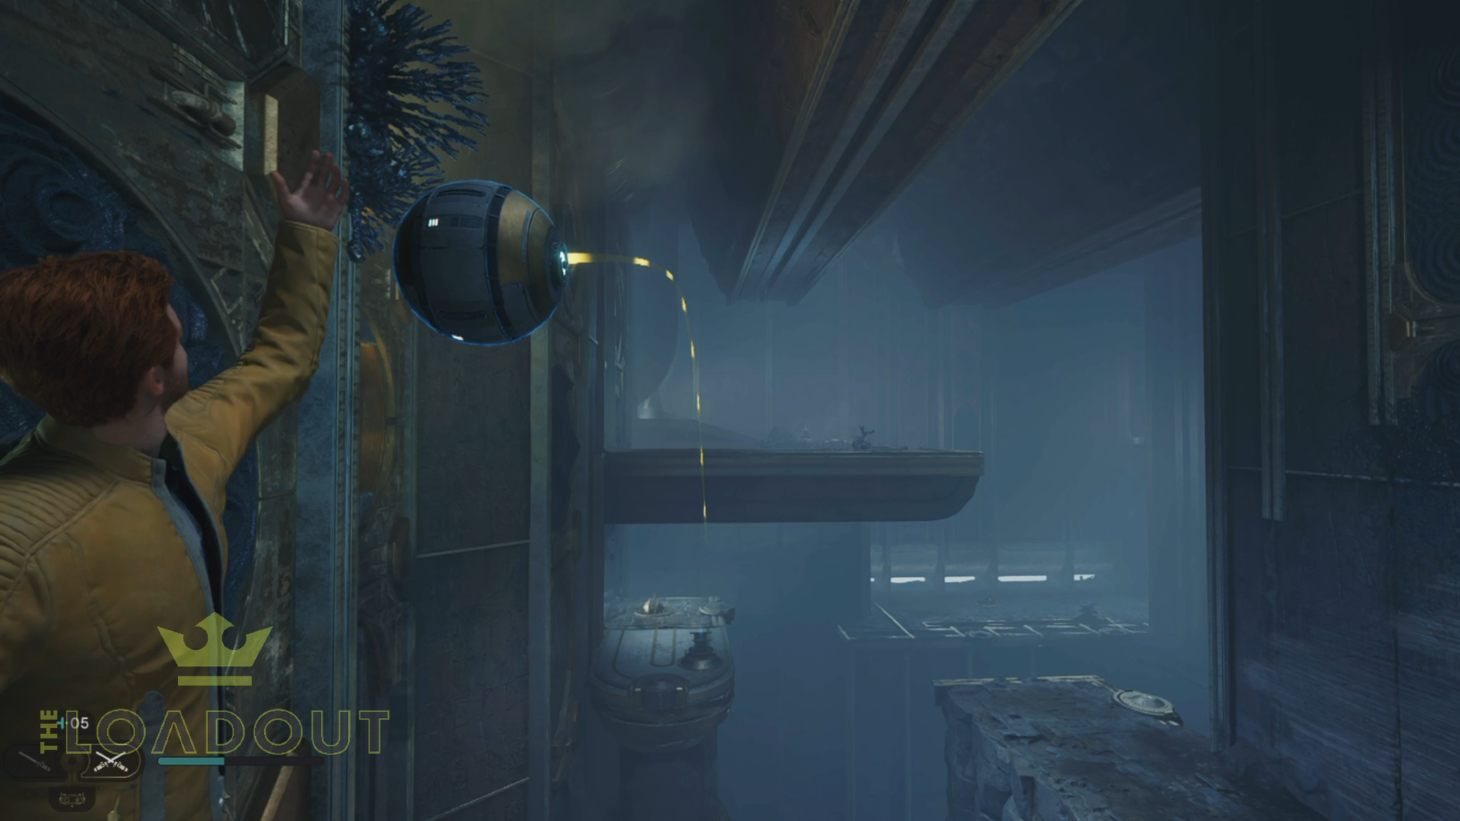
This chamber is all about using balls to unlock pathways. It is also a part of the main story, so you will have to complete this chamber. After putting the ball in the initial holder, pull it over to the holder to the right of the robot in the centre platform.
Walk across and force-pull the wire and connect it to the holder nearby. This will raise a gate.
Grab the ball from the room that has opened up and take it back across to the main platform. Place it in one of the blue holders. Do the same for the second ball.
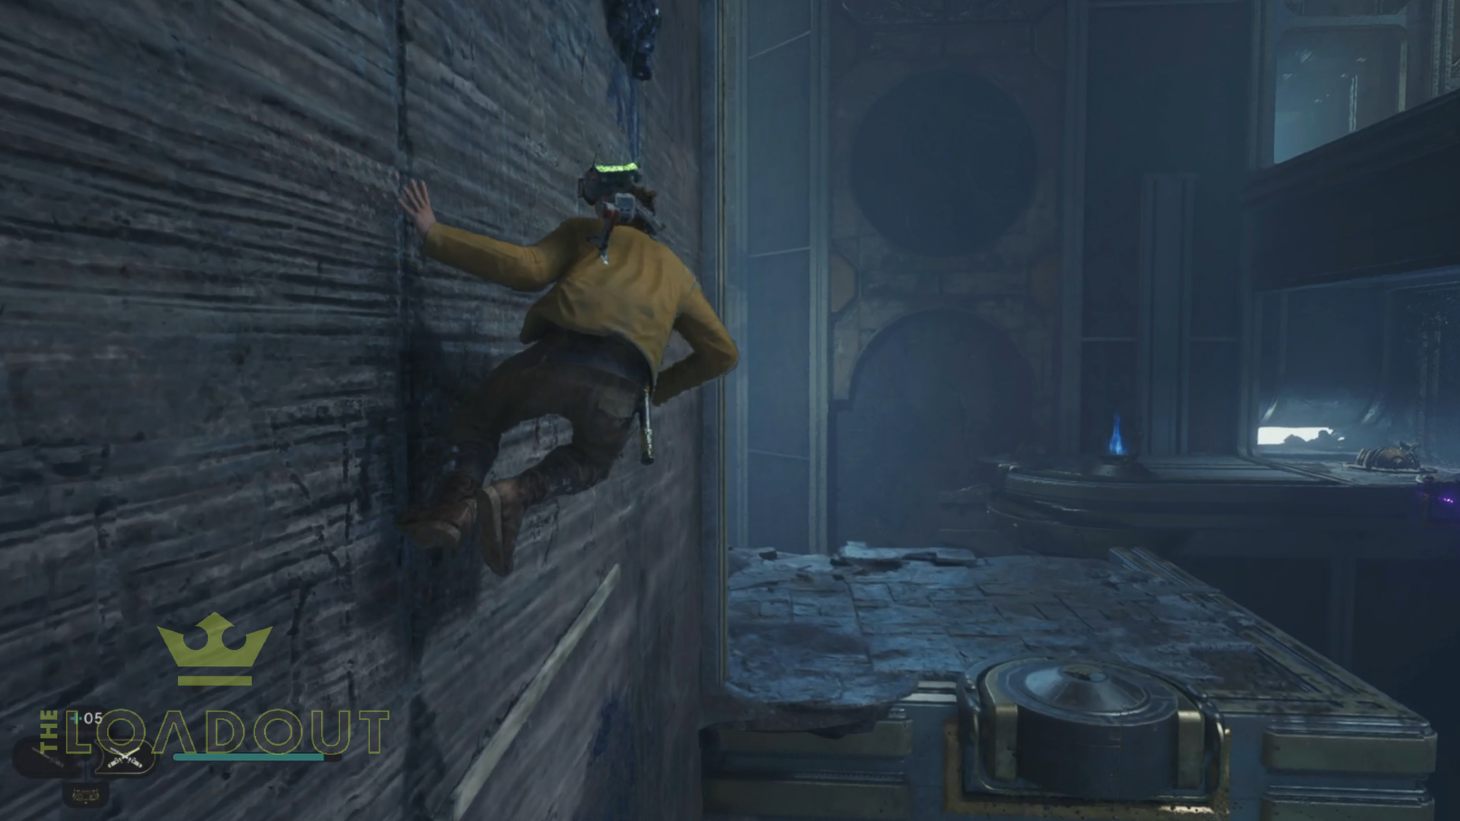
Walk across the platform that has formed and wall run to the left. Jump down and then hop between the walls past the chest. Grab the wire once again and attach it to the holder. Jump down and interact with the robot to complete the chamber. You will also get your first perk here.
Chamber of Reason Jedi Chamber solution
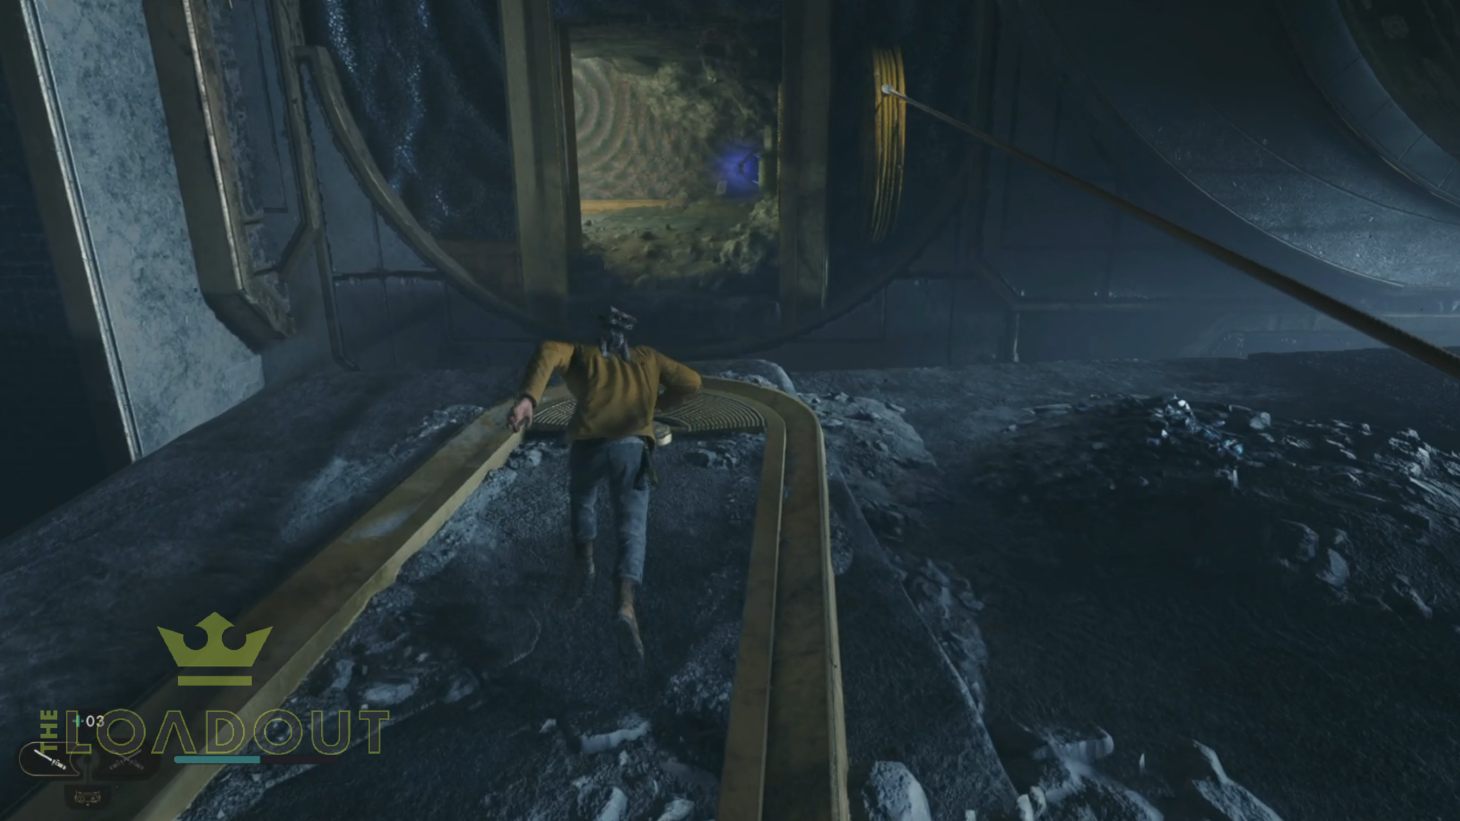
At the start of the chamber, jump down the rope and pick up the ball and place it into the holder. Force-push or force-pull the switch to move the holder and cause a path to be created leading to a wall you can destroy, revealing another ball. Take it back to the holder.
Force-push or force-pull the switch again and take the second ball over to the other side, using the newly created path. Ride the lift up and put the ball in the holder. At this point, the path will create itself and disappear again briefly. You want to run across it initially and then hop to the wall on your left to reach the next platform.
On your left, run across the wall and then jump twice on the wall at the end to reach the platform above you. Walk back around to the ball you last put in the holder and grab it from this raised platform.
Take it over to the other end of this platform and throw it into the holder you can see across from you.
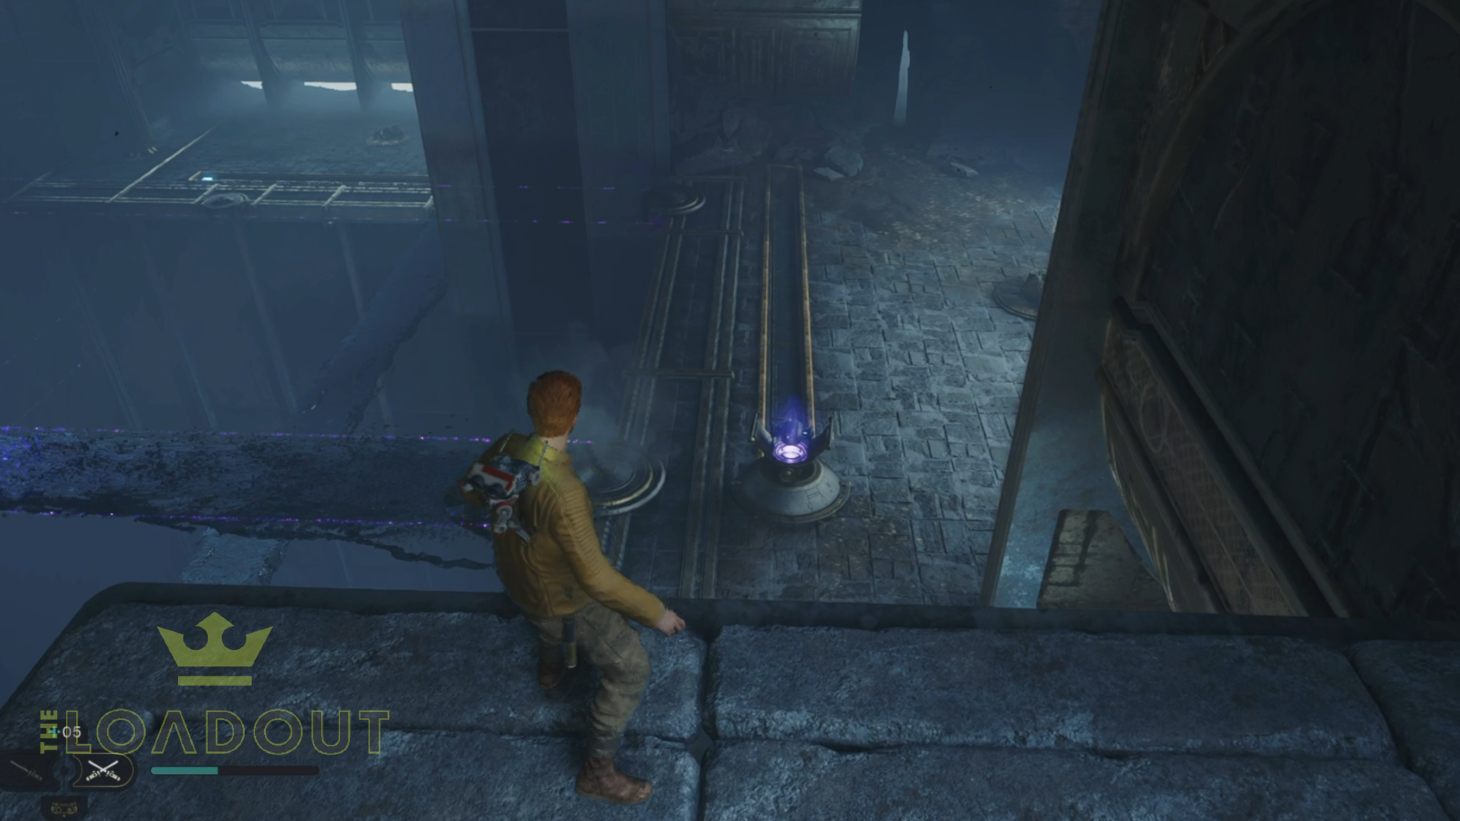
Jump down to the walkway that has now formed and stand next to the holder. Force-pull the switch to raise the platform and grab the ball again. This time throw it over to the holder next to the High Republic monument to form a pathway and get access to another perk and complete the chamber.
Chamber of Clarity Jedi Chamber solution
This Jedi chamber involves Force pulling a number of blocks to be able to reach the High Republic monument at the end. To kick things off, Force-pull the block at the beginning and hop over to the other side. Force-pull and then push the block and then climb onto the vines so you can ride over to this small side room as you climb around to the turbine side of it.
Force-pull the block back over and then head to the end of this room to find another block. Force-pull this one all the way so it hits the wall. Where the block is, look up and in the opposite corner of this area and you can find a door you can Force-push. Pull the other block back so it now starts moving towards the block in the corner.
When the block gets close Force-pull the other one away from it so they get locked, but the vines allow you to climb up onto the block as it isn’t being blocked by the stone protrusion in the ceiling.
Climb on top of the block and then jump to the door you blew down. From here, Force-pull the block on the left so that it moves back towards where you came from. As it is moving jump on top and you will be right next to the Monument and your next perk.
We will be updating this guide with walkthroughs of the additional Jedi Chambers so be sure to keep an eye out over the coming days!
With an idea of all the Star Wars Jedi Survivor Jedi Chambers, you can finally work your way to crafting a build using some of the best perks in Star Wars Jedi Survivor and some of the best skills in Star Wars Jedi Survivor. For even more puzzle tips as you are exploring be sure to check out our Star Wars Jedi Survivor walkthrough article.
