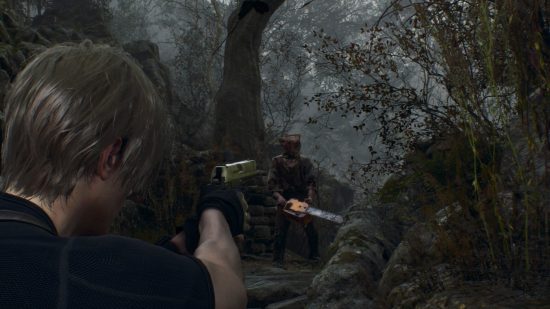
Photo modes have become a lot more prevalent in video games as time has gone on, and finding out how to use Resident Evil 4 photo mode will allow you to share some of your favourite experiences with others. Since this wasn’t a feature in the original game, both newcomers and old fans will be able to test out this mechanic in the remake for the first time.
With the Resident Evil 4 remake finally in our hands, we’ve got some picture-perfect moments to capture. So, pick up your favourite selection of Resident Evil 4 weapons and work your way through the Resident Evil 4 chapters so you can get some of the best snapshots during your time with the game.
Resident Evil 4 photo mode
You can use photo mode in Resident Evil 4 by pausing the game and pressing Square on PlayStation or X on Xbox controllers.
This will pause the game, allowing you to control the camera and adjust the photo settings to take the perfect photos. You can change filters, finetune the lighting or focus, and even remove Leon or enemies from the shot. You’ll need to hide the UI and then take a picture using your platforms capturing software.
After this, your screenshots will be saved in your system, so you can share them to your friends on PlayStation or Xbox, or send them to your phone and post them on social media. Whether you prefer to take action shots of Leon surviving an onslaught of enemies or nice pictures of the environment, you can do that.
That’s how to use photo mode in Resident Evil 4. Make sure to check out our Resident Evil 4 walkthrough if you need further help in the game, and check out the Resident Evil 4 remake length if you want to know how long you have left to complete the game.
