Building is an integral part of surviving in the world of Valheim. Without a shelter, you’ll be at the mercy of the monsters that come out at night. To survive, you’ll need a base you can call home. There’s more to Valheim building than just survival, however. There are lots of different mechanics and ways to make your home your own, and this guide will go over all the things you’ll need to know about building in Valheim.
This Valheim building guide will teach you the basics of building your first shelter, as well as how to defend your base from enemies, repair your structures, build supports for your shelters, level terrain and more. It will also help you out as you build a base as you explore the Valheim map.
How to build a shelter in Valheim
The first thing you’ll need to know is how to build a shelter. You’ll need somewhere to hide from the monsters of Valheim, and luckily it’s not too hard to build one. Firstly, craft a hammer. This item can be made with just 3 wood and 2 stone. Wood can be obtained by chopping down trees or breaking twigs. Stones can be found on the ground and can be mined with a pickaxe later in the game.
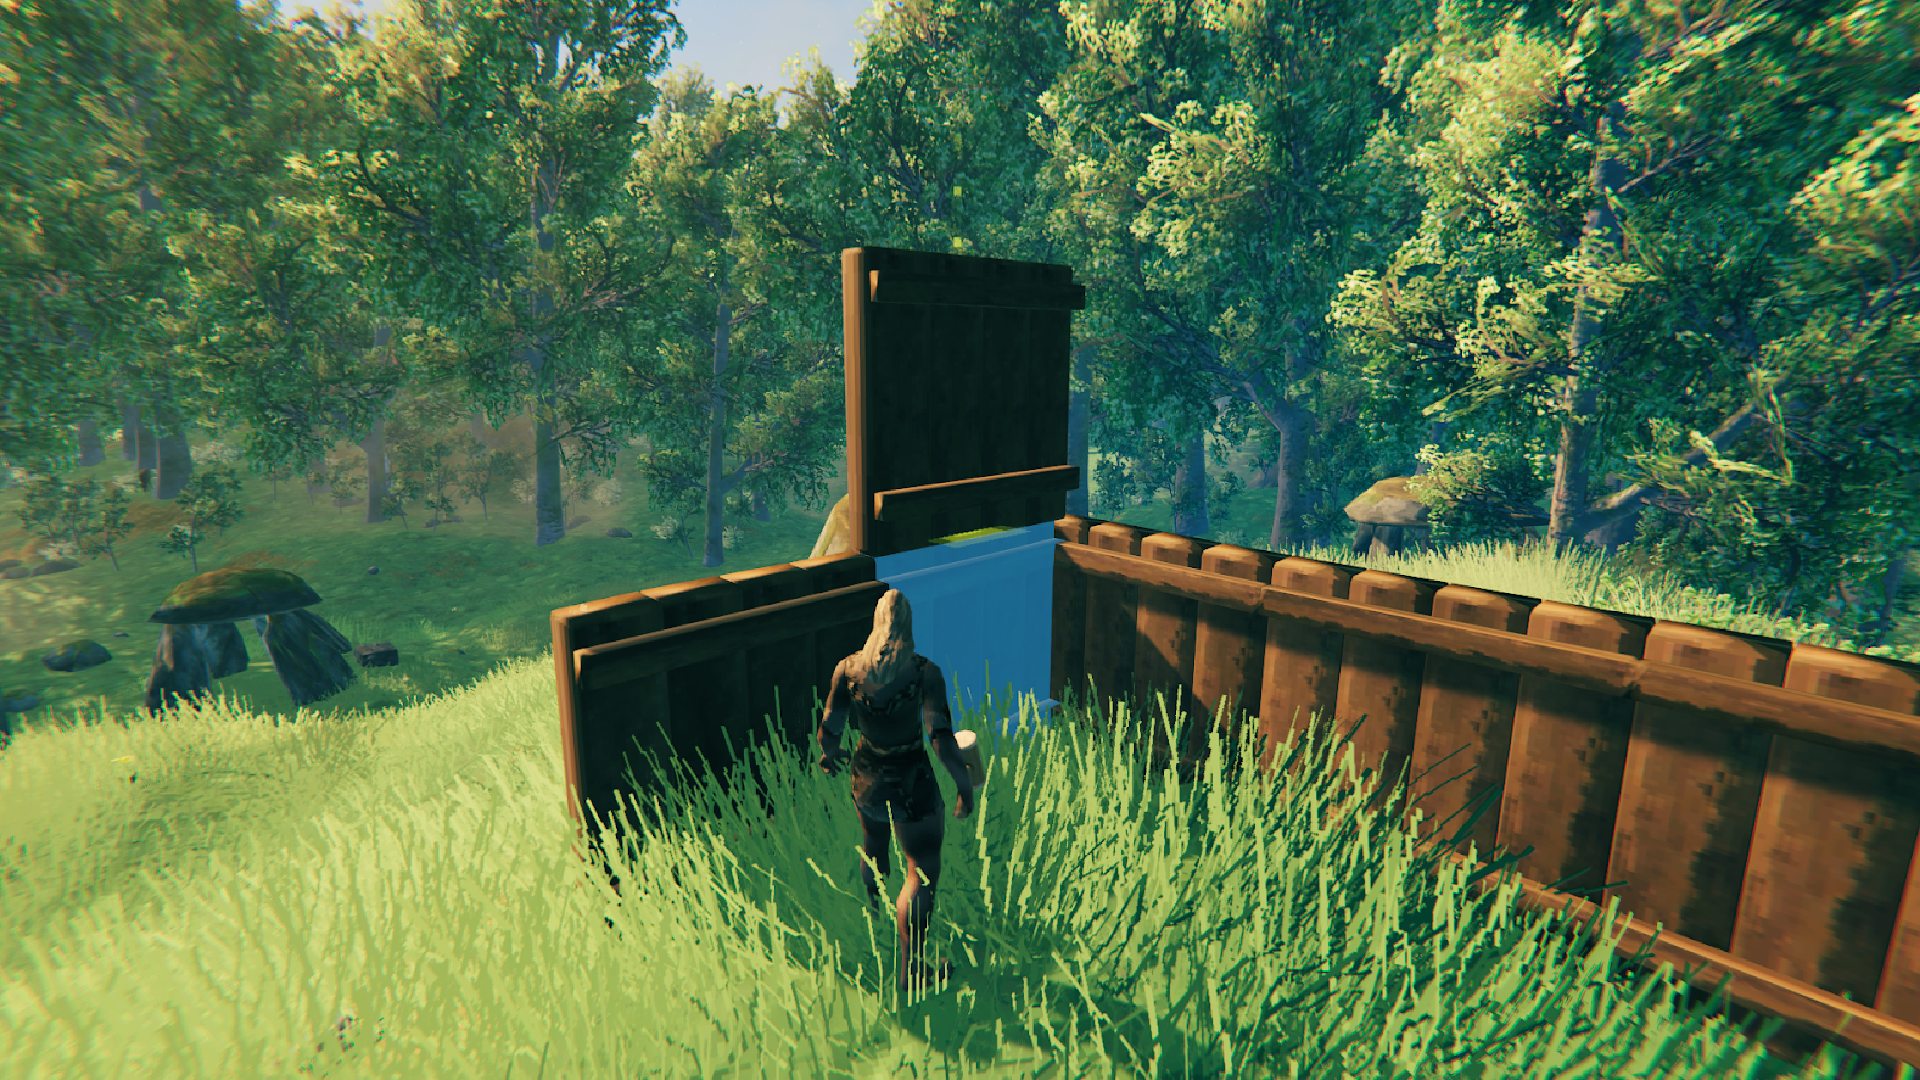
Once you have your hammer in hand, open the crafting menu to see all the available options for building. To start with, you’ll want to build a simple wooden shelter to survive the night. The first thing you should build is a workbench using 10 pieces of wood. This will allow you to place wooden walls, doors and other simple structures as long as you’re near the workbench. Stock up on wood and build some walls, placing a roof over your shelter and a door.
Building is quite easy if you use Valheim’s snap mechanic to align all your walls, doors and roof pieces. If you line up one wall with the edge of another, the game will snap your next wall piece onto it. You can do this with a variety of different structures to create a nice-looking home.
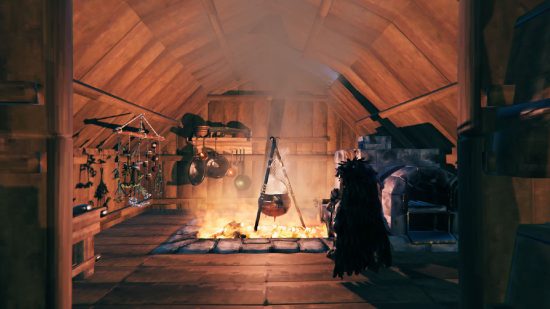
You’ll also want to make sure you craft a bed, a campfire and a cooking station. The bed costs 8 wood and will let you place your spawn point in case you die, and you can use it to pass time through the night to avoid having to deal with monsters. You’ll find it under the furniture section of the building menu while using a hammer.
You won’t be able to sleep without a campfire near your bed though, so be sure to craft that and place it close to your home. Campfires require you to have 2 wood and 5 stone. You may need to place one inside your shelter if it’s raining, but make sure there’s a hole somewhere for smoke to escape. Cooking stations are also pretty important if you want to cook food like boar and deer meat. They only require 2 wood to craft.
How to build supports in Valheim
For some buildings, you need a strong foundation or some pieces will start to collapse. For example, if you’re building on uneven ground or you want an elevated shelter, you’ll need to place supports before you can place wooden floor pieces.
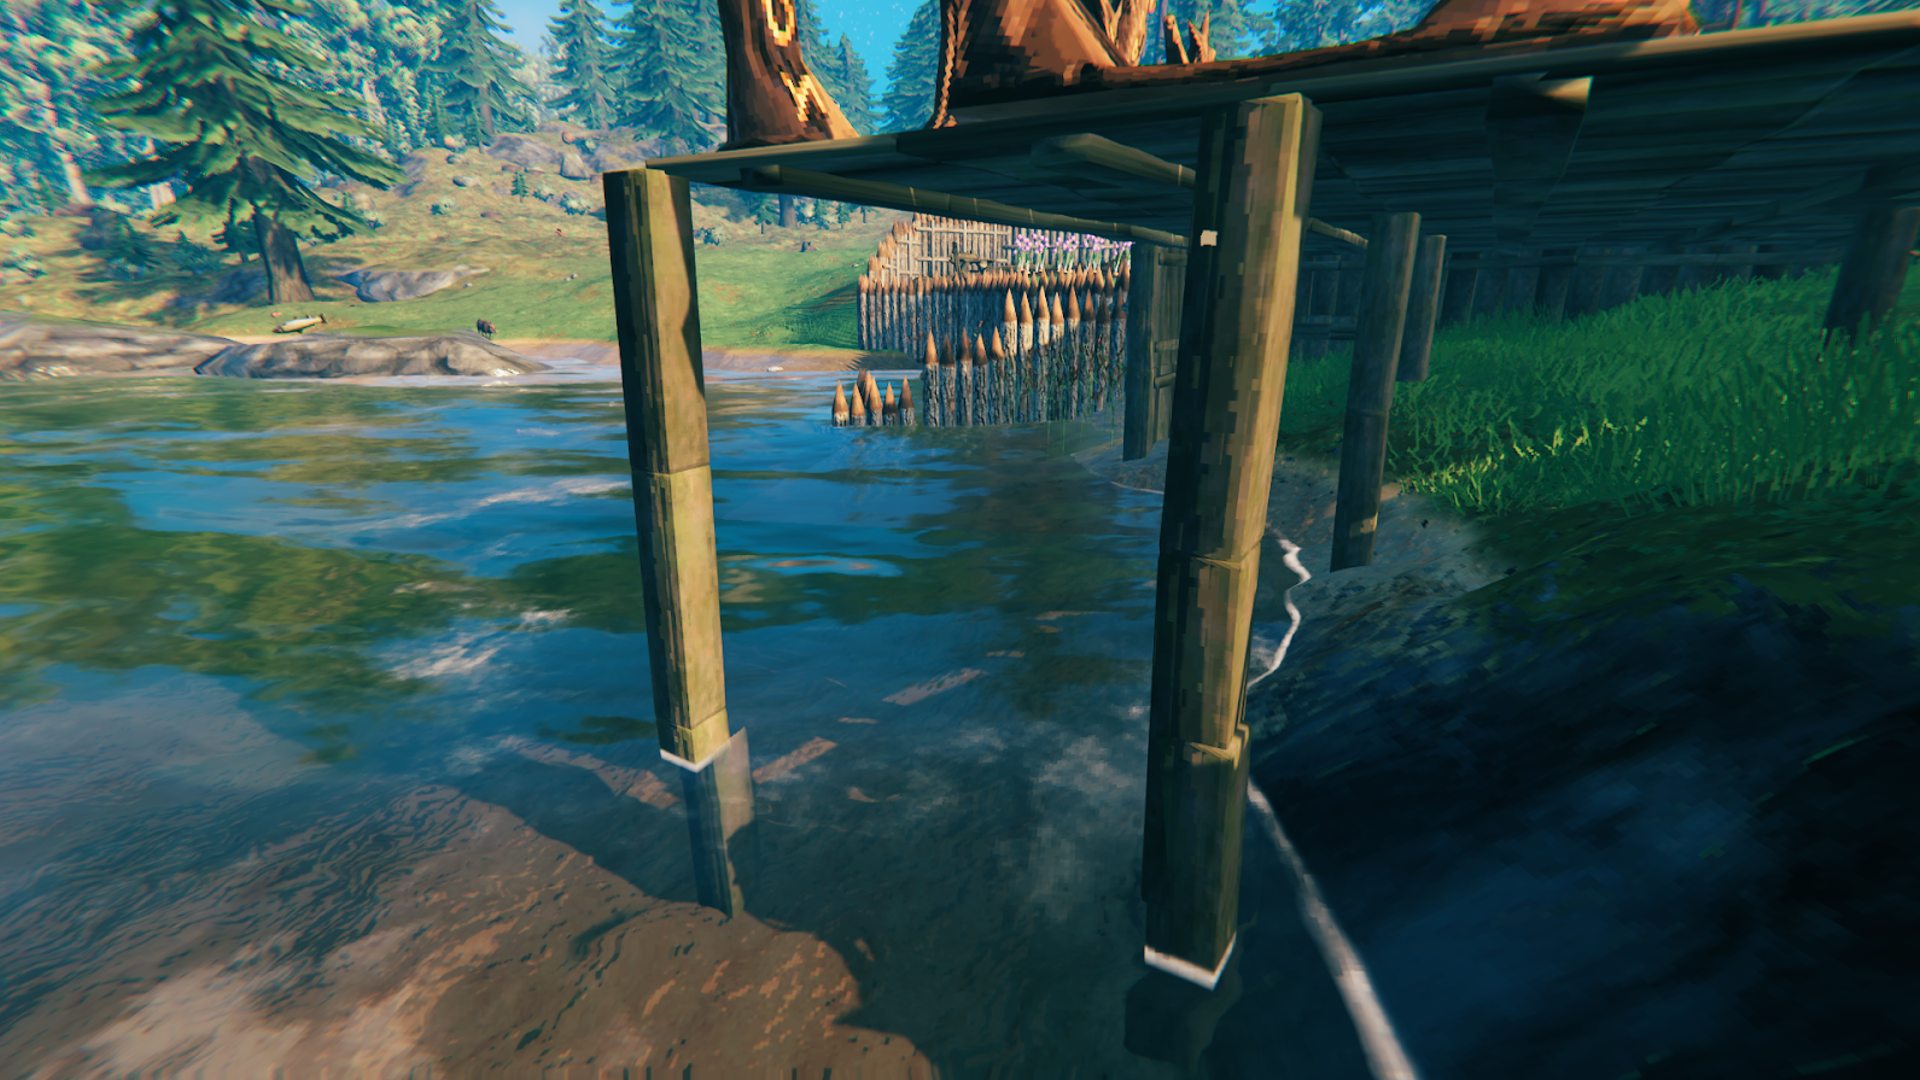
To do this, head to the building menu and look for wood poles. They come in two different sizes. These poles can act as support for your structures. The more supports you have, the stronger your foundation will be. Poles can be stacked to make taller supports in the same way wooden walls or roof pieces snap together.
You’ll also need to build supports if you want to build over water, or your structures will just break and fall into the water.
How to repair structures in Valheim
Over time your structures will start to get damaged. Rain can damage your structures (but it won’t destroy them), and enemies can attack your structures. When this happens, you’ll want to repair them so they don’t eventually get destroyed.
Thankfully, you can repair them with the hammer. In the crafting menu, you’ll see an icon in the top left to repair. Select that and click on each individual structure you want to repair and it’ll be back to perfect condition. It might take a while if you have a larger amount of repairs to make, as you’ll have to select each piece on its own. You’ll know your home needs repairs when it starts to look a bit weathered, or you can check using the hammer.
You can also use this to repair boats, workbenches and a whole host of other important items. Your hammer will lose durability the more you repair it, so be sure to repair the hammer at a workbench.
How to level terrain in Valheim
Sometimes you might need to alter the terrain under your buildings. You can do this using the hoe tool. To craft a hoe, you need a workbench, 5 wood and 2 stone.
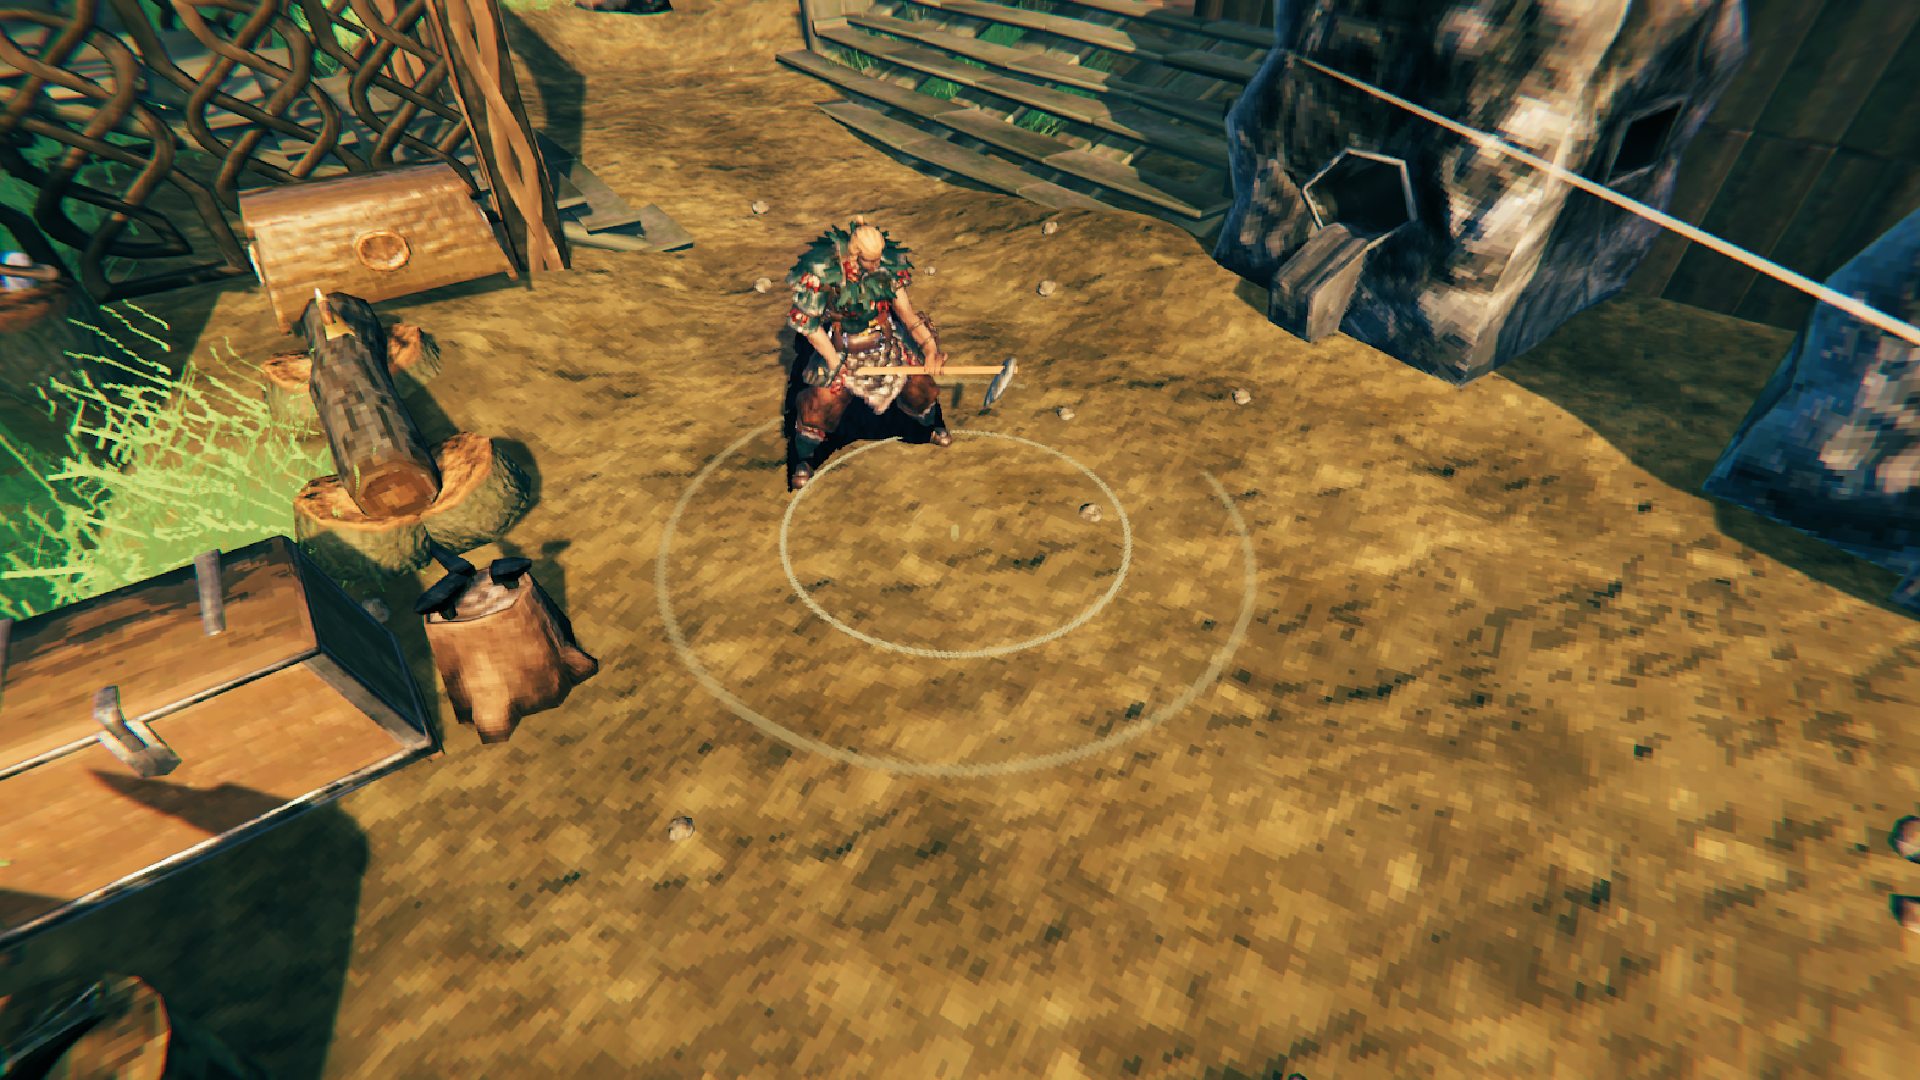
Once you’ve crafted your hoe, equip it and use the build menu to see the available options. The first one is “level ground”. This will let you smooth out the terrain and create a better foundation for your structures. You can also use it to remove grass. The ground will be levelled at the point your character is standing, but it can be a bit finicky to use.
The second option is to “raise ground”, and this is helpful when you need to raise a certain part of the terrain. You’ll need 2 stone for every action you perform using raise ground. This can be used to raise ground up to your shelter if you want a more natural foundation instead of using lots of supports.
You can also use the hoe to create paths in the ground. This is performed using the “pathen” option in the build menu. This option is particularly helpful if you want to create a path from different parts of your base to another, or if you want to create a path towards important locations so you don’t forget where you are.
Later in the game, you’ll be able to create stone paths using a stonecutter. These are a lot more visually appealing and make for nice options to use in your base. However, you need stone and a stonecutter to create them. You won’t get a stonecutter until you’ve found iron, so it won’t be an option for a while.
How to defend your base in Valheim
As you play Valheim more, stronger enemies will start to appear. At times these enemies will roam towards your base and try to attack it. They might even appear in larger numbers during events, and you’ll be notified that your base is under attack with messages like “the forest is moving”. These attacks can be quite difficult so you’ll probably want to have some kind of defence.
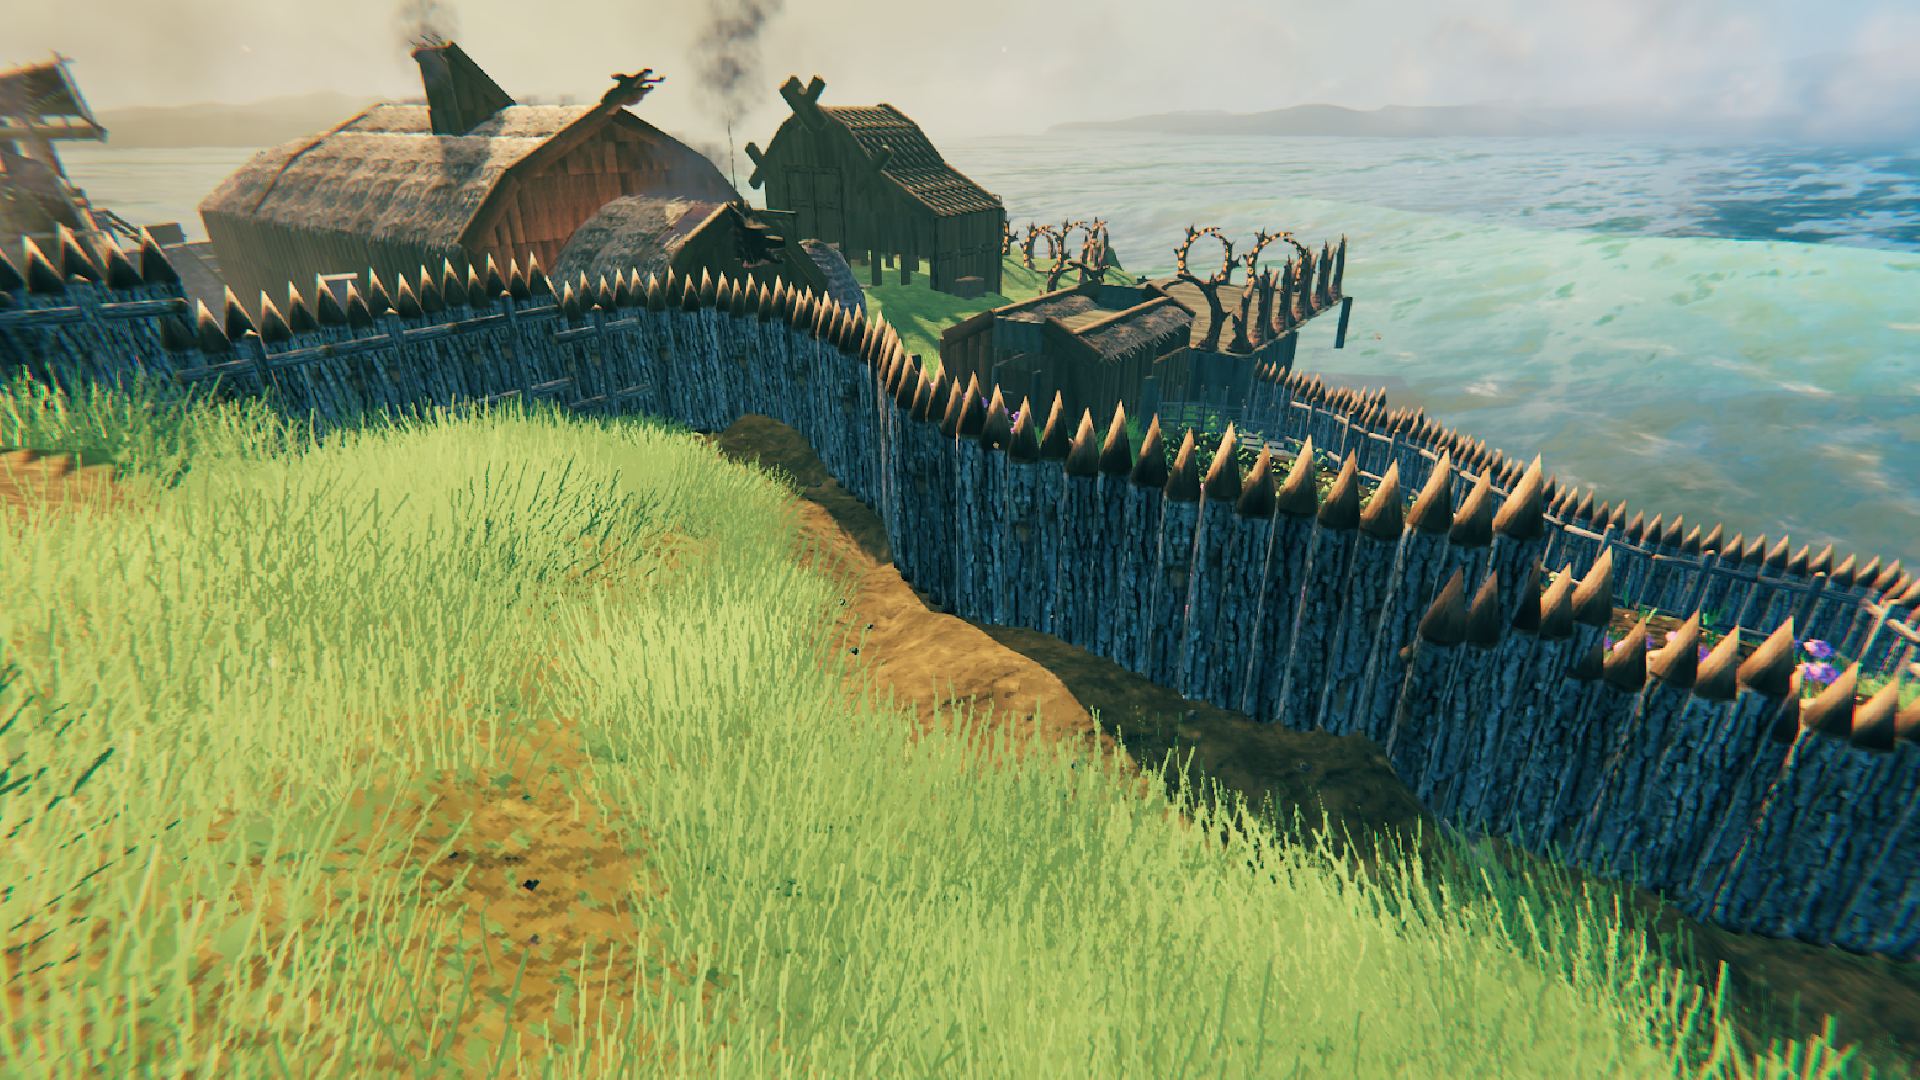
There are a couple ways you can defend your base from enemy attacks. The easiest way to defend your base is by building a wall around it. You can craft fences or stake walls to keep enemies out, though they will sustain damage over time so be sure to check for repairs every so often.
Another option is digging a trench around your base. If you’ve built a wall but enemies keep attacking it, you can dig a trench outside the wall using a pickaxe to prevent enemies from reaching it. This will take a long time to do, but it might be worth a try.
Later in the game, you’ll also gain access to powerful defensive weapons, but these won’t be available for a long time. You can also create stone walls for stronger defences once you get the stonecutter.
How to store items in Valheim
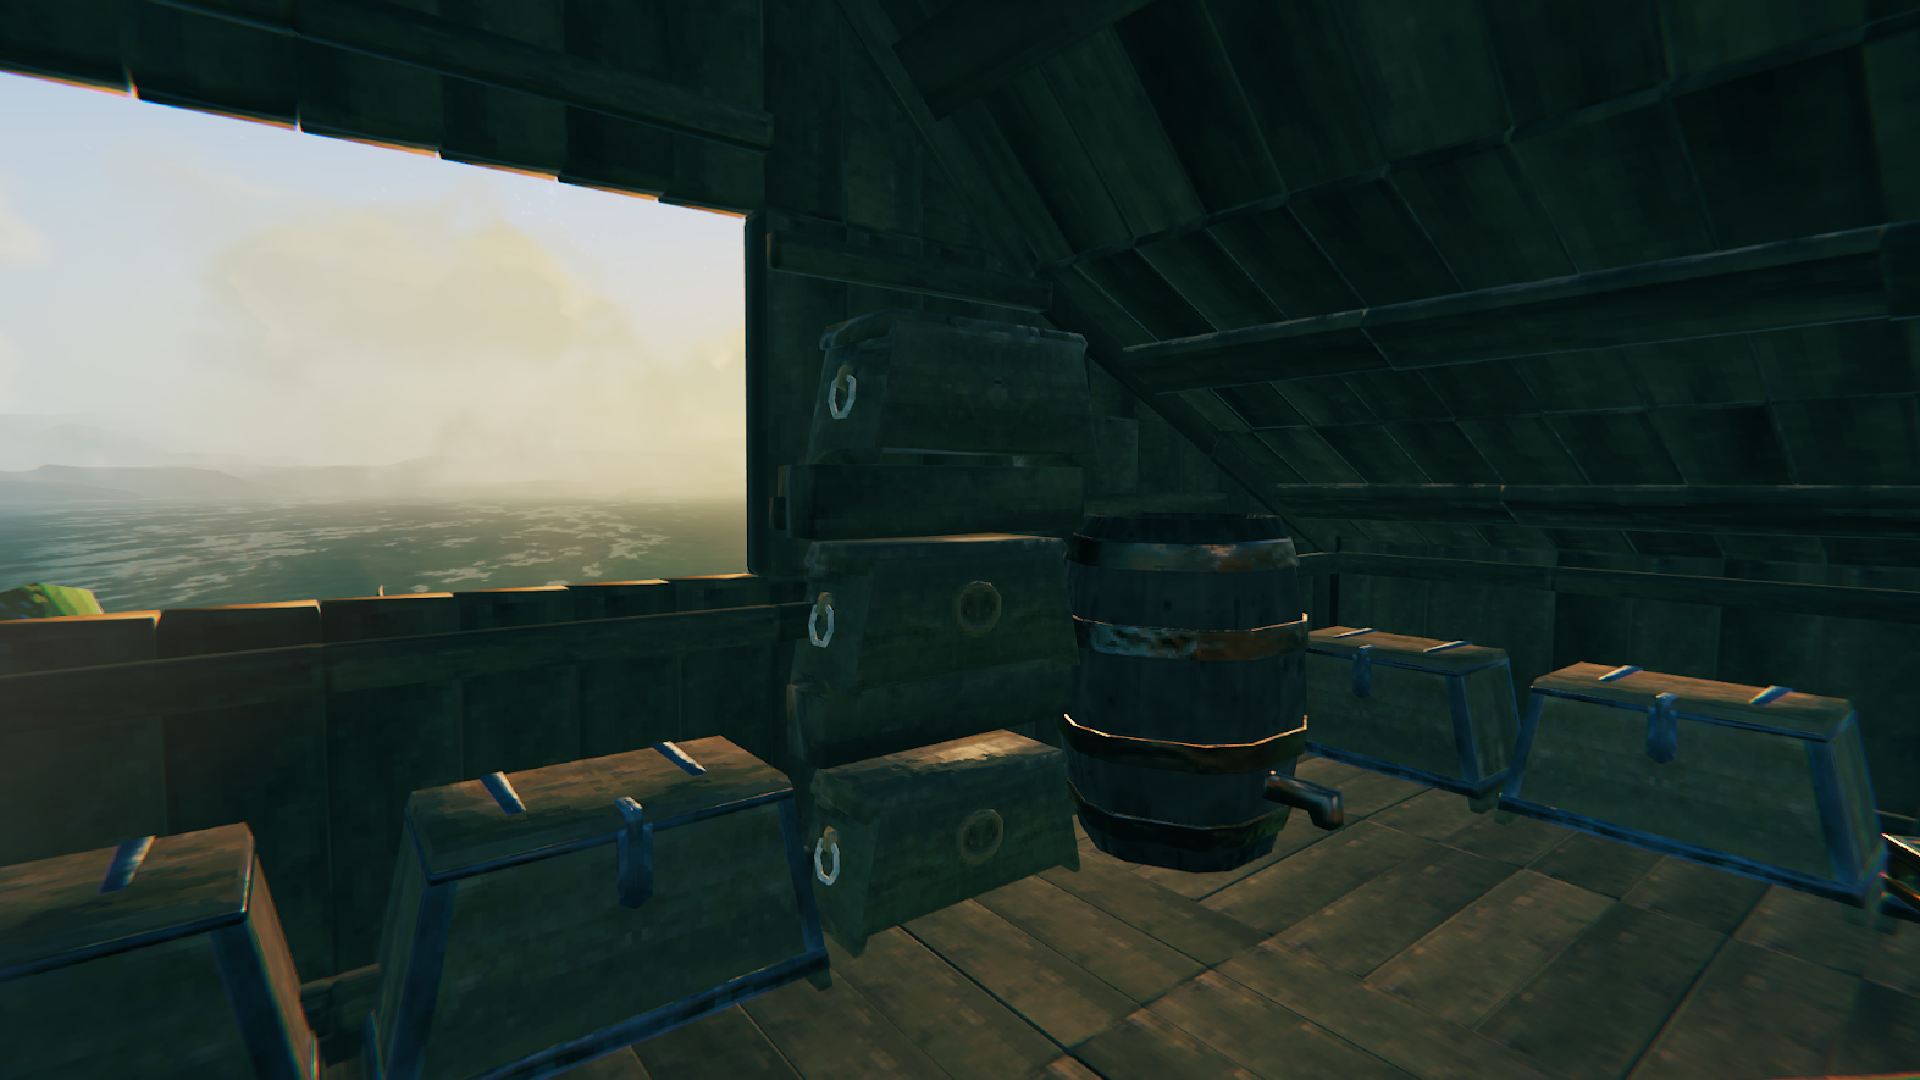
Once you’ve built a shelter, you’ll want somewhere to store all your items. You’ll be picking up lots of items as you explore Valheim, and you can use chests to store these items.
Regular chests simply require you to have 10 wood and a workbench nearby. You can get better chests later in the game once you reach the Swamp and gain the ability to mine for iron. Until then, you’ll have to make do with the standard chests.
You can create signs with 2 wood and 1 coal and write on them so you know which chests contain what. You can also stack chests by placing a small wooden floor tile above them and placing the chest upon that. This will save you space in your shelter and make for a more compact storage solution.
Hopefully, this Valheim building guide has given you the knowledge you need to get building. The building options may seem small at first, but as you play you’ll soon unlock more options for building, allowing for more creativity and expression in your designs. There are lots of advanced building options as you progress through the game, from fancy furniture to iron and marble structures.
