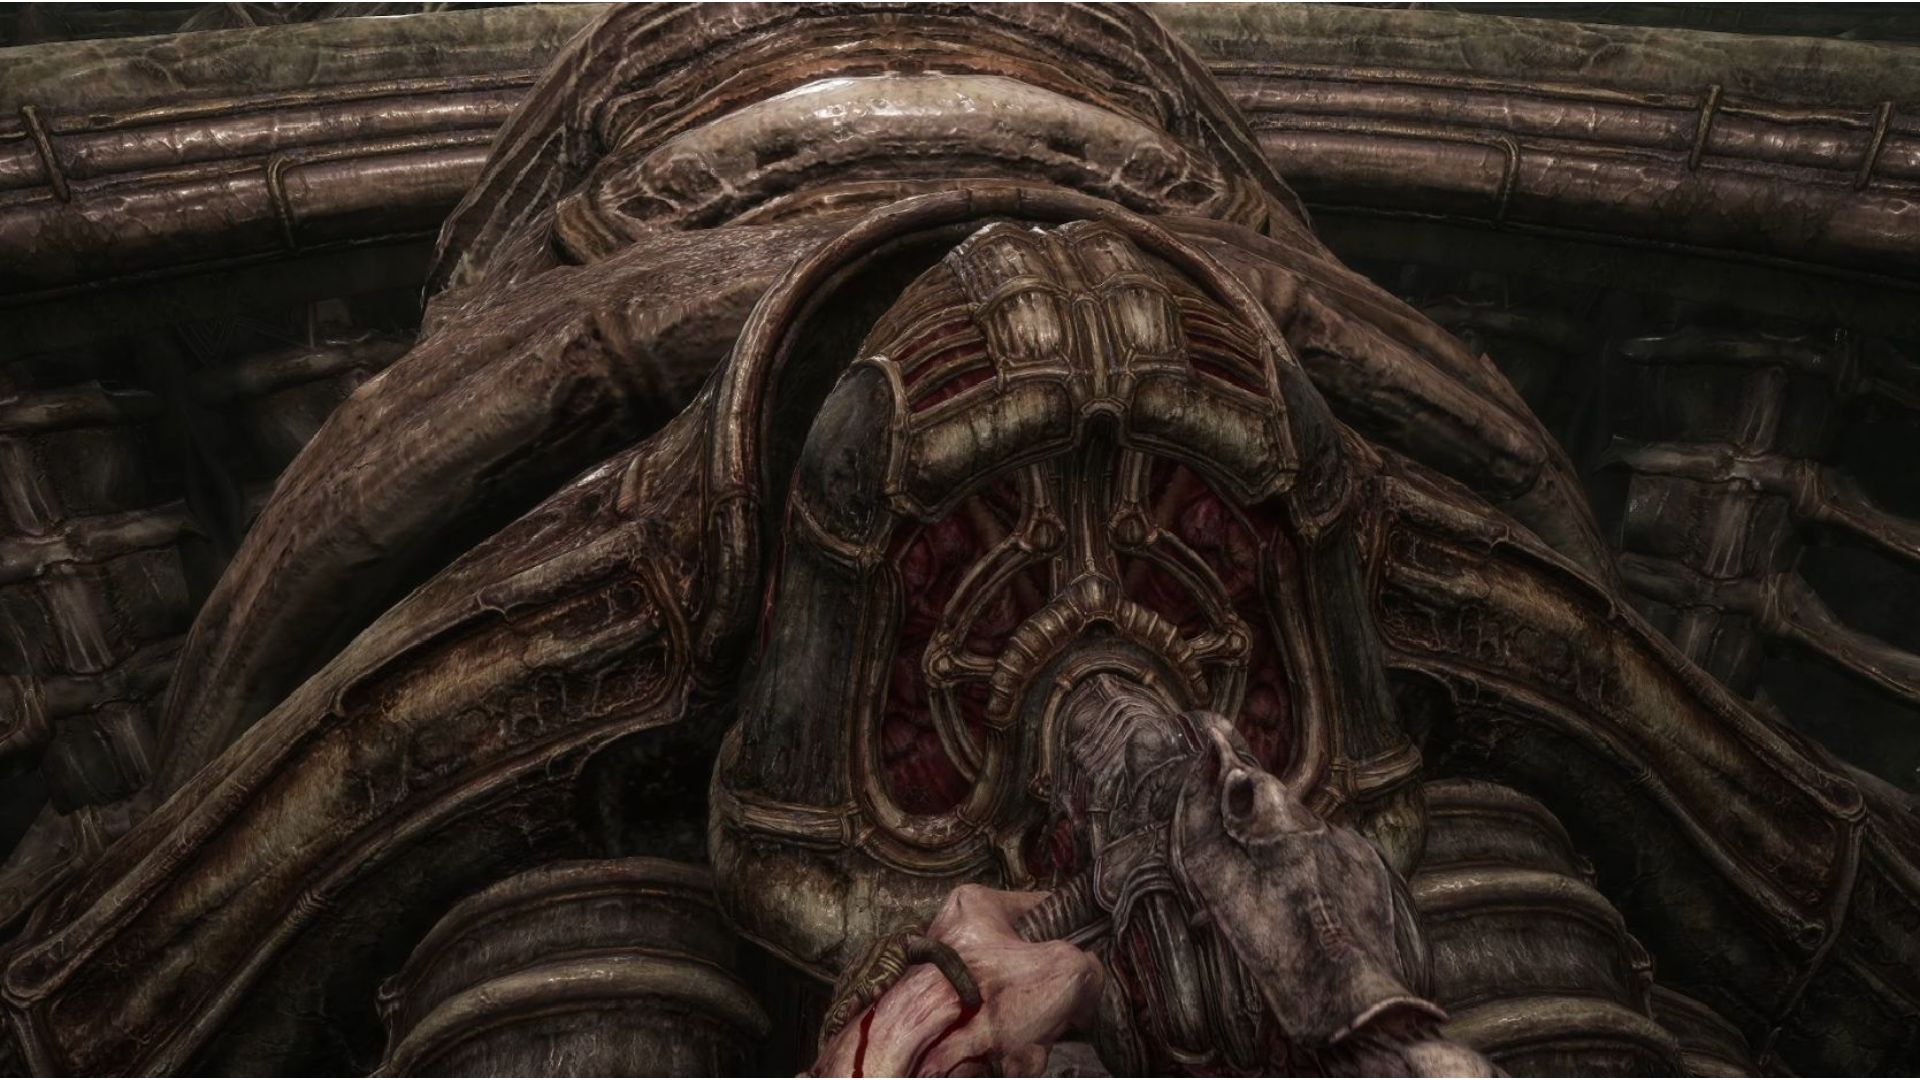
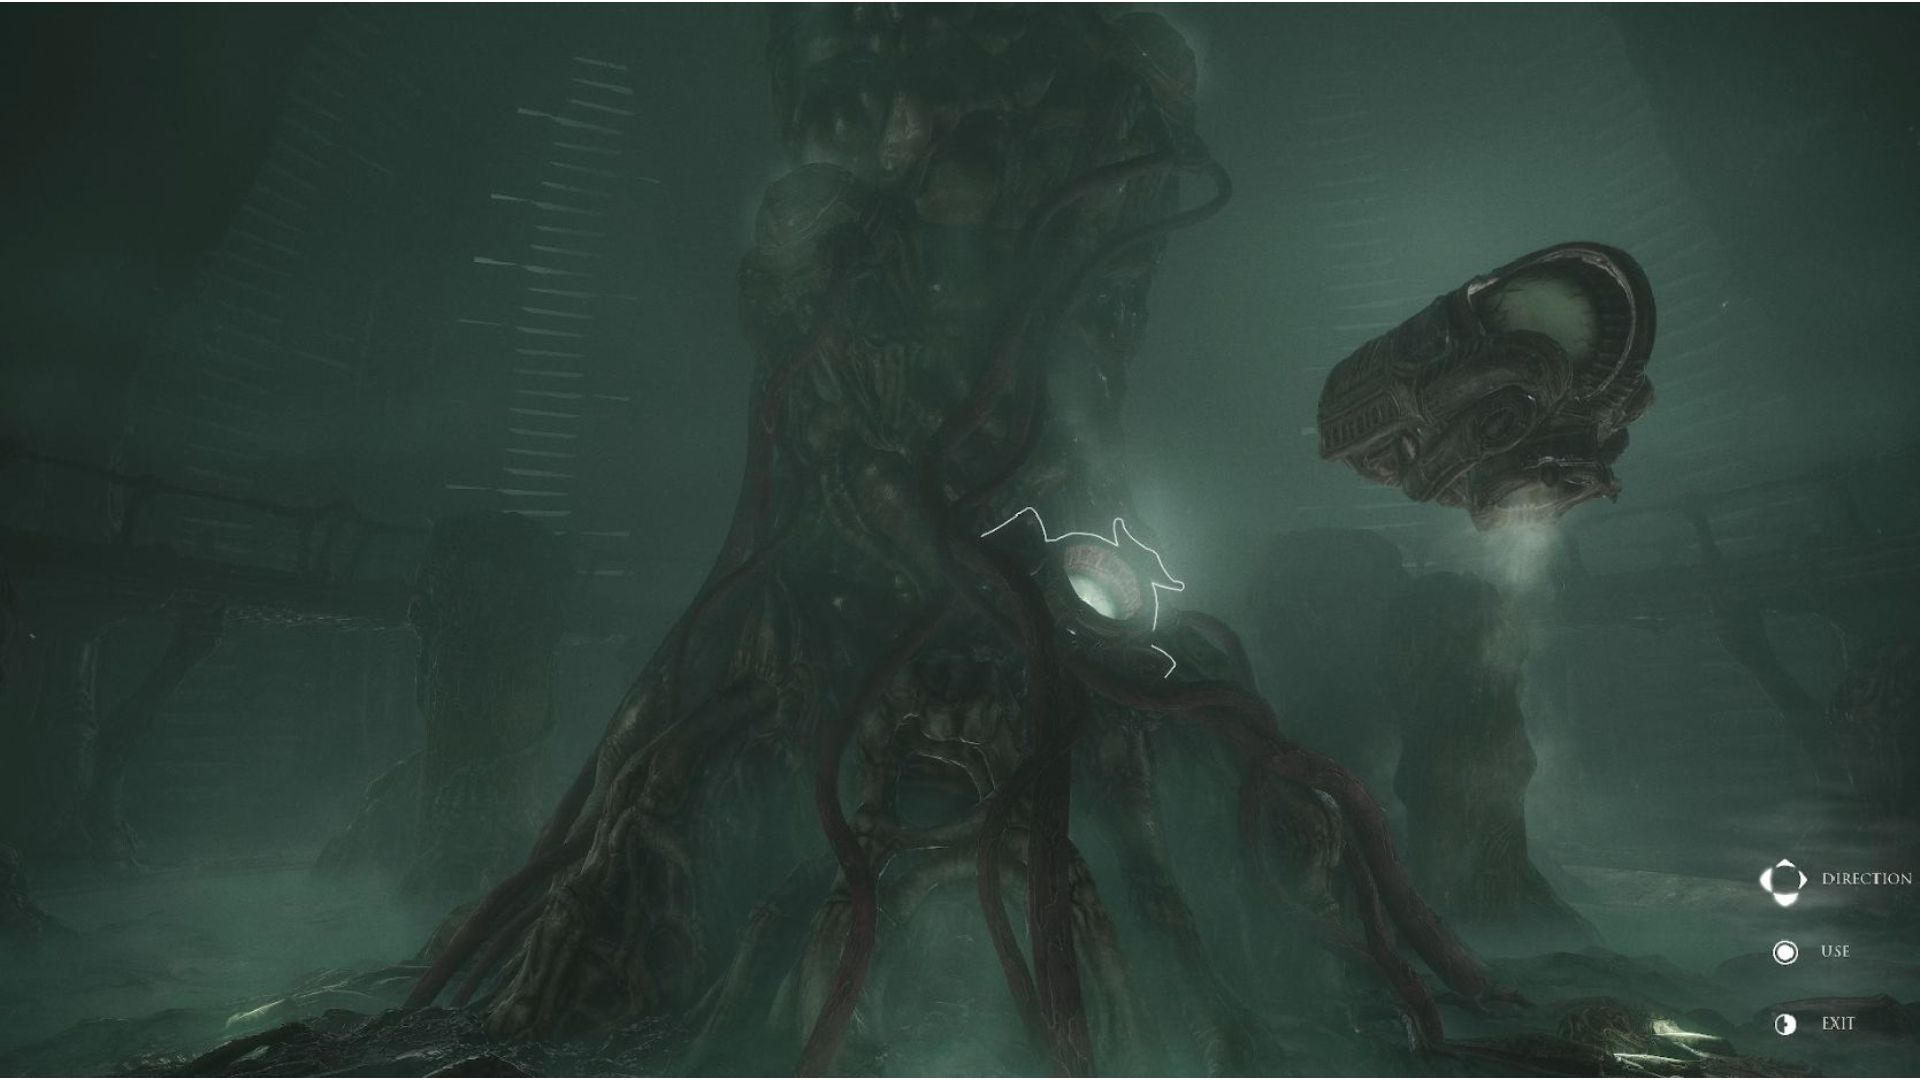
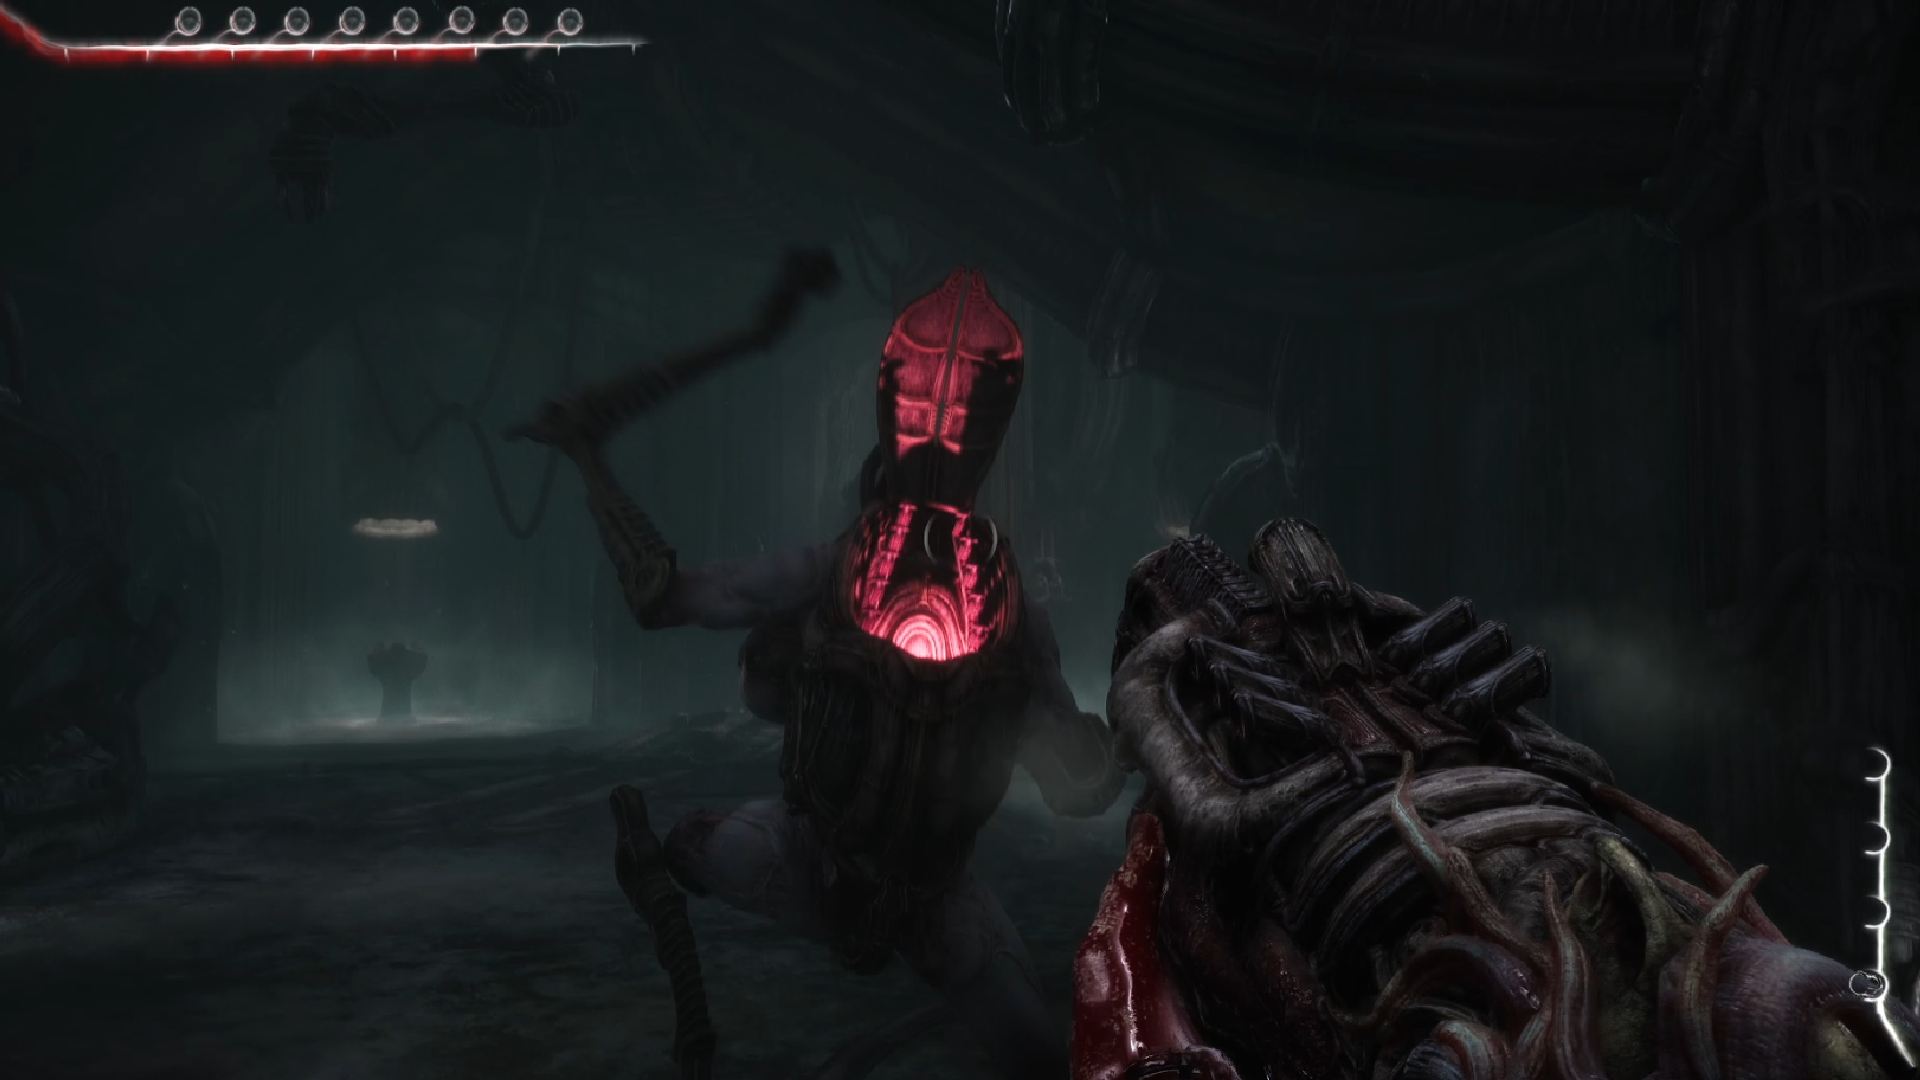
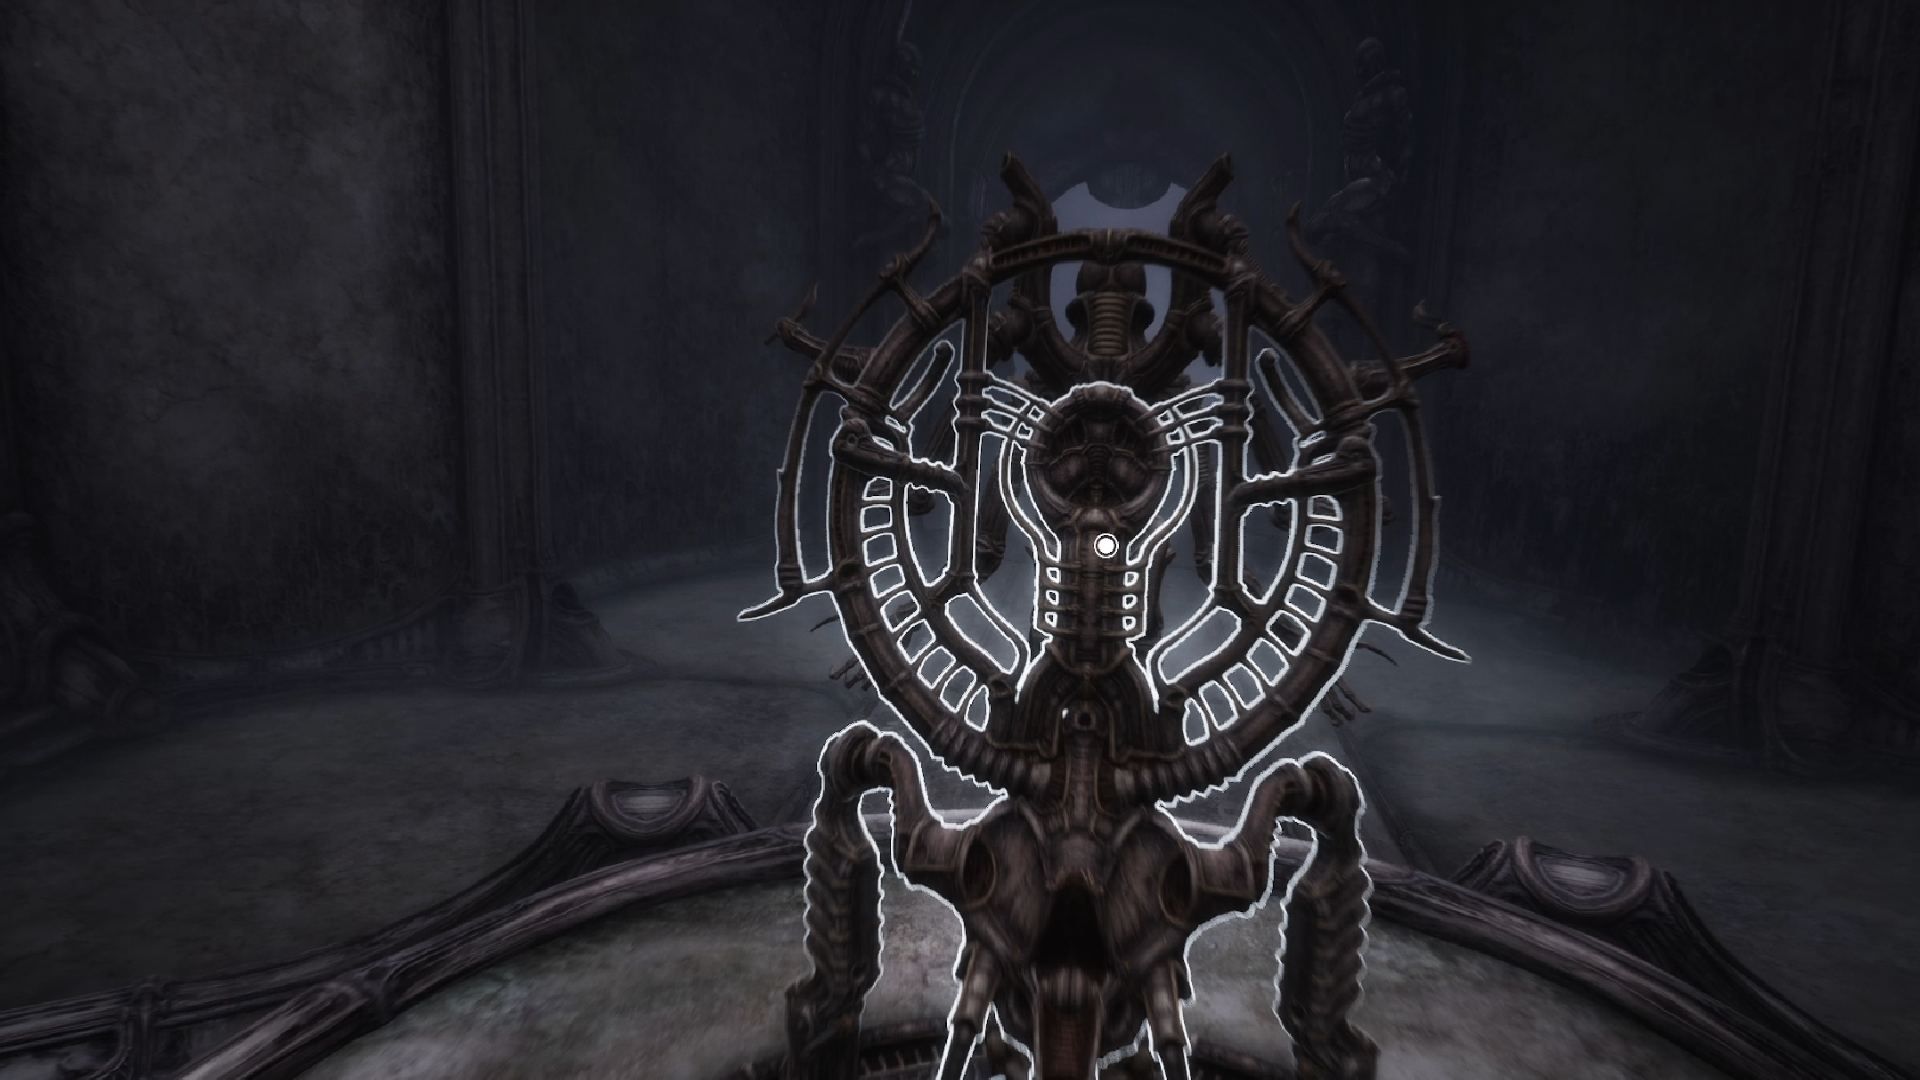
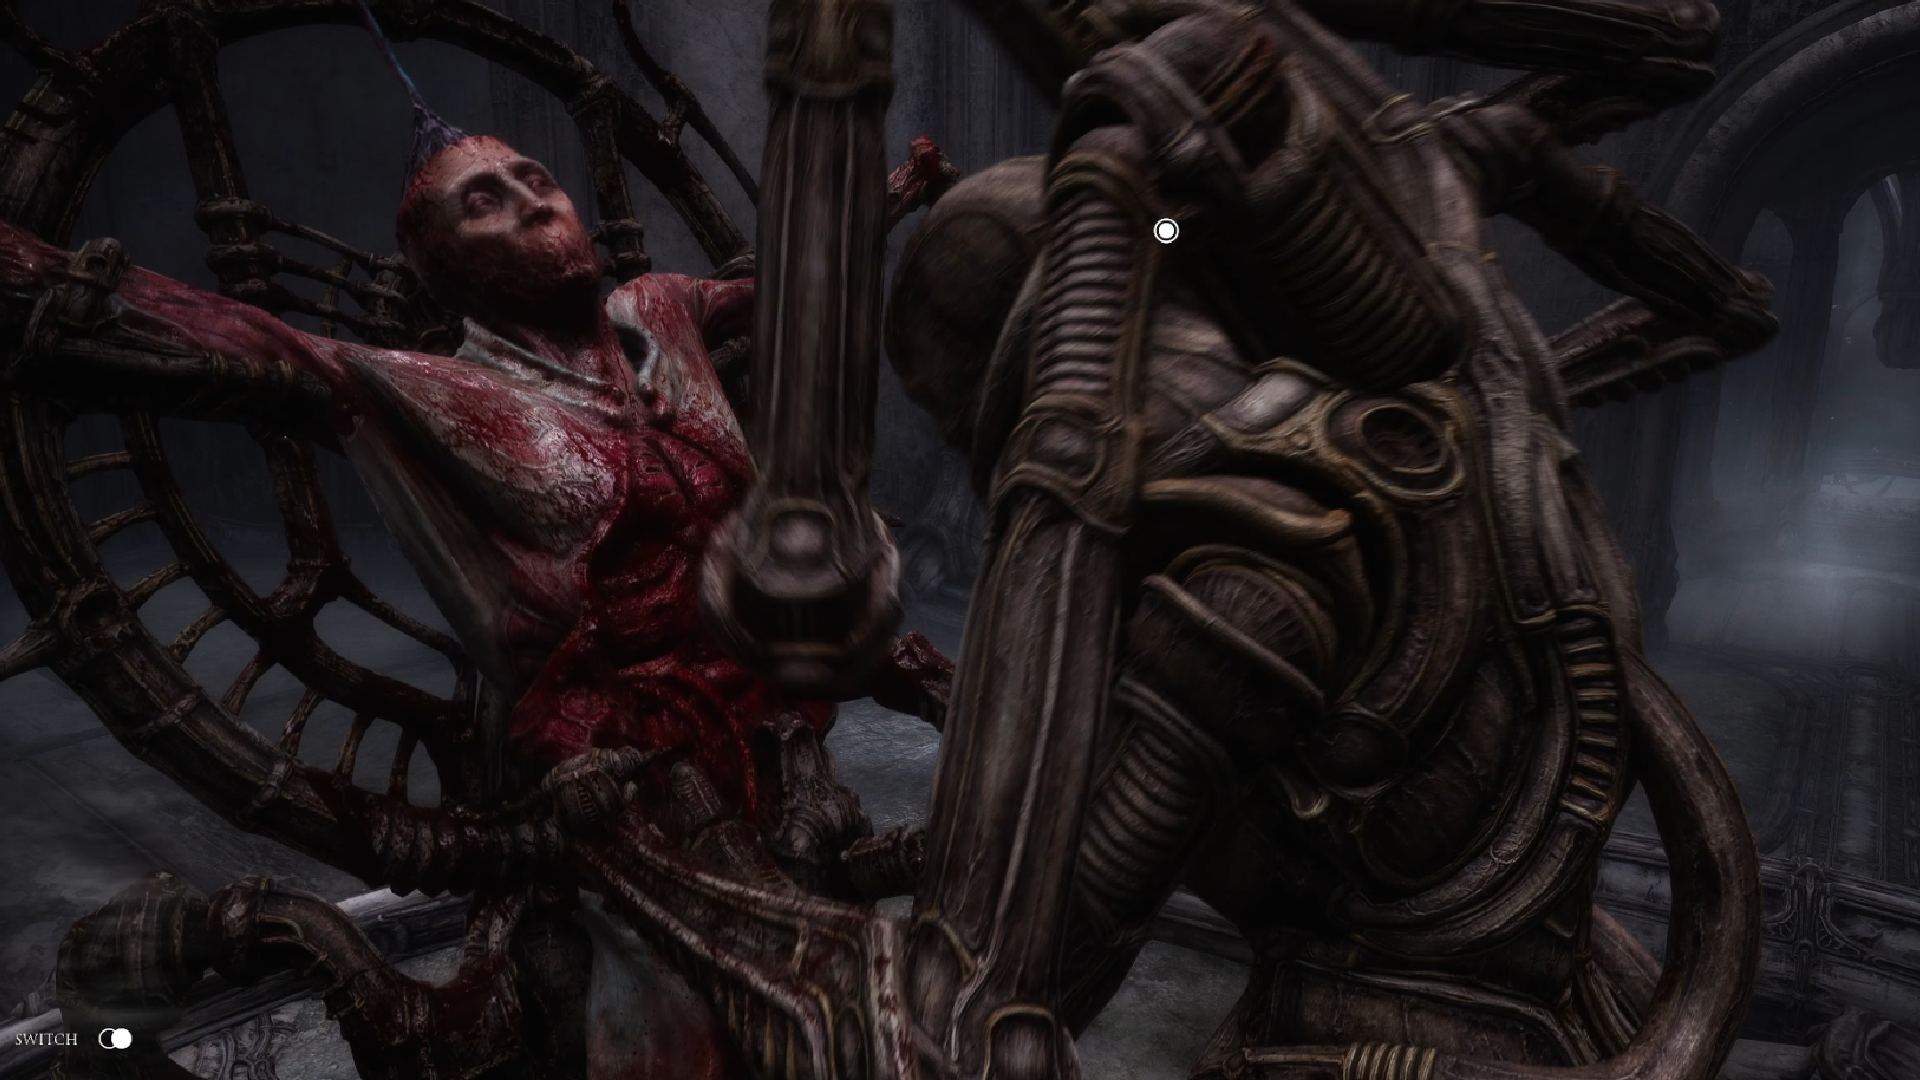
Jumping into Scorn? Well, it’s not an easy game – so you might find yourself on the wrong end of a few enemies. Don’t worry, though, with our Scorn walkthrough, we’ll be able to help you out. There are quite a few tricky tasks and challenging encounters in this game. So, we’re going to take you through every act of the game – and all the important features – with tips and tricks to make this as painless as possible.
Of course, that means there are spoilers ahead – but, it should be pretty obvious which parts are spoilers and which aren’t. If you’re worried though, it might be worth just searching through the following for the specific term you need. Sometimes, games are best enjoyed without outside influence. But, sometimes, you do need a helping hand – and you’re not alone in that.
Scorn walkthrough guide
Let’s get stuck in, shall we? Below, you can find a walkthrough for each of the chapters in Scorn:
Scorn Act I-I walkthrough
Upon waking up at the beginning of the game you will see a door in front of you that cannot be opened. As such, follow the corridor around until you get to the large hall with the pillar in the middle. Take the ramp down to reach the ground floor level and squeeze through the door.
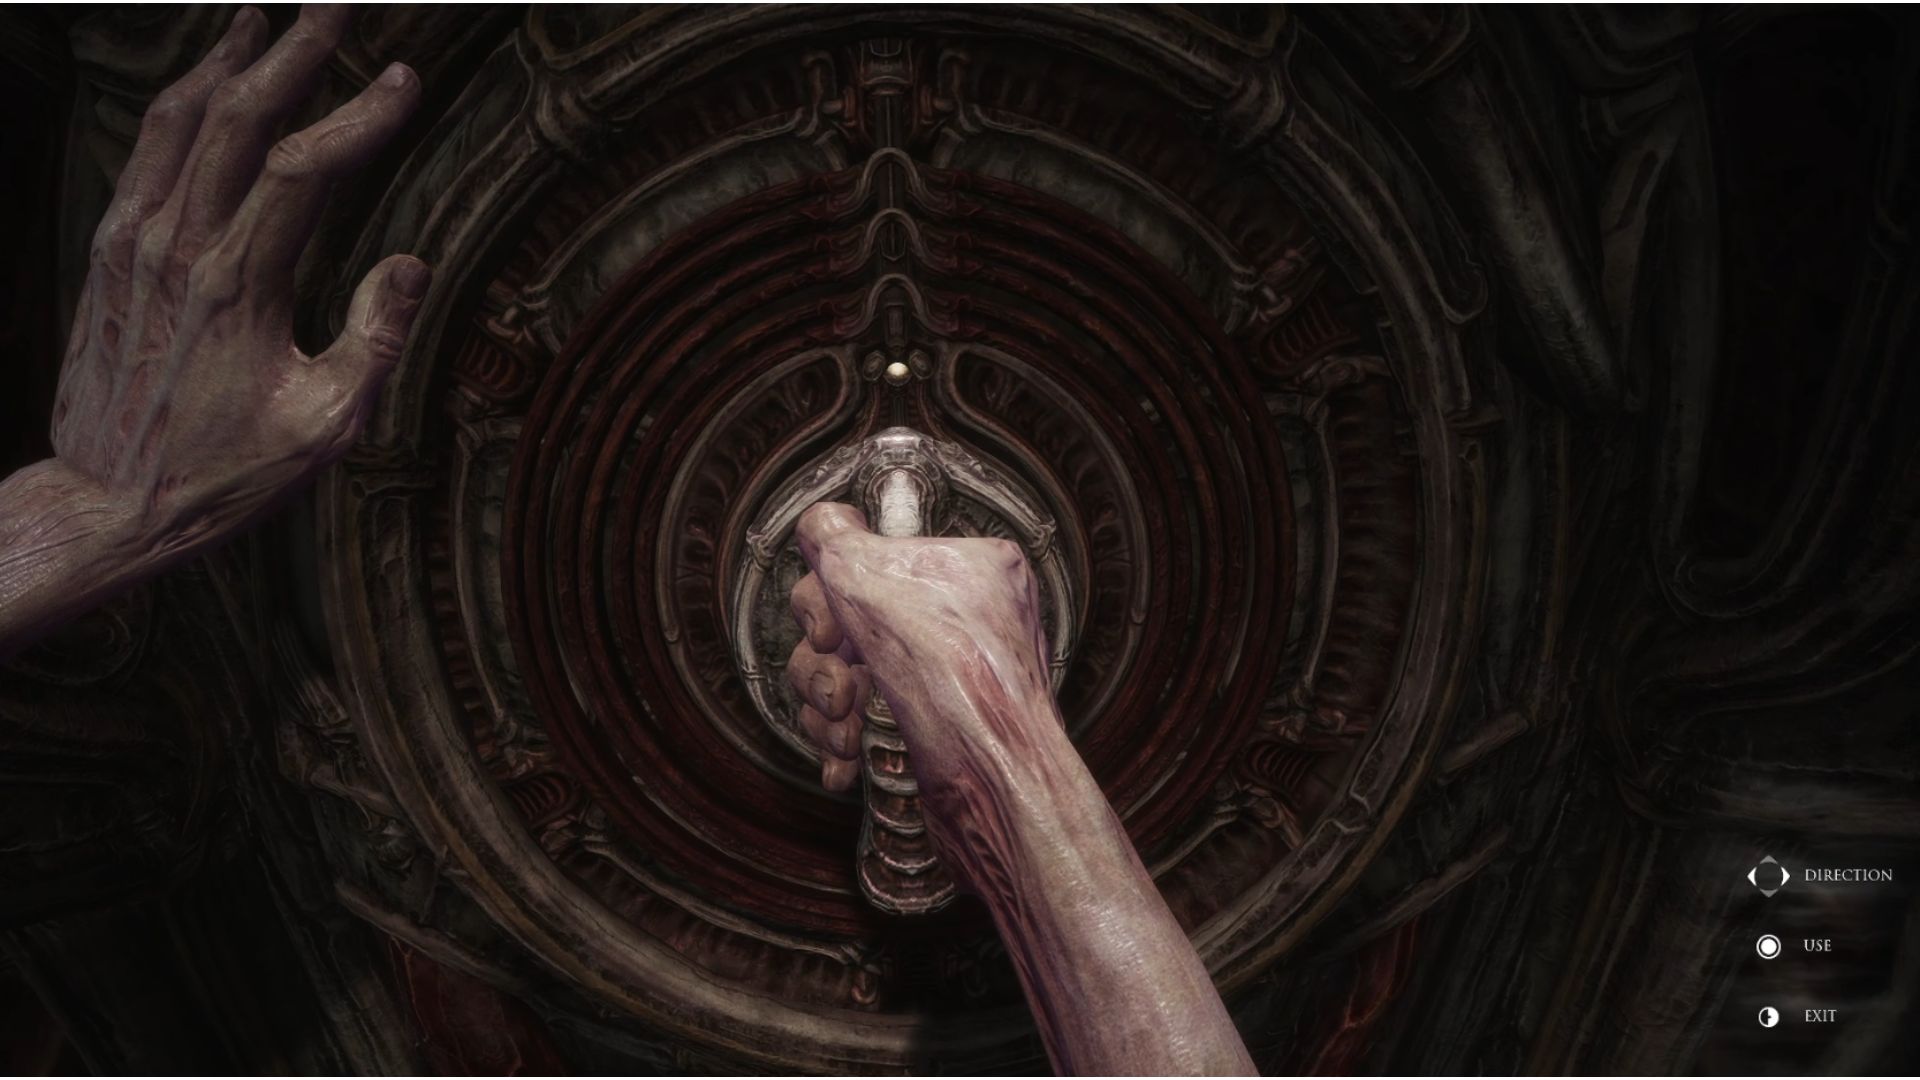
To your left, you will find a small pipe you can put your hand into. This will graft a key onto your arm effectively, allowing you to open a number of doors.
With that key now permanently attached to your arm, interact with the console in the centre of the room and unlock the door by looking at the lock on the left of the main door ahead. Interact to unlock it and then interact with the rotating wheel on the right to pull the door back.
Quickly, unplug yourself from the console and run through the door before it shuts. You will now enter the large hall you previously saw from above.
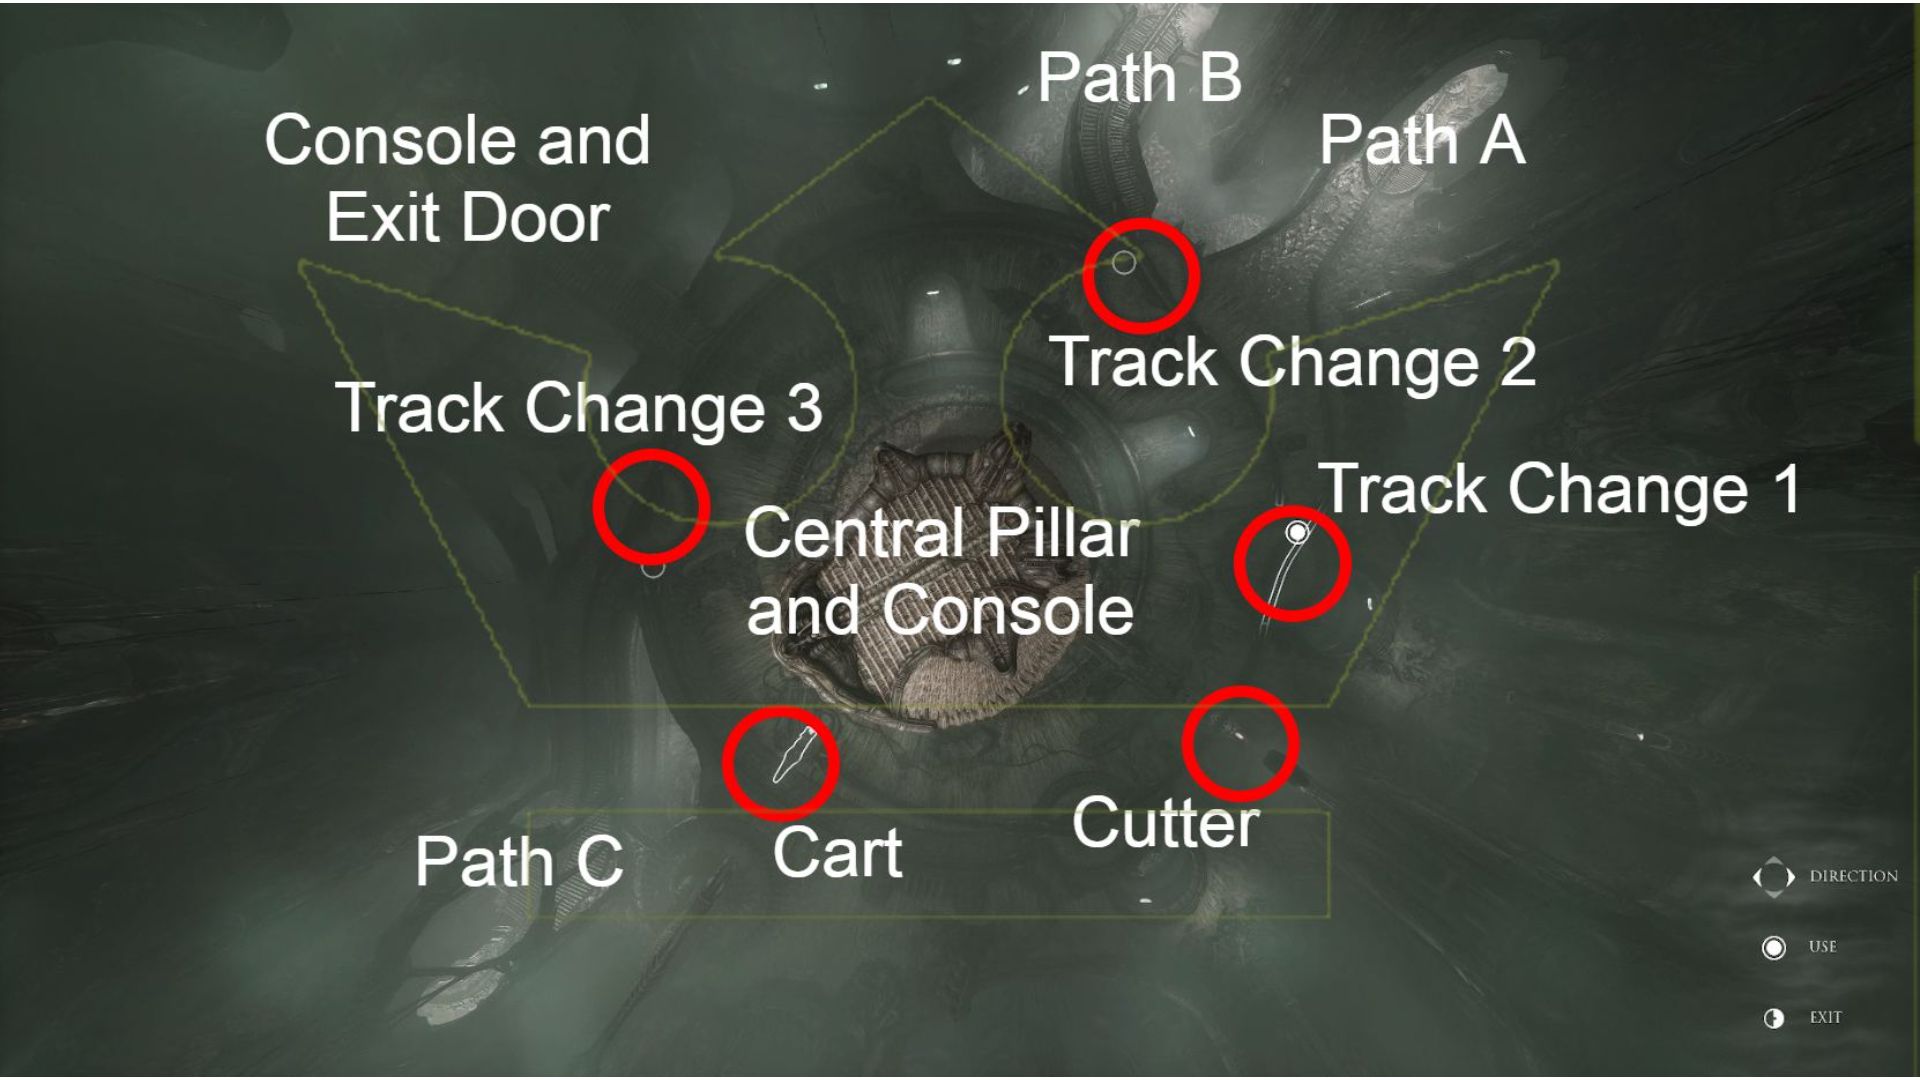
This hall is a windy mess of passages and corridors, so we have made a nice top-down map to show you the three main pathways, as well as some key interactive spots in the room.
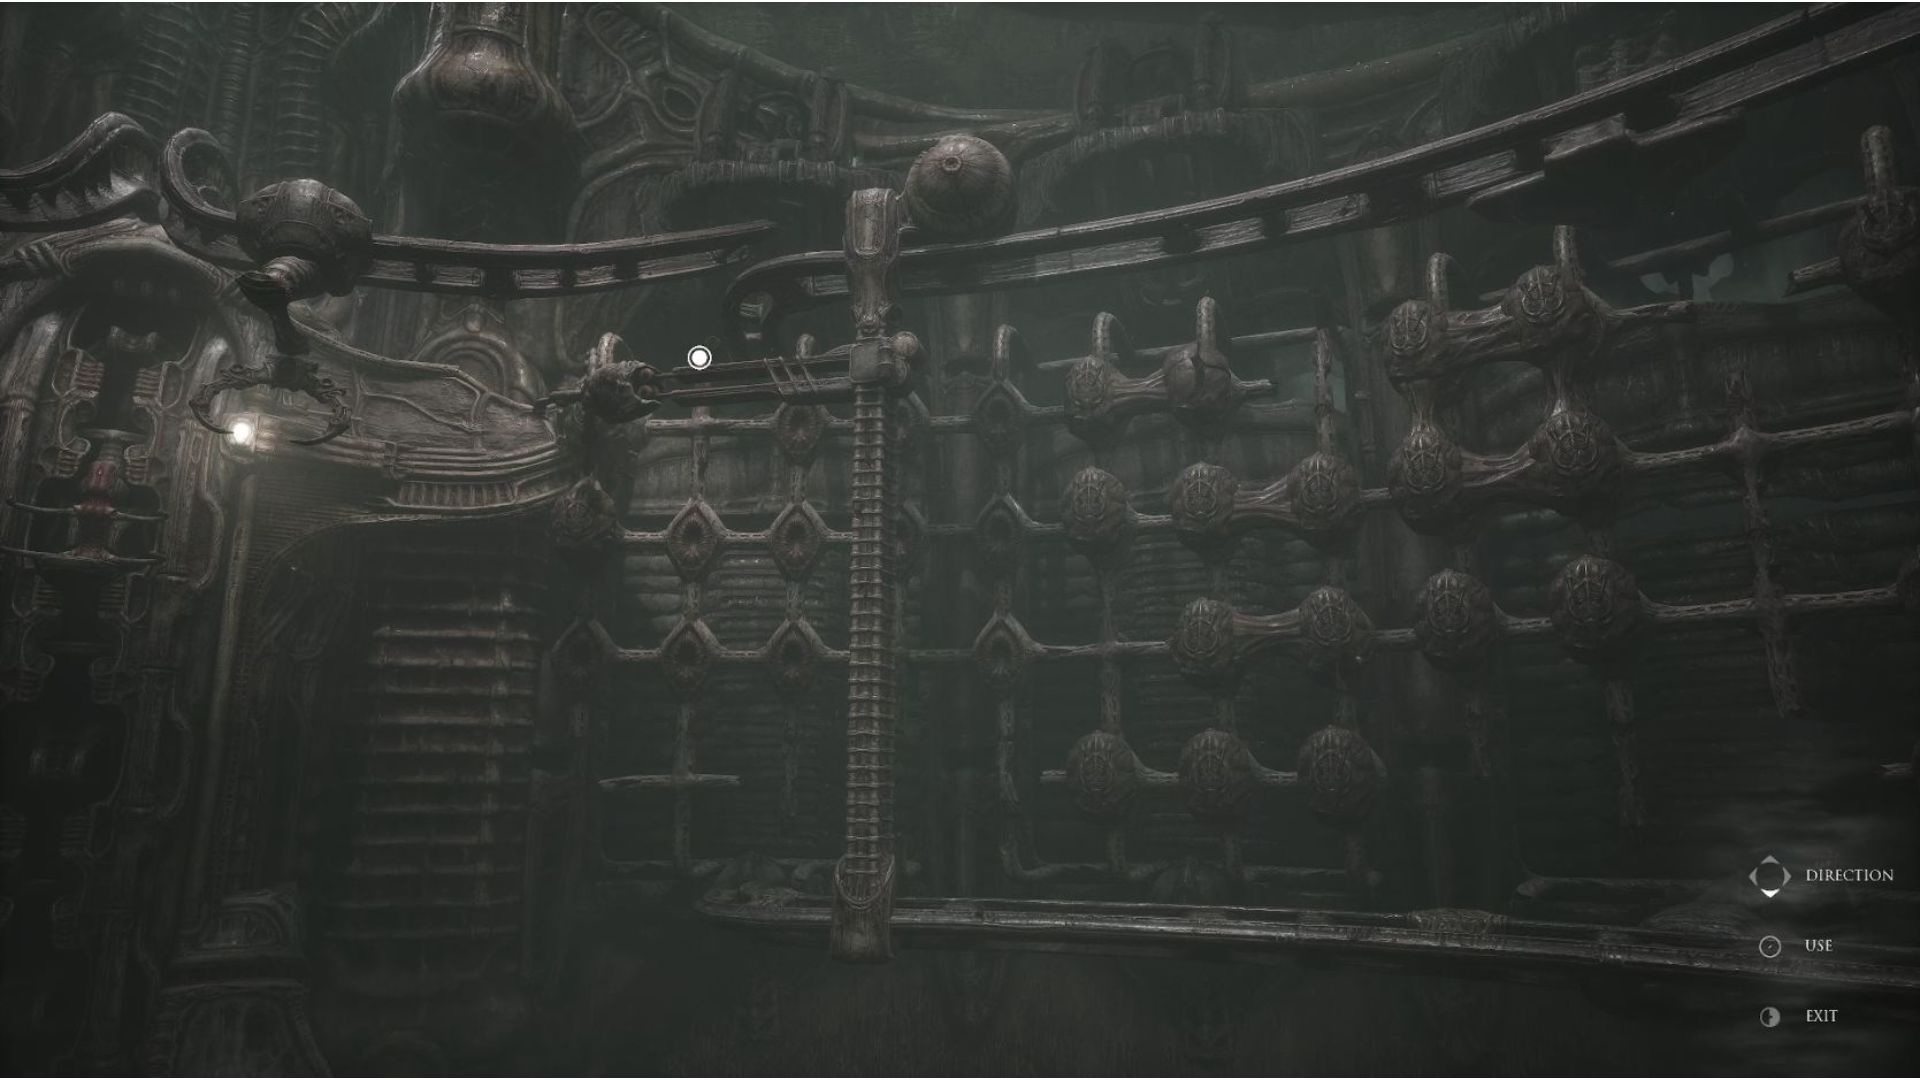
In order to solve this puzzle, you are going to need to head down path B. Path A can be practically ignored because that is where you came in. So, head down path B and you will find an elevator you can use. Once at the top, you will find two consoles straight ahead, as well as a large wall with eggs on it.
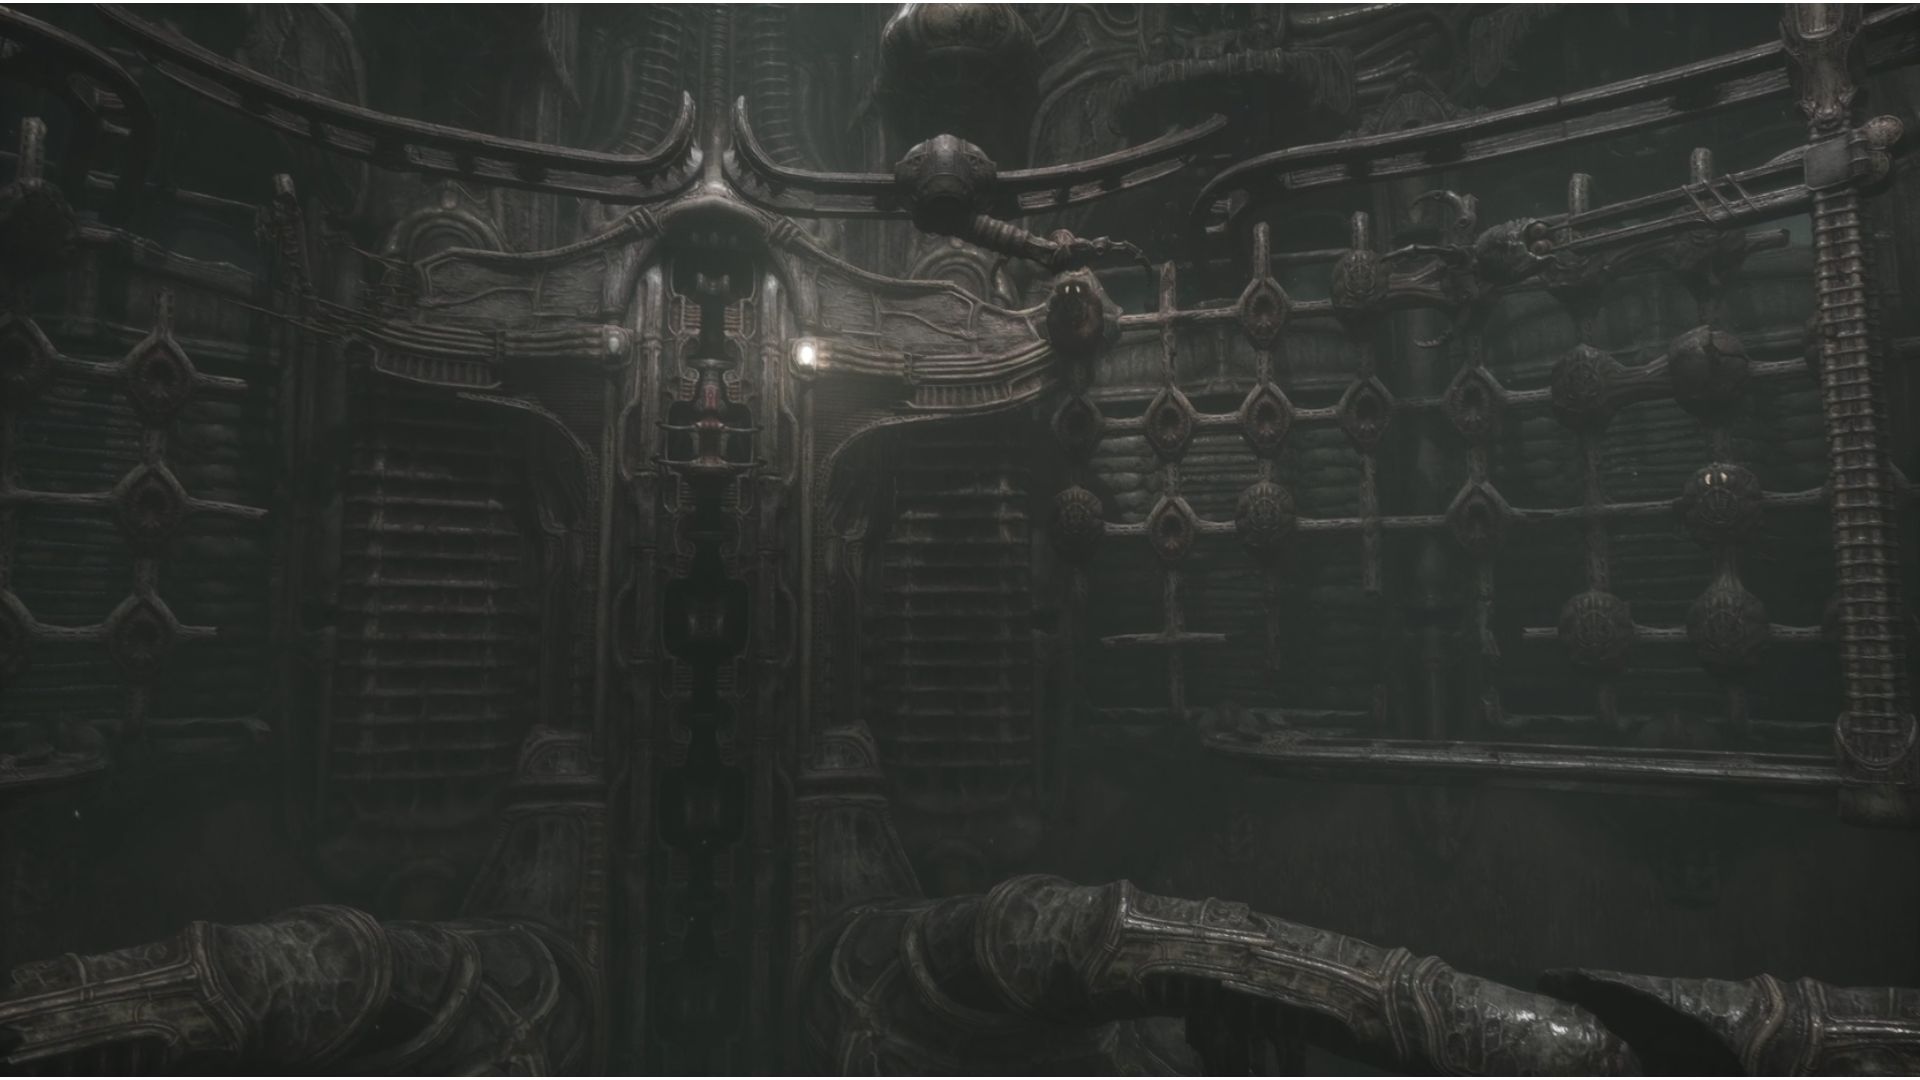
The central console controls the grabber for the main conveyor belt in the middle of the wall, while the right console controls a grabber which moves the clusters of eggs about.
Use the right console first and you will see that you can interact with the eggs and pull and drag them along the rails on the wall. But, some are single eggs, and others are tied in clusters of two or three.
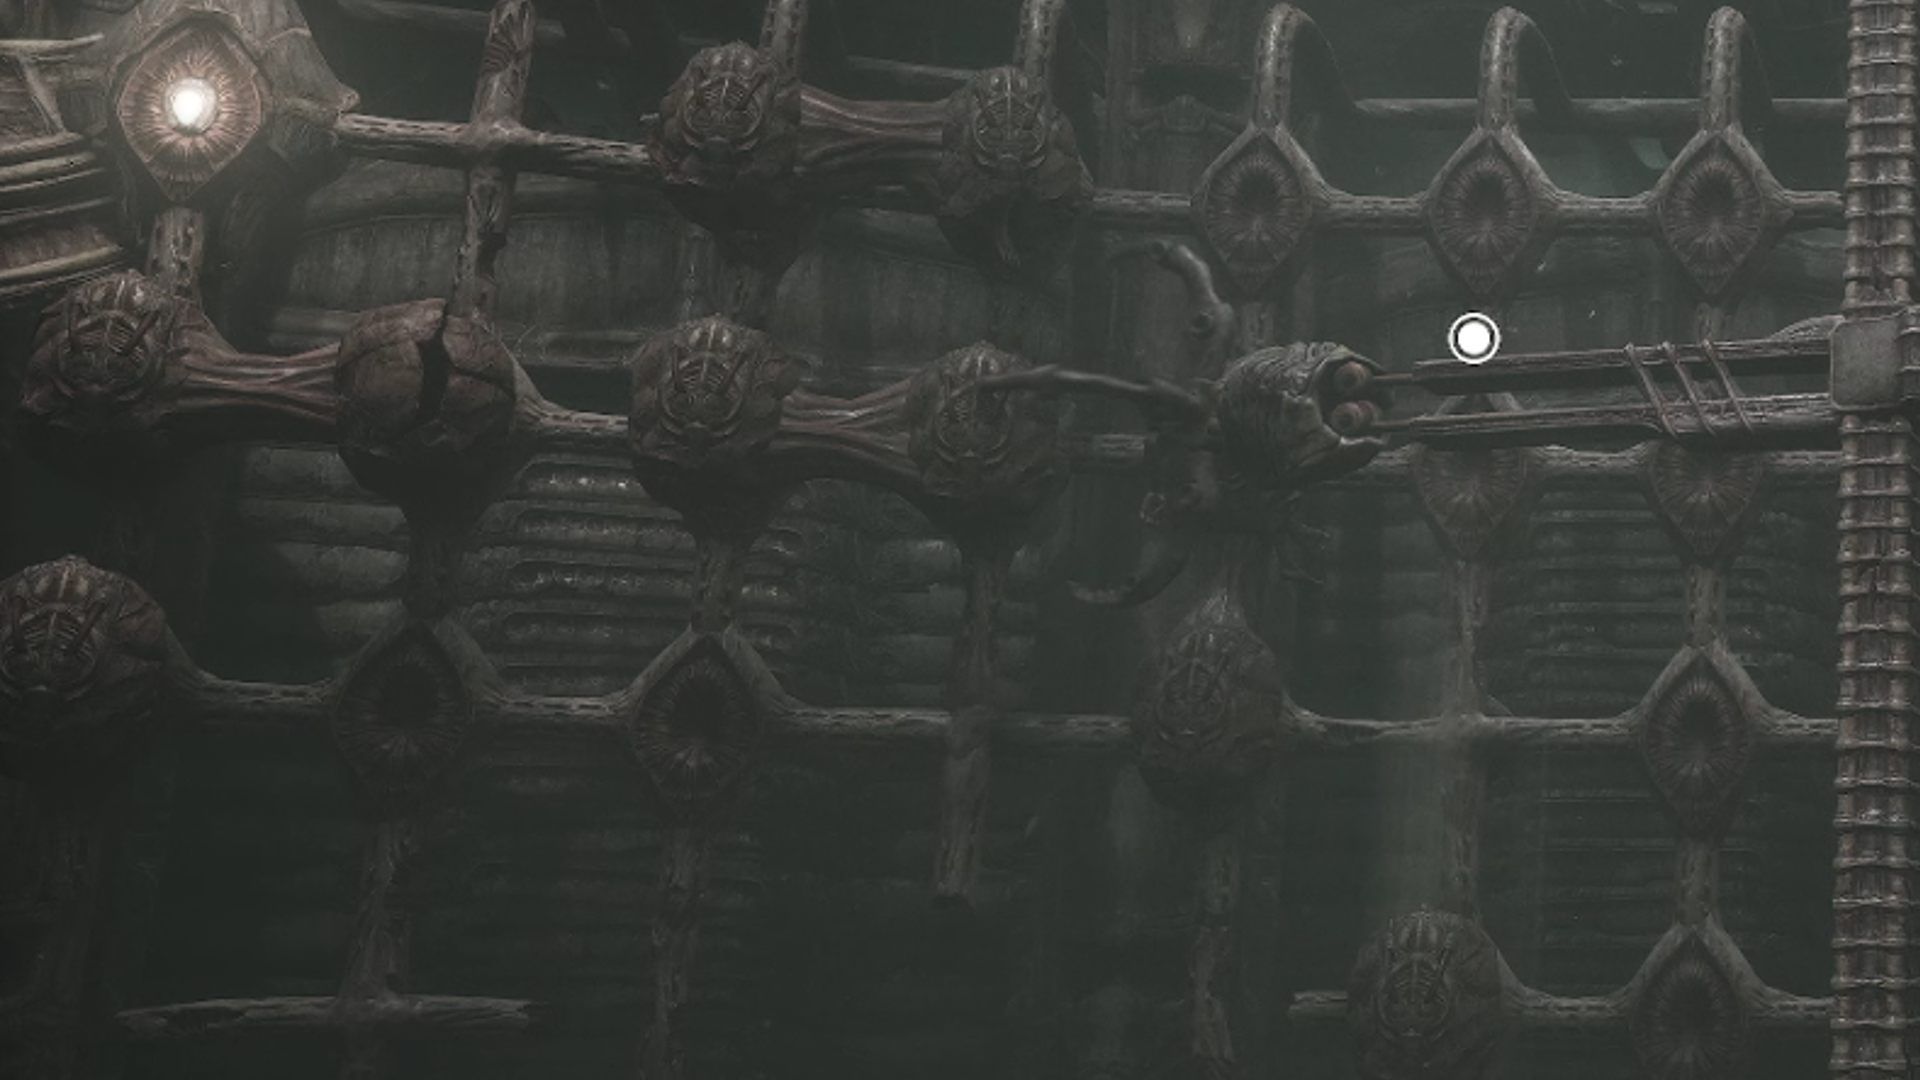
Two of the eggs on the wall have lights on them, this shows they are alive. In the middle rail horizontally, you want to grab the set of two eggs that are dead (have no light) and drag them along to the right. Then you can move the egg in the third horizontal row, five columns along, up to the top left corner. Interact with the central machine to destroy it as it is picked up.
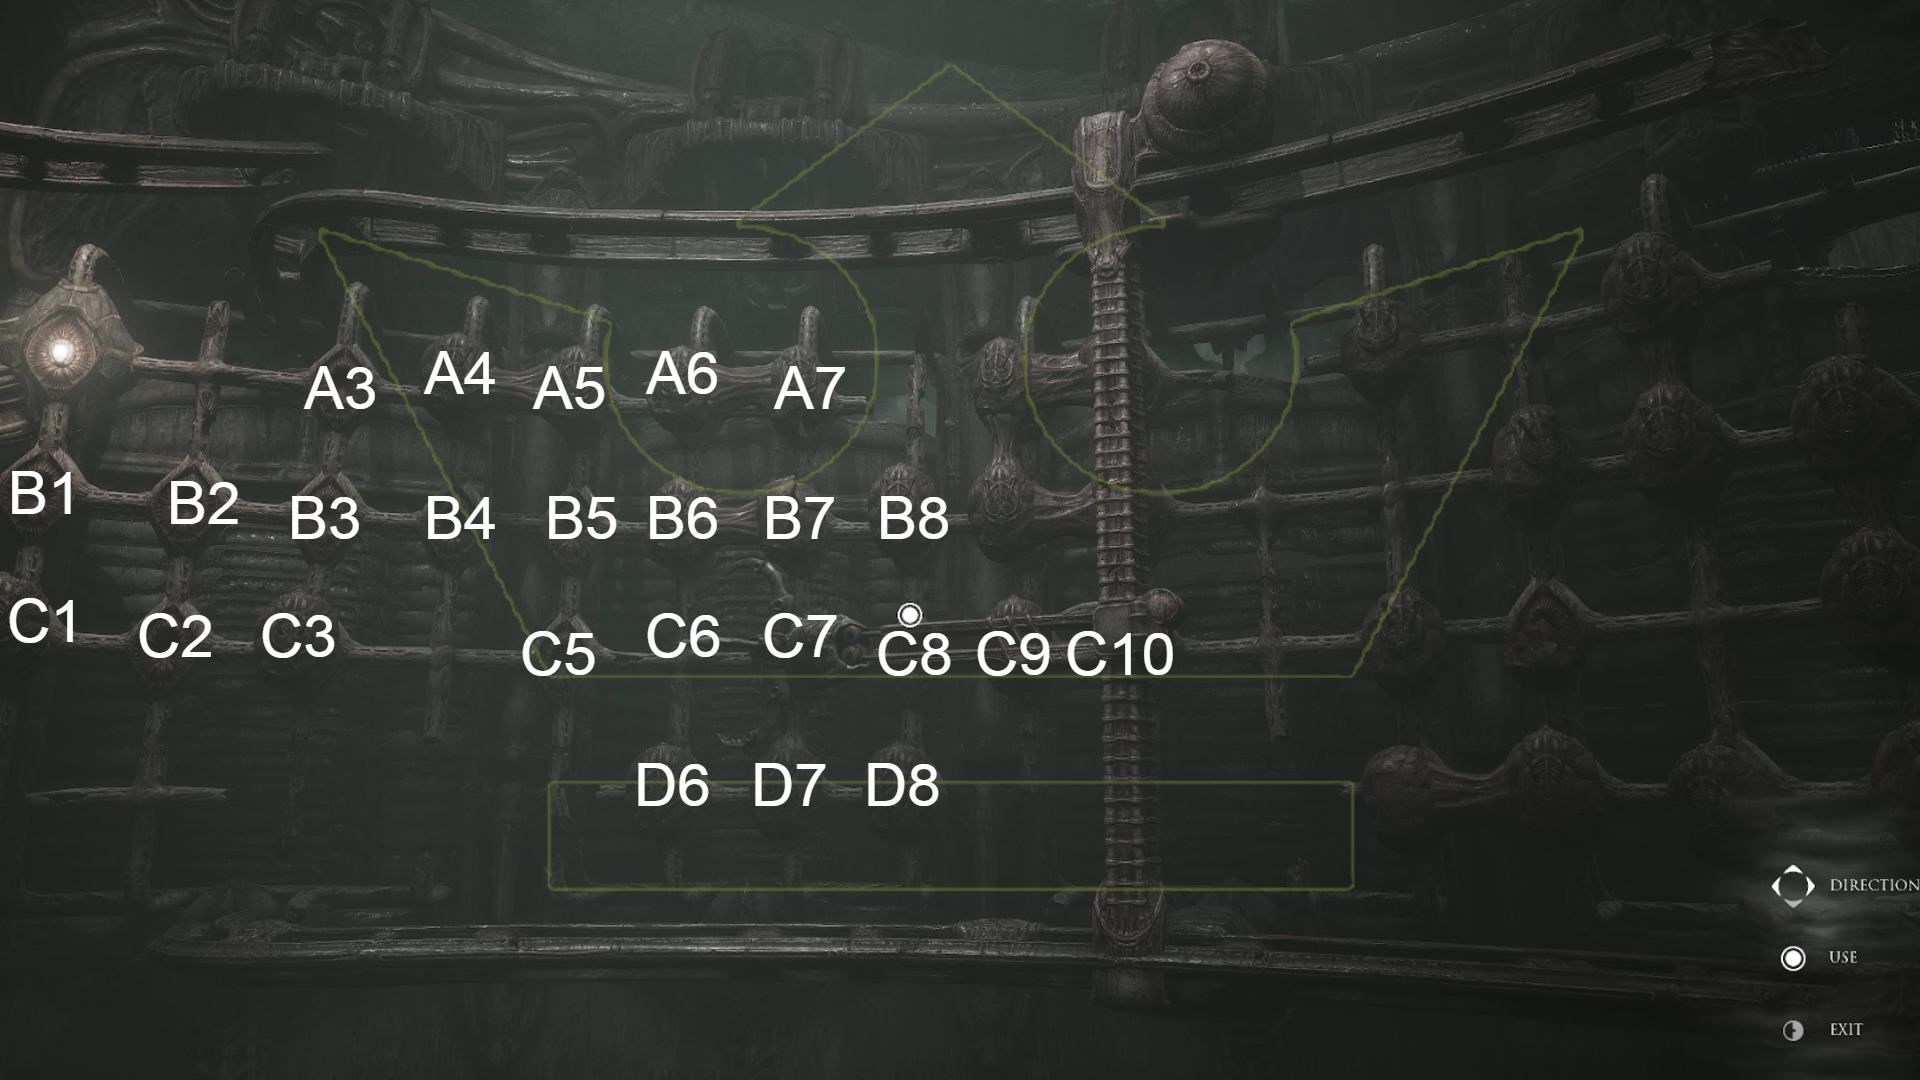
While this didn’t work, it does allow us to get that egg off the board and better manoeuvre the rest of the dead eggs. Below, you can find a grid to help with the solution to moving the one alive egg to the top left corner of the rails. This grid shows different cell numbers for each spot on the rails.
To begin with, move the egg from B8 to C8, followed by moving B5 to B1. From there, move C3 to B8. Then, shift C9 along one to C10. Move D8 to C9 and then B8 to D7. From there shift C7 up to B7. Lower A4 to B3 and move A6 to A3. To cap off the initial placement of the eggs, then move B7 up (which should be the lit egg) and then down again from B7 to B5.
Following that, shift A4 along to A7 and then down to C8. Take B3 and lift it up and then down again to B8. From there, move the egg in C1 up and fill in the single gap in B6. Finally, move C3 to A7 and you can then move B5 up and then down again and up to the lit-up cell. The final image should look like this.
Use the middle console and you will see that you have given birth to well, a creature. It will head back down to the original room so take the elevator back down and head over to the console by the cart in this image.
Interact with it to have the large machine pull the creature down and then interact with it again to place it in the cart in front of you. Push it to the cutter and then interact with this console to do whatever it is this torture device does.
From here, you want to head up the ramp of the central pillar and interact with the large orb console up here. This will take you to the bird’s eye view for the map and you want to make sure Track Change 1 is aligned away from Path A and Track Change 2 leads into Path B.
From there, head back down and push the cart all the way to the end of the track in the next room.
In this room, alongside the large scooping device, you will find two consoles. Interact with the larger one at the back to pick up the creature and drag him all the way behind the large machine in the centre. Then interact with the creature again using this console to have him be dropped into the seat.
From there, use the smaller console to have the scooper kill the creature while it is in excruciating pain which I can only imagine feels like having your skin sliced away from your body from head to toe. Left behind, you will find the creature’s arm, which is needed to open the large door in this room so be sure to pick it up.
But, before we can do that we need to graft the key onto the creature’s arm. So, in order to do this head down Path C in the image above and you will find another one of those tubes, just opposite the large torture machine in this set of corridors. Stick the hand in and you’ve got yourself a second key!
Head to the main door and consoles in the large hall and stick the creature’s hand in the left console to release the lock. This allows you to then use the right console and open the door. Congratulations! You are free! Well, sort of.
Scorn Act I-II walkthrough
Now that you have made it through, you have a long journey until you are free from Scorn’s disgusting hellscape. So, why not ride the elevator up and see what is next?
From the top of the elevator, you will see a large square hall with two doorways on either side. Before going through those doorways, head straight ahead and you will find a lowered cylindrical weapons cabinet that will raise when you get near it. Here you can find your first weapon a poker-type thing. Grab it, yank its umbilical cord out and continue through the doorway on the left from where you were looking when you exited the elevator.
Just past the doorway, before the fleshy pillars, you will find a small slot you can put your gun in that will cause the barriers to release and these circular white floating pods to float around on this side of the map. The large core will also be carried over to the central column, which you saw when you grabbed the gun.
On your way to the pillar, you can destroy the fleshy creatures with your poker weapon. But, it isn’t necessary.
Next, head over to the opposite side of the hall, past another set of fleshy pillars and repeat this sequence of events. The same thing will happen.
Now, head back to the central tower in the area. Use the central console and you will see an incubator drone-like thing fly up. You can control this and manoeuvre it to the core in the centre, right, or left of you. Interact when the incubator is above it to then have it pick it up. From there, fly it up into one of the holes in the large tower. Interact again to impregnate that spot on the tower. Then, interact with the newly opened fleshy console to fully lock it in.
Repeat this two more times for the other spots higher in the tower, using the other cores, and you will see the large metal grates lifting to the outside. Once all three core pods (whatever they are) are in the tower the tower will burst and you will be overcome by its white fluid. Yep.
Scorn Act II-I walkthrough
Moving on from that, you will need to find your way back. But after being spat out of the inner bowls of the large fortress-like structure, after a brief intermittent scene where you literally pull out your own umbilical cord and birth yourself, you will be in a very different barren landscape.
From here your goal is to make your way back to a structure. Thankfully, although this section of the game looks rather open, it is actually incredibly linear. So, pass the fleshy piles of bones and skin and follow the winding path, until you reach a large circular structure on the right.
Walk under it and continue forward, the black dirt in the sand will guide you. Continue under a second large structure and then take a right once you get close to the large tall building ahead. Follow the path around the back of the building and you will see an entranceway with a light.
Head down this path and follow the lights until your need to do a 180 turn and head up into the building via the path next to you. As you enter the narrow corridor you will see a creature’s tail. Head through the gap in the grate and you will see this creature crawling about on the ceiling before going through the doorway you need to go through.
Scorn Act II-II walkthrough
After heading into the corridor where the creature was, you will see it slither away. Walk around the long arched pathway and to your left you will see a path with a number of eggs and a console. But, you can’t interact with this yet, so instead walk directly ahead towards the door. Opposite it, you will see a dead body with an item you can pick up.
Grab it as we will need it to solve the puzzle related to the eggs. Just next to where the body is, you will find a big hole you can put that cylindrical key you just picked up into. This will open up a puzzle where you have to connect the outer moving point in the circle to the multiple circles surrounding the key.
If you turn the key you will see the point on the outer ring turns. This is the core of collecting discs for the key, so you can solve that puzzle with the eggs. Each of these consoles has six slots the outer point can move into. So, going clockwise, to solve this one you need to move the outer point to point slot 5, then slot 3, then slot 2, and then finally slot 1.
Now, you can’t open the door behind you as you don’t have the key yet, so instead head back to the room with the eggs. With this key, slot it into the device on the left of the main console to open one of the side gates. One of the eggs will drop, but you can’t actually interact with it yet until later. So, ignore it for now.
Head through the opening and use the elevator to go up a level. Walk around and head down the path where the creature is. Then, take a right and head up the large spine-like tube. At the end of the tube, you will see a large pit with three connecting similar paths above it, in addition to a console on your right. Interact with the console and then look at the different pathways to choose which one you want to go through. Interact again to have a fleshy corridor form, connecting the two paths.
The first place we want to go is down the path on the left. At the top of this path, you will see multiple ways forward. First, take a right and interact with the key
Now, look opposite and you will see a console and a dead body. Interact with the console and put the key in. This puzzle is a little different as the rings inside are now moving on their own. So, you need to watch where they align with an outer ring slot and move the outer point to that slot. The solution is to move it to slot 5, then slot 2, and then slot 6, before moving it to the first slot.
Next, head back down, using the console where you can create a corridor, and connect this pathway to the one which is now on your left.
Head through the tube and you will see a large fan. But, before we can go past it, we need to stop it. To do this, head up the first ramp and through the small alley between the two ramps. Upon going through, head to your left and disconnect the three cords powering the fan.
Once disconnected, make your way back and you will get attacked by the creature you have been avoiding. This parasitic creature will burrow itself into you and drain your health every now and again for the entire time it is on you. And, spoilers, its a very long time. But, he does give you your weapon back.
So, with that weapon, head back and go down to the fan you stopped. Make your way through and you will find a console to interact with for another part of your key at the top of the ramp. The solution for this one is slot 5, then slot 1, slot 3, and then finally slot 1 again.
After getting that key, head down the elevator next to you and you will see another tube which you can graft a spike onto your hand, which is needed for the main puzzle. So, suffer through the process and grab it while you are here. Then, use the console just past it to open the gates to get back to where you were when you picked up the main cylindrical key.
With the small spike grafted onto you, head back to the central room with the eggs and up the elevator to get to the room with the fleshy corridors you can create. Connect to the path on the left, and then turn to the left at the top to use the console we couldn’t use previously. Move the dead body out of the way first though.
With this console, you can cause the big brain thing in the middle to spew acid on one of the paths. So, direct it to spew acid on the path northeast of where you are centred, as this path has been blocked by bodies. This acid will decompose the bodies and allow you to get through. Connect the path up to the one you just sprayed acid on by going back downstairs and use the key on the console in front of you to get the last disc for the key.
The solution for this one is a lot harder as you have to listen for the click, given 50% of it is covered up. But, the answer is slot 2, then slot 3, then slot 5, and finally slot 1.
From there, you can take the path to your left in the fleshy corridor creator back to the room with the eggs and begin to solve that puzzle now you have the four discs for the key.
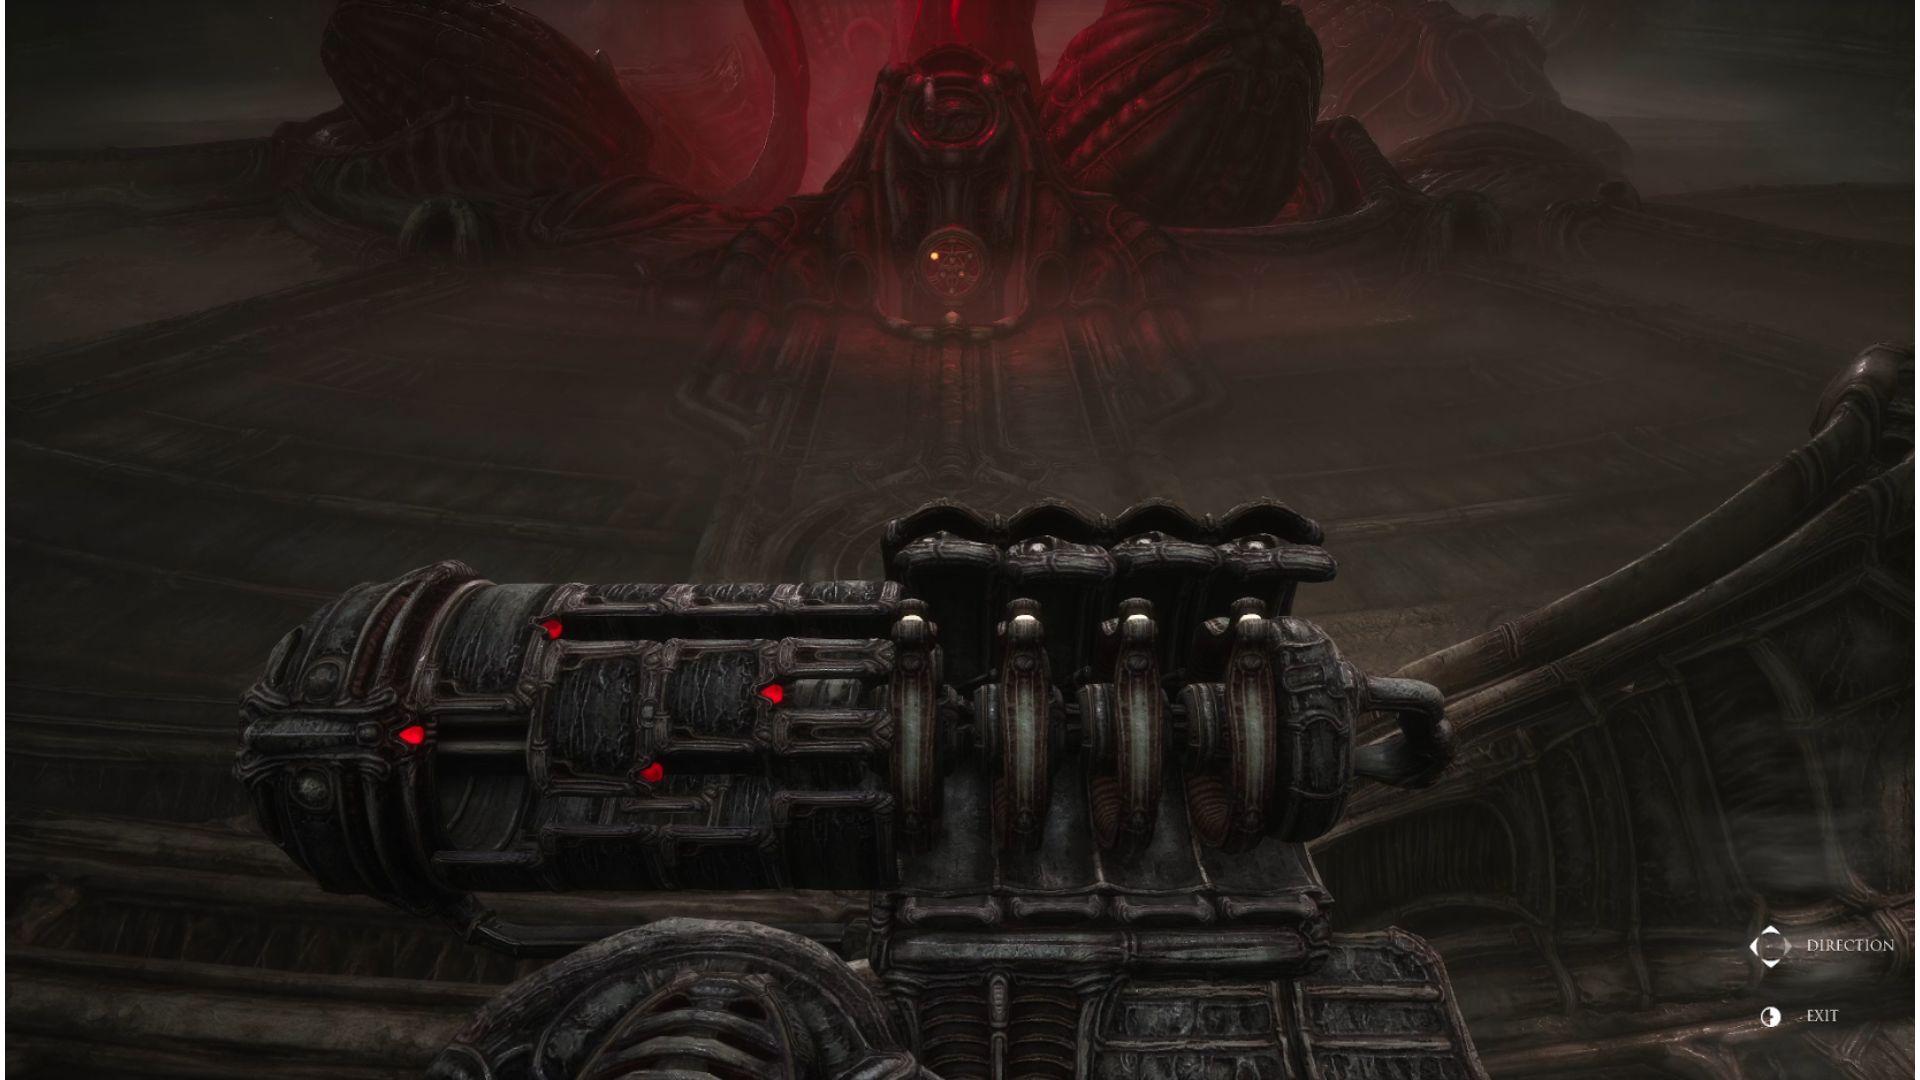
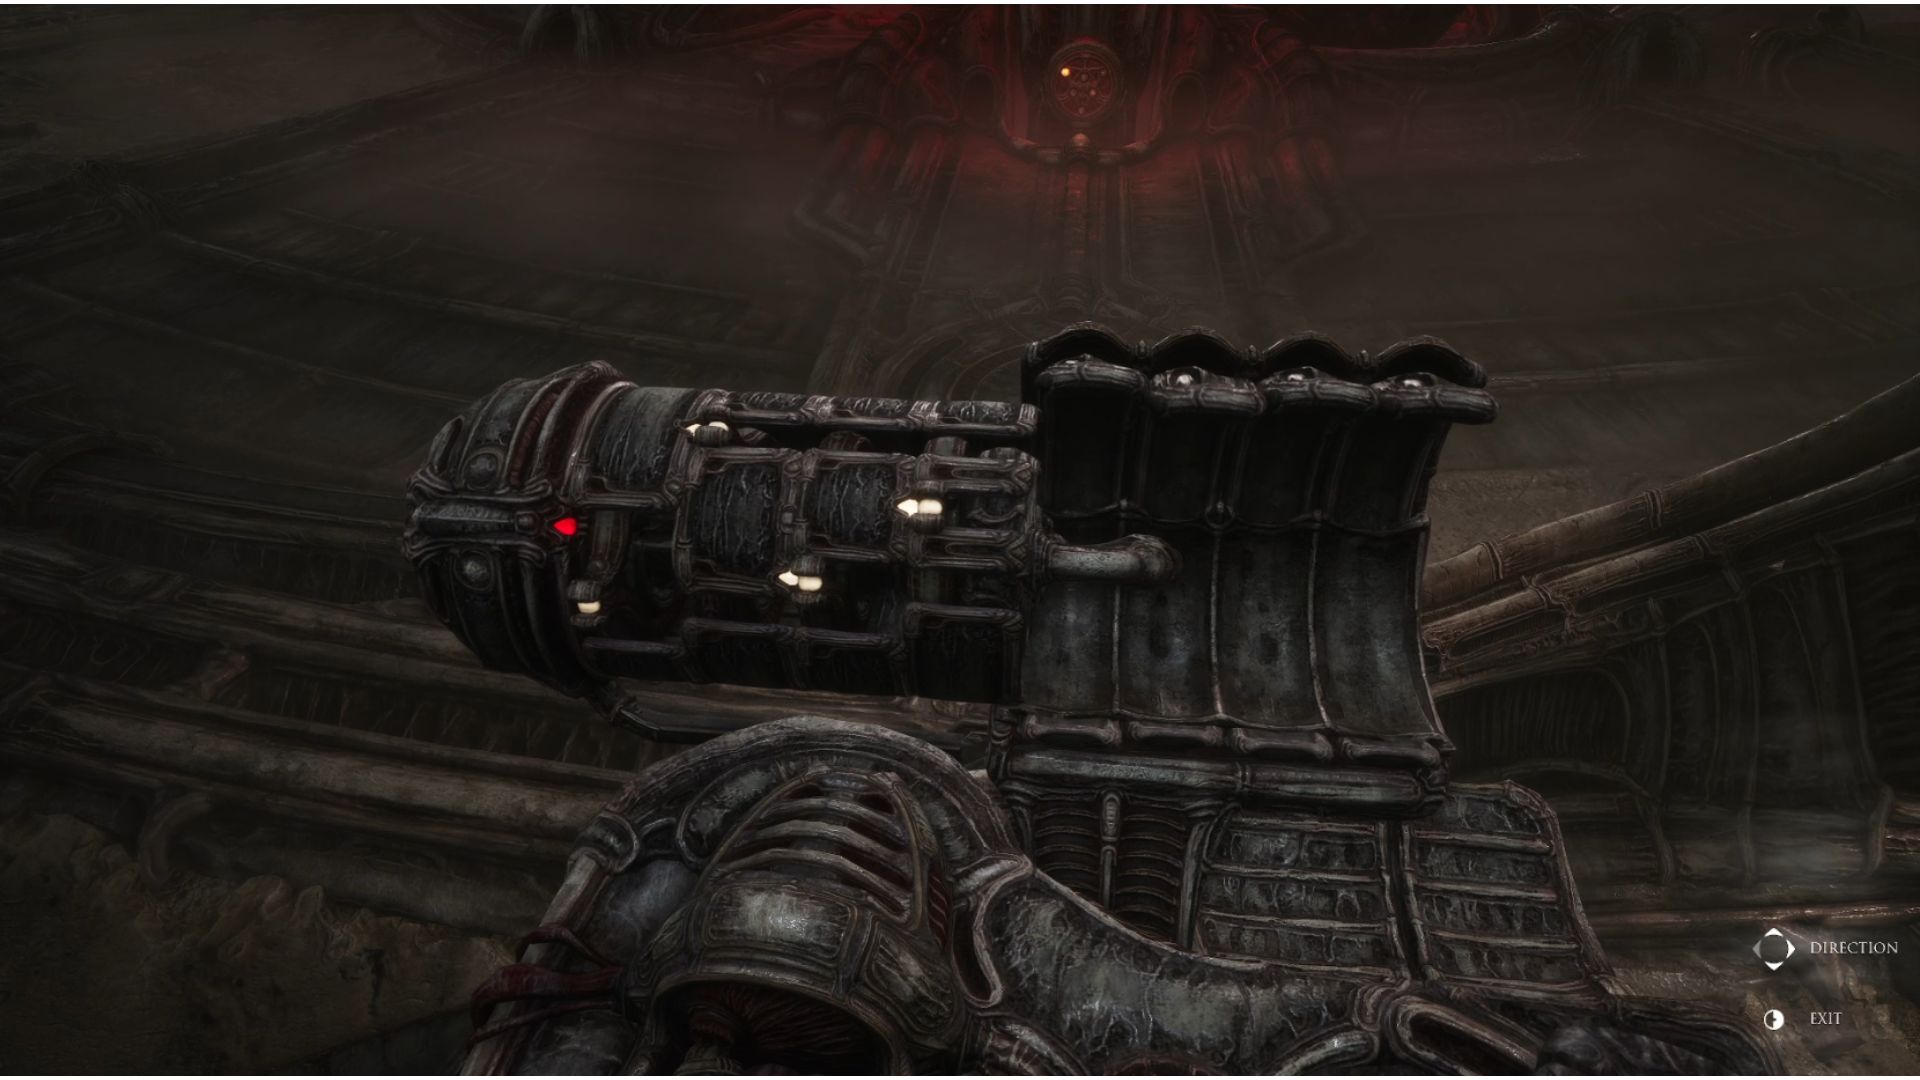
Insert the key into the device on your right to drop all four of the eggs. Now, use the console just next to it to see another puzzle involving the discs for that key. On your right, you will see four slots with red jewels. This is where the individual disc points need to go, which are on your right. But, the catch is all the discs are aligned perfectly, whereas the slots are not. So, you need to turn the discs one by one so they all eventually slot into place nicely.
The solution for this can actually be obtained through mere trial and error. But, you want to get it so the first and second discs are four turns away from one another. This can be done by putting the first disc into the shortest slot and then turning the rest upwards.
This will allow you to then turn the discs down, moving the first disc into the pathway at the bottom of the cylinder. Once in place, turn the discs down until the third disc fits in the path at the bottom. Once in, then turn the discs outside up until the last one fits in the shortest path. Finish by moving the discs up one more time to get the last one into place.
This will complete the puzzle and allow you to interact with the console by the eggs, pick up your key, your ammo holder, and your health regeneration creature.
A humanoid creature will emerge from one of the eggs, but he won’t last long, so now you can move on to the next part of the game and go through the locked door, next to where you originally picked up the key.
Follow the path through and to the right to find another door you can open. Head down the elevator and you will get damaged by the creature on your back. This is one of those scripted moments that will happen throughout the game. But, luckily opposite you is a health refill station, you can use to give you some healing charges.
Follow the path and go through the next door until you reach the large room from the start of the game. Return back to where you began, through the corridor on the right and use the key on the locked door. Use the elevator and continue onwards to the next part of the game.
Scorn ACT III walkthrough
In the first room of act 3 you will see a number of different paths to go down. But, to start, we want to head down the path to the right and then take a left when you reach the balcony. Down this path, you will find a machine that will upgrade your key to unlock higher-level doors.
After grabbing the upgrade, head back to the starting room and open the door on the left. In here you will find an enemy. Combat is hard in Scorn, and the general rule of thumb is to land a hit or two, run away, and then land another hit or two. But, for more help you can check out our combat tips guide which will take you through how to fight enemies in Scorn.
After killing the enemy, you can interact with the console to turn the large blades and head through to the next part of the area. Turn the next set of blades with the console in the next room to turn the blades once again, opening up the pathway above you.
Kill the enemy that spawns and head back through to the first console, interacting with it again to move the blades, so you can head along the balcony above you. Kill the enemies on your way back and head down the central path to reach the next room. Interact with the console in the centre of the platform to move the ball over to the bridge to jump onto it.
Continue forward, through the environment and down, killing the enemies on the way. Once down to the bottom of the area, take a right and go past the main platform you can move up and down. Head down the ramp on the other side to find a health regeneration station. Then, head back and head down the ramp at the other end of the coridoor.
Follow the path until you reach the console and use it to pull the giant ball up on the conveyor belt.
Kill the enemies and then head forward, using the health regenaration station on the way. Kill or run past most the enemies, and once you get through the multitude of coridoors and pathways, use the console to move the large ball along the conveyor belt again.
This will open up the pathway on the right and take you to another console, where you can interact with the ball to move it down and up. The first key is in this slot and you need to use the ball to get to the other path, on the level you are on. Once it rises back up, get on it and walk forward.
In this next section of the map, you will see a small side room which has a weapon rack. Here you can pick up a shotgun which is much more effective, but uses ammo. You can also find a number of enemies here who will ambush you before you pick it up or use the ammo station in the room. Once they are dead, and you have the shotgun, walk forwards to find a console with the first big puzzle in this chapter.
This puzzle is extremely complicated and asks you to turn the circles and connect the pipes so that they all link up and light up. But, the solution is to turn the bottom node three times, then the right node four times, the left node four times, the bottom node two times, the left node five times, and then the bottom node two times. This will complete the puzzle.
Completing this gives you the second key for the console which controls the blockades on the platforms beneath you. Head back through to that console, using the ball and then insert it to remove the middle level blockade. Use the moving ball again to go through the open path on that middle level
Continue onwards, following the path and killing or running away from the enemies in front of you.
The solution for this one is turn the bottom node three times, the left node three times, the top node once, the right node three times, the bottom node once, the top node once, the left node once, the right node three times, the bottom node three times, and then the top node three times. This will solve the puzzle and let you get the final key.
Make your way back and kill the enemies on the way. Put the key into the final slot in the console to remove the blockade on the lowest level. Head back down, using the ball and you will return to where you first started. Head up the ramp to your left when you reach the large claw, and then take a right to find a console. Interact with this console to move the ball from the conveyor belt to the main rail that will take the ball to the moving platform in the middle of the room.
From there, use the smaller console at the far back of that moving middle platform to control the claw and pick the sphere up.
Next, use the console in front of that one to raise the platform, before returning back to this console to control the claw and move it to the other claw. This will then connect it to the rail, which you can control with the console just off to your right, off the moving platform.
Once the ball has been moved, return to the moving patform, where the ball is placed and step into it to be transported to the next part of this act.
One through, look to your right to find an ammo station, before continuing forward and down. Walk along the outer balcony and kill the enemies, before interacting with gate lock in front of you. This will lower the gate on one side of you, but open the other one.
Head through, to the opposite side of this large room and kill the large charging creature which will ambush you. The best way to kill him is with your shotgun, so make sure you have some bullets. Continue onwards and into the next circular room, interacting with the gate control device here.
Continue onwards and then use the elevator which can be found in one of the corners on the outer platforms. Up here, look to the balcony to your right and interact with the console to move the fanblade, opening up a new path beneath you.
Head down and progress through that path, killing the couple of enemies who spawn. Or running past them if they are too frustraing. Use the console next to the gate, to find a ammo station and a machine that will upgrade your key. From there, head all the way back to the elevator and go up it. Look to your left to find a door, which you can now open with that upgraded key.
In the next room you can find a health regen station. Use the ball to continue onwards and get lowered to the next combat section of the act.
To start off with, kill the enemies in the path ahead of you to give you some room to loop around for the tougher enemies. Then, head back to where you hopped off the ball and take the path around to the right. But, move slowly as a small creature and a large one can be found here. You can either kill them by playing cat-and-mouse or loop around and progress, leaving them behind you.
At the end, you will find an elevator which will take you down to the start of the next act of the game.
Scorn Act IV walkthrough
At the start of the act, you will walk down a small ramp. On your left, you can find a few enemies and a ammo station. There are a lot of enemies here so you need to play slow and kill one enemy at a time. Once all the enemies are dead, walk down the right pathway.
A few more enemies will spawn on your way back, so you can kill them or run past them. Eventually, you will see two pathways. Head up the ramp and interact with the console. This will cause a large platform to tear through the creature above you.
Exit the console and head down to that pathway, interacting with the switch down here to move the large pillar with a puzzle on it up to the top level. Just to your right you can find another pathway, leading forward. This next section has around a half-a-dozen enemies. So, if you want to fight, you should make use of your probing weapon and kill them one by one, backtracking so that they stop following you and the heading back for a surprise hit or two.
Keep repeating that, or just sprint past everything and up to the main structure in this act. Either works, and you won’t be returning here so the enemies won’t be a nuisance if you leave them.
From there, you want to head up the ramp on your left and use the console and health station at the end of the path. Using the console will lower another of the pathways that lead to where you can raise one of the puzzle pillars.
After using that one, turn around and kill the two enemies who spawn. You will revisit this area, so its worth killing them. Then, head down the main coriddor in-between the two ramps and you will see the pillar your raised below. But, you can’t solve this puzzle yet as you need to raise two more. So, instead look behind it and go down the next coridoor.
Directly ahead, you can find an ammo station and a weapon rack, which holds a more powerful shotgun. Grab it, and then head down the coridoor on your left. There will be a large four-legged creature here. But, if you use your new shotgun it will die in two shots. Continue on and up the elevator.
Kill the flying creature here and the second enemy which spawns and then head up the path to your right. Continue forward and kill the second big four-legged monster, as well as the two subsequent enemies that spawn. Remember to run away if you need to as you can get surrounded quite easily.
Once they are dead, upgrade your key with the machine on the upper level and then open the door beneath you. Head down to your left and you will see that you are right by where you use the last console to lower the path.
Head down the ramp, back to the main hall and look beneath the ramp you just went down. Here you will see a gate which can now be opened with your upgraded key. Cotninue through and look to your right to find the path which leads down to the second puzzle pillar.
Finally, to get the last puzzle pillar, head back down to where you grabbed the shotgun and use the key on the locked door to your left, just by where you got the weapon. Take the elevator up and kill the enemy that spawns. Use your prodding gun to open the gate, just opposite the elevator, as this will give you a good escape route.
But, don’t head that way. Instead walk in the opposite direction and you will see the path leading under the creature on your left. We first need to lower it, so continue on and kill the large four-legged creature in front of you and use the health station right next to where the creature was. Then, take the next elevator up a level. Up here you can see a path ahead and the console on your right.
First of all take the path ahead as there are some enemies we need to clear out. At the end you can find an ammo station. Before using it, get your big shotgun out you just got as at multiple four-legged creatures will spawn. Reload as soon as you get your bullets and head back down the coridoor to see the first creature. Kill it and then immediatedly reload again.
Turn around to see a second four-legged creature has spawned behind you. Kill this one and then switch back to your smaller shotgun and use the console. This will lower the path, allowing you to head down and raise the third puzzle pillar on the level below you. Kill the two enemies on your way down.
Once on the lower level you will see another four enemies have spawned. Kill the big guy first and then switch to your smaller shotgun to take out one or two. Then, you can either run past the rest, down into the path on your right with the light, leading to the puzzle pillar or head down to recover and then kill the others on your way back up.
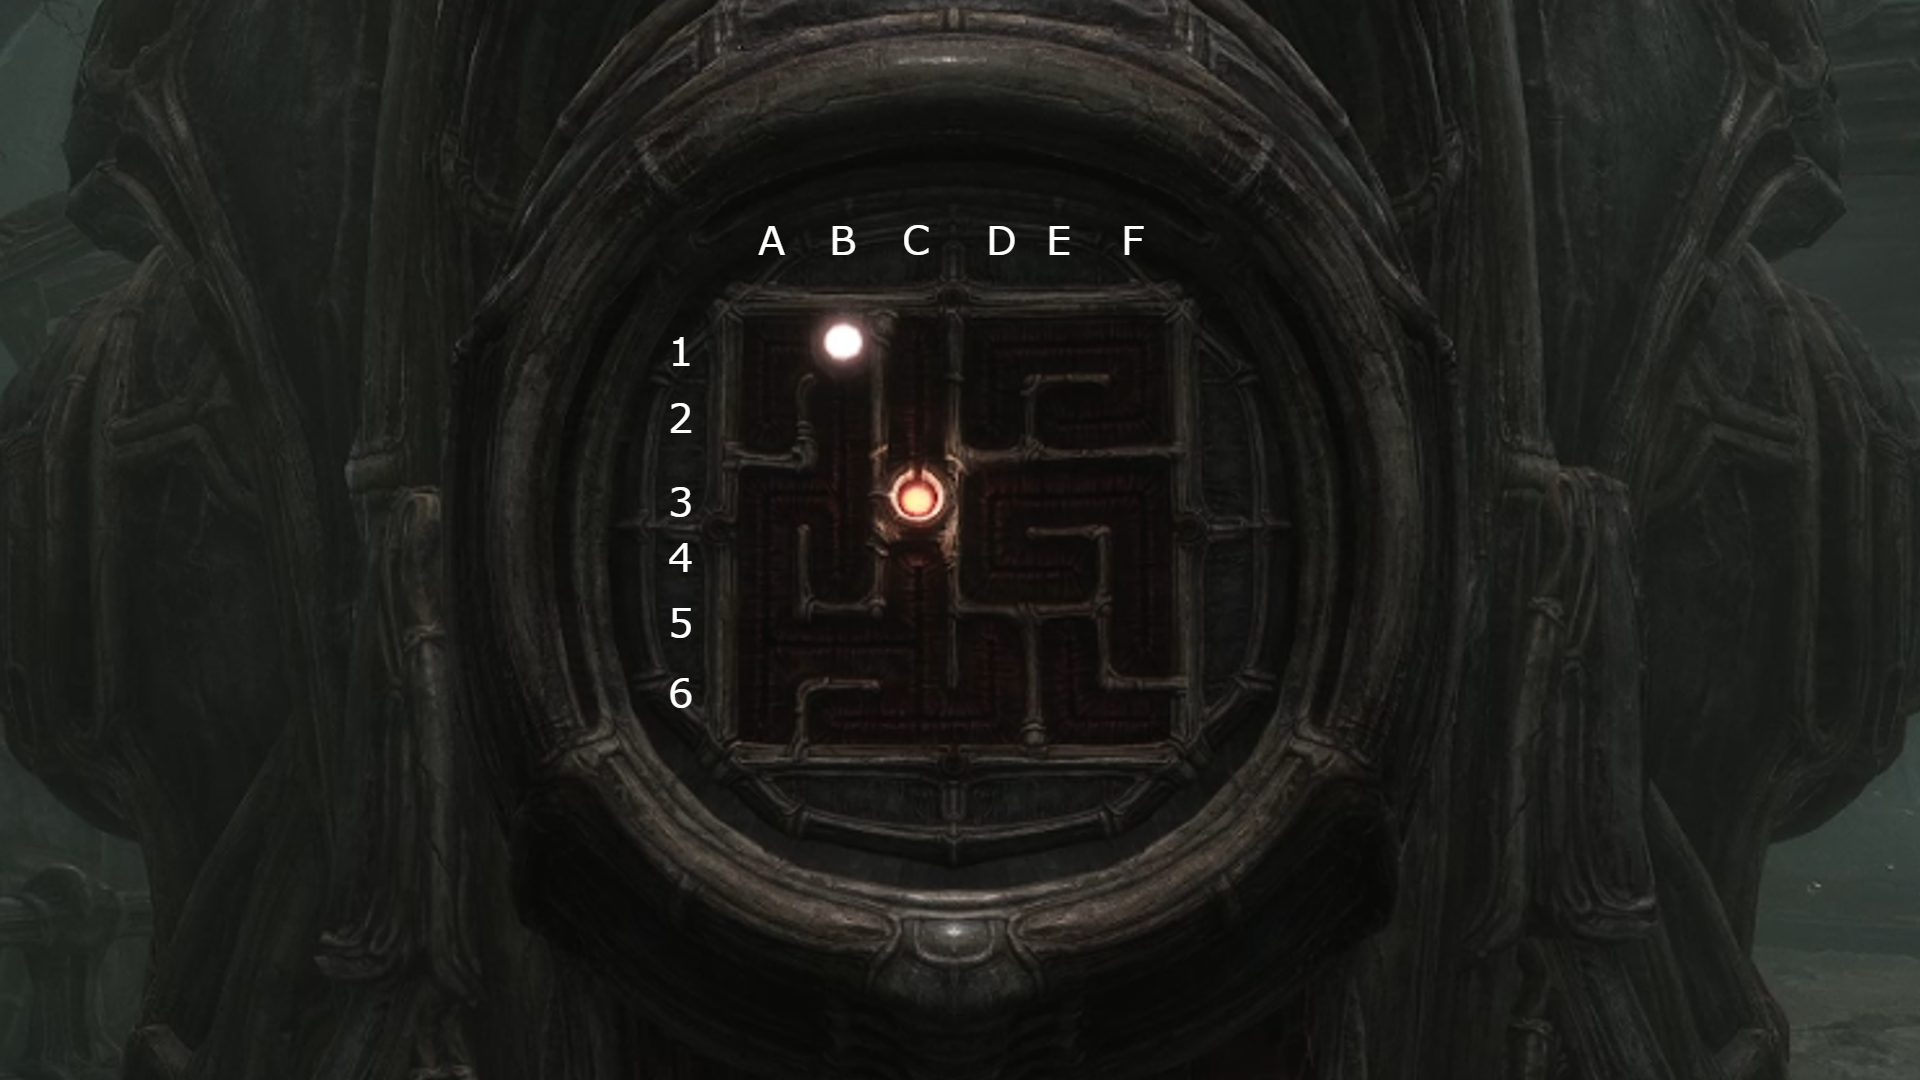
Either way, from there head back to the puzzle pillars and begin tackling this puzzle. The goal with this puzzle is to get the little dot into the centre. But, the dot is in the same place on all three of the pillars. So you will need to use the different layouts of the three puzzles on each pillar to get that dot to the centre.
Below, you can find a guide with each square. The solution to complete this puzzle is to move the dot to A3, turn the pillar twice, move the fot to C5, and then turn the pillar once and move the dot to E6. From there, turn the pillar once and move the dot to D3, turn the pillar once and move the dot to E3. Turn the pillar twice and then move the dot to D2. Turn the pillar two more times and then move the dot down to C3 to complete the puzzle.
This will completely destroy the creature living in this structure and open the door on the top level. Follow the path and then enter the cable car, use the console and the transport vehicle will transport you to the final act in the game.
Scorn Act V walkthrough
At the start of the act, make your way forward and up the main chamber of the large castle structure. Here you will see a large connected web of bodies. But, before we can worry about that, we have to head downstairs, which can be done by taking the staircase on the left.
Down here you will find two bodies, with two small switches. Inside one of the switches, you will see a jar of red liquid. Pick this up and then head down the central corridor ahead of you.
Put the red jar into the machine on the wall to open up the path in front of you. On your right, you will then see two pods with small creatures in them. Before picking one up, use the ammo and health refill stations that are here next to the pods.
Once stocked up, take the pod over to the large mechanical body on the opposite side of the room. Put it into the body and then use your Melee Prod weapon to burst open the pod by poking it. Hit the creature that was inside to then kill it and pick it up.
When carrying the creature, take it back to the machine you used to get into this room and place the creature into it. Interact to have the creature crushed and its blood fill up the rest of the jar. You can then take this back and put it into one of the switches to impregnate (we think you’re impregnating them) one of the bodies.
Now, we have to fill up the jar again to impregnate the other body. So, head back to the room with the pods and repeat the process, put the pod into the metallic body. However, this time the creature isn’t too happy about your murdering spree, so he takes control of the body and starts a fight.
This is the only boss battle in Scorn and it is a pretty tricky one. This boss will fire about four-to-five bursts of grenades with his gun before he has to reload. He will also walk around and chase you and if you get too close to him melee you. The trick to defeating this boss is to strafe around the room from a distance and let him shoot all his grenades. He will then reload and you can shoot one of the two red sacks on his backpack when he crouches down.
Simply repeat this until both of his sacks are destroyed to complete phase one of the fight. Once he is down, go up to him to grab his gun. But, the boss hasn’t given up that easily and will now start fighting you again, using the exact same attack pattern. However, with his sacks gone, all you now need to burst the pod in his chest that you put in.
You can do this by shooting him and stunning him. However, the easiest way to do this is to switch to your big revolving shotgun and bait a melee attack. As he winds up the attack when you stand close, he will open his chest, allowing you to shoot the pod and take it out. If it doesn’t die in one shot, simply repeat this tactic and the little fetus creature will come sliding out. If you back away while he baits a melee he won’t open his chest so you need to stay right up next to his front.
Once he is down this time, he is down for good and you can pick up the creature and the boss’ grenade launcher. Take the fetus back to the machine and crush it to fill up the jar halfway. Head back into the room and as you do the parasite on your back will slowly take over your hand, preventing you from switching weapons.
Locked behind a gate, you can find the third and final pod. But, we need to lower that gate first, which can be done by standing on the pressure plate at the back of the room, lowering the metal shield and firing a grenade through the gap.
This will lower the gate and you can now grab the third pod and put it in the body of the large robotic creature. Doing so will cause the creature to get angry in this pod as well, giving you a second boss to fight. Luckily though, this one is a little easier.
As you can only use your grenade launcher, what you need to do is wait for the boss to reload, so strafe around as you did before. When he goes onto his knees to reload, shoot a grenade into his backpack that opens up. This will cause the pod inside him to explode and the fetus to fall out.
If you run out of ammo during this fight, you can pick some more up from the backpack of the boss you killed last time.
Take this fetus back to the crushing machine and then pick up the jar. Because the parasite has taken over your whole body by this point, you can’t actually put this jar into the switch for the other body. So, first we need to get the parasite off of us. This can be done by heading to the staircase where you came down from the upper level.
Just to the side, you will see a small pathway leading to a new area. Here you can find ammo for your weapon and a pressure plate. Stand on that pressure plate and shoot another grenade through the hole that opens up.
This will let you lower the gate and allow you to progress onwards. What you want to do is take a right and look for the device on the wall just to the left of the locked gate. This device will kill the parasite on your left arm for a short time, reducing your health in the process. So, what you need to do is race to complete these next sections while trying to lose as little health as possible. You can refill your health if you have some charges left over.
Before using it, use the health refill station nearby and then use the machine. Open the gate next to you and stand on the pressure plate to move the rails above you. When there is a clean shot to the hole in front of you, and the objects on the rails have moved, fire a grenade launcher to lower the gate ahead.
By this point, the parasite will have taken over your arm again so you can’t use the key upgrade machine. So, return to the device to kill it once again, and this time head back to the key upgrade machine to upgrade it for the final time.
With the upgraded key, now head back to the previous pressure plate, where you lowered the gate in this area the first time. Here you can find another device to kill the parasite. Use it and then walk straight ahead to the door to open it. In this room, you can find a machine but you will need to repeat the run again to use it, so kill the parasite using the same device you just used and this time run all the way to the machine at the back of this room.
Sensing danger, the parasite will burrow through your chest as you interact with the machine. But, hope isn’t lost as you can now control the claw and peel the parasite off your back by pulling its head.
Once it is off you are now safe, although heavily injured. Take a long walk back, using the console on your right as you exit the room and take the path back to the front of the castle. Head back downstairs and now insert the jar into the second switch to impregnate the second person.
This will raise the platform up and allow you to move around and explore where all the bodies were when you first came in. But, to progress, you need to interact with the large device at the front of the room.
Once interacting with it, you will be pinned to it and the statue will start tearing you apart and harvesting parts from you, connecting you to some sort of hivemind, which is above you. But, before long, you will wake up in the body of one of the creatures you impregnated. Once in one of their bodies, head over to your original body and interact with the statue to move it away and pick your body up.
Walk up the stairs and stand on the pressure plate in front of the large ominous door. While on the plate, you can actually switch to the second other body you impregnated. So, switch and then use the device on your right at the top of the stairs to attach a key to its body. Once attached, interact with the console to fully unlock the door.
From there, switch back and walk forwards along the bridge with your original body, take in the scenery and watch the final cutscene. Congratulations on beating Scorn!
That is our Scorn walkthrough. If you want to try and make sense of that ending and the whole game, check out our Scorn ending explained guide which might be able to help you see some of the explanations we saw while playing. Hopefully, these tips and guides to the game’s many challenges have helped you out! While the lack of tutorial information on the game clearly is meant to immerse you it can get in the way of what you think you are meant to be doing, leaving you aimlessly walking around. But, by the end, you should have experienced a game unlike any other as described in our Scorn review.
