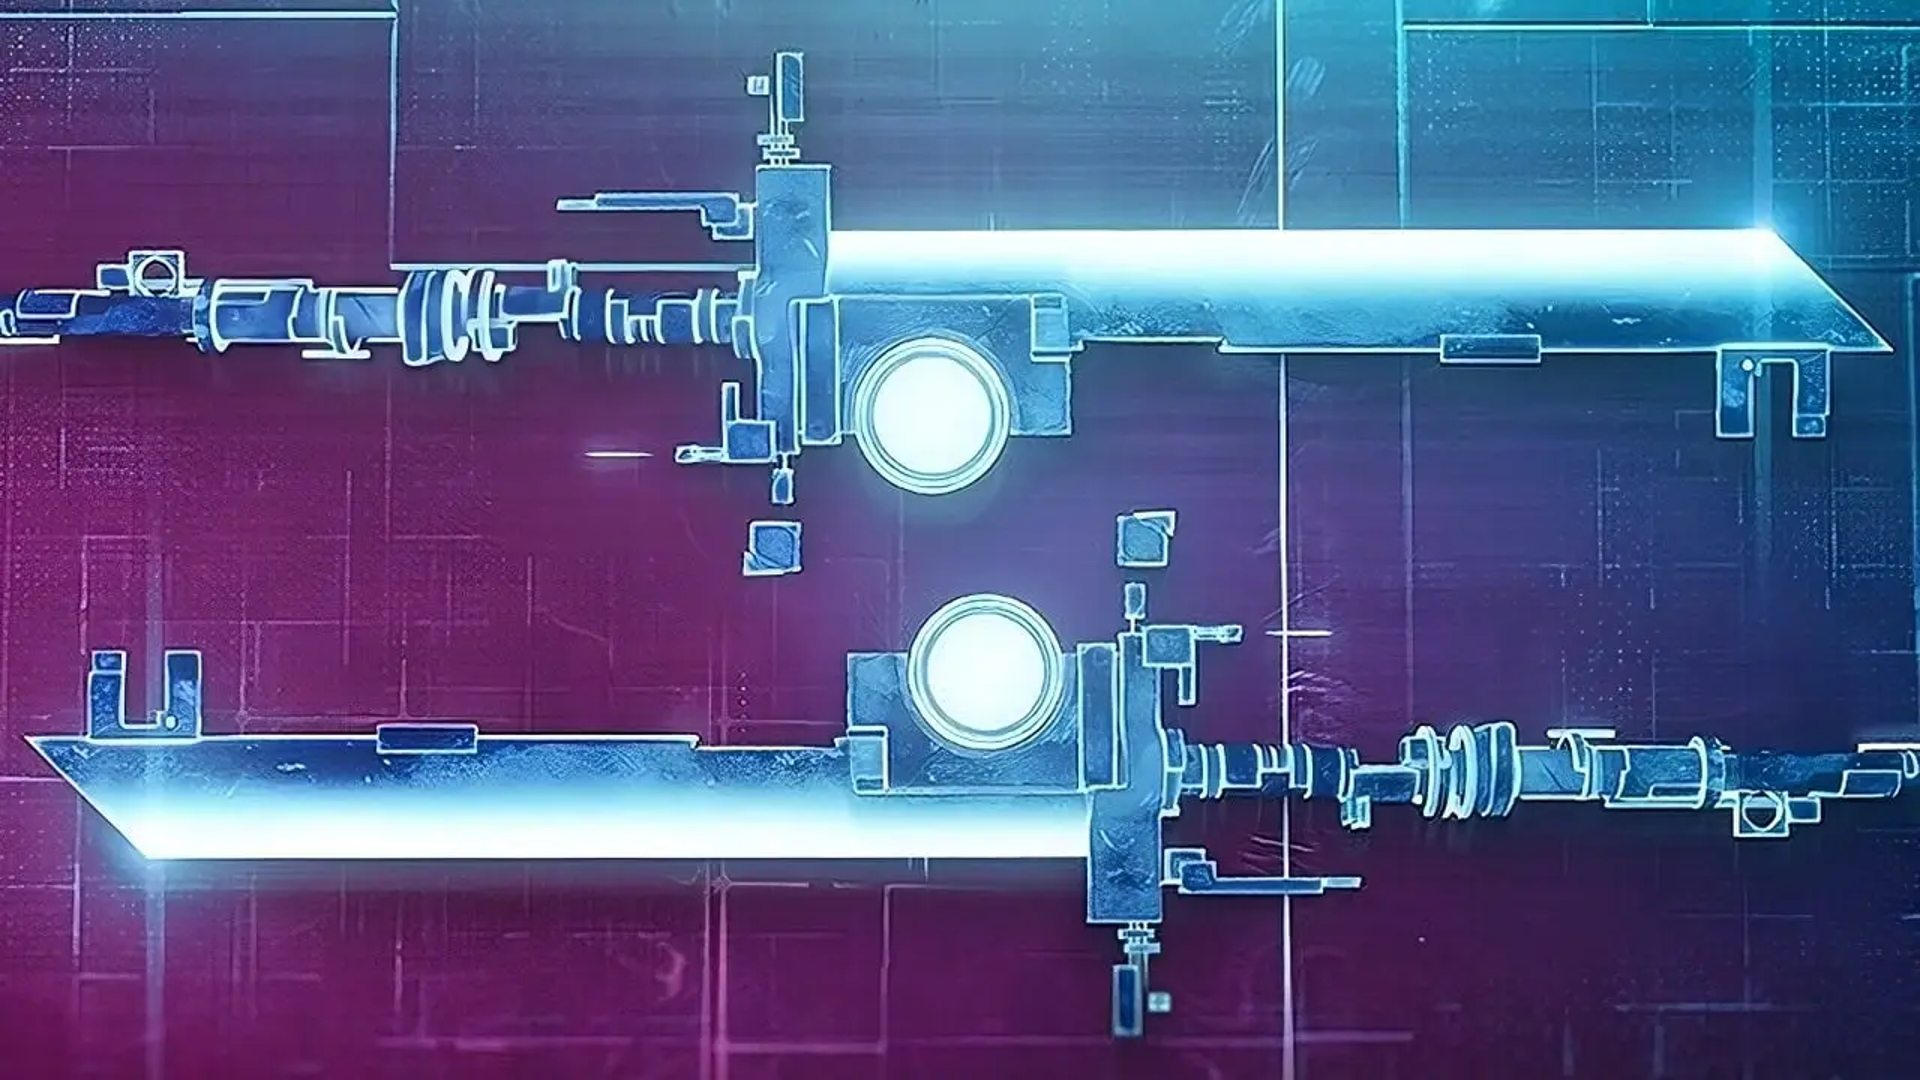
The Season of Defiance Exotic quest has dropped and it takes us back to the old days of Destiny 2, revisiting content that was sunset a few years ago and meeting an old friend. But, what do you have to do to complete the Destiny 2 The Variable quest?
This guide will take you through each individual quest step as well as provide you with a guide for the seasonal exotic mission //node.ovrd.AVALON//, which sees us revisit The Pyramidion from IO in vanilla Destiny 2. In addition to completing the quest, you will also nab yourself Destiny 2 Vexcalibur, a potentially top-tier PvE Exotic special weapon.
Destiny 2 The Variable quest
Destiny 2 The Variable quest has the following steps:
- Investigate the Digital Trace
- Solve the mystery of the Digital Traces in the EDZ
- Complete the //node.ovrd.AVALON// mission
- Visit the War Table to analyse the object
You can get a deeper dive into each of the individual steps below for the quest:
Investigate the Digital Trace
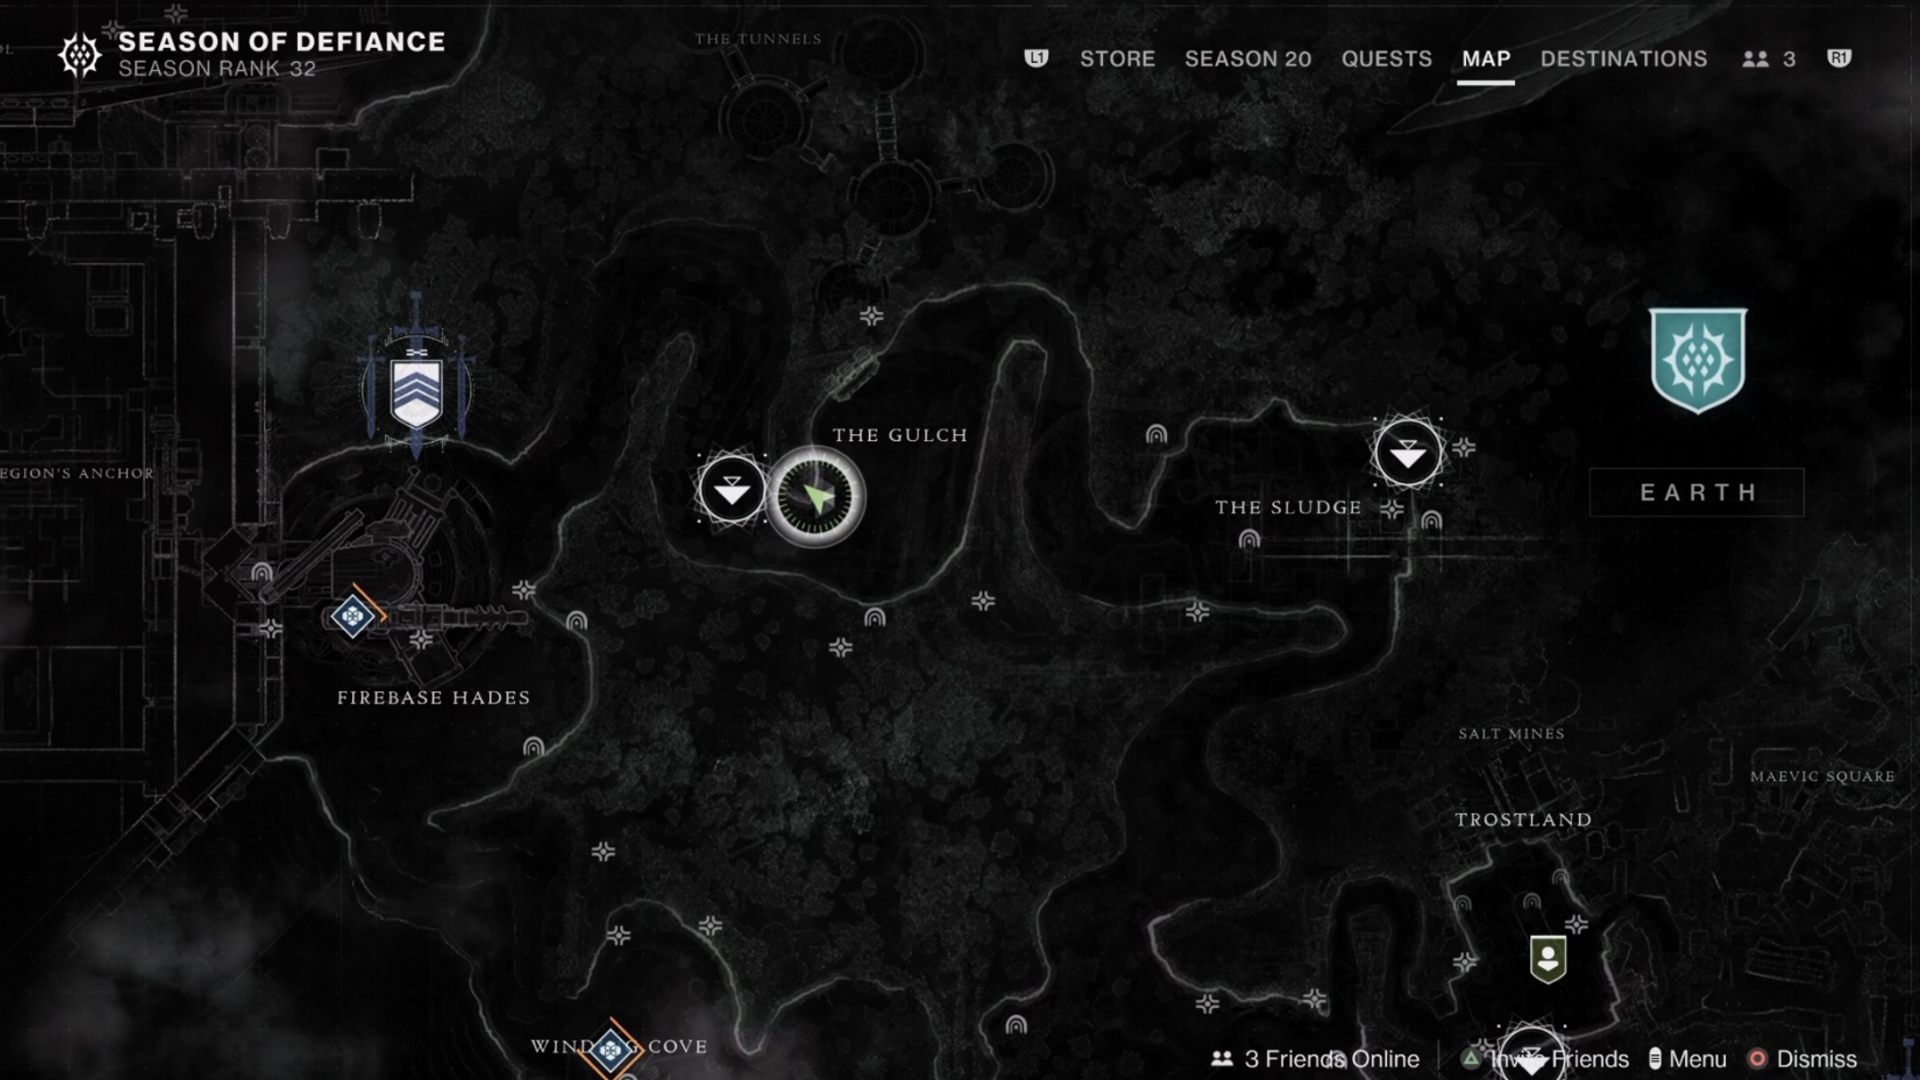
The first part of this quest needs to be started on your own and simply involves visiting The Gluch on the EDZ. This location is found in the north of the map.
Solve the mystery of the Digital Traces in the EDZ
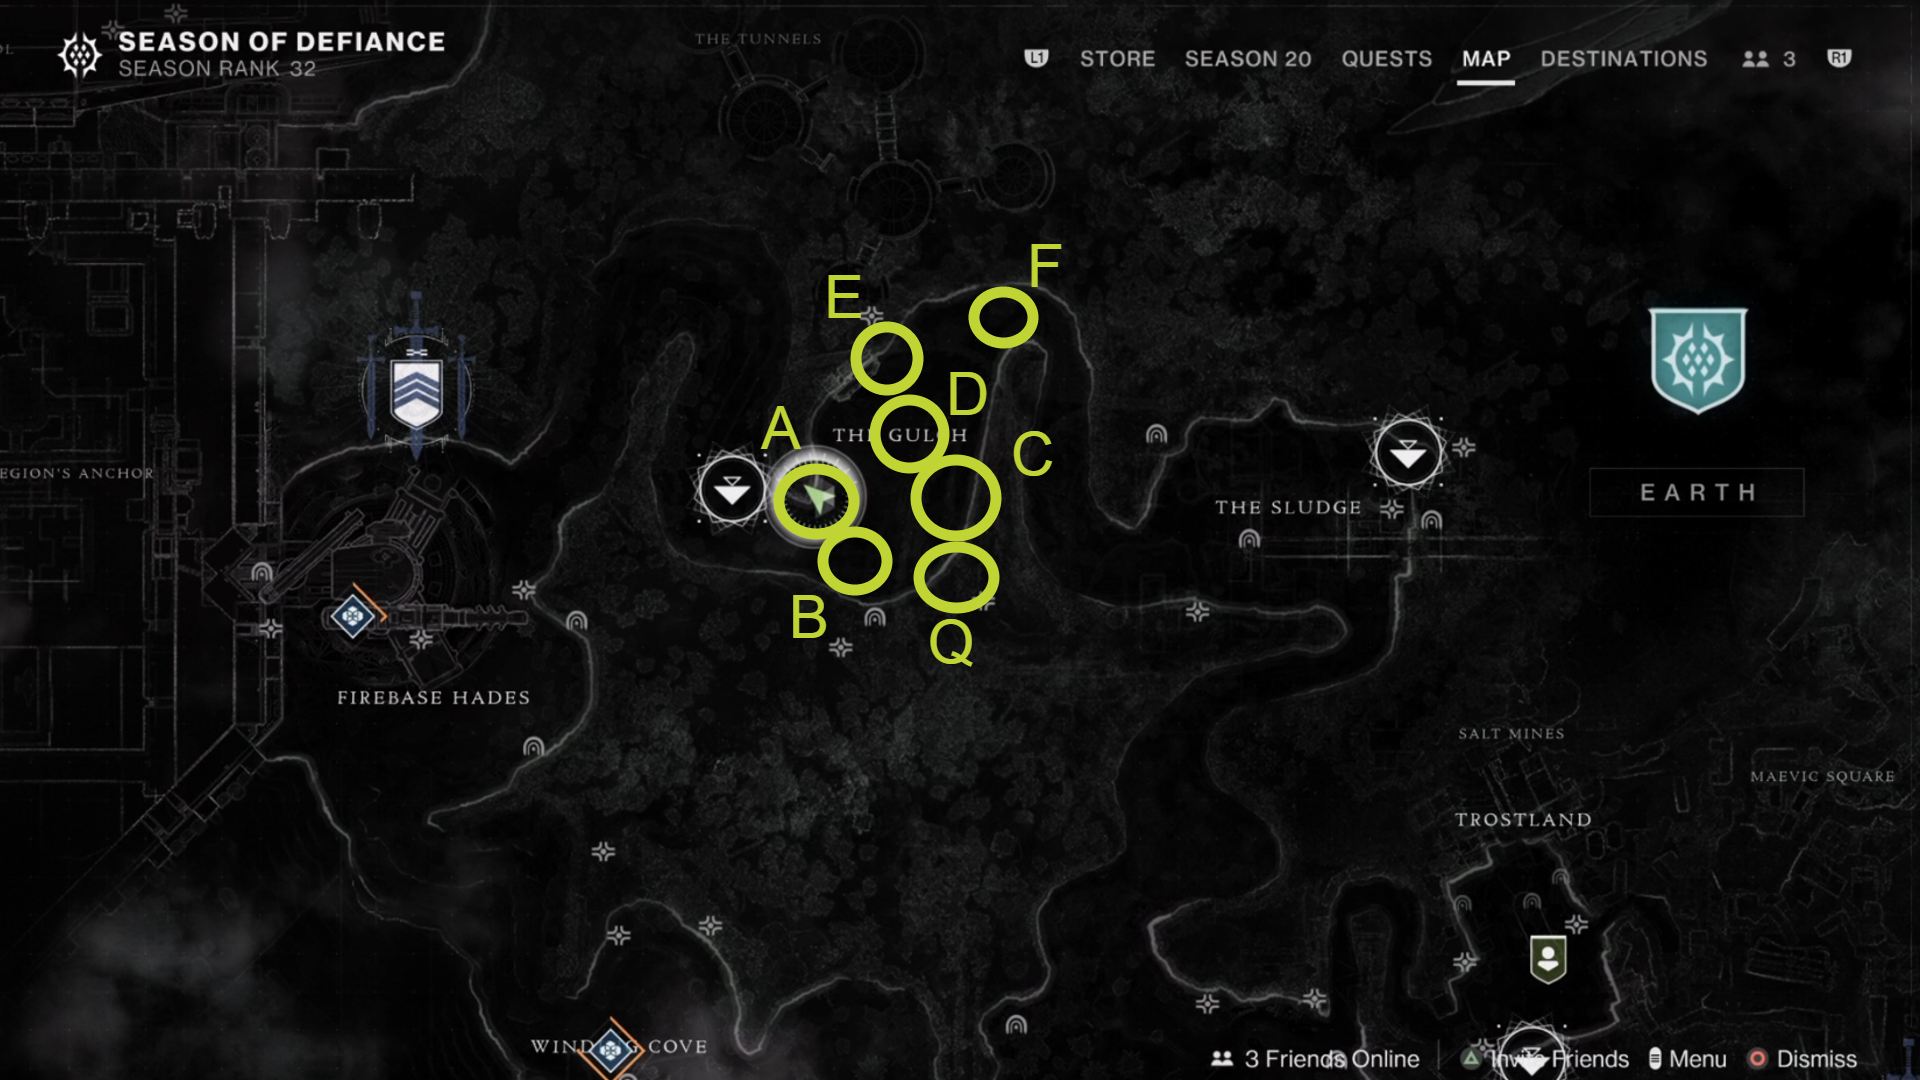
Once in the EDZ, head to point A on the map above and make your way around the location to find five more Vex cubes which you need to stand near and pick up. This will form a set of co-ordinates. The locations can be seen above on the map, as well as below in descriptions of where each one is. Thankfully though, each one is out in the open.
You only have 30 seconds in between getting each one to get the next, so you will need to quickly rush around the location to get them all, otherwise, you will need to restart from point A.
- A – On a large rock
- B – Underneath the highway overpass
- C – In amongst trees above the main road, on a cliff
- D – In the open battlefield by some trees
- E – Against the rocks to the right of the Cabal outpost door
- F – Next to the two road signs
Once you have all six, head to point Q on the map above and you will see a small cave. Usually, there isn’t anything in here, but now the back will have opened up and lead you down to a Harpy and a start point for the mission.
Complete the //node.ovrd.AVALON// mission
This mission is the Exotic repeatable mission for Season of Defiance and it is a whopping 1800 power level requirement. But, if you aren’t near that level yet, don’t worry as you will be boosted to 1790 power upon starting it. The mission is incredibly hard solo, however, so you will want to bring some friends.
This quest is effectively a longer, slightly adjusted version of The Pyramidion strike which was on IO in Destiny 2, before being sunset. To start things off, you will need to continue making your way down through the Vex Network construct at the start of the mission. There will be sliding doors and a small gap you can slide down when you reach the bottom.
Eventually, you will be properly teleported into the Vex Network and see a group of enemies in the distance. This encounter is effectively the basis for the rest of the mission. In the arena, you will fight waves of enemies continuously. But, there is a central Vex construct that will spawn a diamond, cube, and triangle occasionally.
Around the arena, you can find a set of shapes that correspond to the order you need to shoot the shapes in from top to bottom. For example, Triangle, Cube, Cube. In this first arena, they can be found to the right of the construct and then at the back of the arena, on the left and right.
As you get access codes, these will change location each time you obtain a set of codes and if you fail, the shapes will just respawn in a new order.
Once you have done this once, you will need to do this another time, before climbing through the Vex structure and following the path down deeper. After making your way past the blocks that knock you off and the jumping puzzle, you will face the first boss.
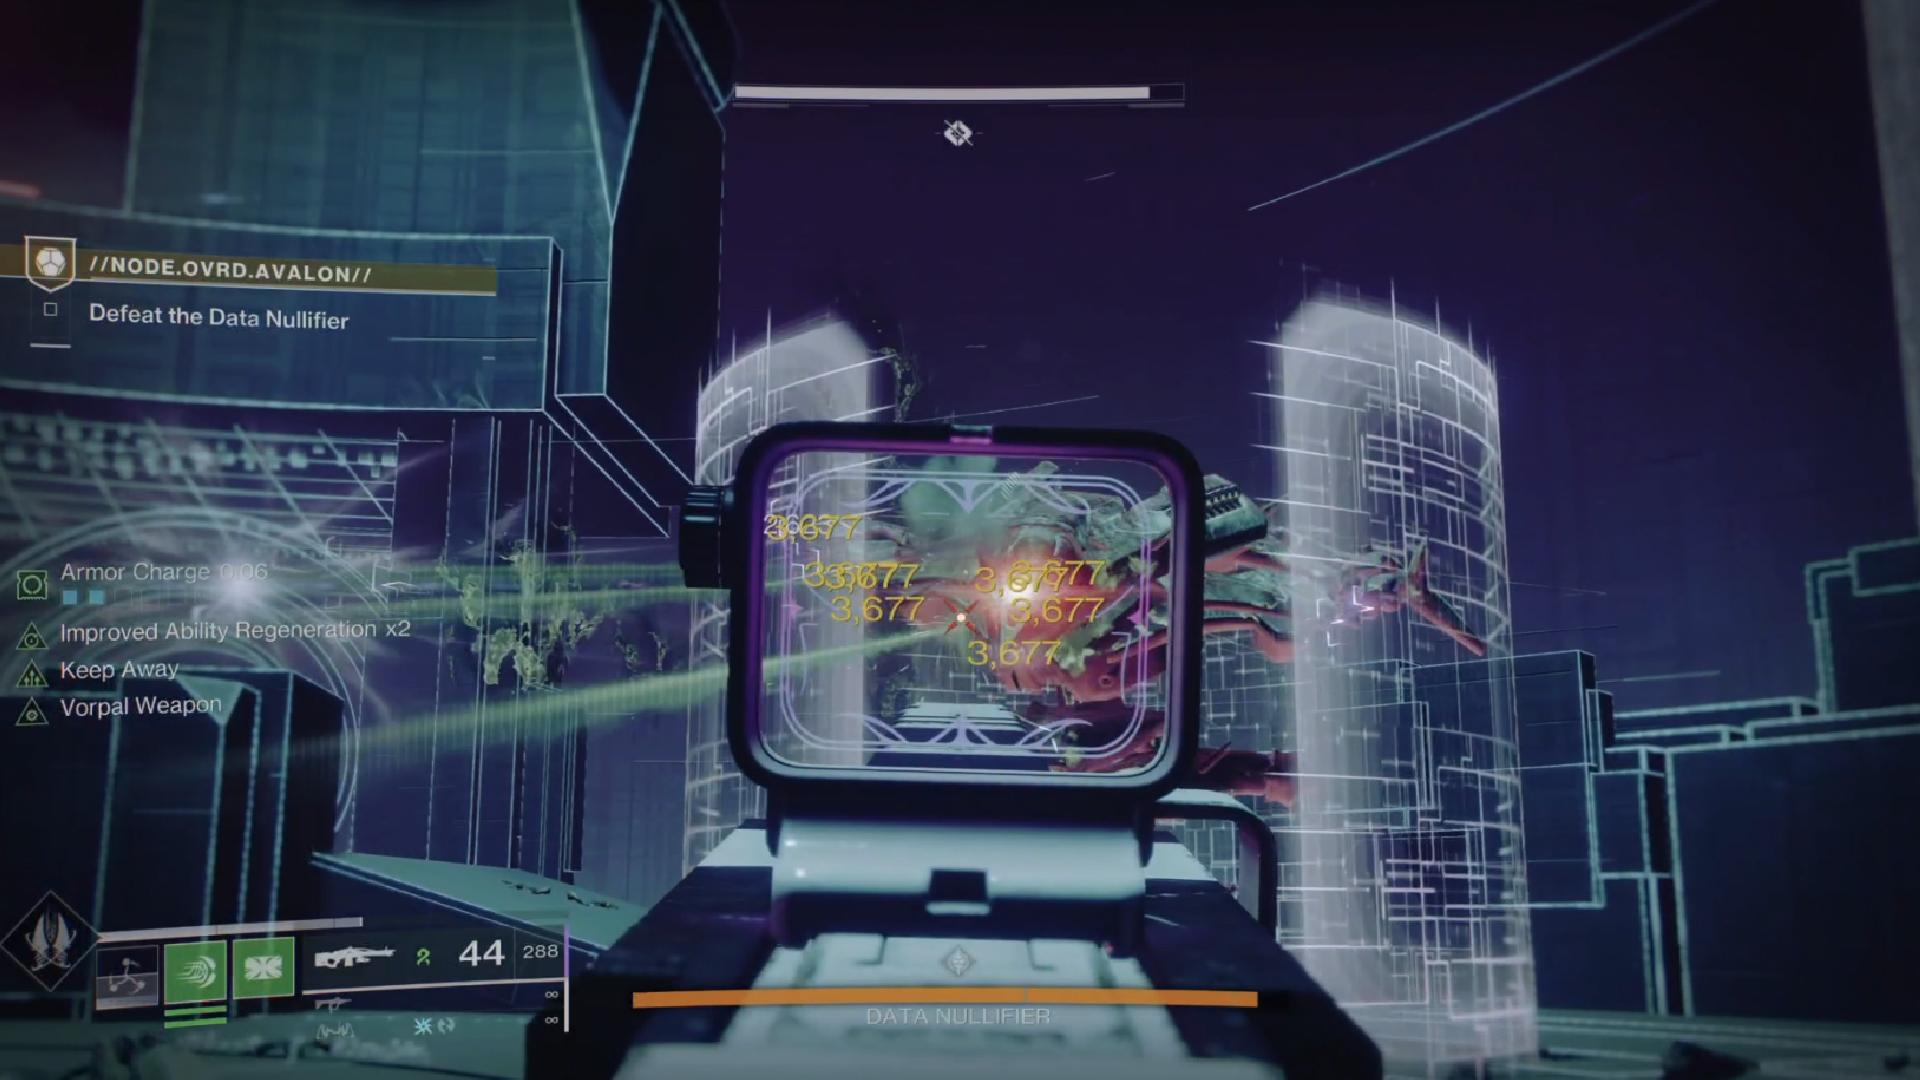
This is a Hydra that will wipe your whole team unless you periodically grab data from defeated Vex. With the data, deposit it into the spire once you reach the required number and drop into the safe hole that opens up beneath you. This will protect the boss from wiping your team. Use the portal beneath you to then teleport back into the arena.
Repeat this multiple times until you can damage the boss and then repeat the sequence of phases until it is dead.
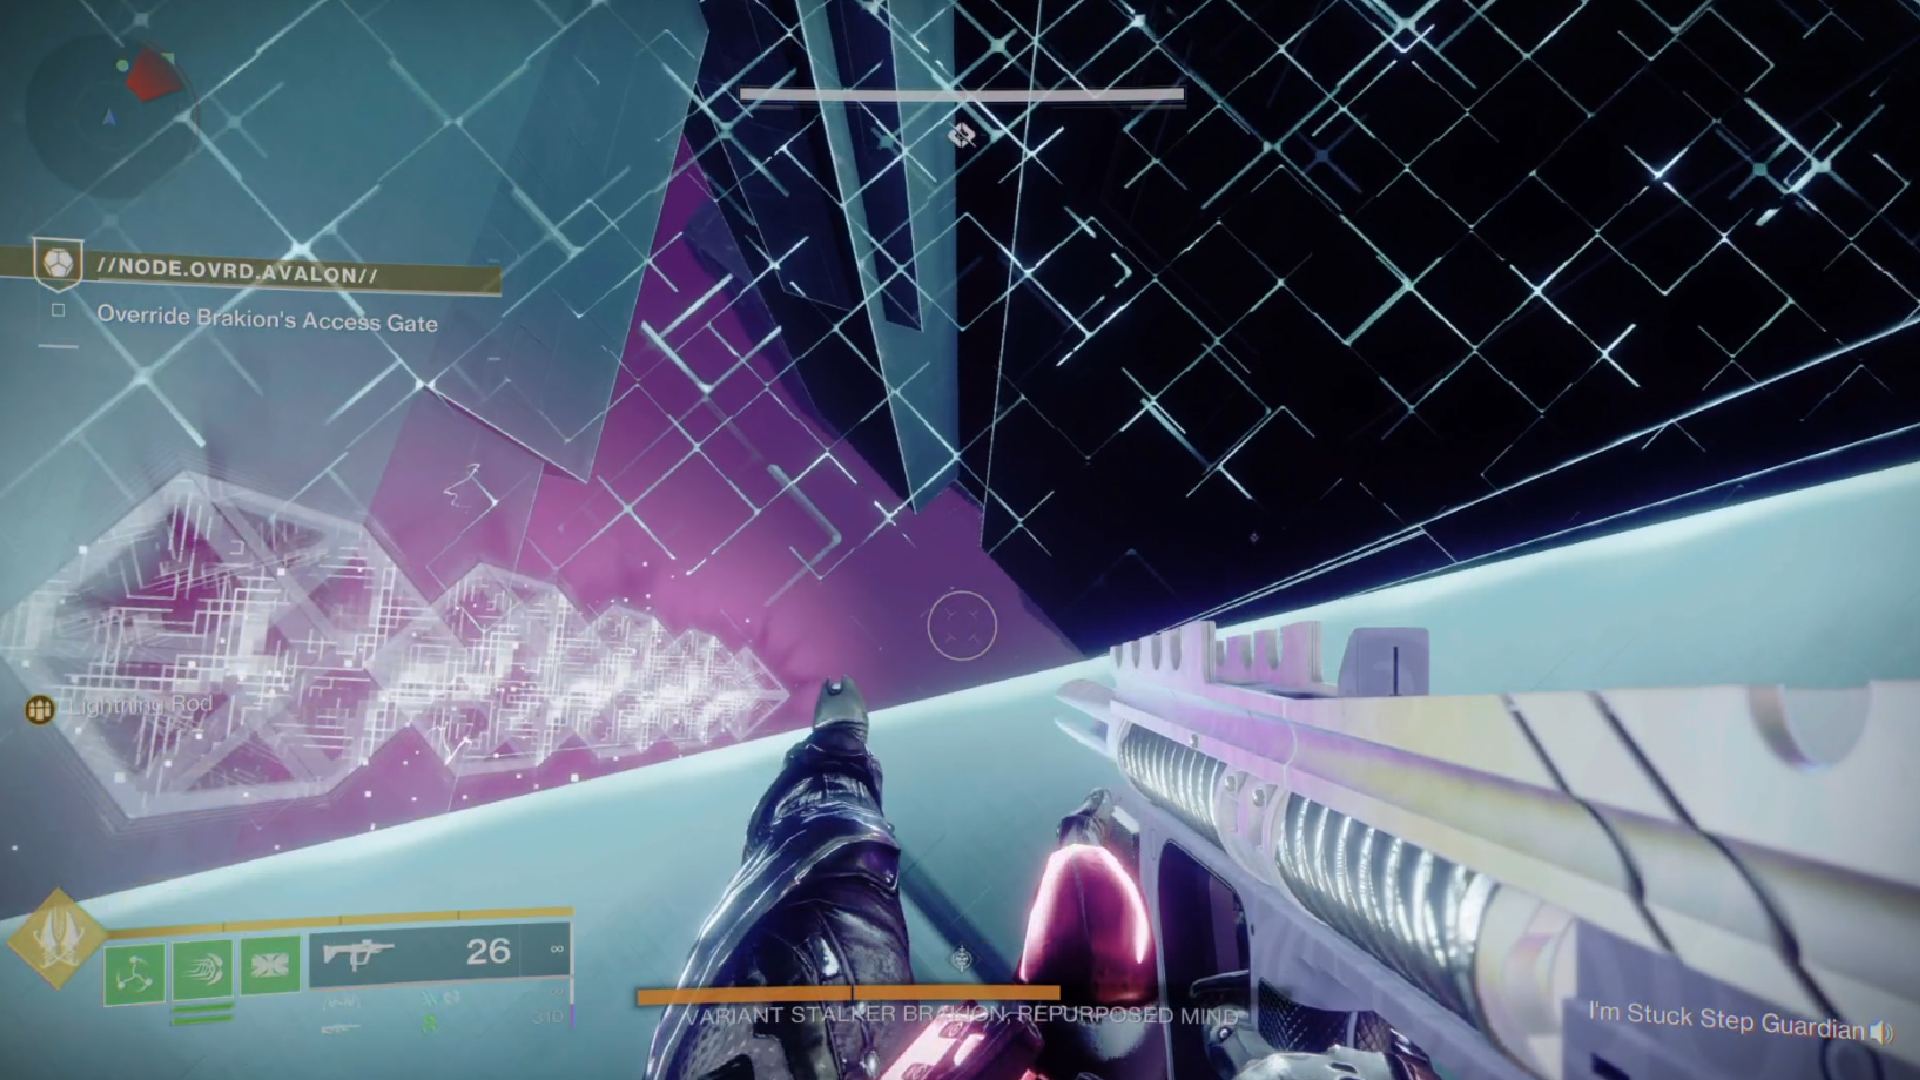
Continue onwards, past a set of blocks which will try and knock you off again, and slide down to the portal at the bottom of the area. This will transport you to the final boss, Variant Stalker Brakion, Repurposed Mind. This first phase plays out exactly like The Pyramidion strike. Simply wait till its shield drops and then damage the boss and any enemies around it.
Once the boss teleports, head through the portal at the back of the arena and then repeat the same object pattern mechanic you faced earlier in the strike. The shapes can be found in a hole in the ground on the right of the arena.
From there, move on to phase three and simply survive until you can damage Brakion. Interact with the weapon at the back of the arena to complete the mission!
If you are looking for a video guide, this one from Esoterickk should help you through it if you are struggling.

Visit the War Table to analyse the object
Now that you are done with the mission, head to the War Table on the H.E.L.M. and you will receive your shiny new Vexcalibur which will be upgradable in the coming weeks as we unlock new crafting options and perks for it during Season of the Defiance. The weapon is actually pretty impressive and has a chance to launch Glaives into one of the best weapons in Destiny 2, especially for PvE with its perks.
That is the full Destiny 2 The Variable quest. Overall, this is a fun dive back into old Destiny 2 content we can no longer access, as well as getting to see an old friend again, Asher Mir. For even more guides on Destiny 2, be sure to check out our Destiny 2 Lightfall walkthrough to help you through more with Season of the Defiance and Lightfall, as well as our guide to Destiny 2 Defiant Keys within the seasonal activity.
